I'll start off saying this is all Tim Mixon's fault. He's been pestering me for years to follow him down this "Vac-Formed" rabbit hole he is so comfortable in and I finally caved.
I've made a commitment to building these olde kits sitting on my shelves for decades as they are doing no good hiding in the box going unappreciated and unbuilt which is not what the original creators of these kits intended. A lot of people put a lot of effort and research into making these kits so we could build them, admire and enjoy them as they sit finished on our shelves. I was fondling other vintage resin kits when I spied a forgotten box of vac-form and resin kits by John Johnson of Teapot Graphics fame. In it, I'm pretty sure this is the complete collection of all of John Johnson's kits, both resin and vac-formed. I've built two of his resin kits in the past, the Porsche RS 1500 and the '62 Ferrari SP. Both went together well and came out great.
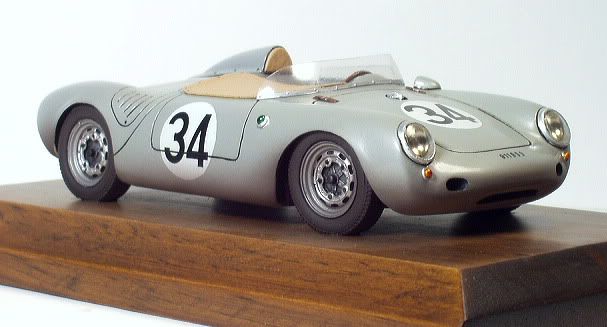
I've had these vac kits in my hands before only to put them back after much shaking of knees and wringing of hands. But I need a C-type Jaguar from LeMans on the shelf. Only way to get that is wait and hope to find the stupid expensive K&R metal or resin kits ....or...... build what I already have.
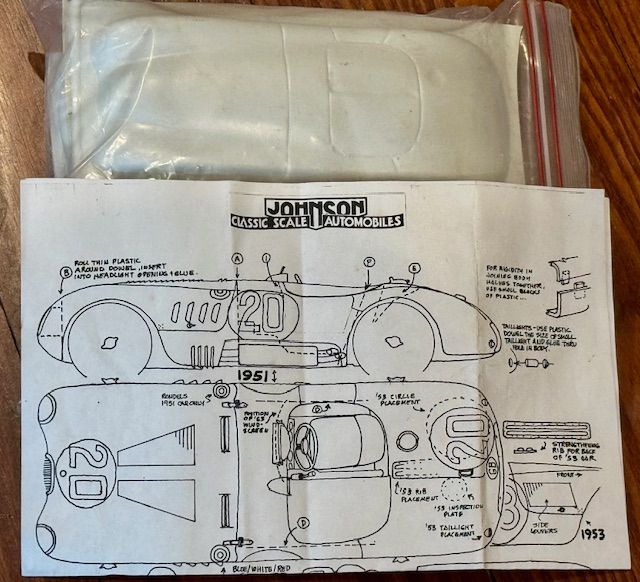
Louvers combined with never having built any kind of vac formed kit before, auto or aviation, found this Jag back on the shelf.
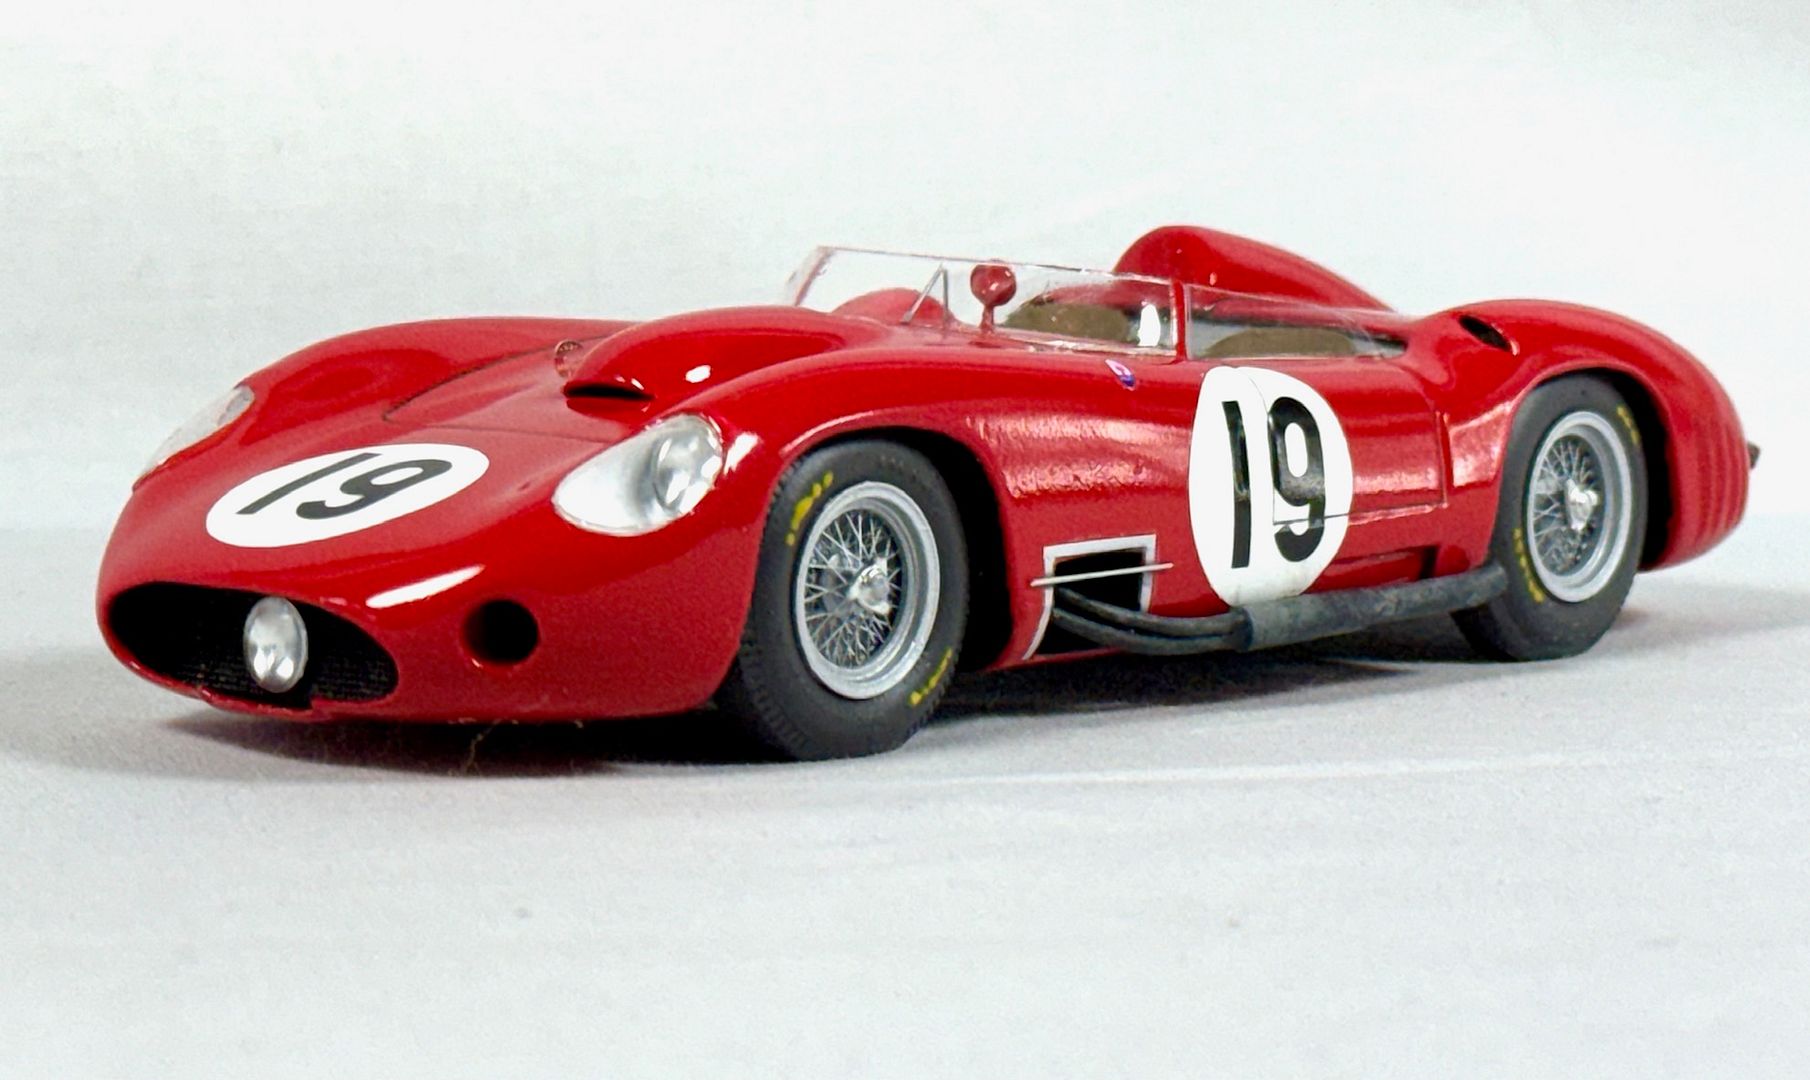
However..... How hard can it be?.......Rather than screw up the Jag, I picked something a little simpler to learn on. Johnson's kit of the Maserati 450S. A smaller parts count of about 15 (and no louvers!) seems to suggest a little better success rate with this finished kit.
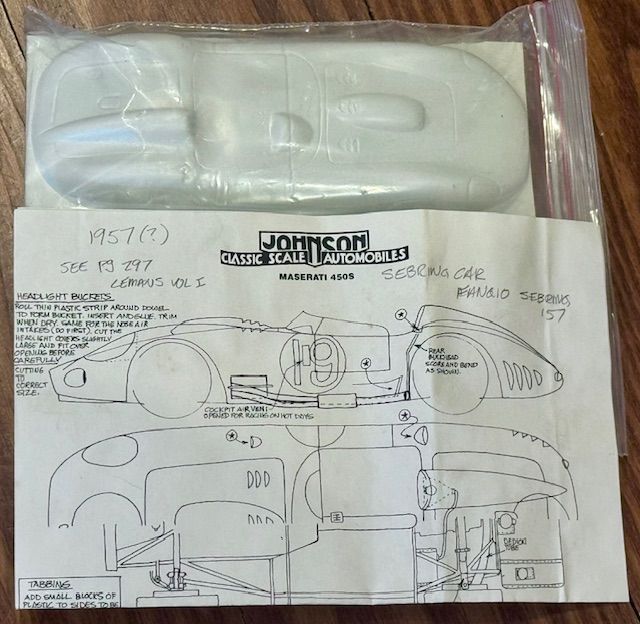
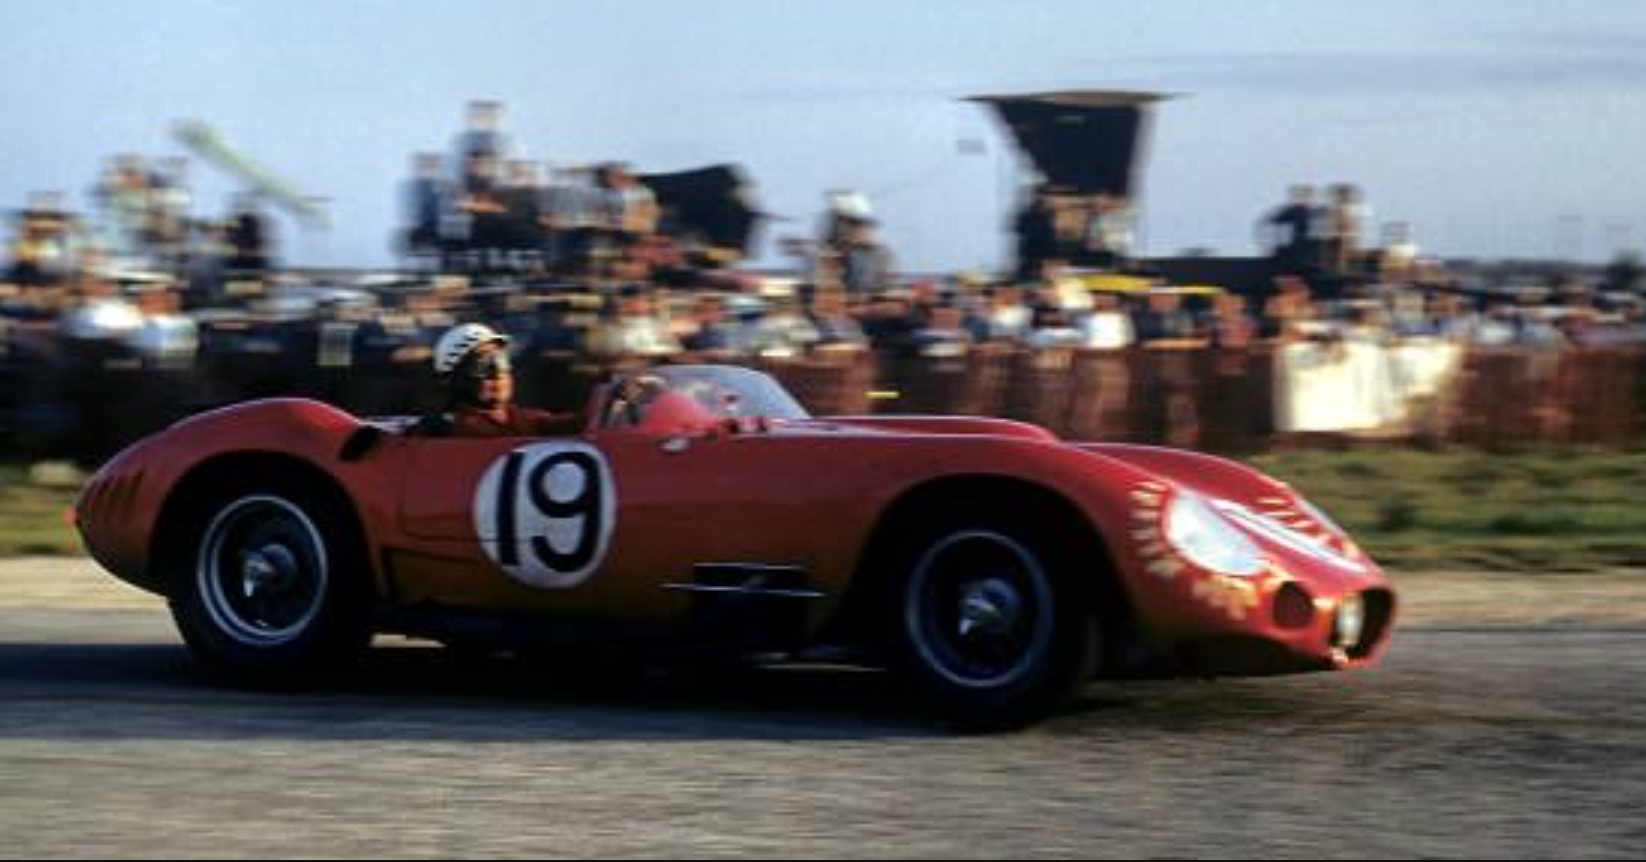
The kits destructions and decals want you to do the 1957 Sebring winning car of Fangio and Behre.
I have never done this vac thing before. The www was helpful in how to get started. I followed the average truth about building vac kits and it really isn't as painful I thought. Penciled around the bodies and cut them out then sanded the edges as I was told.
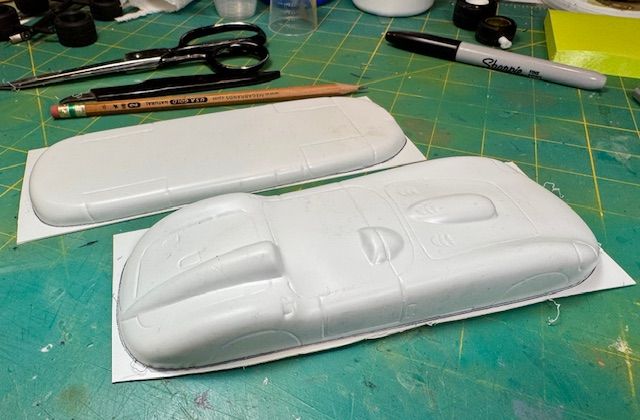
I wasn't trusting the kit destructions so I copied the examples of some of my resin kits and added more sheet stock inside to help hold and keep things in place.
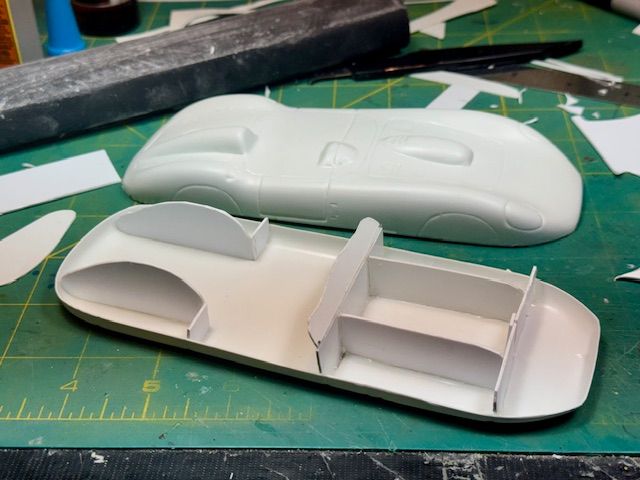
I added all the little tabs the destructions told me to and amazingly it all still fit together. But honestly, I don't see how these were put together back in 1989 without superglue. (Did they have that then?) Being careful to keep it flat, level and straight, I went around and around and superglued everything with the thin, watery stuff and kicker.
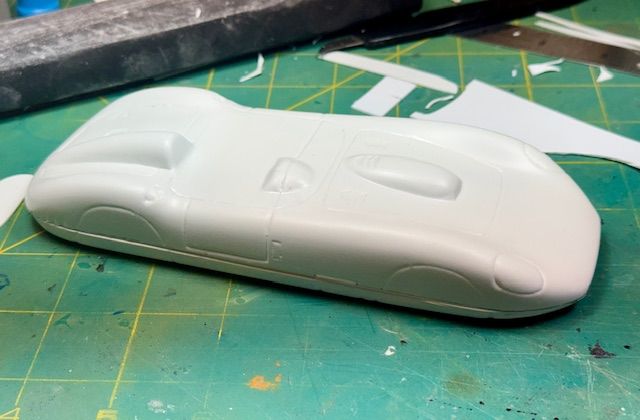
Not perfect but nothing a little putty won't hide. I then started cutting out stuff. I'm glad the really scary part is behind me.
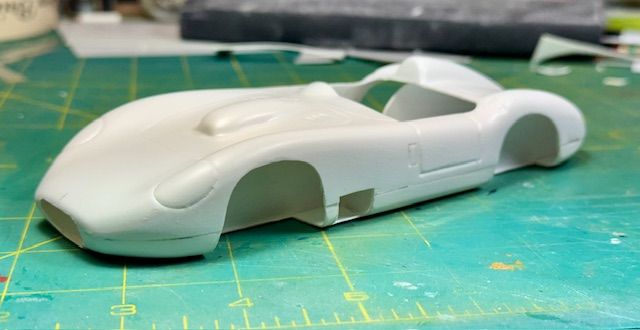
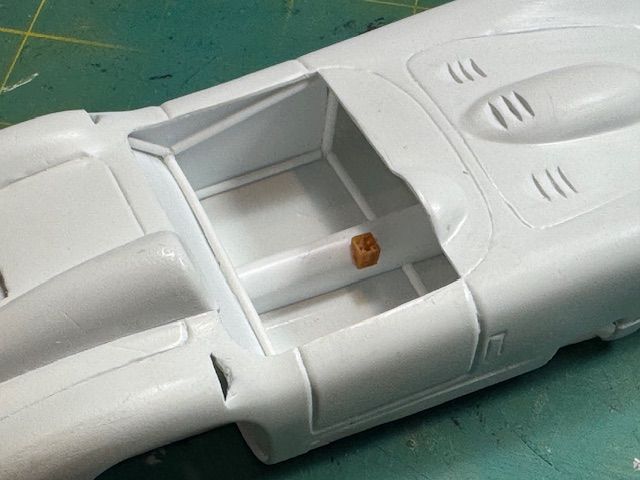
I started boxing in the cockpit, made a drive shaft tunnel by wrapping styrene over a drill bit and started with tube framing, not 100% accurate but looks busy enough. Louvers I cut in with a grinder.
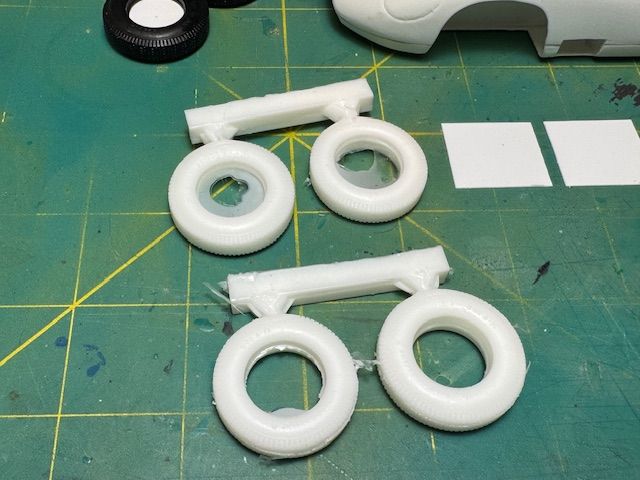
The tires, (one of my "issues") in the monogram Mercedes are perfect for this car so I made a silicone mold and cast a set up in resin.
I rolled thin sheet styrene around a drill bit and made the headlight buckets. I used aluminum tubing for the brake ducts. I then Bondoed, puttied and primed to see where we were at.
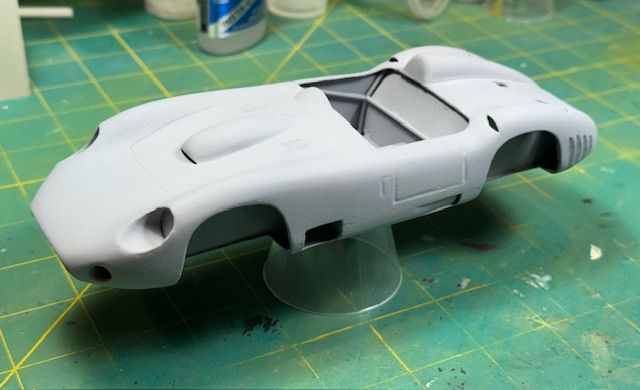
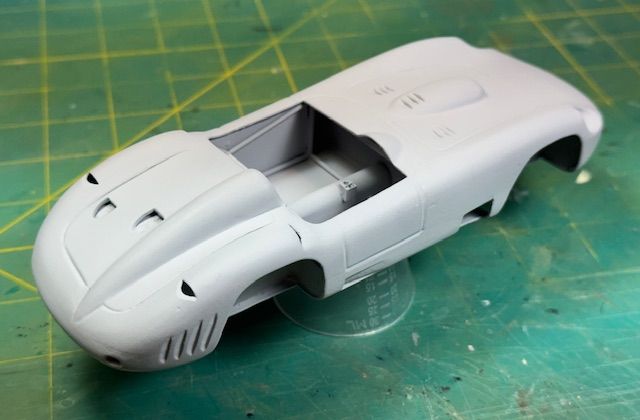
I wet sanded with 600 then shot two coats of Duplicolor red from a rattle can.
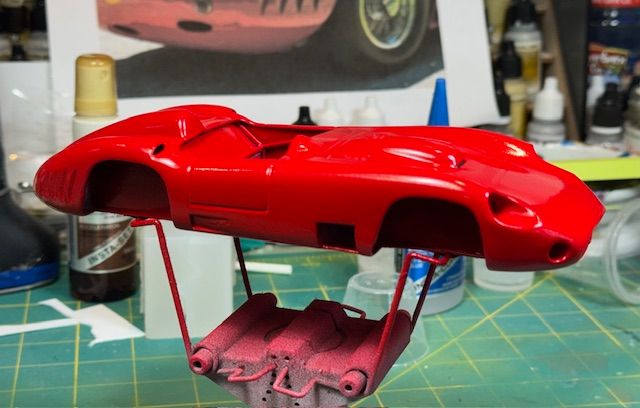
I really tried with the kit decals but they were having none of it.
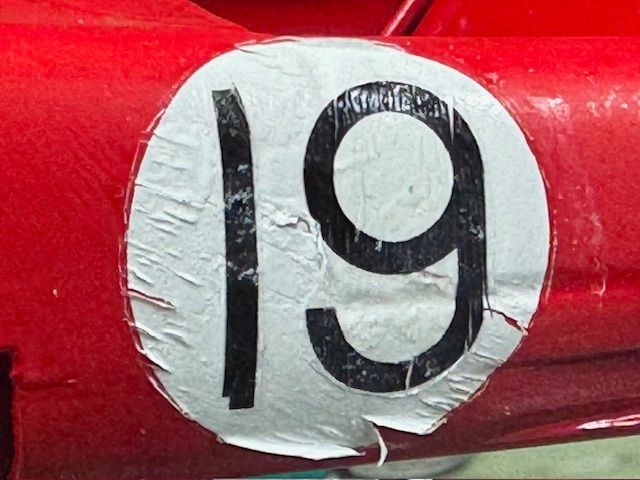
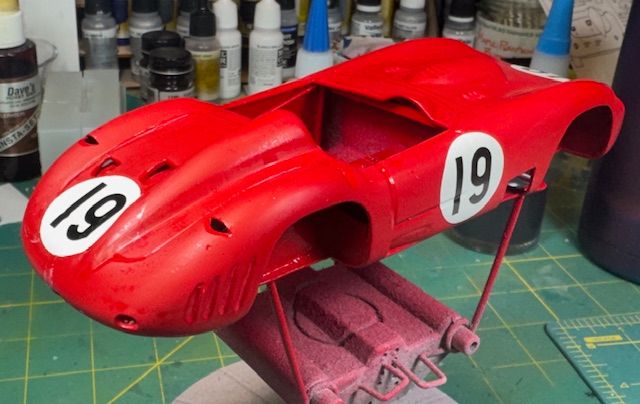
Nothing even close in the stash so the markings and the headrest fairing are now making me give up making a Sebring replica and we will just have a nice 450S as Johnson designed it.
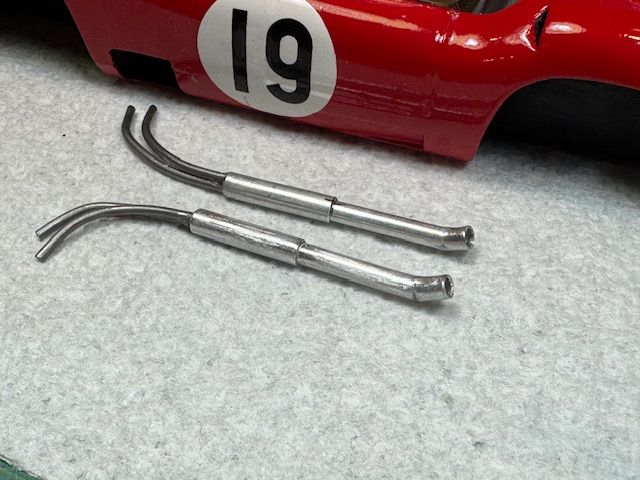
Assembled the wheels, instrument panel and exhaust pipes from aluminum tubes and solder wire. Since MV Products are no longer, I made my own headlights.
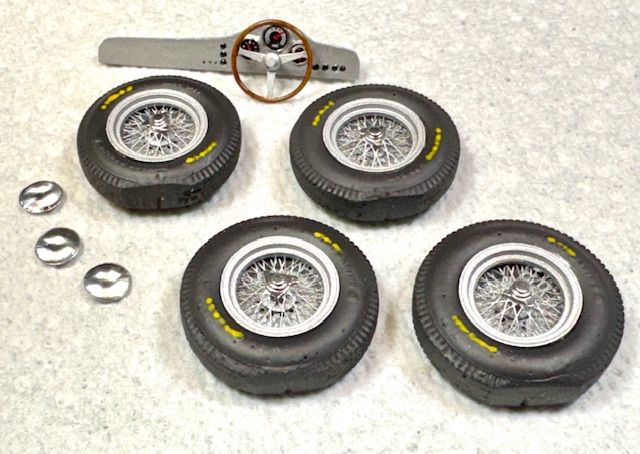
I added the kits windshield and headlight covers and attached the wheels.
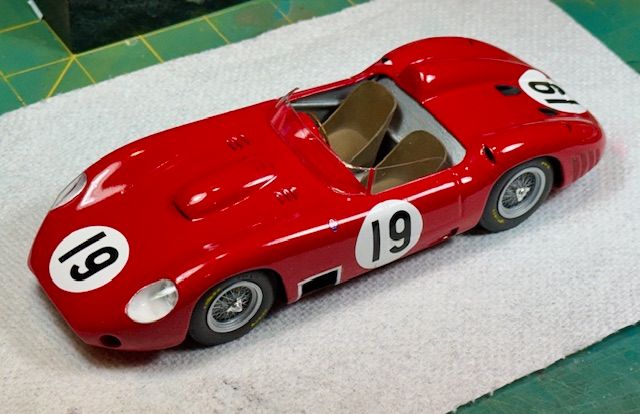
Now days and days of all the little bits....
I'm not a "shake and bake" kinda builder. I like to hack and cut and fill and scratch build stuff. Had I known there was this much fun for me sitting in a sandwich bag on the shelf I would have built this kit along time ago. Maybe I was waiting for my adult model building skills to get caught up.
On John Johnson's kit, there is a copyright of 1989. This is one of about six vac-formed kits he did. I don't know about anybody else that did vac-formed race car kits for us in 1/24 scale. It may have some subtle shape issues, it may not be as accurate as some of todays kits issued, (note the headrest and don't start counting louvers) but ya know, for him to be making the masters, vac-forming the kits in his garage by himself with no real internet for reference, this kit was super fun for me to build. I have five other vac-formed kits of his and I intend to build all of them.
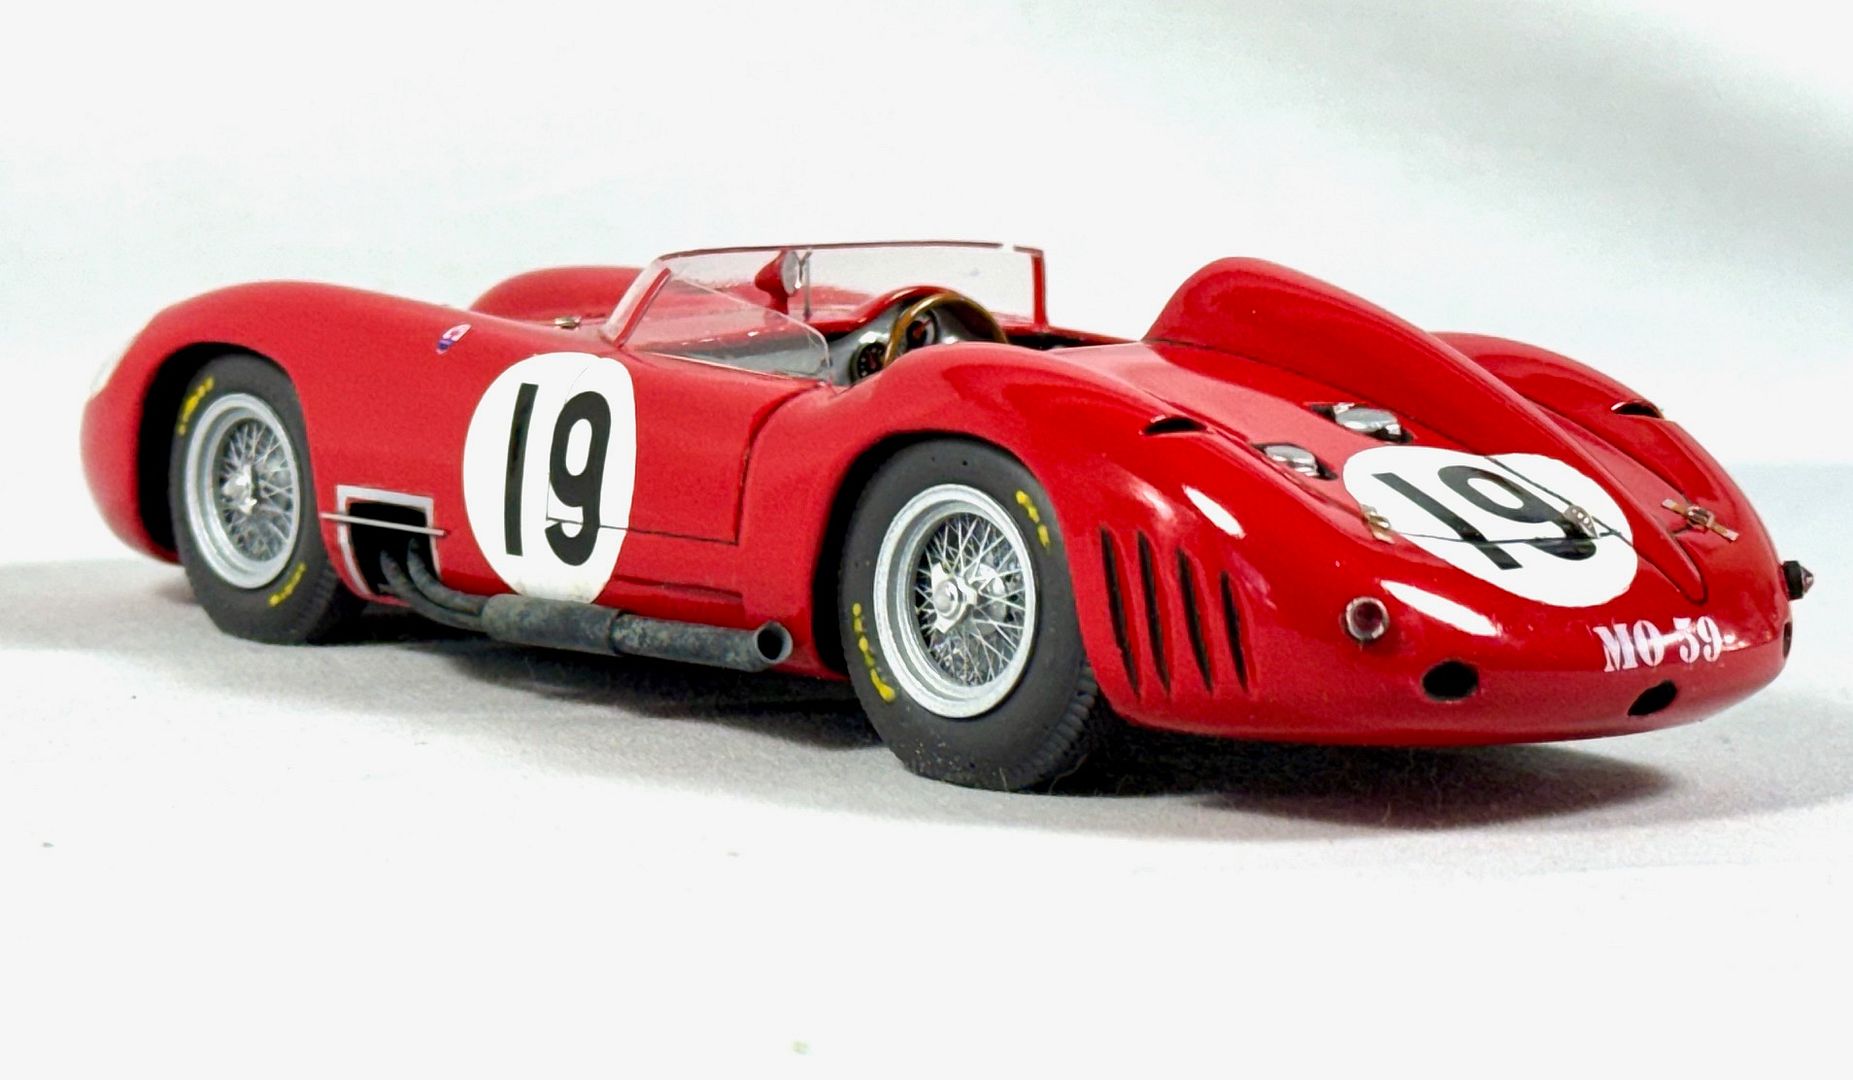
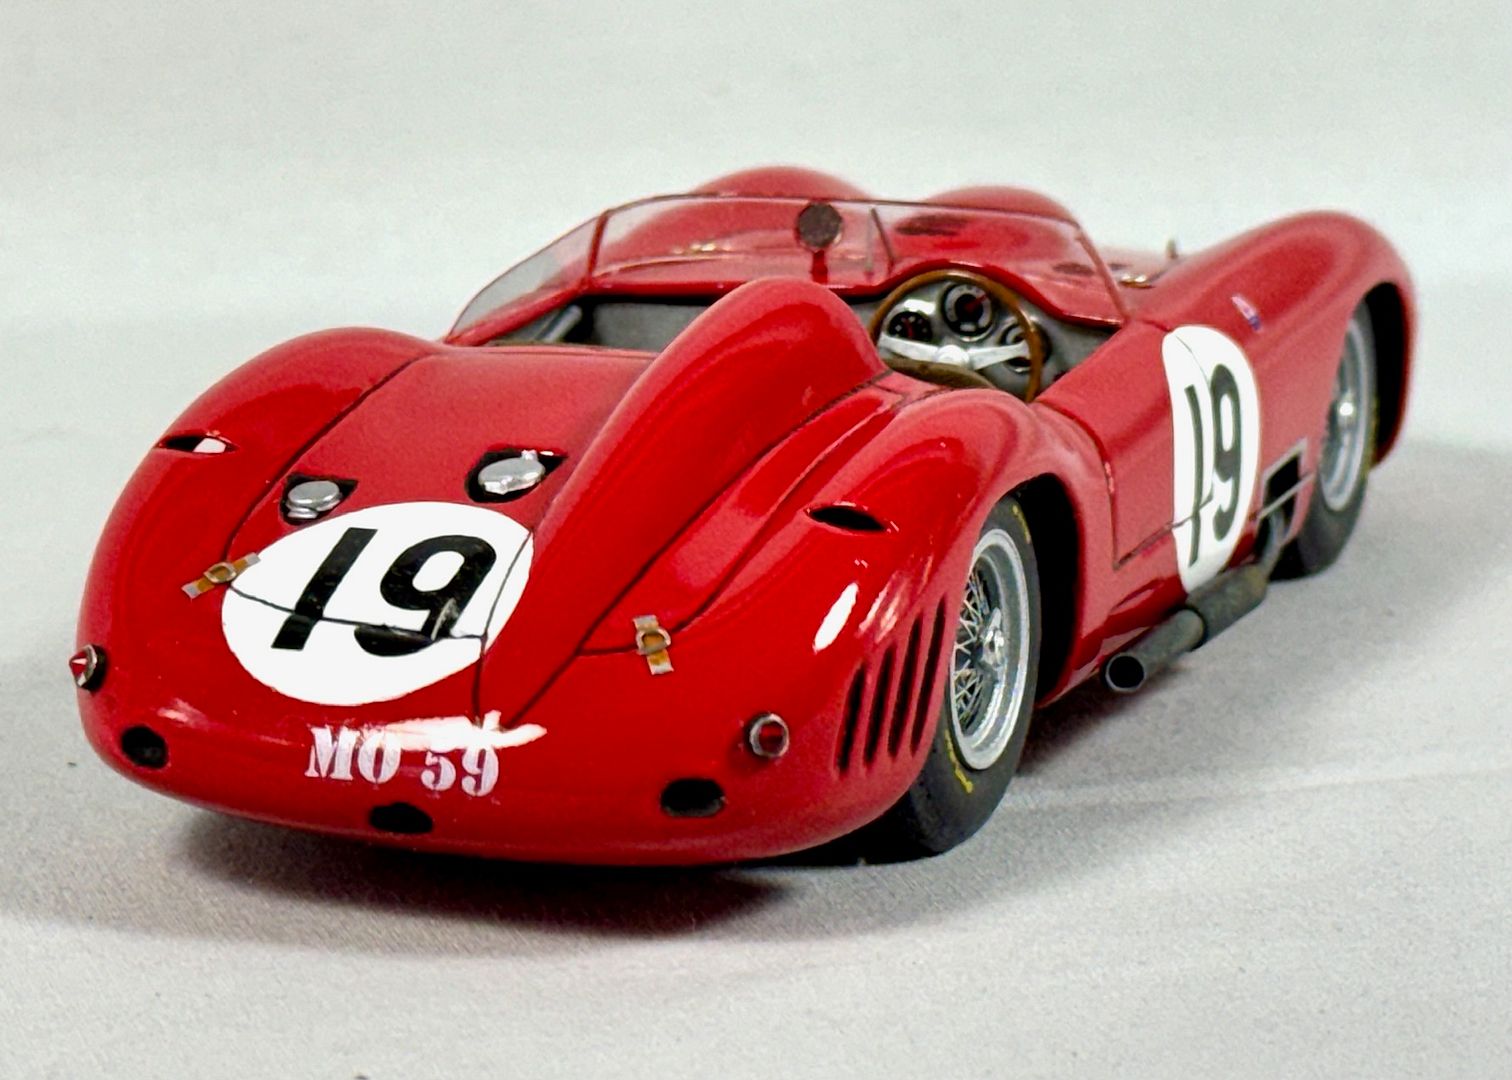
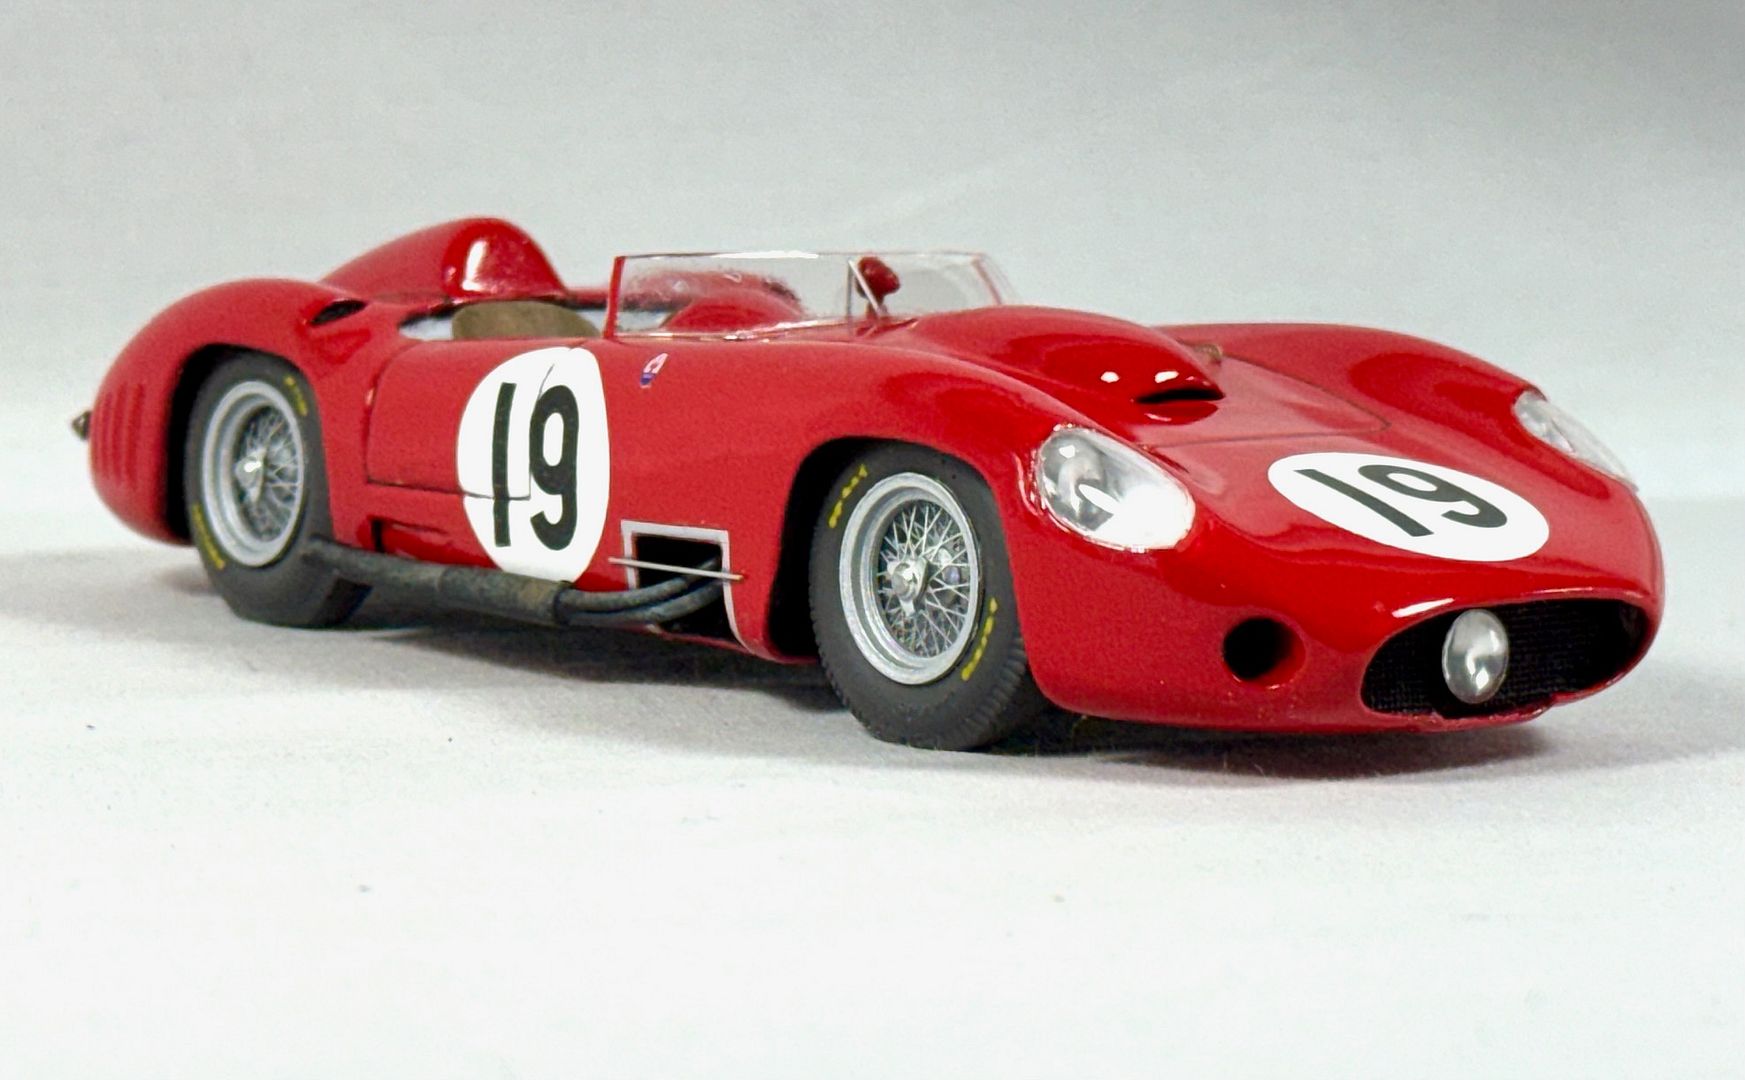
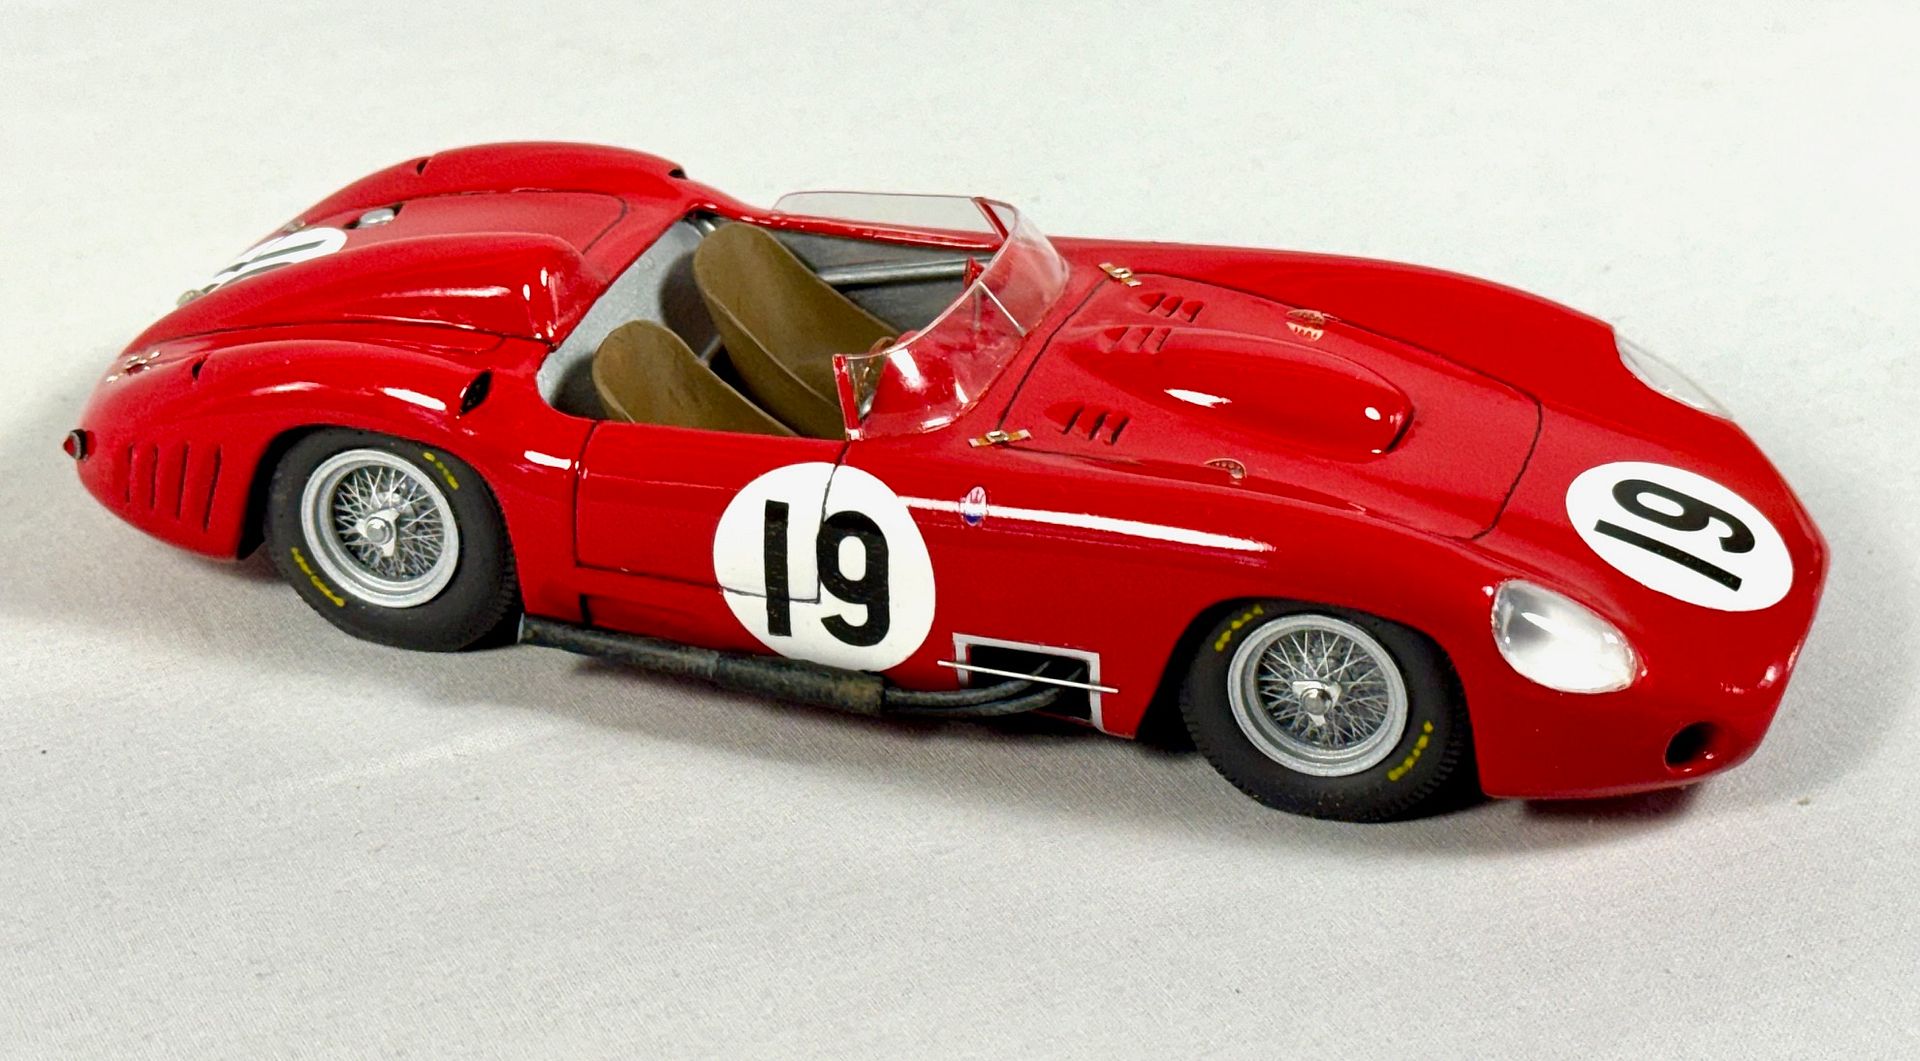
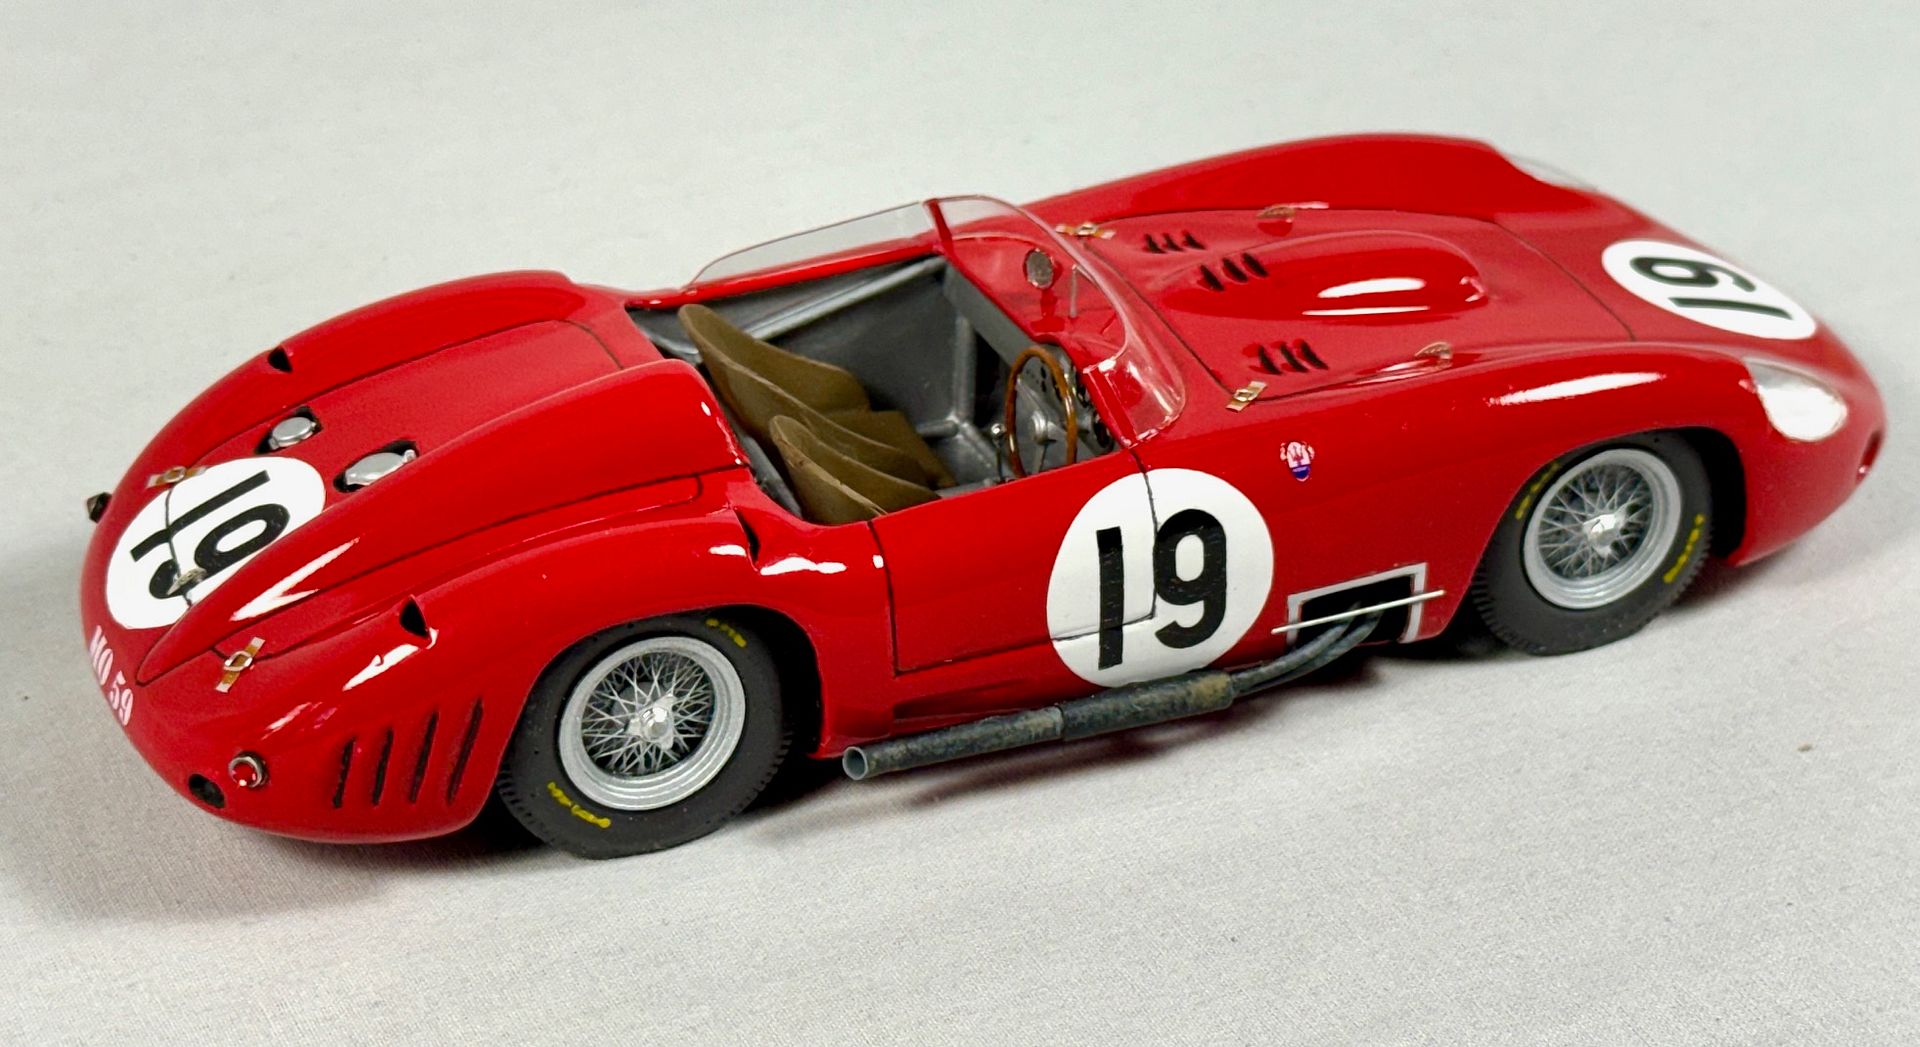
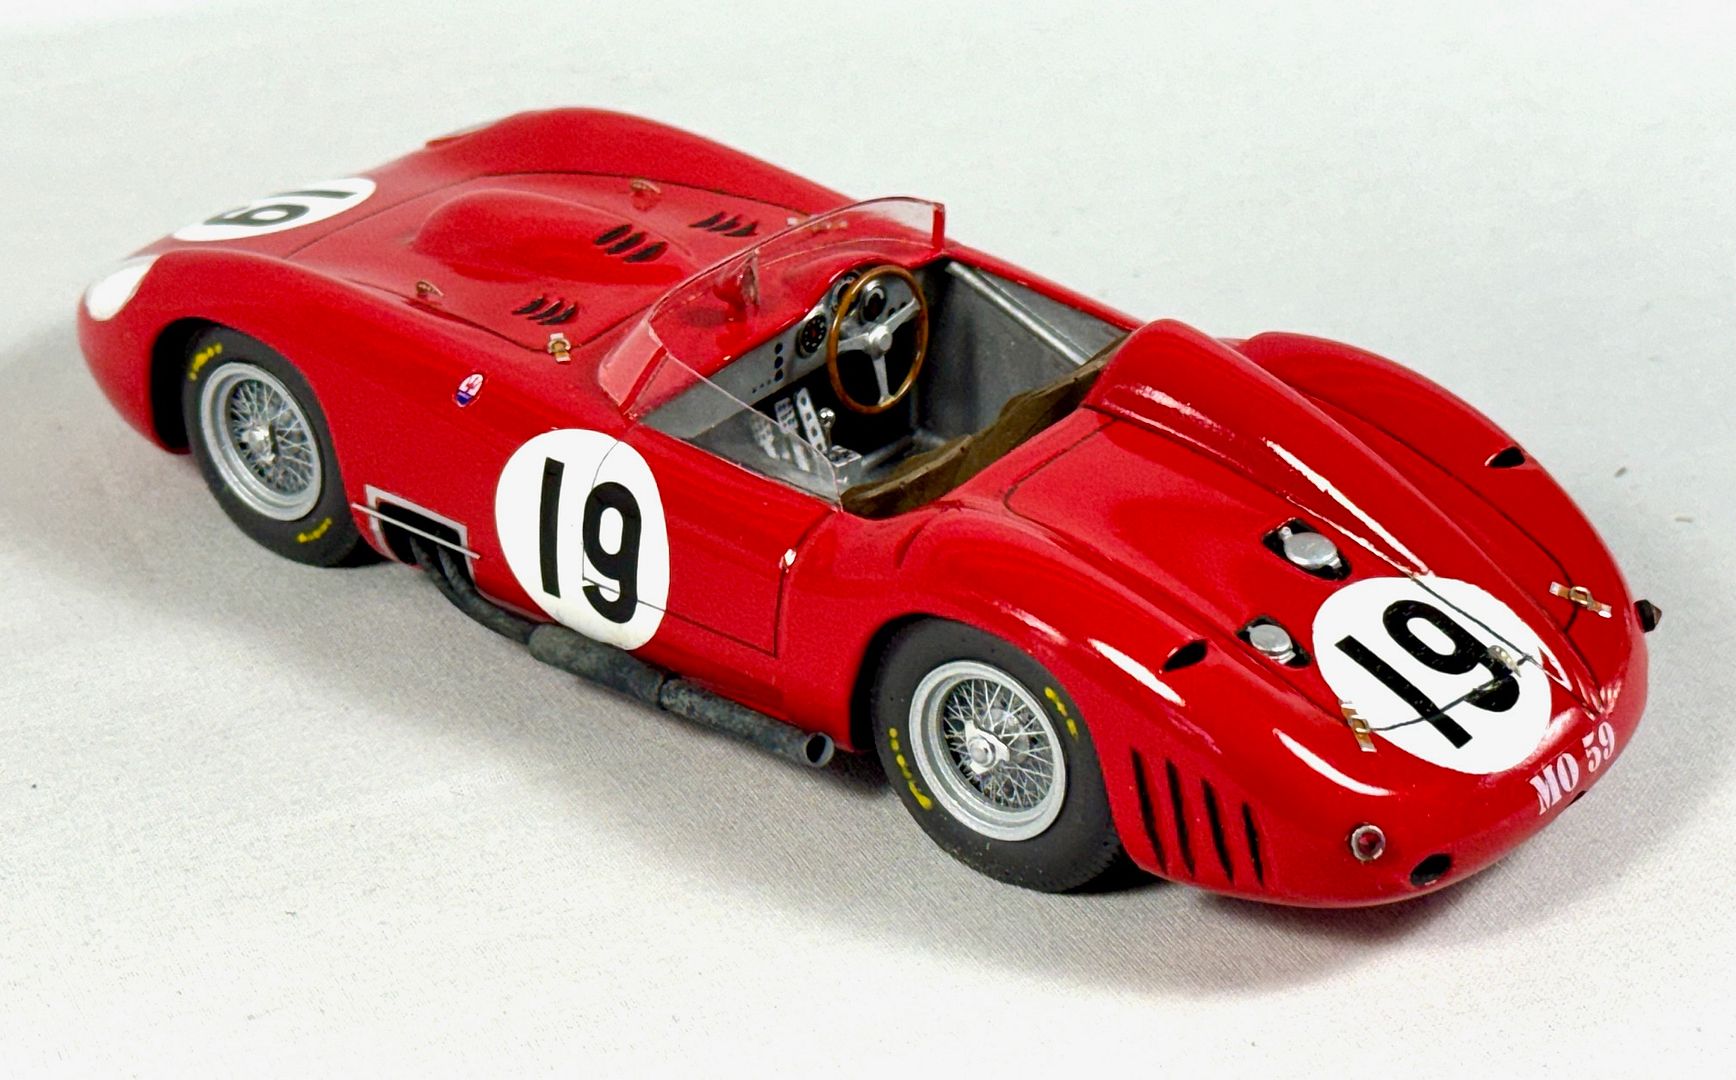
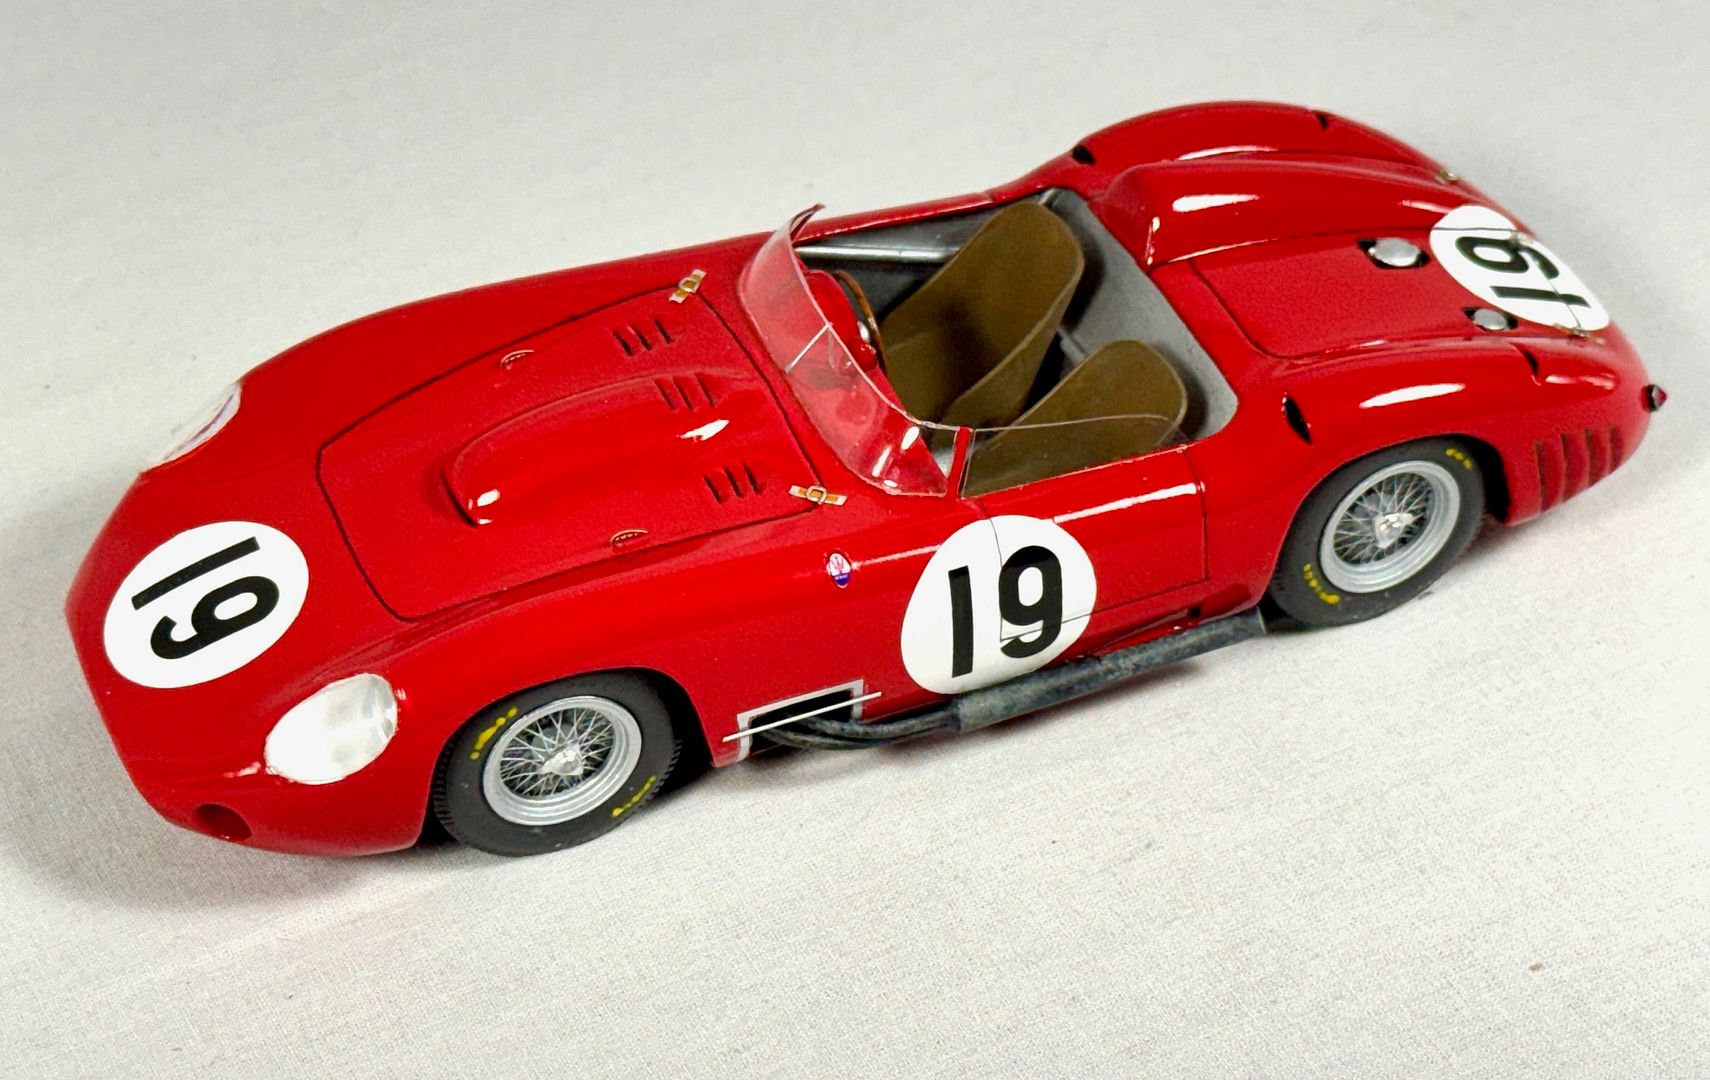
The leather bonnet straps are made from furnace tape with bent wire buckles. Why can't we buy colored PE of these?
I wish it was a more accurate build, the correct font numbers, correct number and location of louvers, head rest, etc.. But in the end I have a rare kit of a 450S that I would otherwise have to spend large cubic dollars to have.
Since this build is really to teach myself how to build vac kits, I'm not losing any sleep over the accuracy as I normally would , It looks fine. I do wish however, I could come up with some clever way to replicate the metal strip that connects the windscreen to the body. I tried plastic stip, decal, "L" shaped plastic strip, nothing looked right. Maybe something with the aluminum furnace tape.
Thanks for looking in....

