Evening All,
Many thanks to all of you for your very kind comments and encouragement which are much appreciated.
Recent progress has been more glacial than normal on account of some important family events and a combination of stupidity and experiment on behalf of yours truly! I assembled the fuselage parts illustrated in the last post in the usual way: glue one side to the bottom, insert internal bracing, and allow to dry out:

Then I added the second side and upper fuselage rear, and moulded the front part using an old set of moulds from a Bleriot XI scratch build of a decade ago, only to discover that I had made two errors: first the fuselage was too narrow by approximately 1.5mm which matters because the engine has to fit in the front. Secondly, after much scrutiny of photographs, particularly one of le Blanc taking off at Eastchurch, I decided that the rear end of the fuselage was not blunt as I had modelled it, but probably tapered towards the elevator. I am not certain of the detailed shape of the rear of the fuselage, so I am using modeller's license to interpret a rather poor quality photo.
I decided to start again and make up new fuselage parts, including a new mouding for the upper fuselage front. However because of my sheer incompetence I managed to mis-measure (twice!) and cut once the width of the fuselage so that the new part was even narrower than the first attempt!! A third attempt succeeded in producing a pair of fuselages which were of the correct width and tapered in the horizontal plane at the rear. In addition the new upper part for the front fuselage fitted properly at last:

The difference between the fuselage shapes of the first and final attempts are shown here:

The engine was mounted at the front on a cross brace which I cut from 20 thou card:
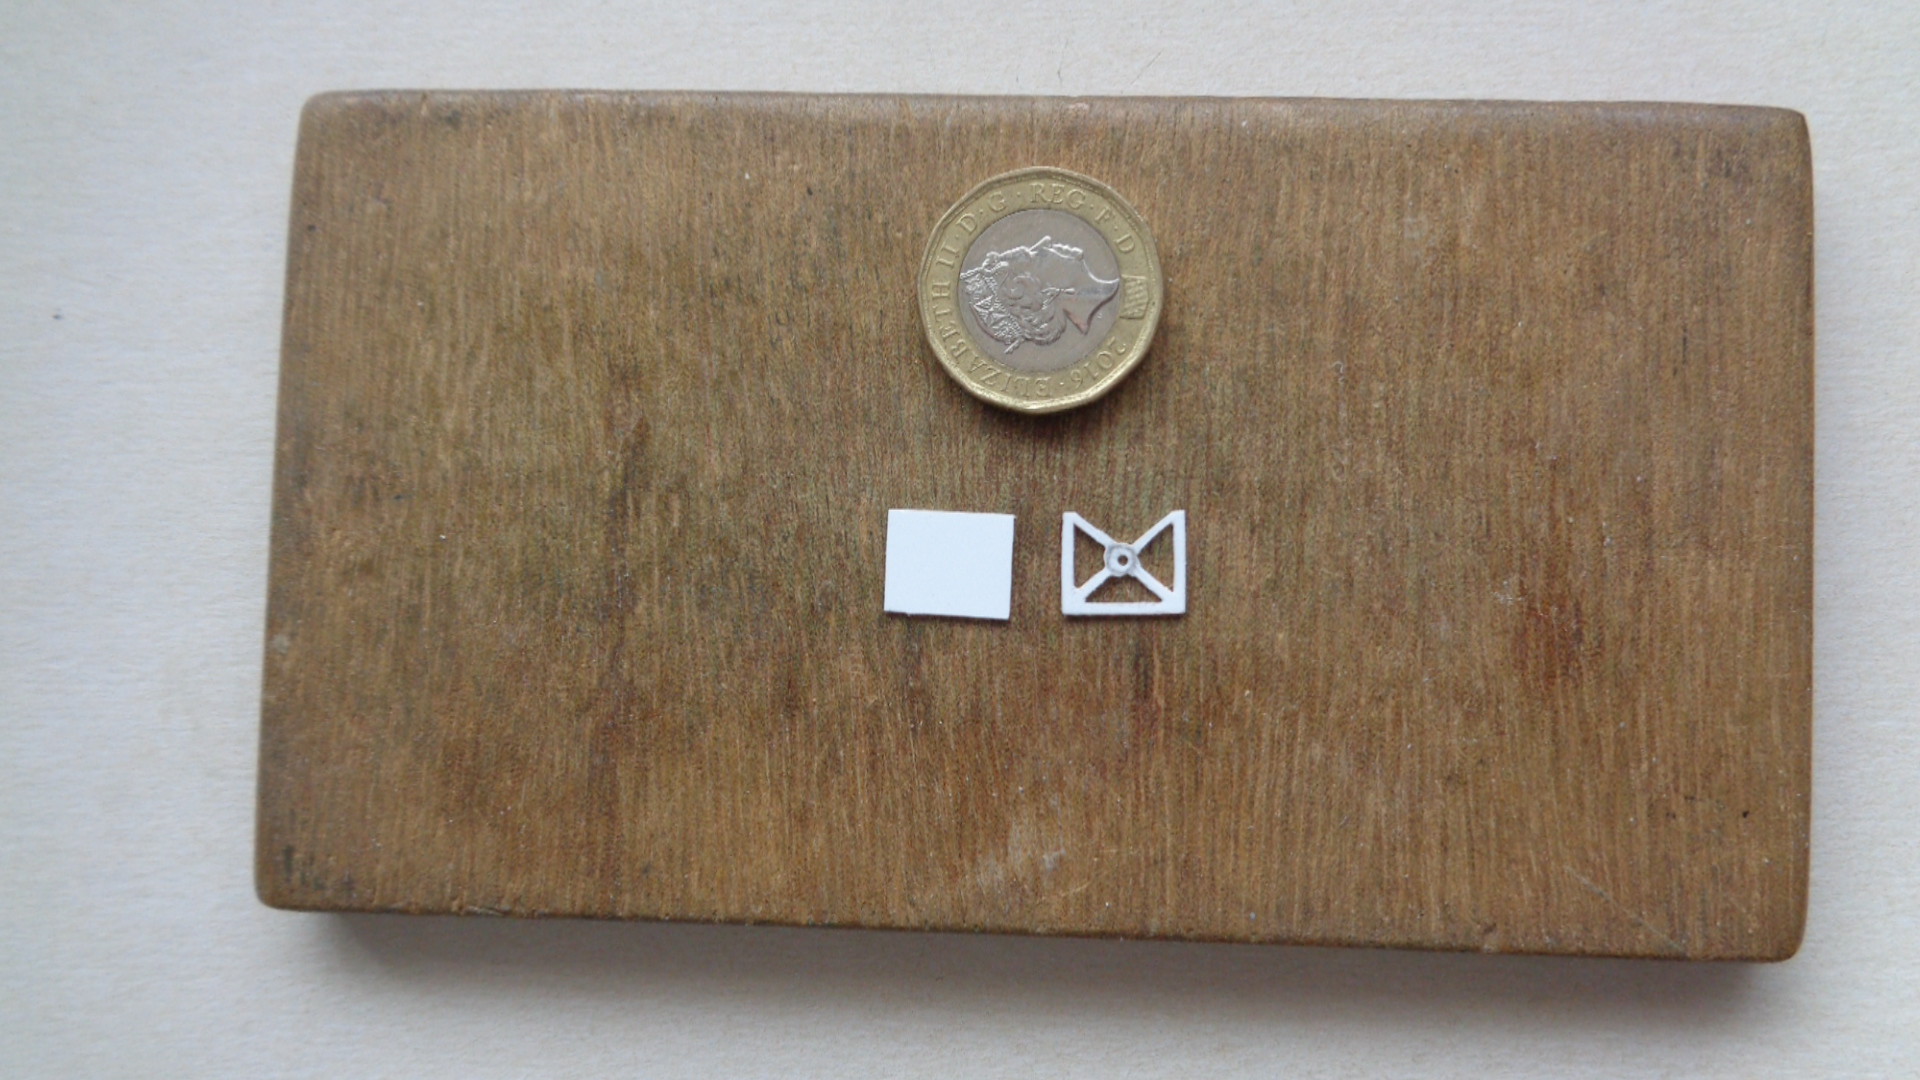
The engine had a piece of plastic rod inserted through the centre with a small length extending to the rear to allow a small piece of plastic card to be attached that could be glued on to the fuselage sides. The front and rear mounts hold the engine in place. I cemented the cockpit floor with the seat and control unit into the fuselage, and the oil and fuel tank in front of the cockpit opening - they were cut from plastic rod:

The upper fuselage moulding was cut and filed to shape and the cross bar which held the undercarriage legs added from strip. I placed the new part of the fuselage structure to allow a photo to be taken: the cross bar will be painted before I cement the parts together:

The grey on the front of the moulding is filler: a small dimple occurred in the moulded part which had to be filled and smoothed with Mr Surfacer.
Thanks for looking.
Stephen.

