I haven't posted a build log here in some time and not sure if this qualifies as a build log but here goes:
I had originally built this model back in 2013 when I lived in Wisconsin and probably posted it here. But here it is below in case I hadn't. In December of 2013 I had (mistakenly) allowed UPS to box it up and send it to my father in Pleasanton CA. It arrived trashed: Haply I had it insured for $300.00 and after some debate with UPS I was paid the damages, So I bought another one and started in on it; but we decided to move to Arizona in 2016 and I had to pack it for the move.
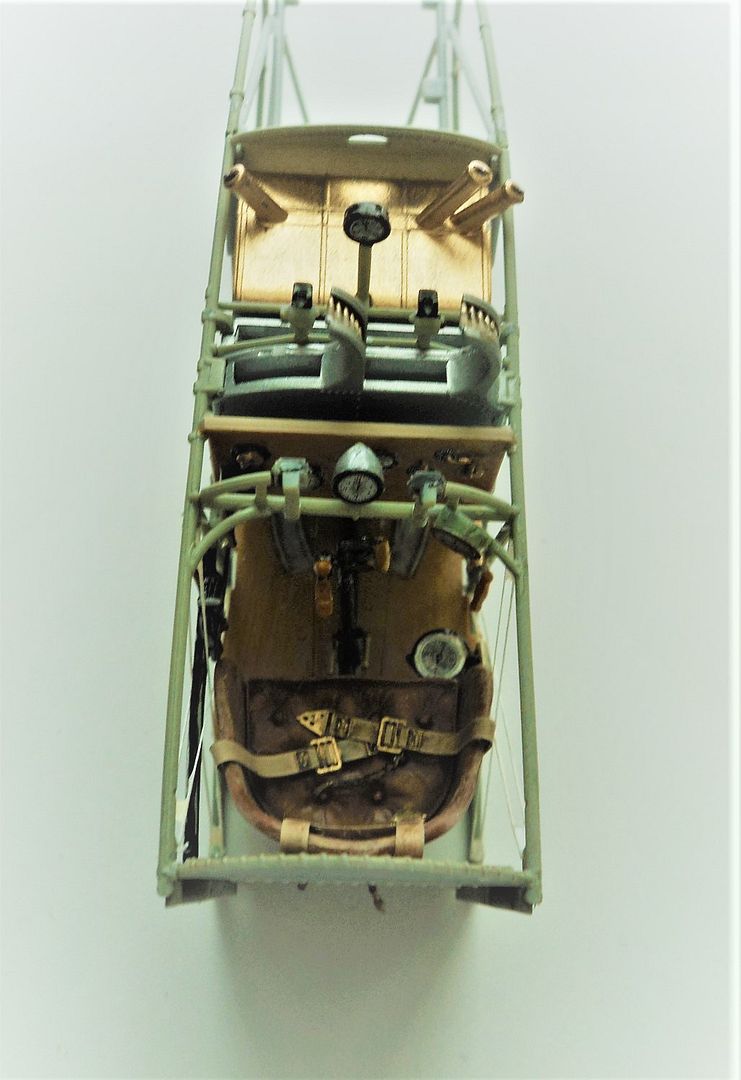
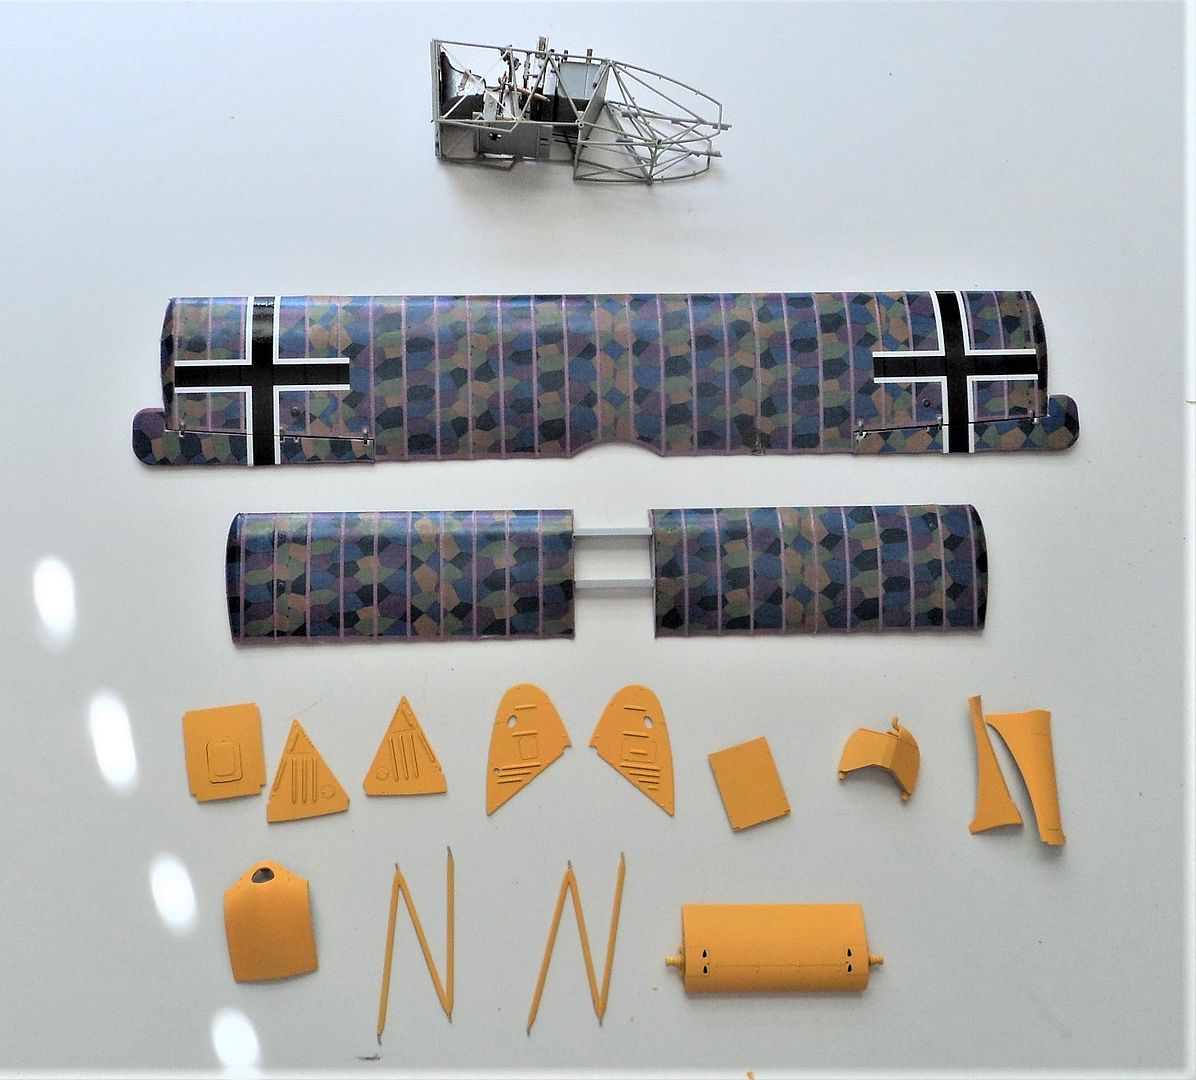
I started on the interior per the WNW Instructions:

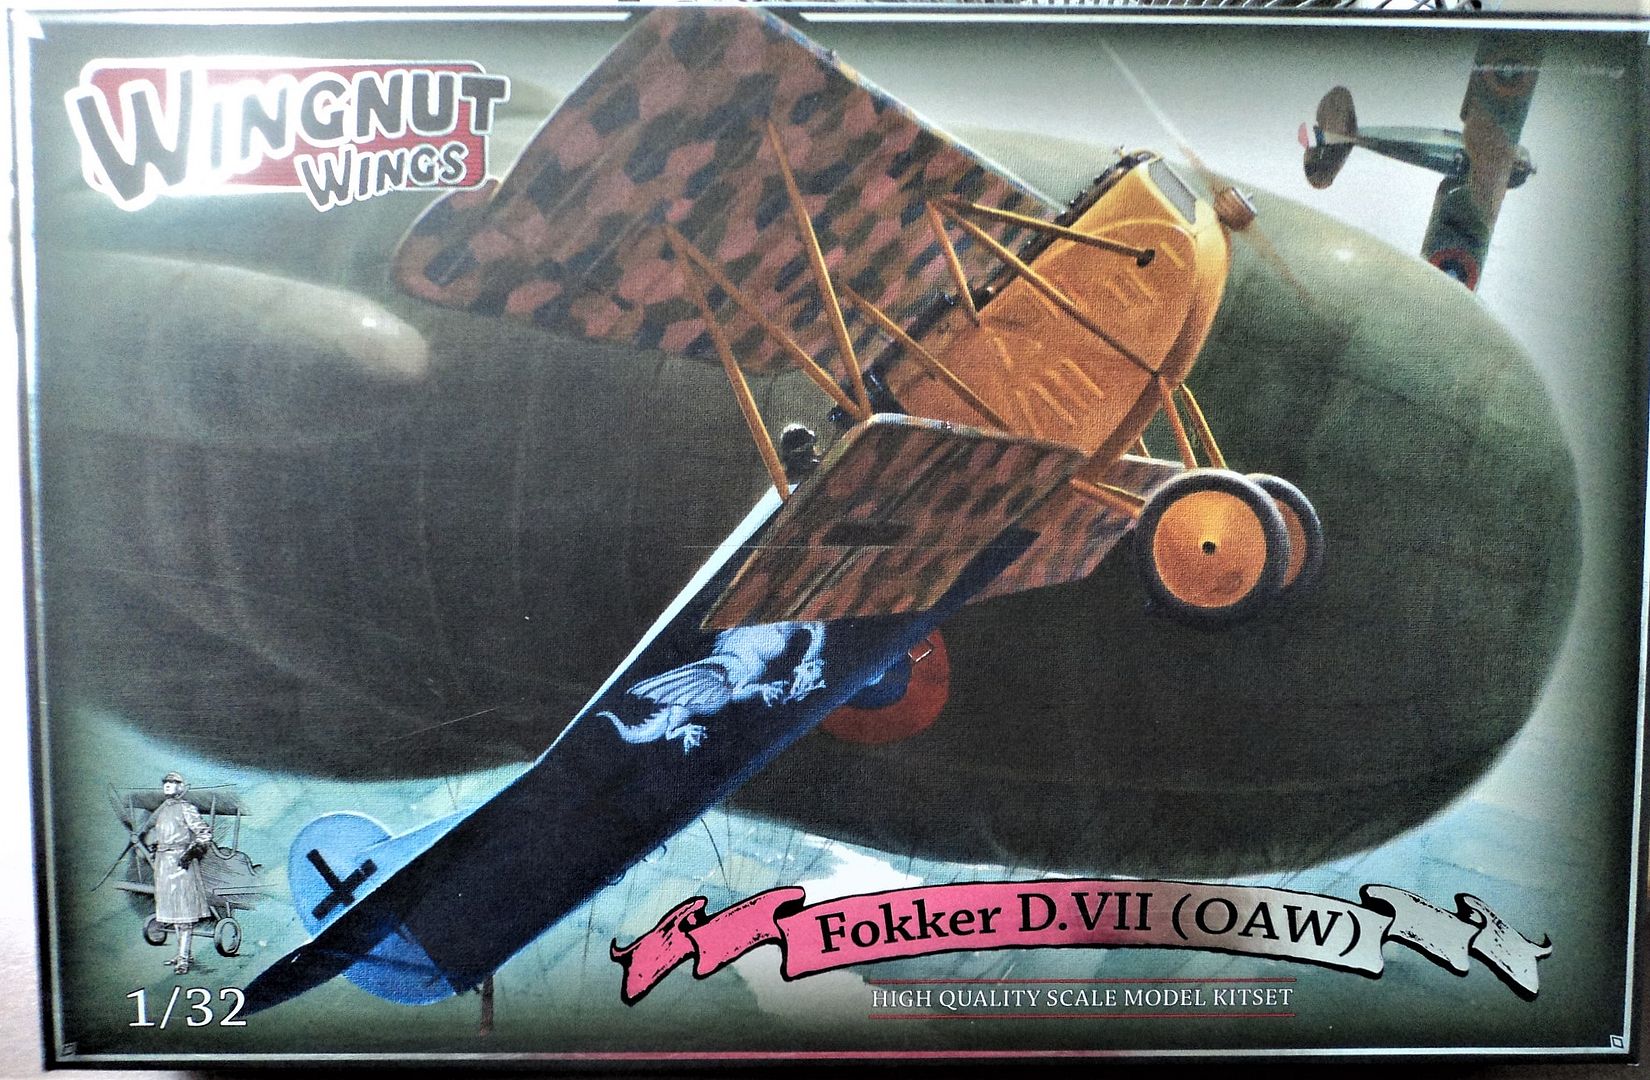
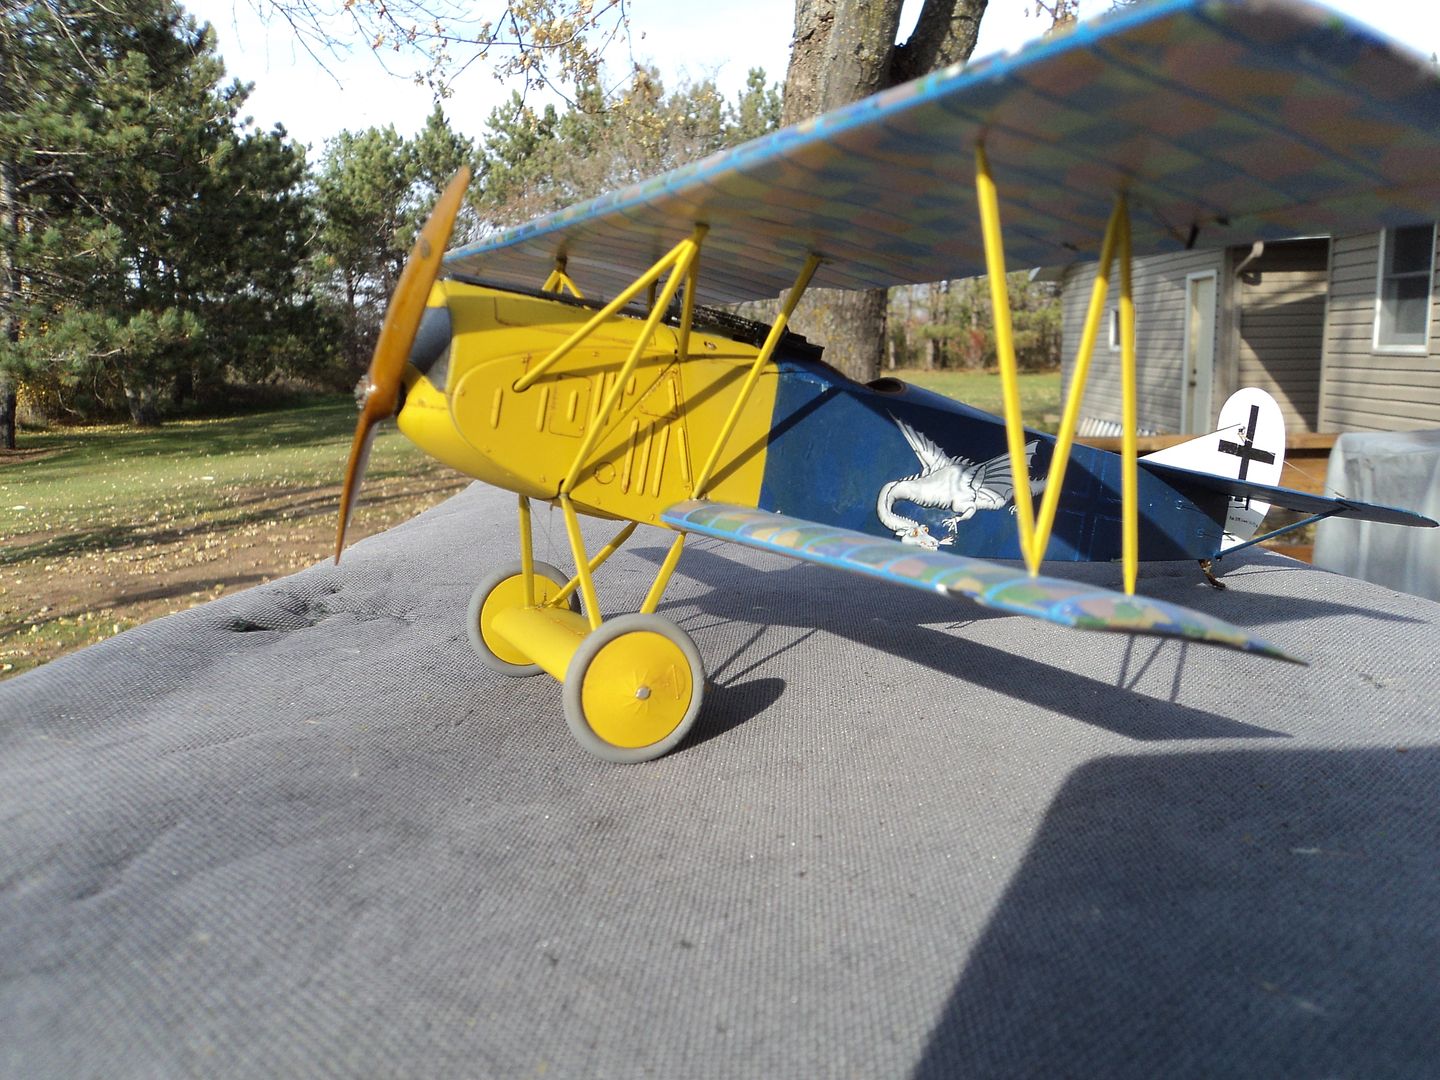
I also had the fuselage halves assembled but not painted. I decided to take it off the shelf and finish it up in Willhelm Leusch's scheme with the Dragon as it appears on the box art. I started by painting the fuselage gloss white and then applying the WNW Four Color Lozenge decals, cut to accommodate the scheme.
Once the decals had set I gave the fuselage a thin coat of Tamiya XF-8 as recommended by the instructions and once dry and given a coat of Future/Pledge, I applied the Balkankreuz decals.
Once those had set I gave it another coat of blue and appiied the dragon motif:
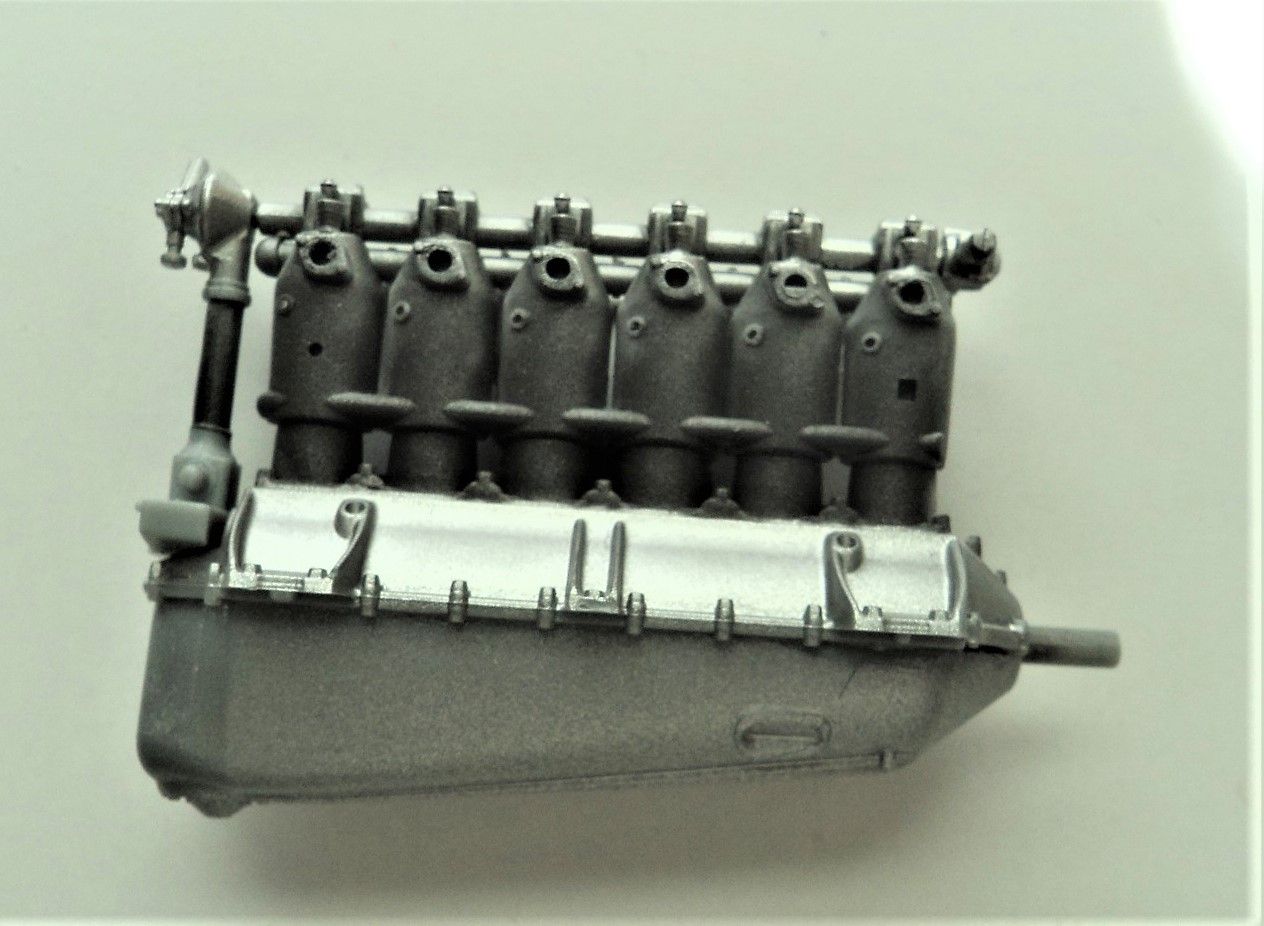
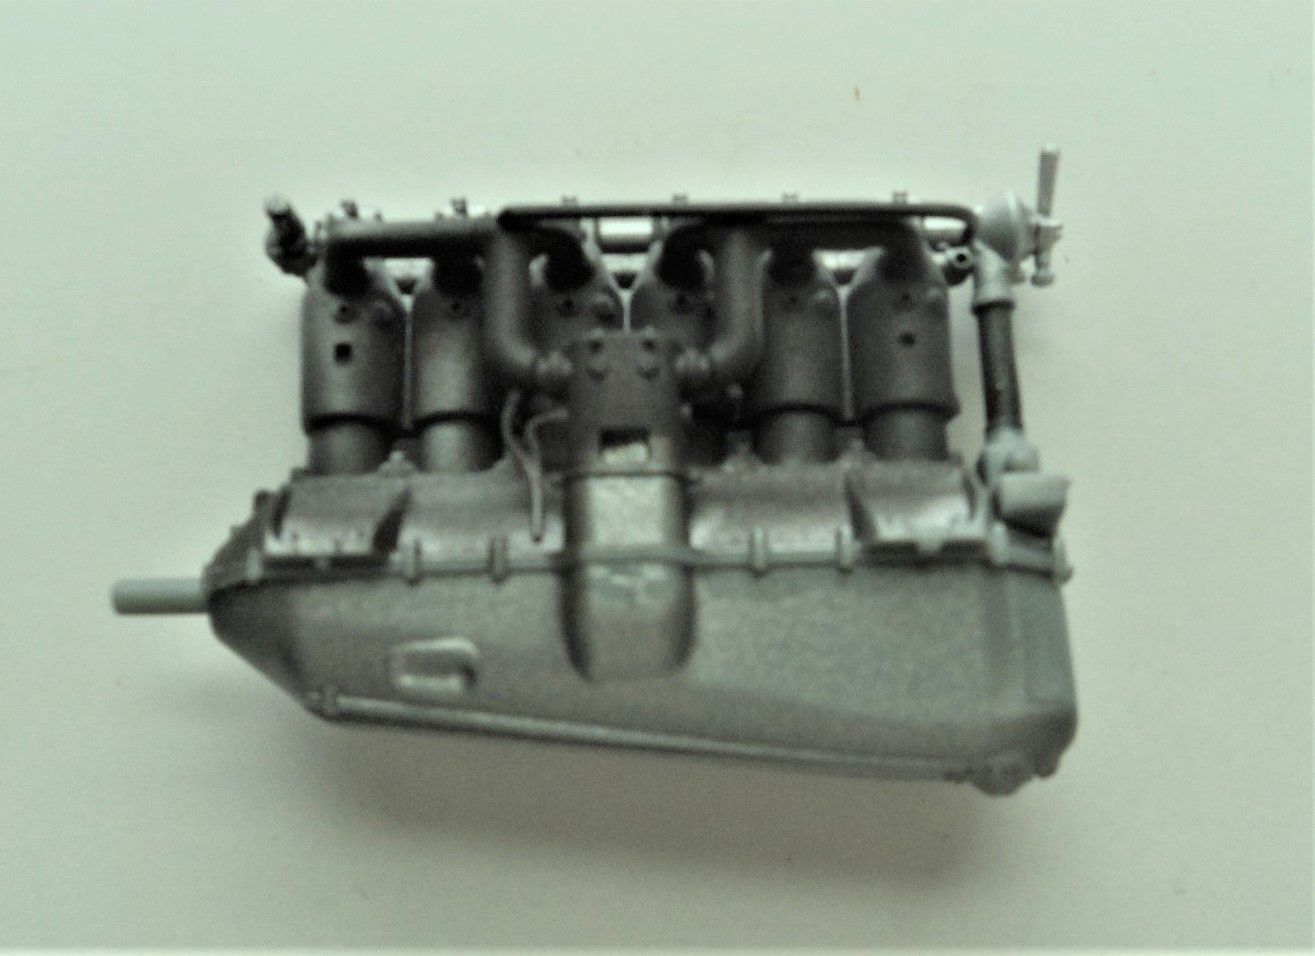
I like my models with the engine compartment buttoned up as it gives the model a complete look, so I wasn't about to spend any time on the engine.
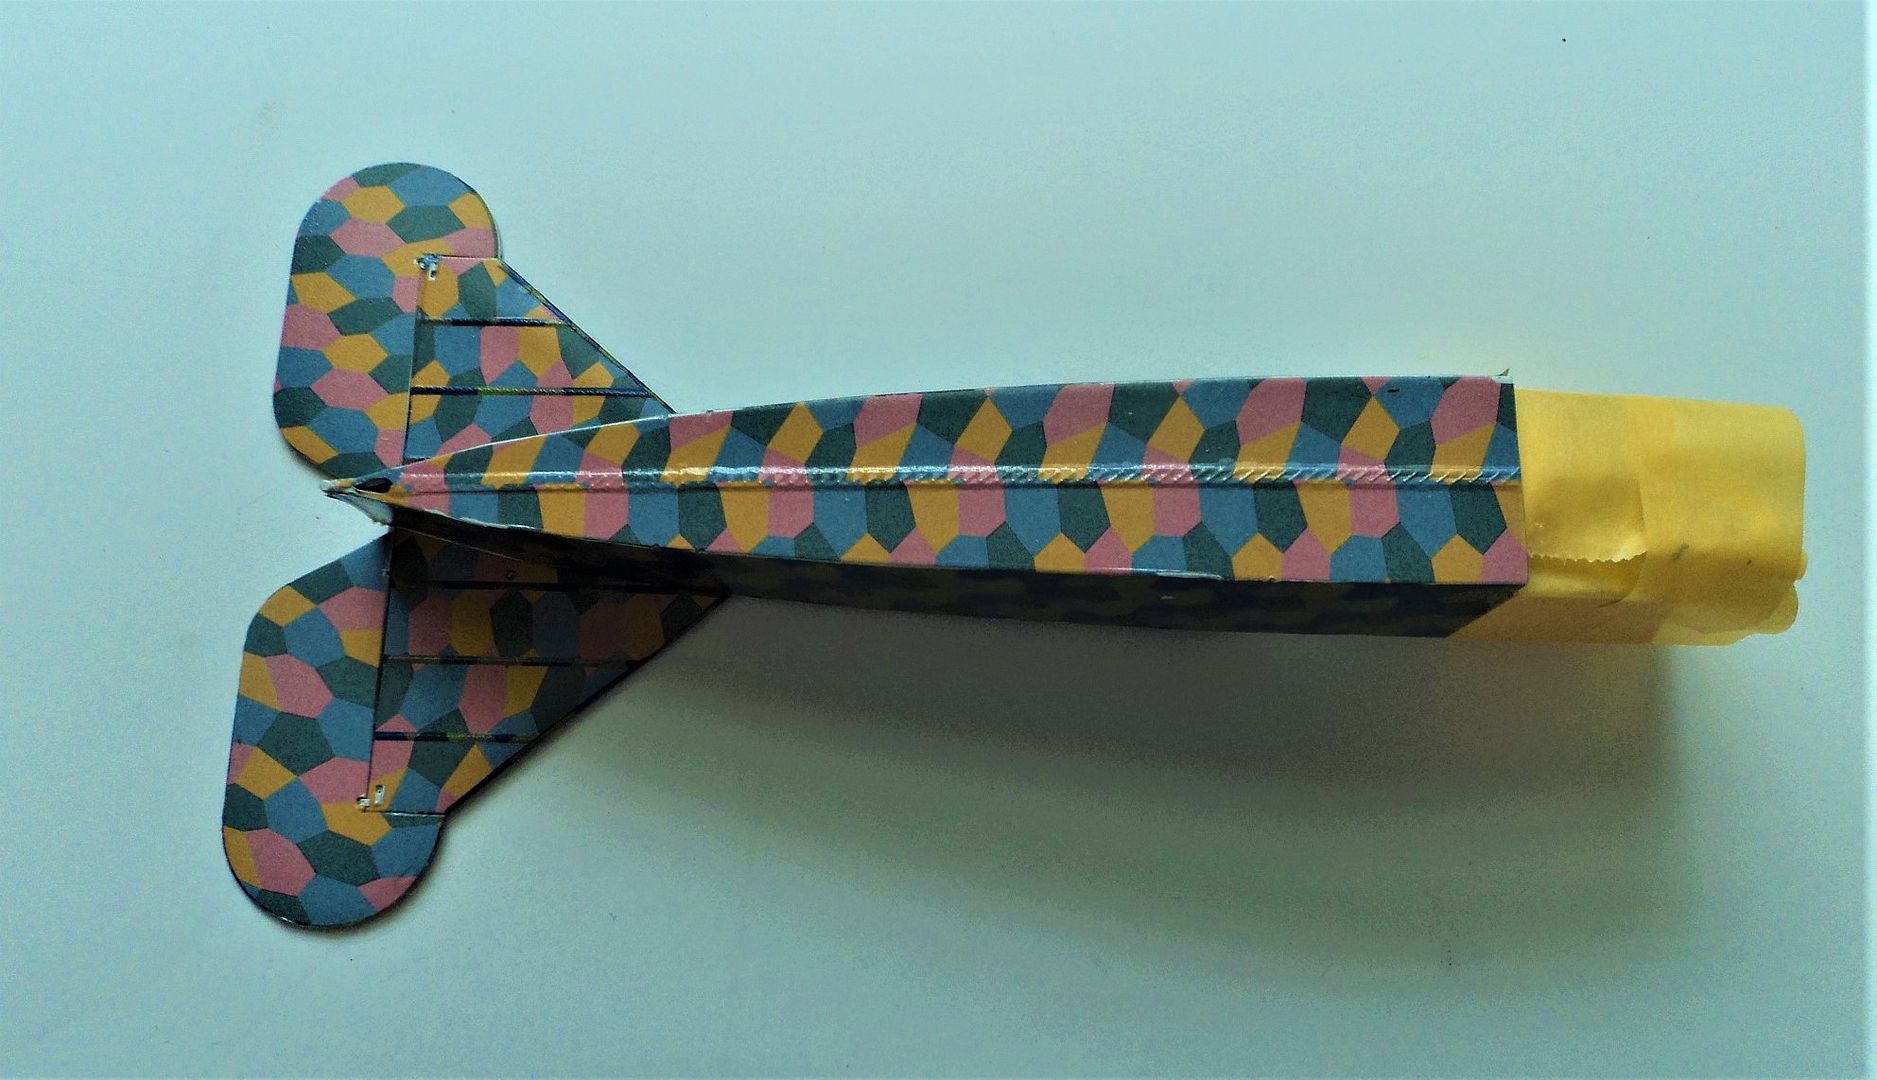
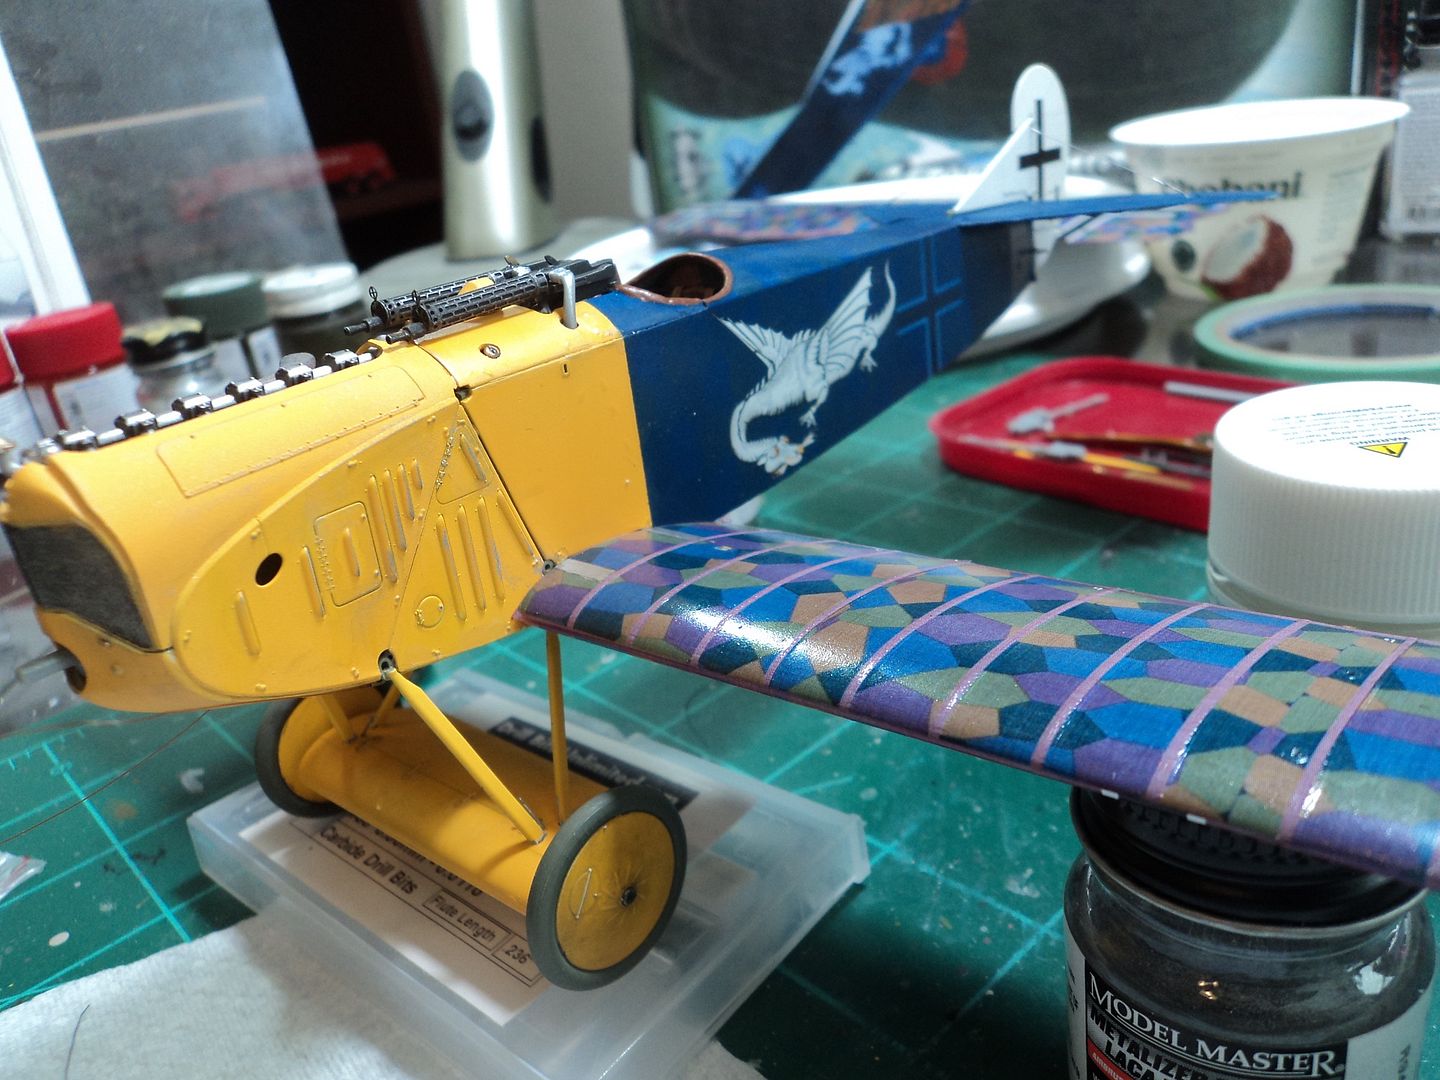
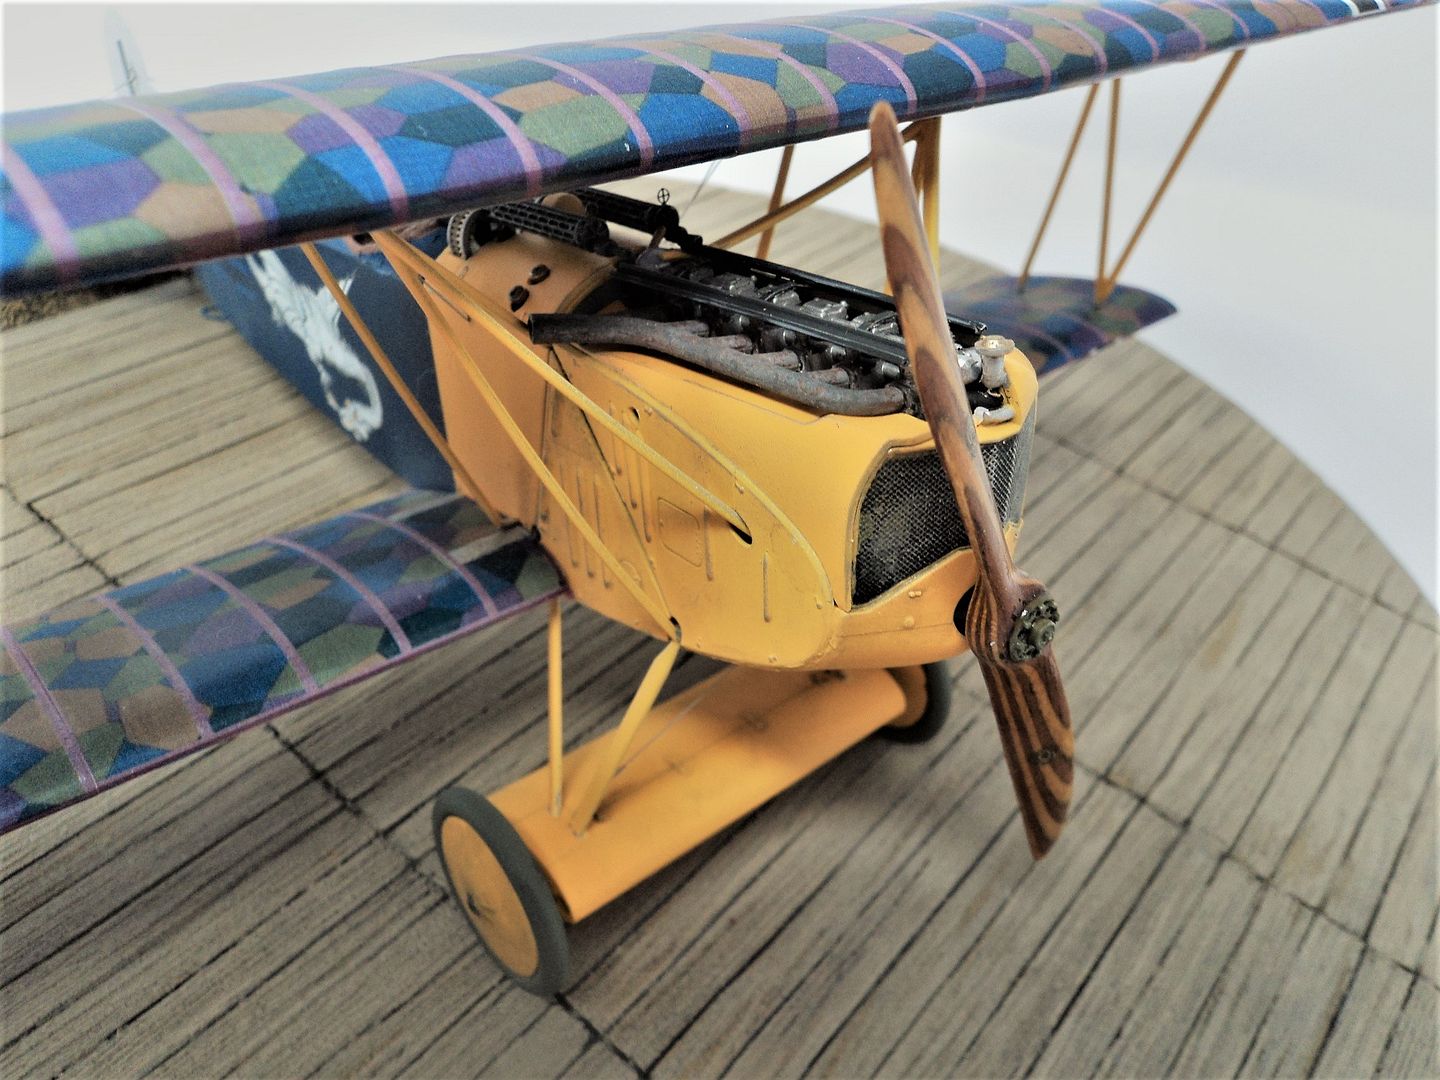
I then spent time on the wings and more painted parts. For the wings I used Aviatic Five Color Lozenge with the Pink Tapes. Apparently OAW built D.VII's used either blue or pink. On the first one I used Blue, so I liked the contrast better between blue and pink and went with Pink. The images of the aircraft provided in the instructions, naturally, don't show the color, but the rib tapes are a light color, so I went with Pink.
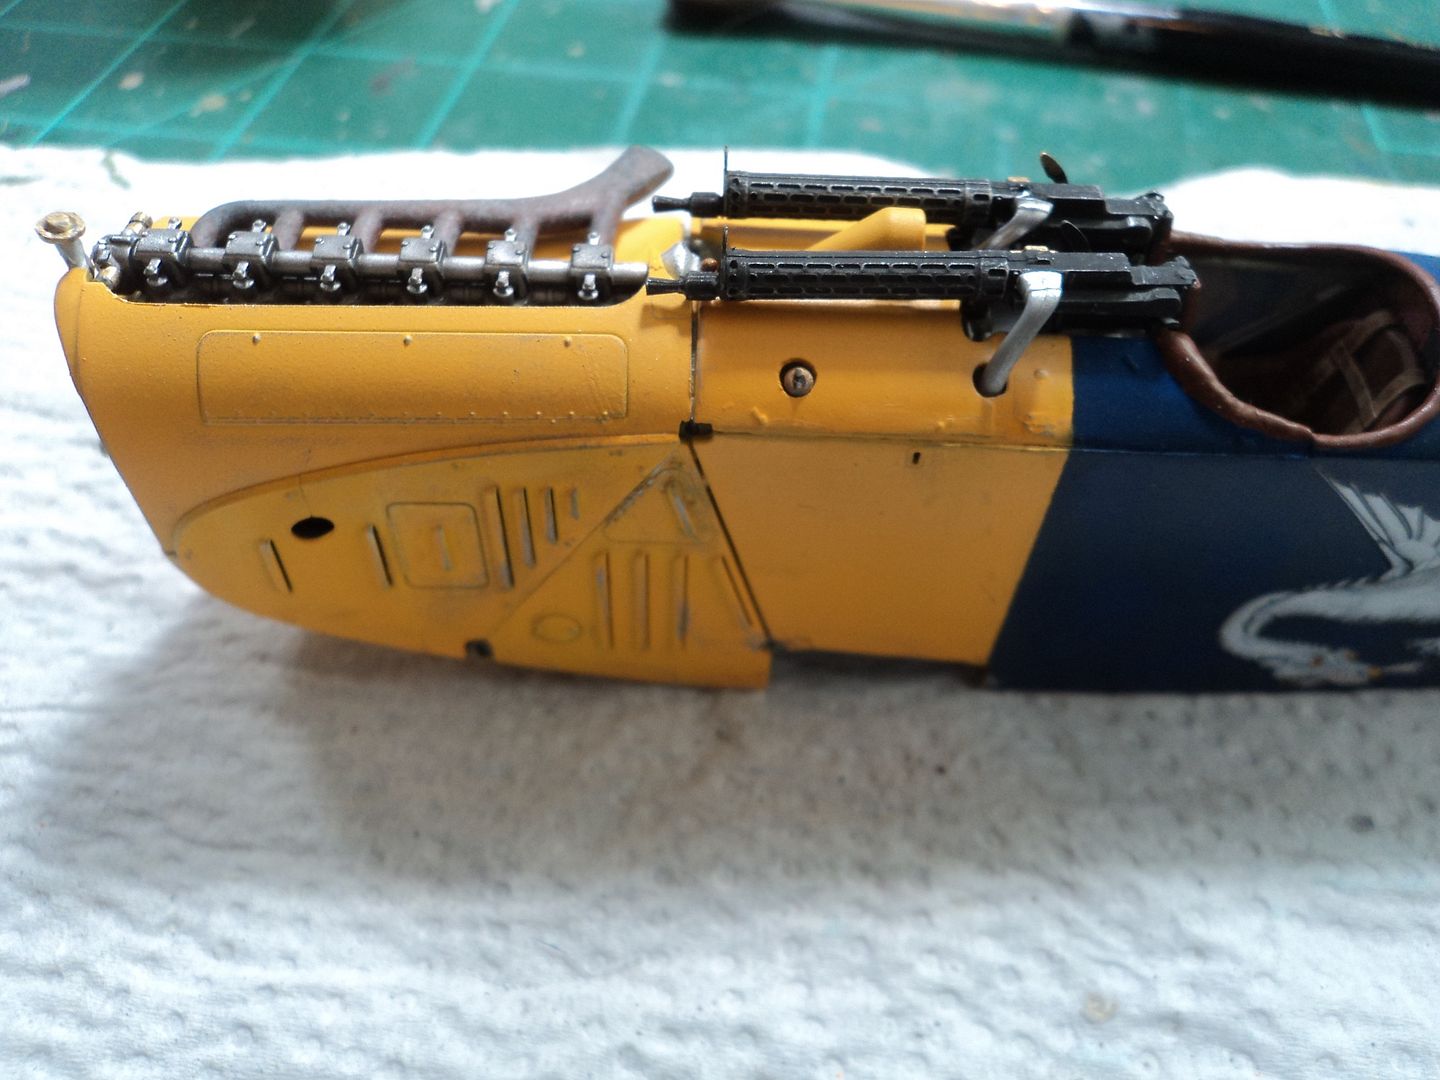
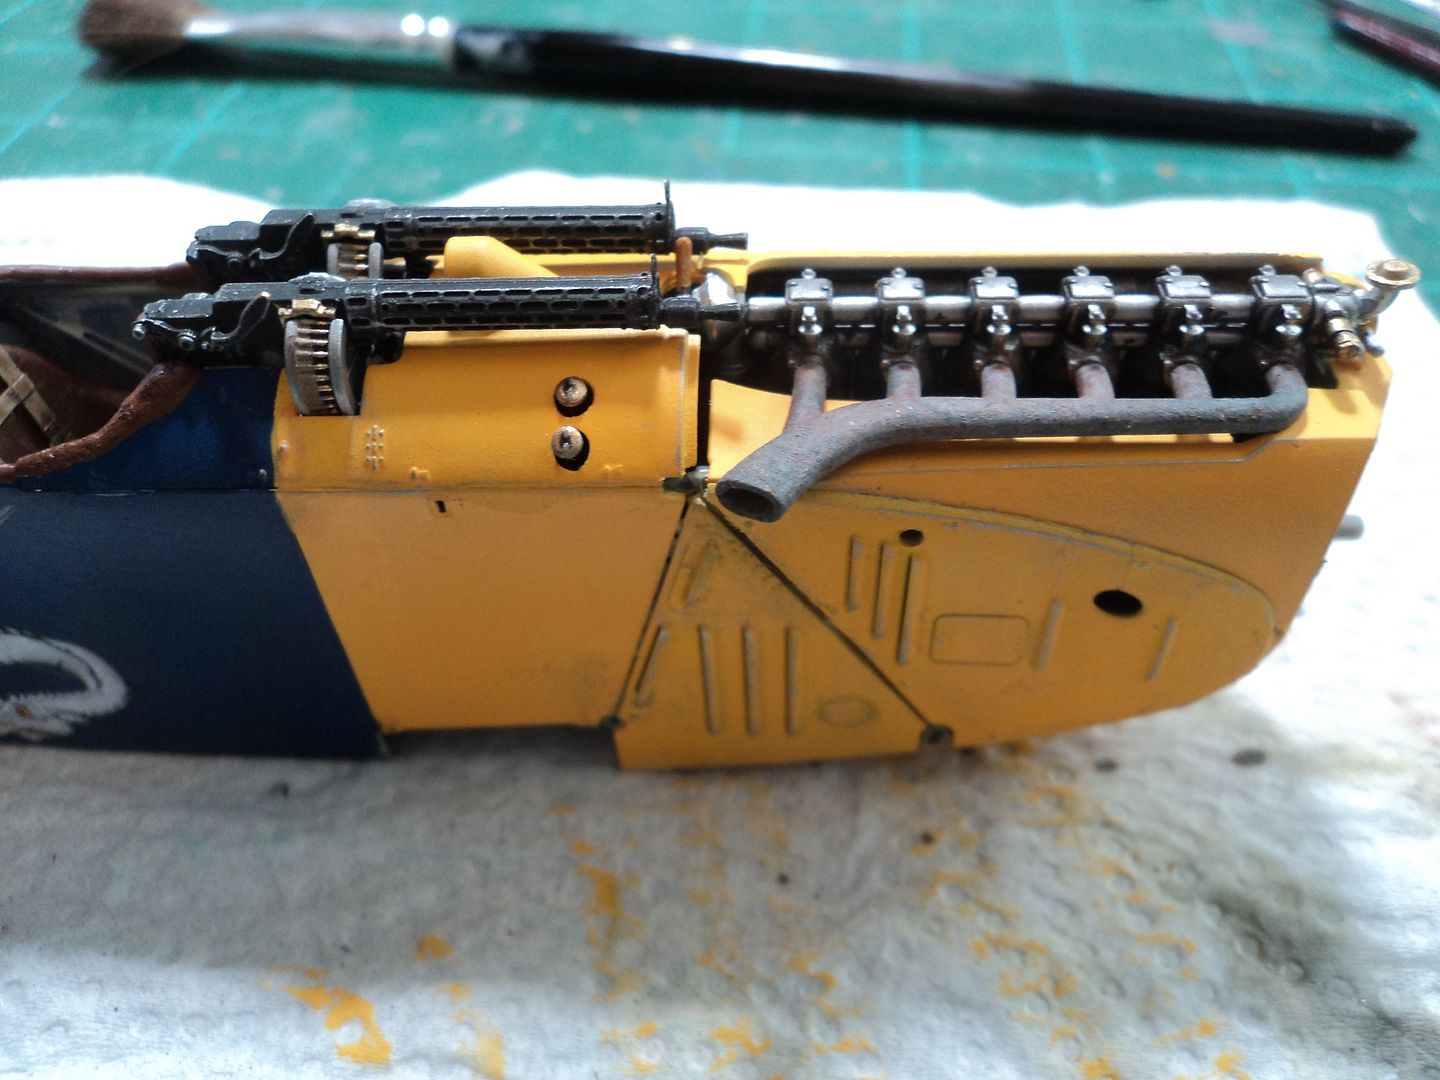
So moving on: I trashed the PE Gun Cooling jackets as I failed to anneal the PE Brass prior to cutting out. So I went with the fully molded guns, painted the forward part of the fuselage Yellow, it's a Testors Model Master Yellow but don't remember the exact color but it matches the box art closely, installed the interior, the turtle deck and the ammo ejection chutes. Now here is where it gets a dicey and anyone who has built one of these knows what I am talking about. I failed to trim the little "tabs" on the framework , which I should have done, as it pushes the fuselage out a bit and fitment of the turtle deck is a bit off. I got it to fit, but not as good and tight had I trimmed the tabs off.
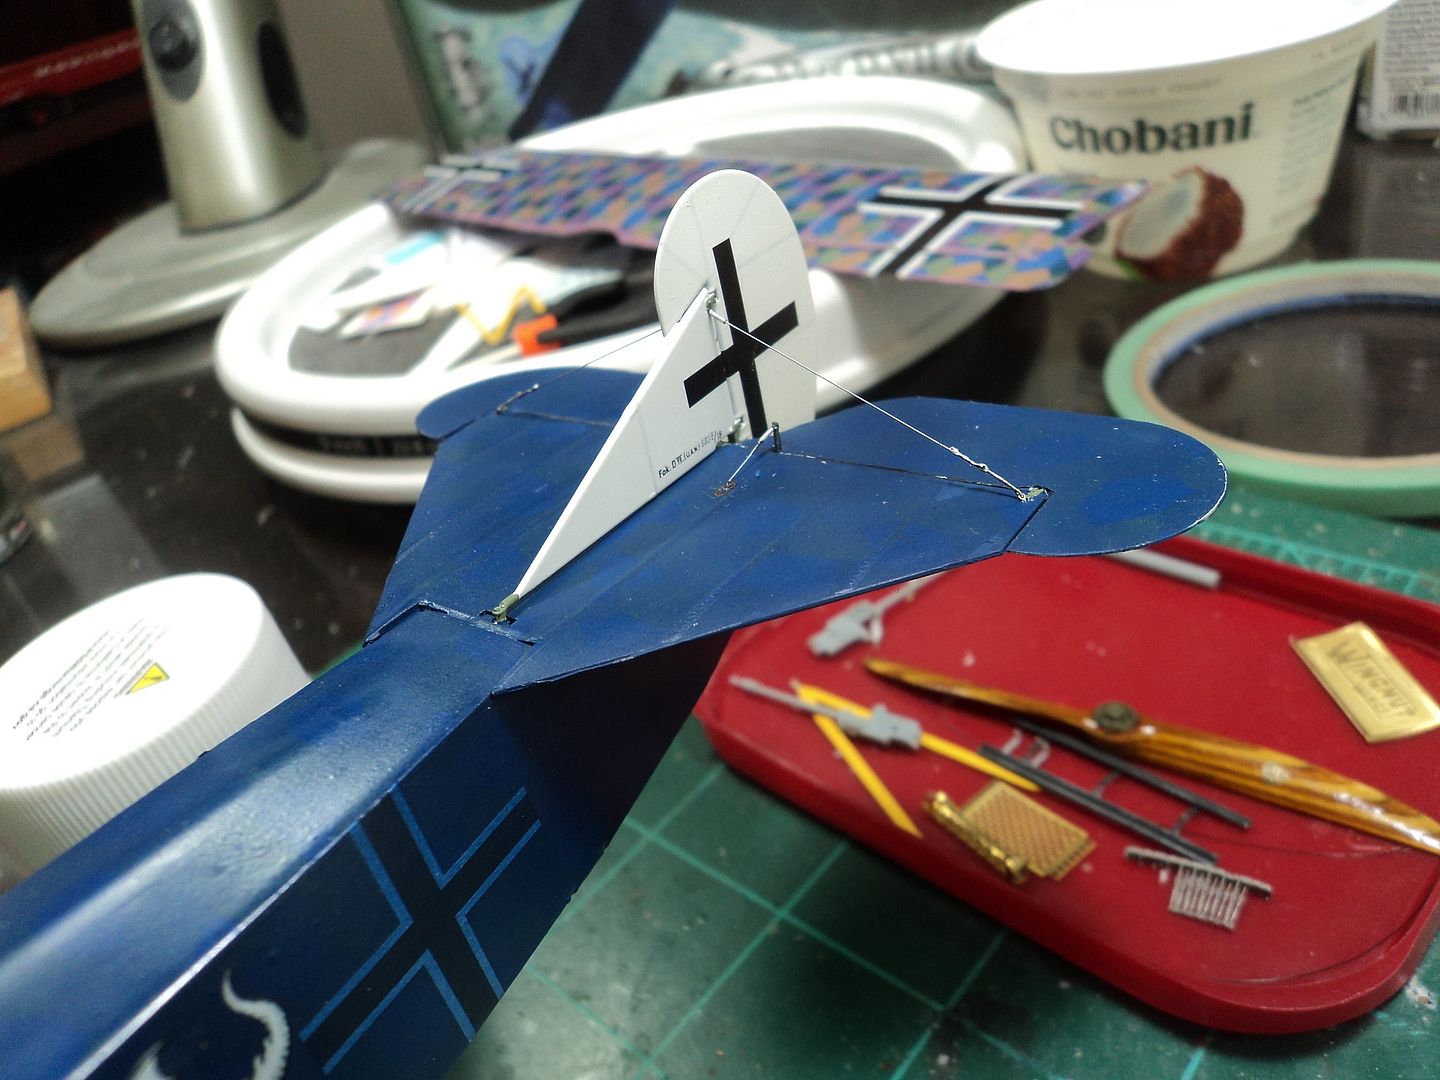
I finally got it up on it's "legs" and rigged, using Bob's Buckles and Gas Patch Turnbuckles I also rigged the tail.
At this point it was time to get the upper wing on and final assembly. I test fitted all the struts for alignment and all looked good, I left the rearmost cabane struts off until the wing was on to slide them in to position once the wing was set; so I took the wing off and using CA Glue applied a dab to each hole. Shouldn't have done that! MODELER BEWARE! The first cabane strut fought a bit to go in, but the rest didn't want to go as the stuff had set up. So, I managed to take the wing off without doing any damage, attempted to dig out the CA glue, trimmed struts as necessary and did it again. After several fittings I finally got the wing on. Won't do that again!
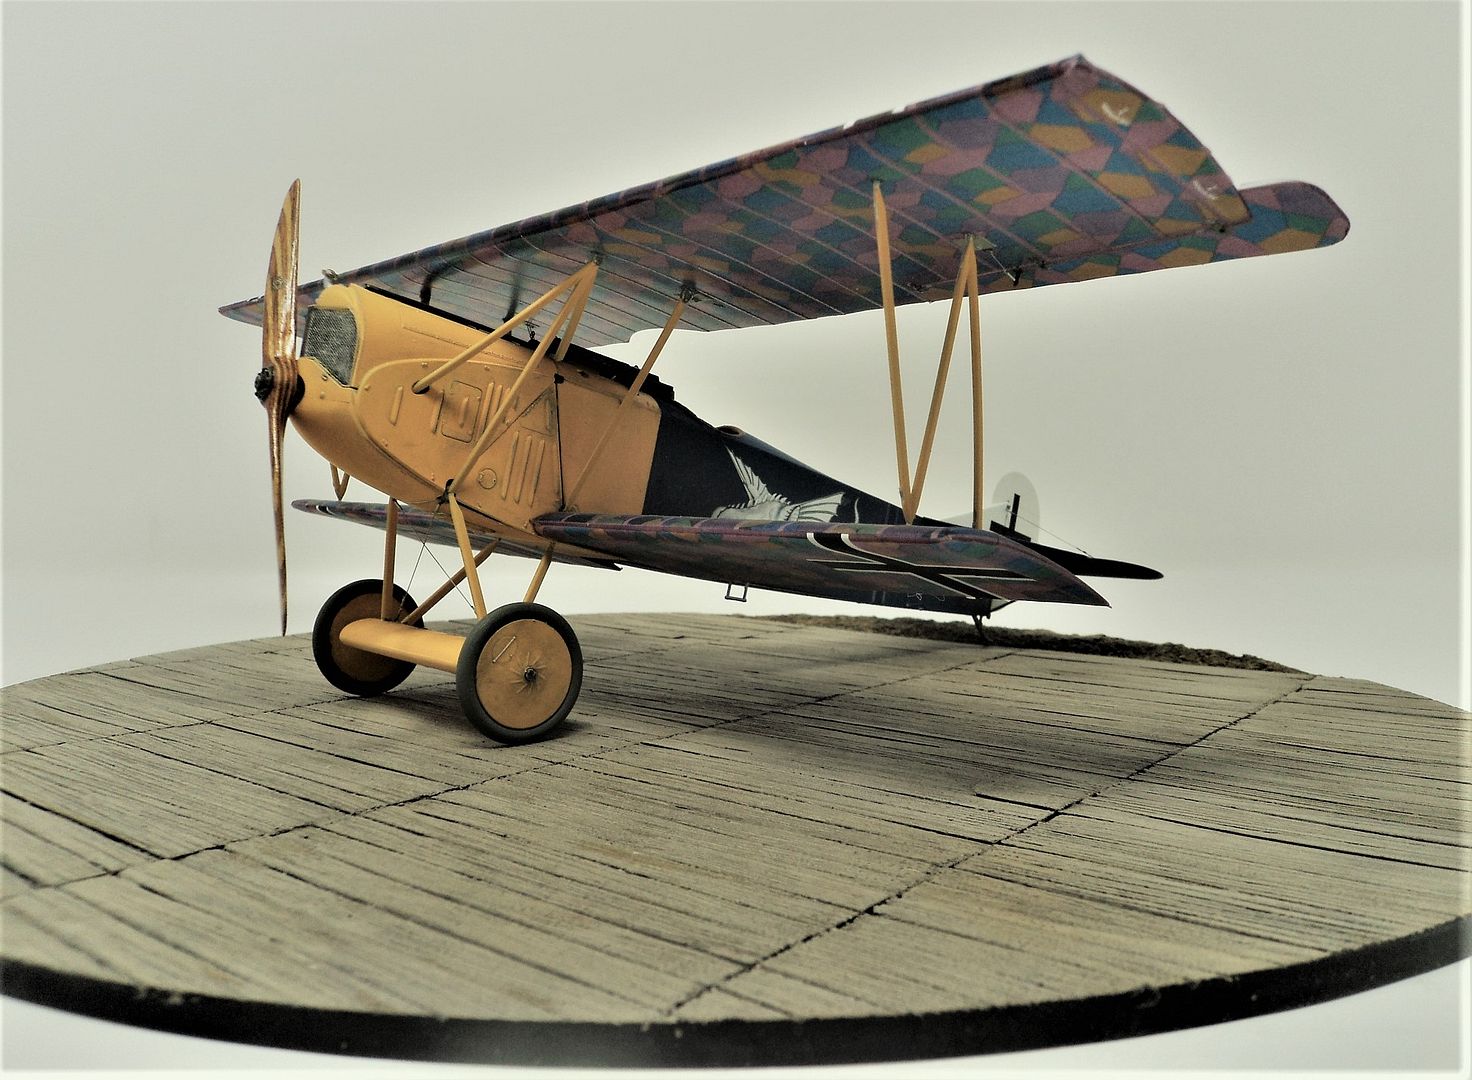
For the aileron control rigging coming out of the cockpit I used guitar string, it's a tad big but not a big deal to me, beats rigging it as I had done in the past. The prop is a Proper Plane prop.
So there you have it. I am pleased with it, enjoy the photo's and don't mind the lint. Pesky stuff is everywhere.

.JPG?width=1920&height=1080&fit=bounds)
.JPG?width=1920&height=1080&fit=bounds)
.JPG?width=1920&height=1080&fit=bounds)
.JPG?width=1920&height=1080&fit=bounds)
.JPG?width=1920&height=1080&fit=bounds)
Thanks for looking.

