Thanks!
Well, honestly at least one of them was about to fly out the window, as I got really frustrated by it...
I wasn't happy with the wing fabric areas after primer... they were still much too trench-like, despite sanding and some filling.
As I put quite some effort in the rest of the model I felt I should put some more effort in them...
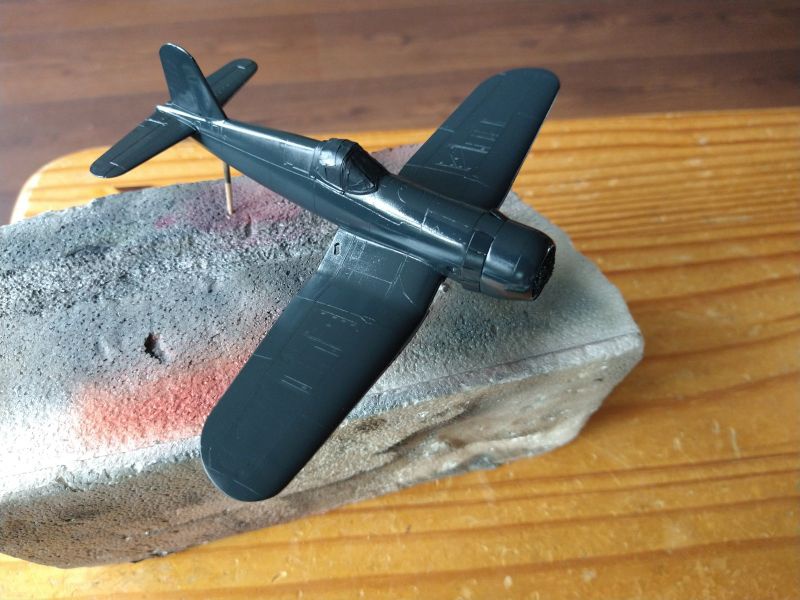
Here was how they looked after a first coat of Revell enamel black:

The wing fabric areas still didn't look right, both too deep and not quite smooth. So I filled them with more surfaces, and more sanding an several rounds of filler resulted in a somewhat better look.

However, when I re-primed the areas after all that work it looked OK enough (as I was losing my joy) but after painting the gloss sea blue, one of the models was pretty good (the less warped VF-884 version), but the other had quite a bit of rough spots I somehow missed. Also had some cracked filler on the nose, and by this time was ready to test how well that one would fly in real life...
After a cool down of a day or 2 I decided on one last fix by filling the crack with CA and sanding the rest. Then I re-painted it, and was actually quite pleased I put in that little effort (with hindsight the fixes weren't all that bad...):

I'm now leaving them for a week or so, as gloss paints usually take some time to fully cure and I don't want to invoke any more bad luck -I found out when looking for pictures that 3 of the 4 options actually have the earlier rounded windscreen/canopy instead of the flat one provided in the kit...
So the VF-884 version can only be "416" and for VF-791 I found a picture showing "214", but will have to guess the serial number as that is not readable.
Left for now is masking and painting the tail tips, and then it would seem it's finally on to the decals. I'm rapidly losing the fun in these, so I other than some exhaust stains I won't be putting a lot of effort in the paint job and weathering. Just getting them to this paint has consumed enough energy so far ;-)
Jeroen