This tutorial explains a technique for making a seat cushion using Milliput epoxy putty. Many WW1 planes had seat cushions and not all kits include them. Even if one is included in a kit, it can usually be improved upon.
I will be making a cushion for a 1/32 Roden Albatros D.III. This kit included a somewhat simple cushion, which would not fit without some modification.

Here are some items needed to get started. This is not all the items that will be needed. Not shown is monofilament and the painting and finishing materials, as well as a few tools.
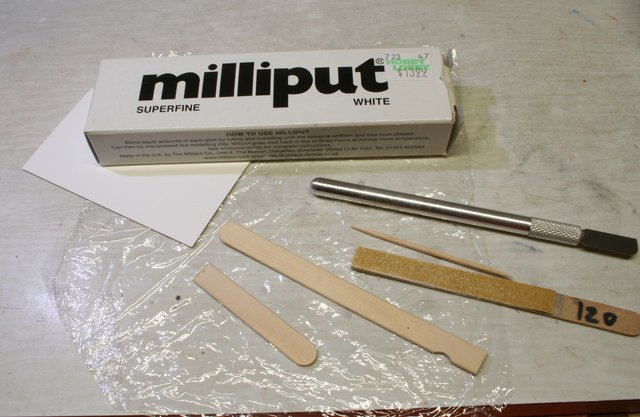
Items:
Milliput epoxy putty
popsicle sticks
a smooth handled knife to be used as a rolling pin
toothpick
paper business card
clear plastic wrap like Saran wrap
sanding sticks - I use a 120 grit and a 320 grit
I start by making a pattern that fits loosely in the seat. There may be about a millimeter or just less, of a gap between the pattern and the back of the seat.

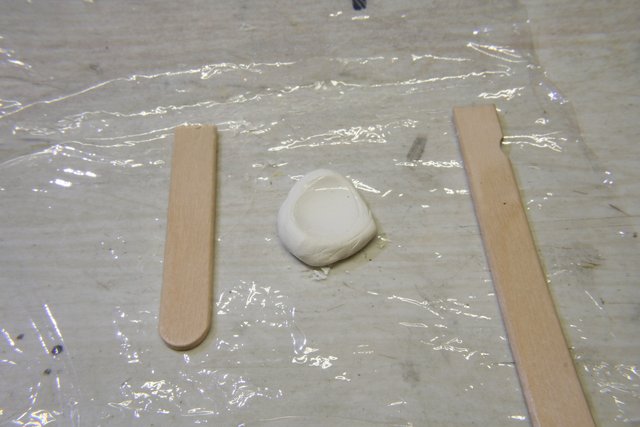
Next, mix a quantity of Milliput. I work on top of a piece of plastic wrap to keep the work surface clean and to be able to move the cushion from the workspace for curing. Place two popsicle sticks adjacent to the Milliput. The thickness of the sticks will determine the thickness of the cushion.
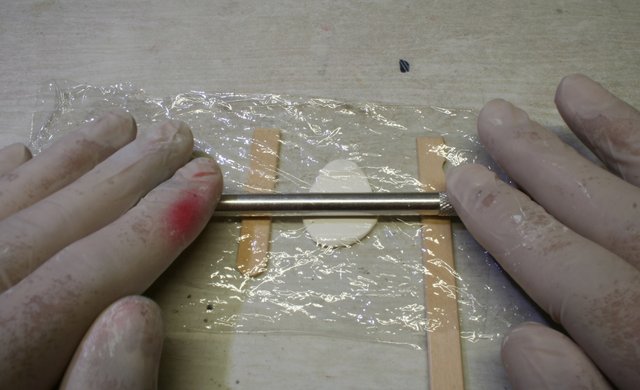
Cover the top of the Milliput with a layer of plastic wrap and roll it out with the knife handle, or some other smooth round object.
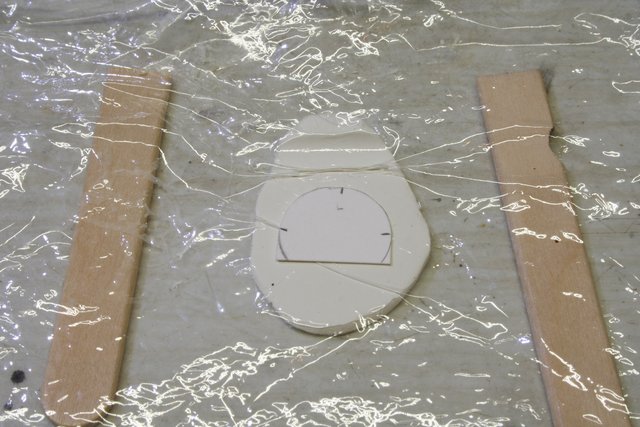
Place the business card paper pattern on top of the wrap and press it down into the Milliput using the knife handle.

Now, lift the plastic wrap carefully and lay it back down on the Milliput. When the impressions for the upholstery buttons are made, the top layer of wrap needs to have a little 'give' to it. If the Milliput is very sticky, I wet/dampen it with some water.
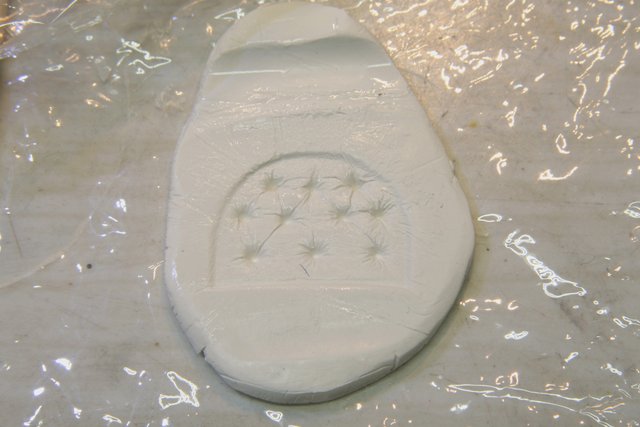
Next, use the toothpick to make impressions in the cushion where you want the buttons to be located. I have found that the first few impressions may be pulled back out somewhat as more impressions are made due to the top layer of plastic wrap being tightened. If you don't like where the impressions are, you can ball up the Milliput and start again.
Here, I have lifted up the plastic wrap layer, but I usually don't do that at this point. My button locations are off by a little, but I'll proceed.
Now, let the Milliput cure at least overnight.

