Finally, some real progress to log. Seems bench time is difficult to find this time of the year.
The inside framing and interior module is complete. The various wood portions were done with an acrylic wood base coat and the grain effect with Winsor Newton Raw Sienna vs. my usual Burnt Sienna Oil, lighter then my previous efforts. They then received a very light coat of Tamiya Clear Yellow followed by a sealing coat of Vallejo Satin Polyurethane Varnish. Details were picked out with both enamels and acrylics.
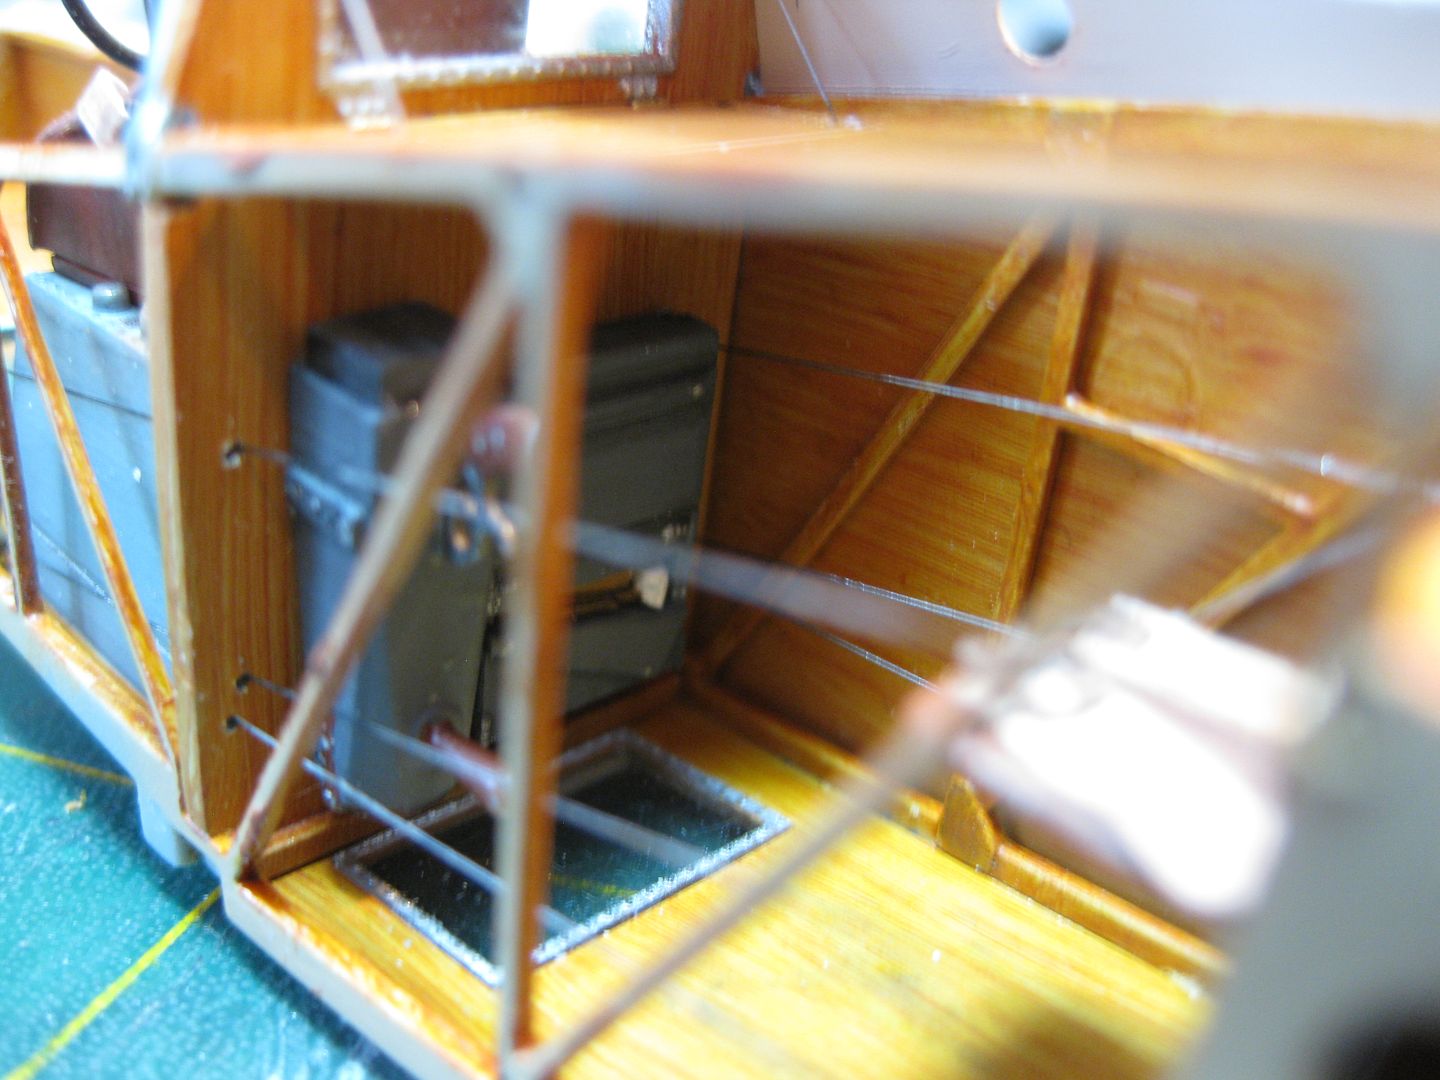
My apologies for the out of focus photo which I just noticed, but the details follow.
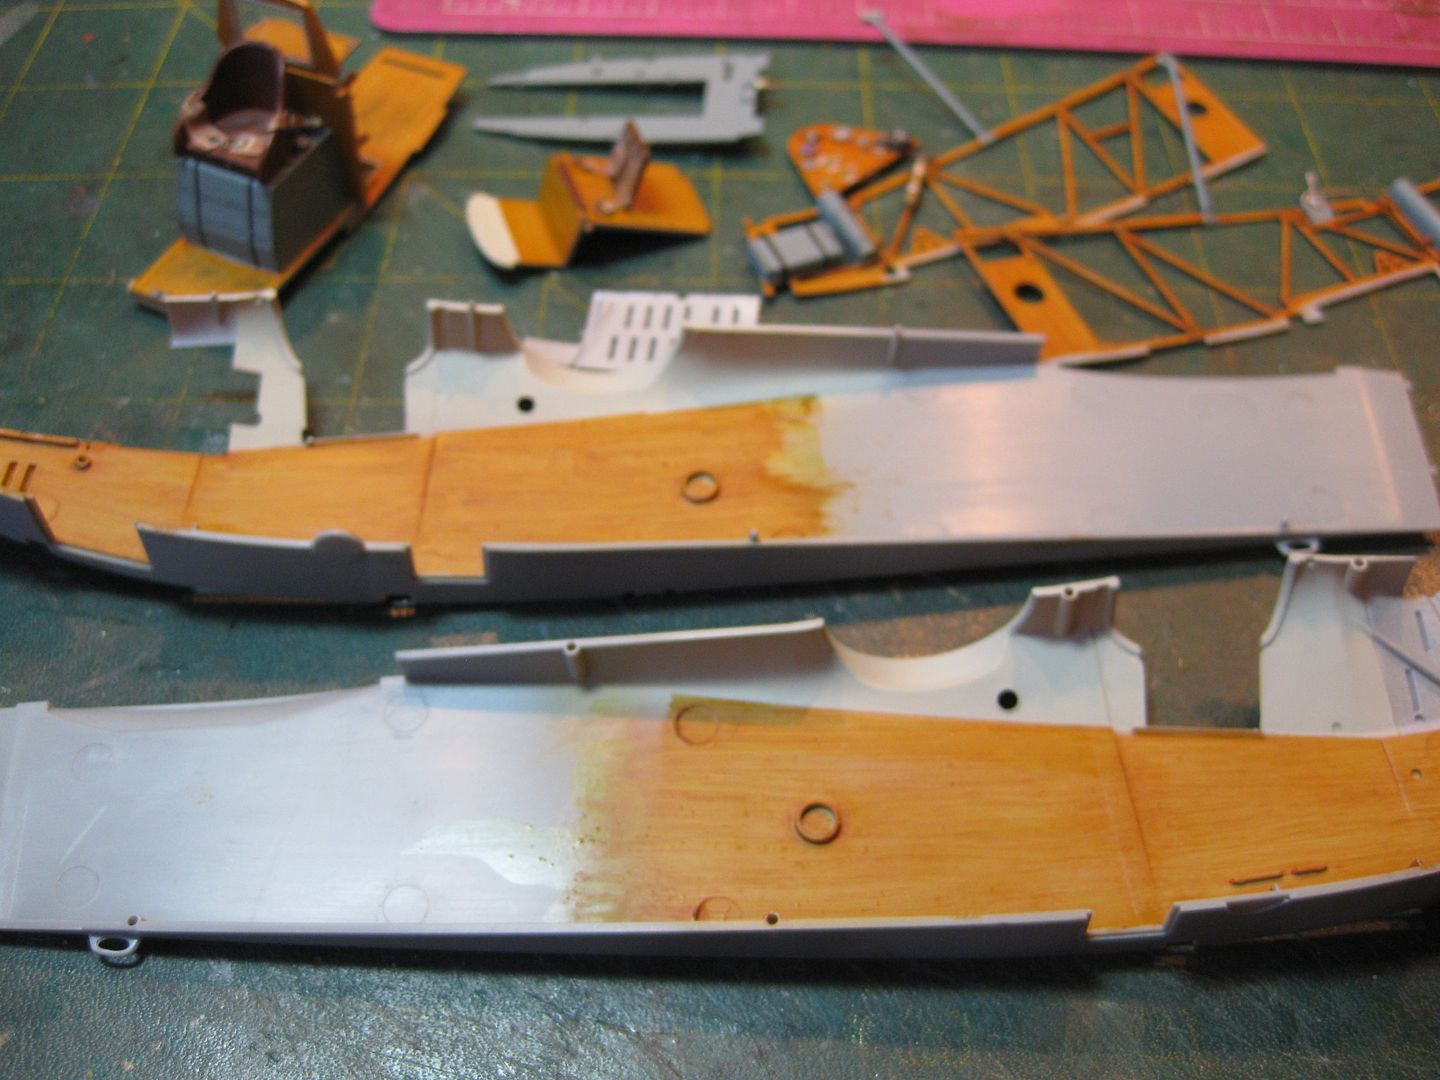
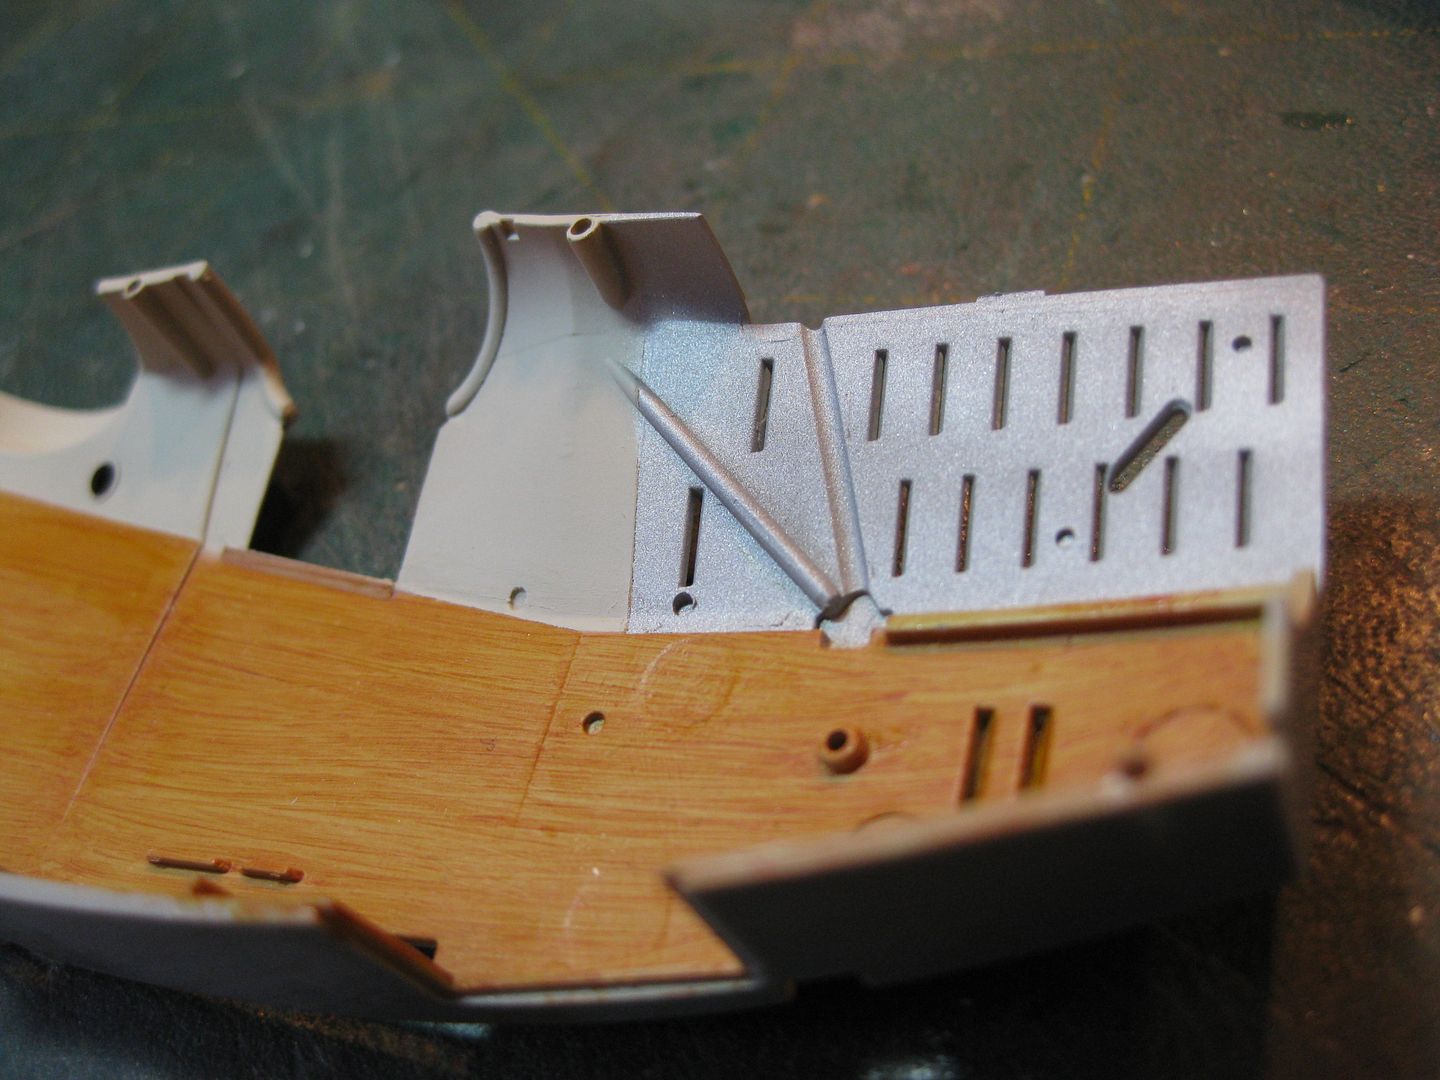
The Instructions called for Semi gloss white on the upper portions of the interior fuselage however I used a slightly "Buff" off white, the inside of the engine cowlings portion was masked off and done with Alclad II Dull Aluminum.
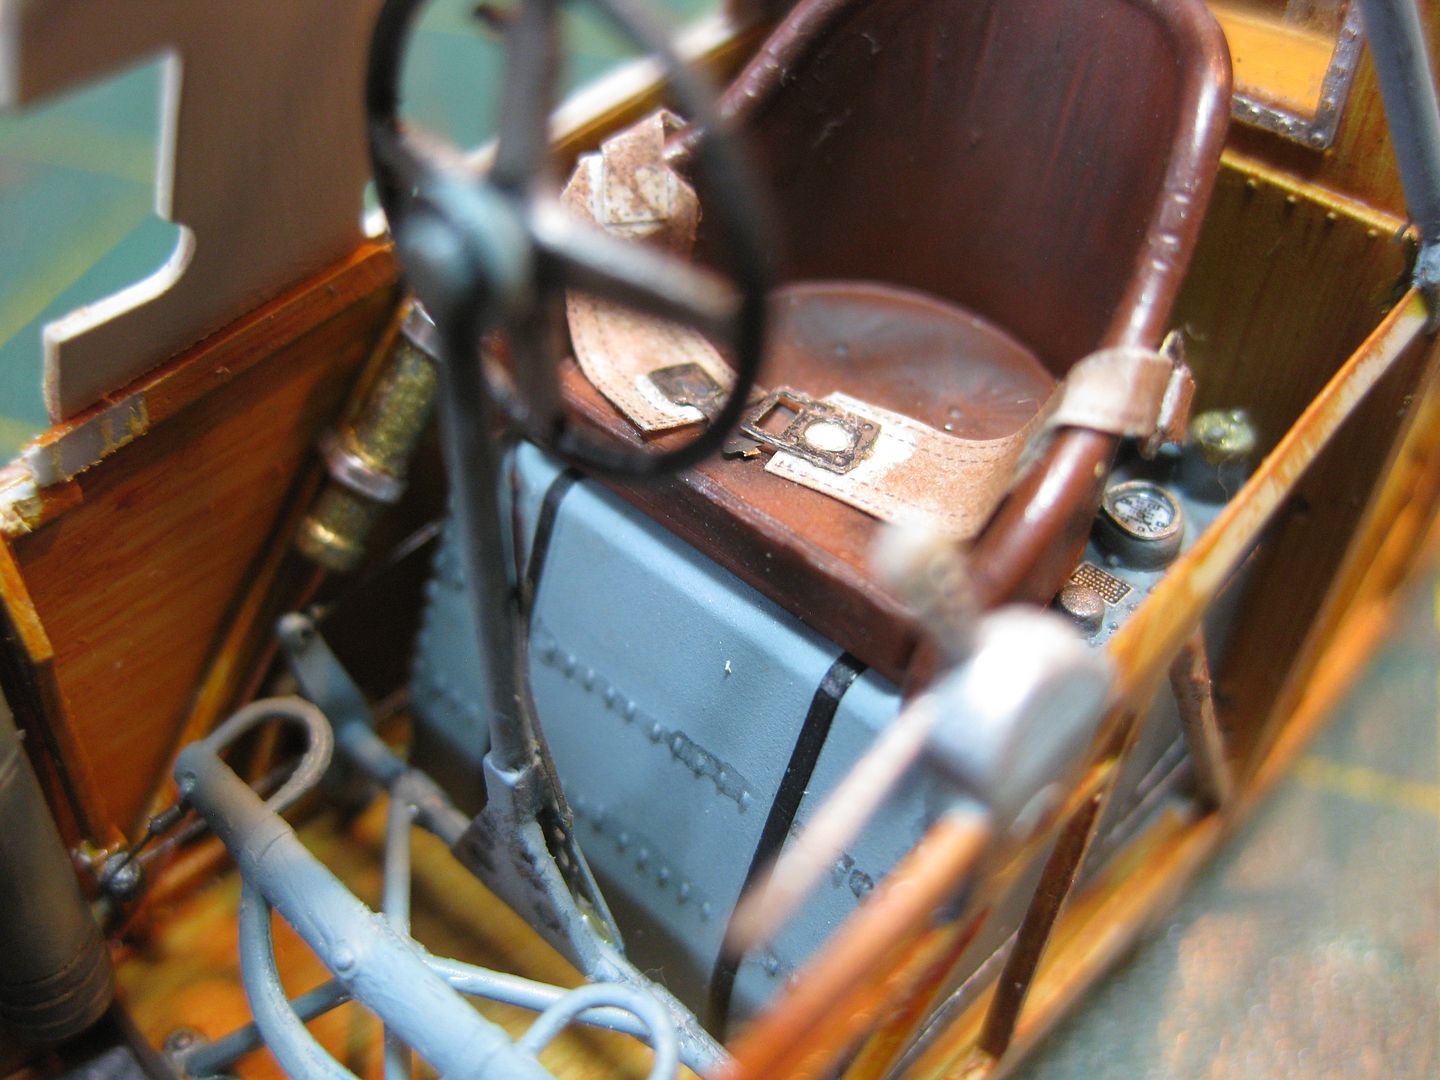
I modified HGW Belts from the HB.29 Set I had on hand as it had belts for two models. The Wingnut instructions were a bit vague on placement and connections so I added eyelets to the terminal springs to attach them. The one longer belt, second from left, ended up with the spring effect on the wrong side however is not visible once installed so was left as is.
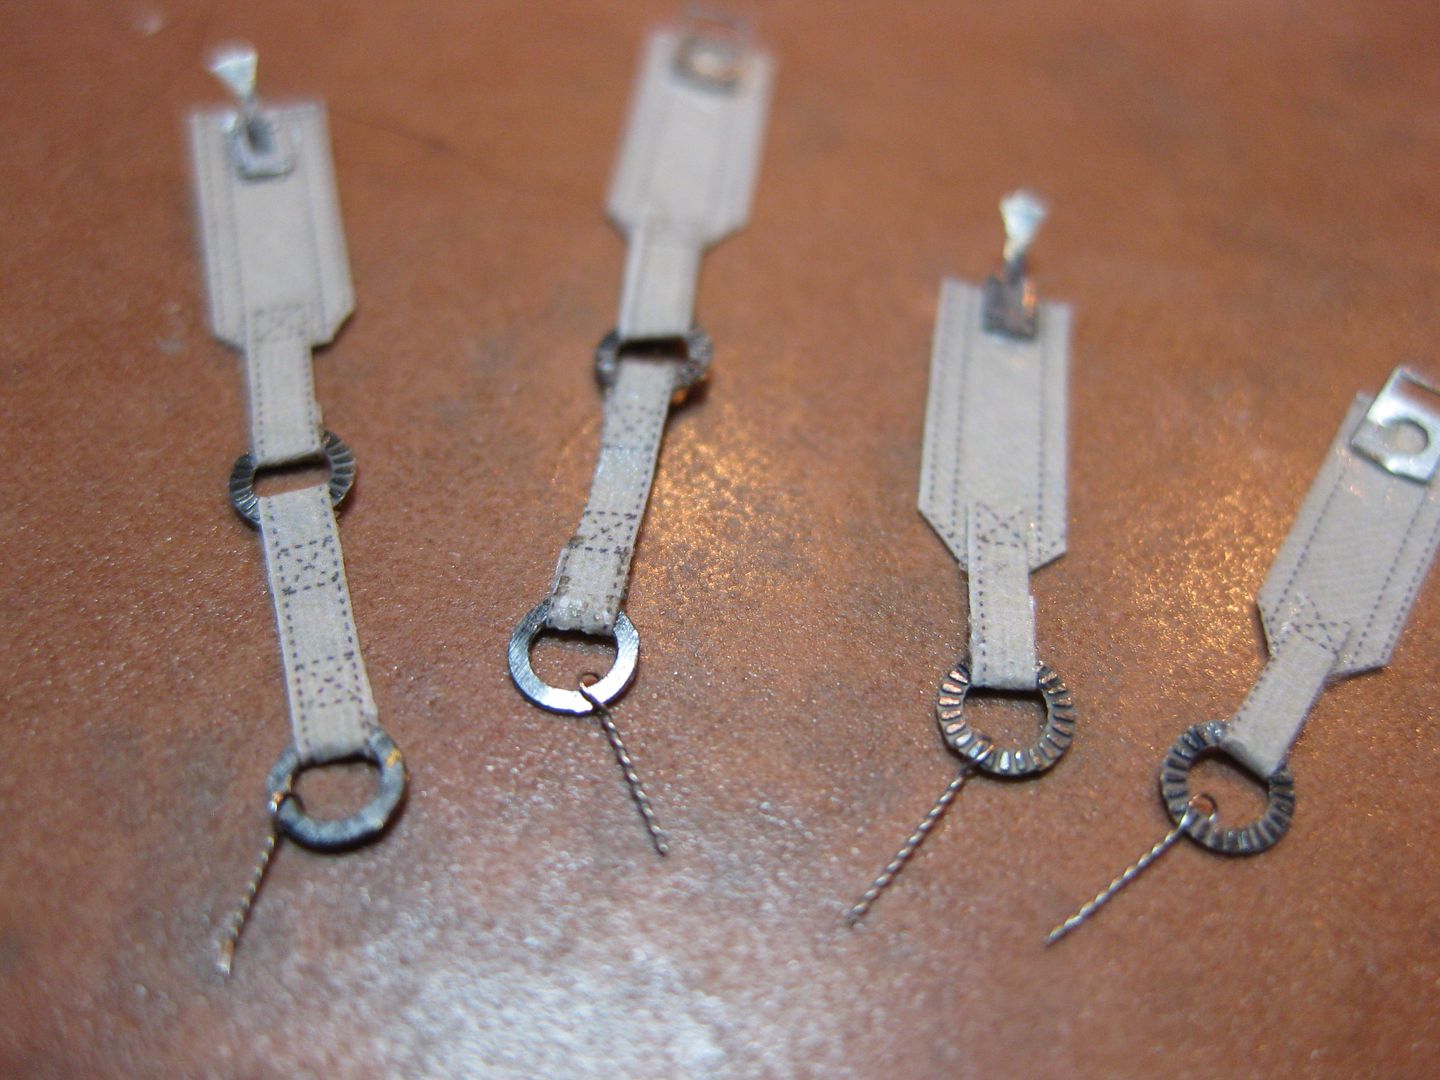
The belts were installed and then "dirtied" up a little with mid brown dry pastels.
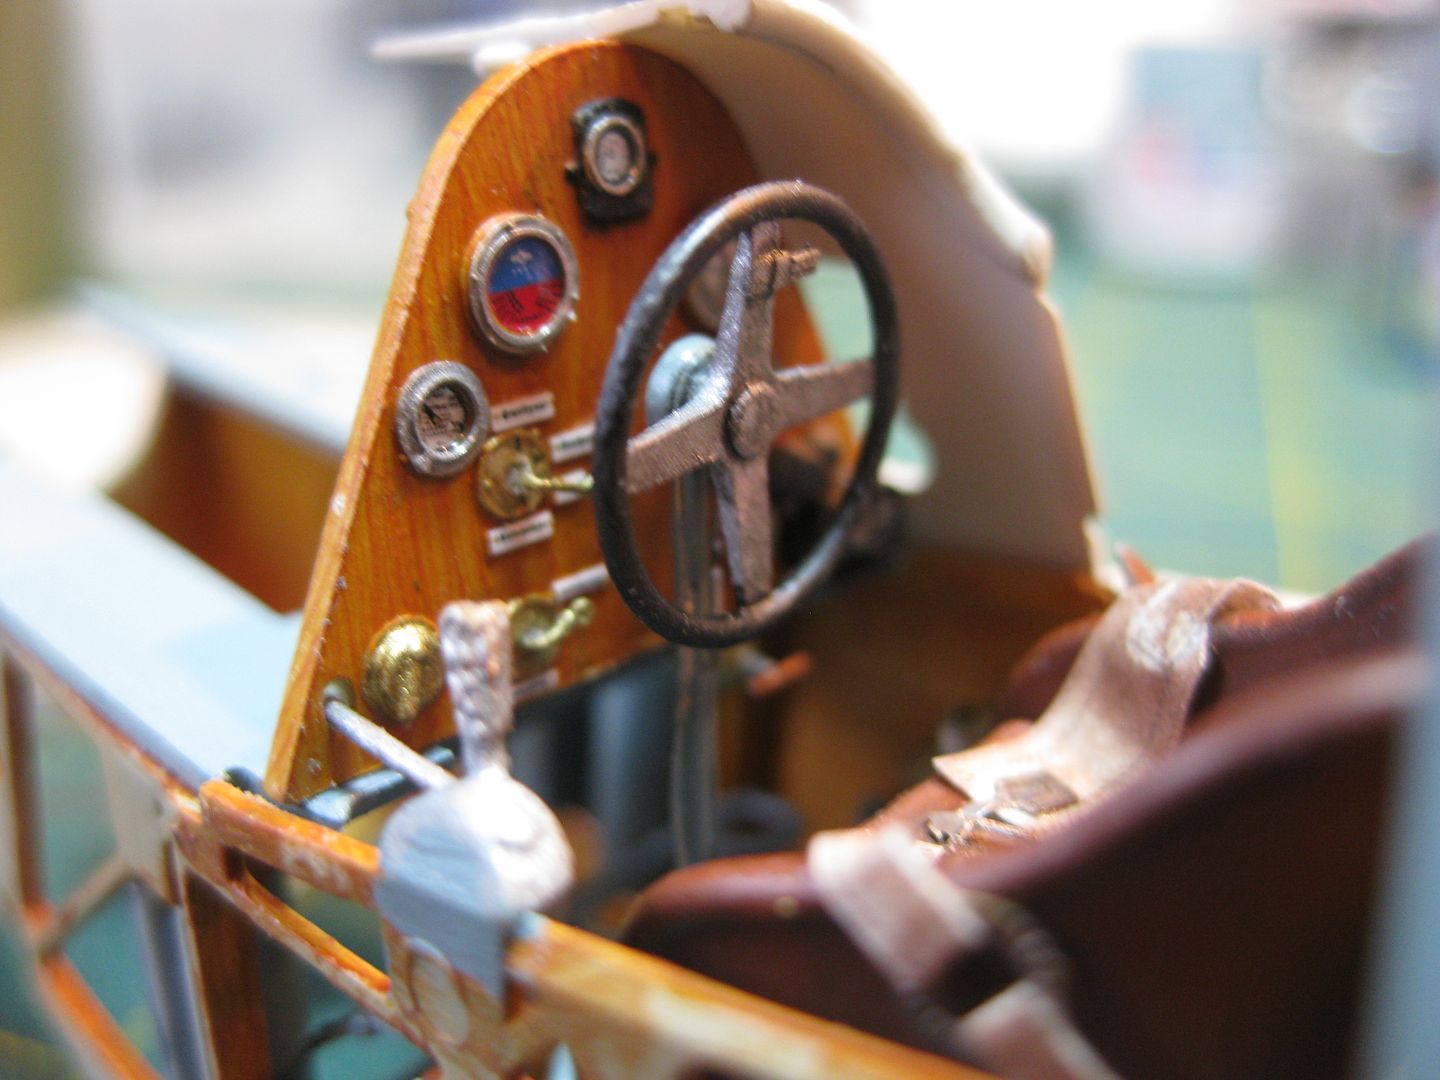
The Instrument panel was completed using Aeroclub Bezels, some scrap PE Fuel Selector Levers and Future for the glass faces.
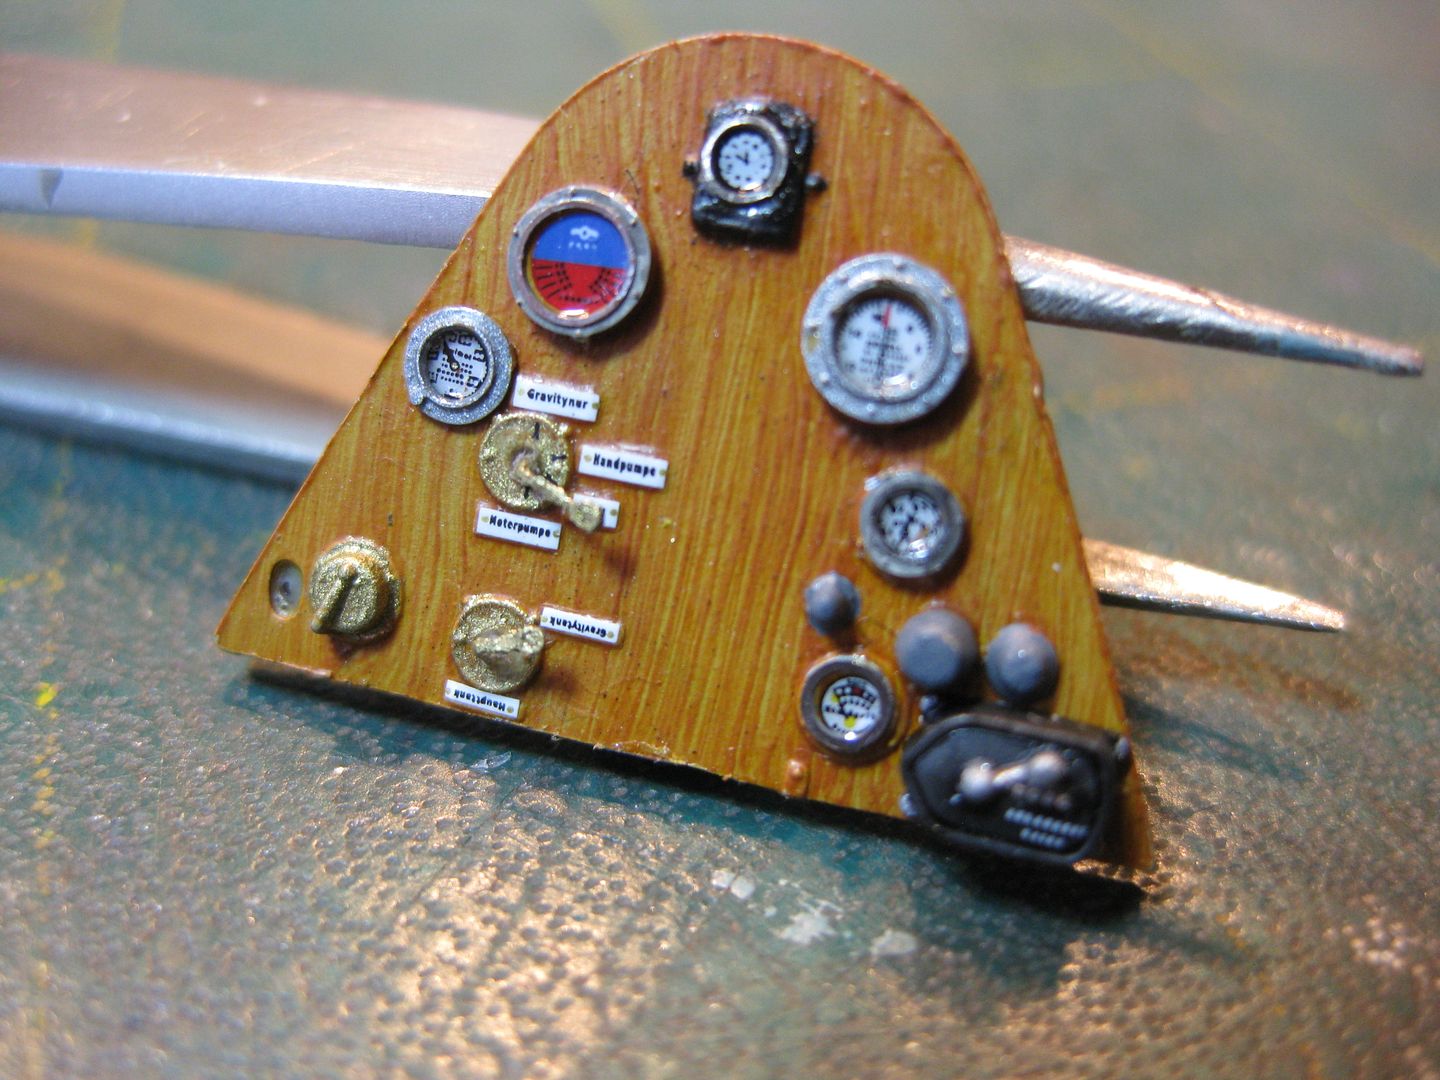
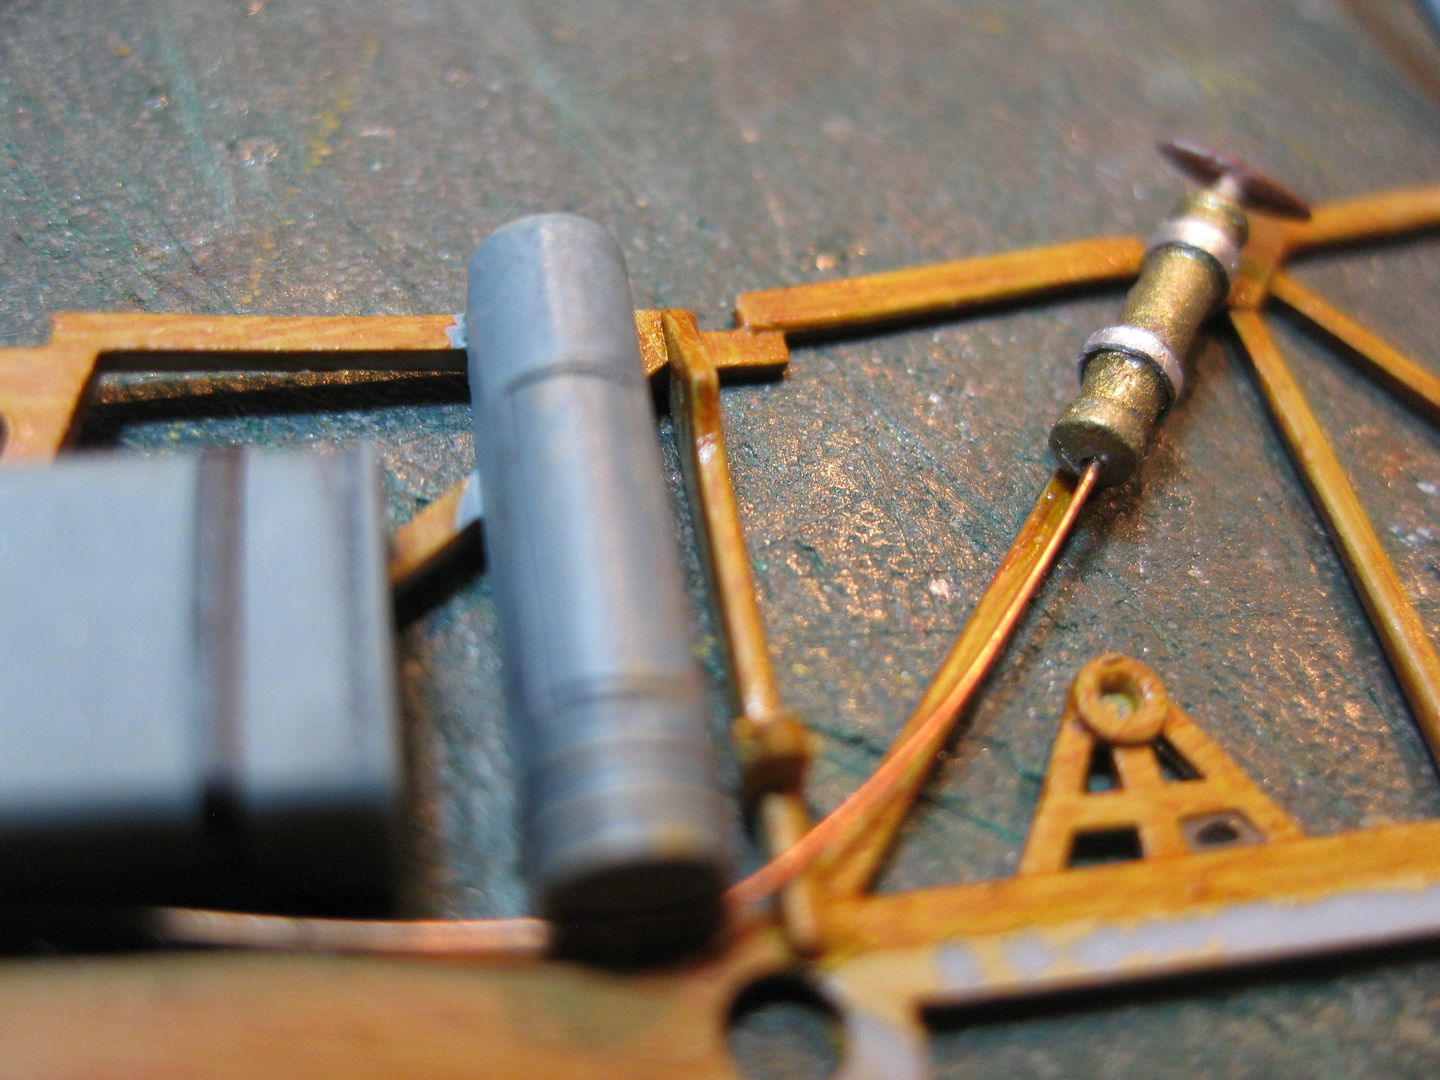
The cockpit detailing on this Kit is excellent, I added only a few items like the line from the Manual Fuel Pressure Pump and a set of clamps made from lead shrink seal on a Malt Scotch Whisky Bottle......... need to get another as I'm running out of shrink seal again!
The flight control cables were then all rigged in using Modelkasten elastic thread, a very long and "fiddley" task which had to be done after assembly of the module. The tweezers and Optivisor got intense workouts but after an afternoon of eyestrain and lingual gymnastics the plan came together with excellent results!
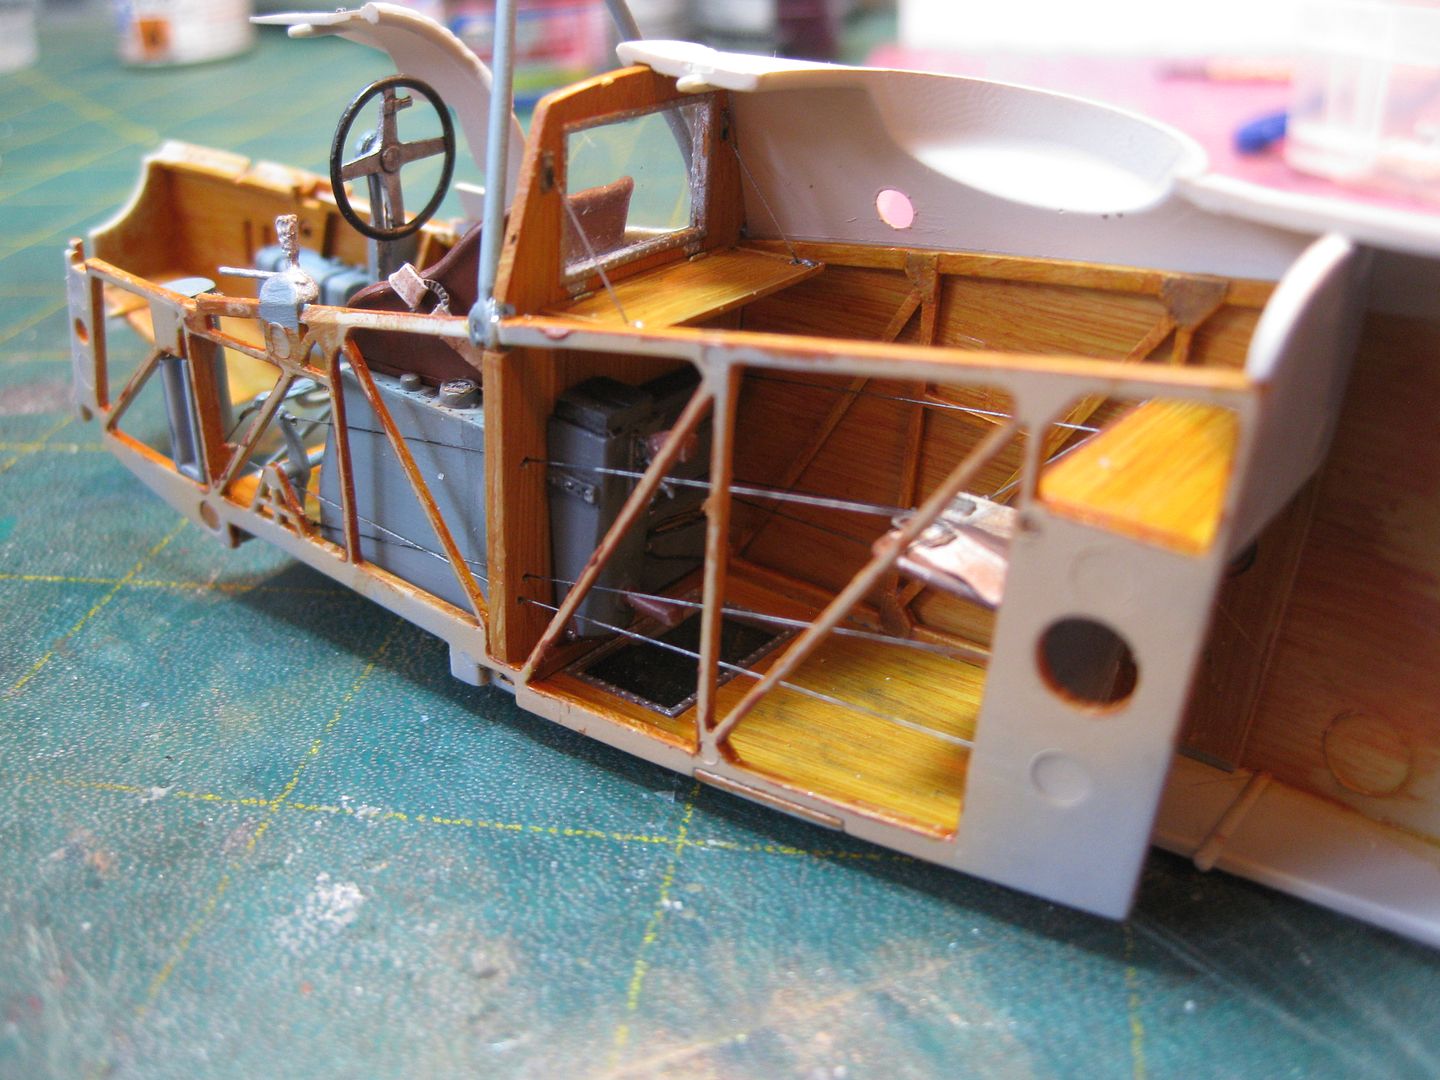
The control cables were painted with Mr Metal Color Stainless.
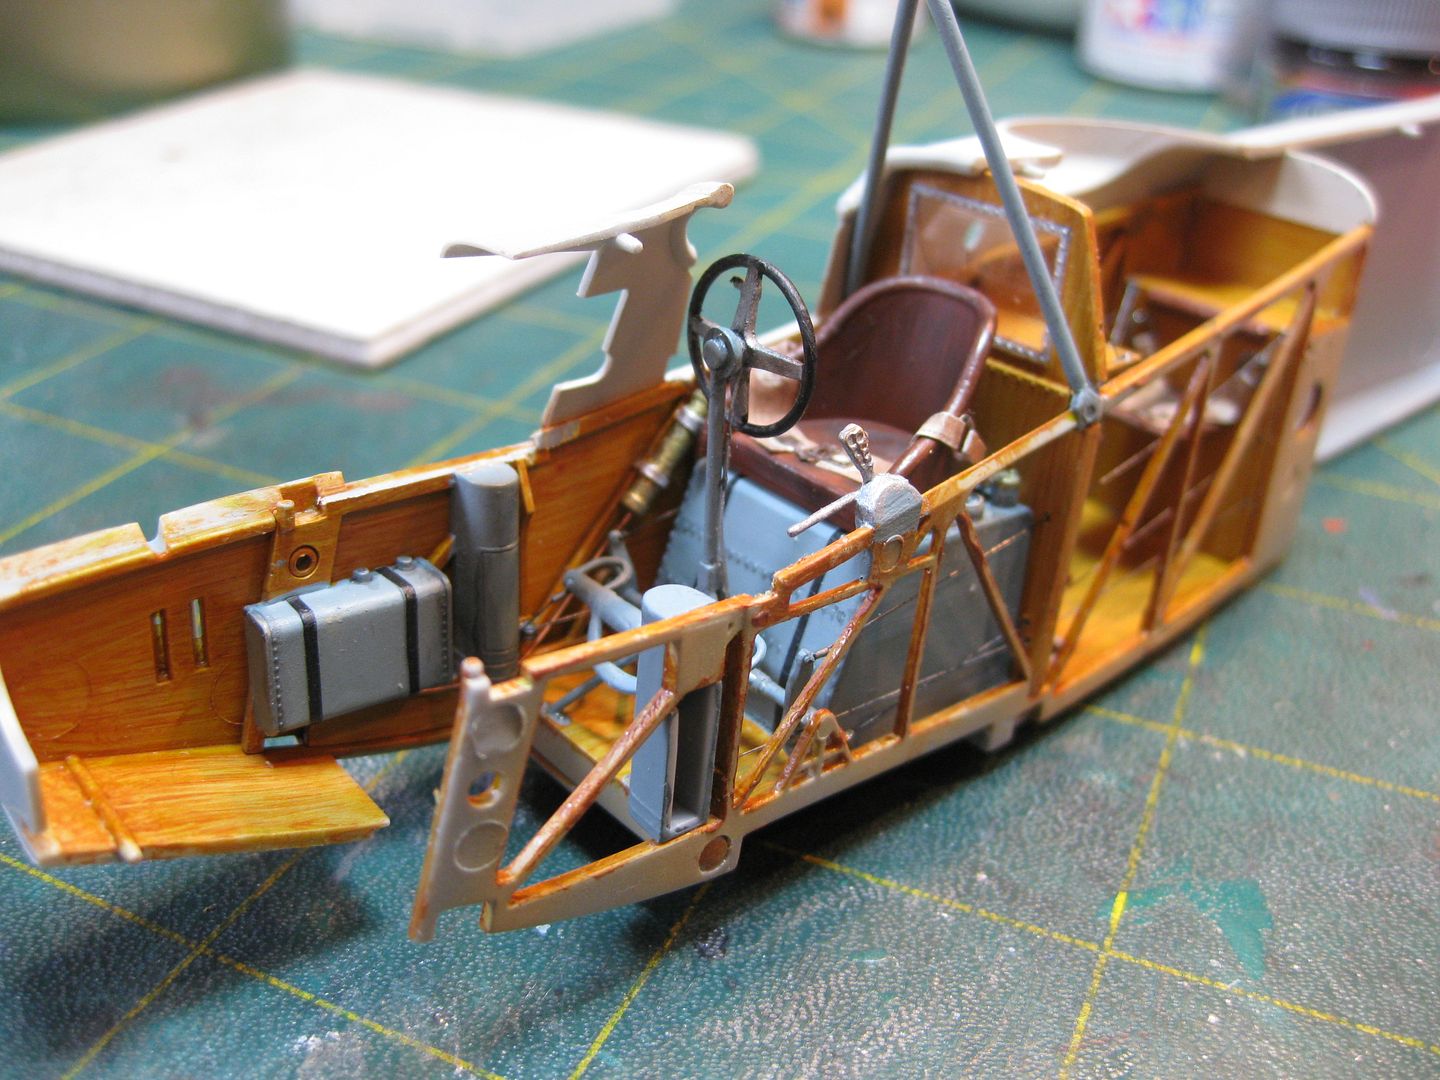
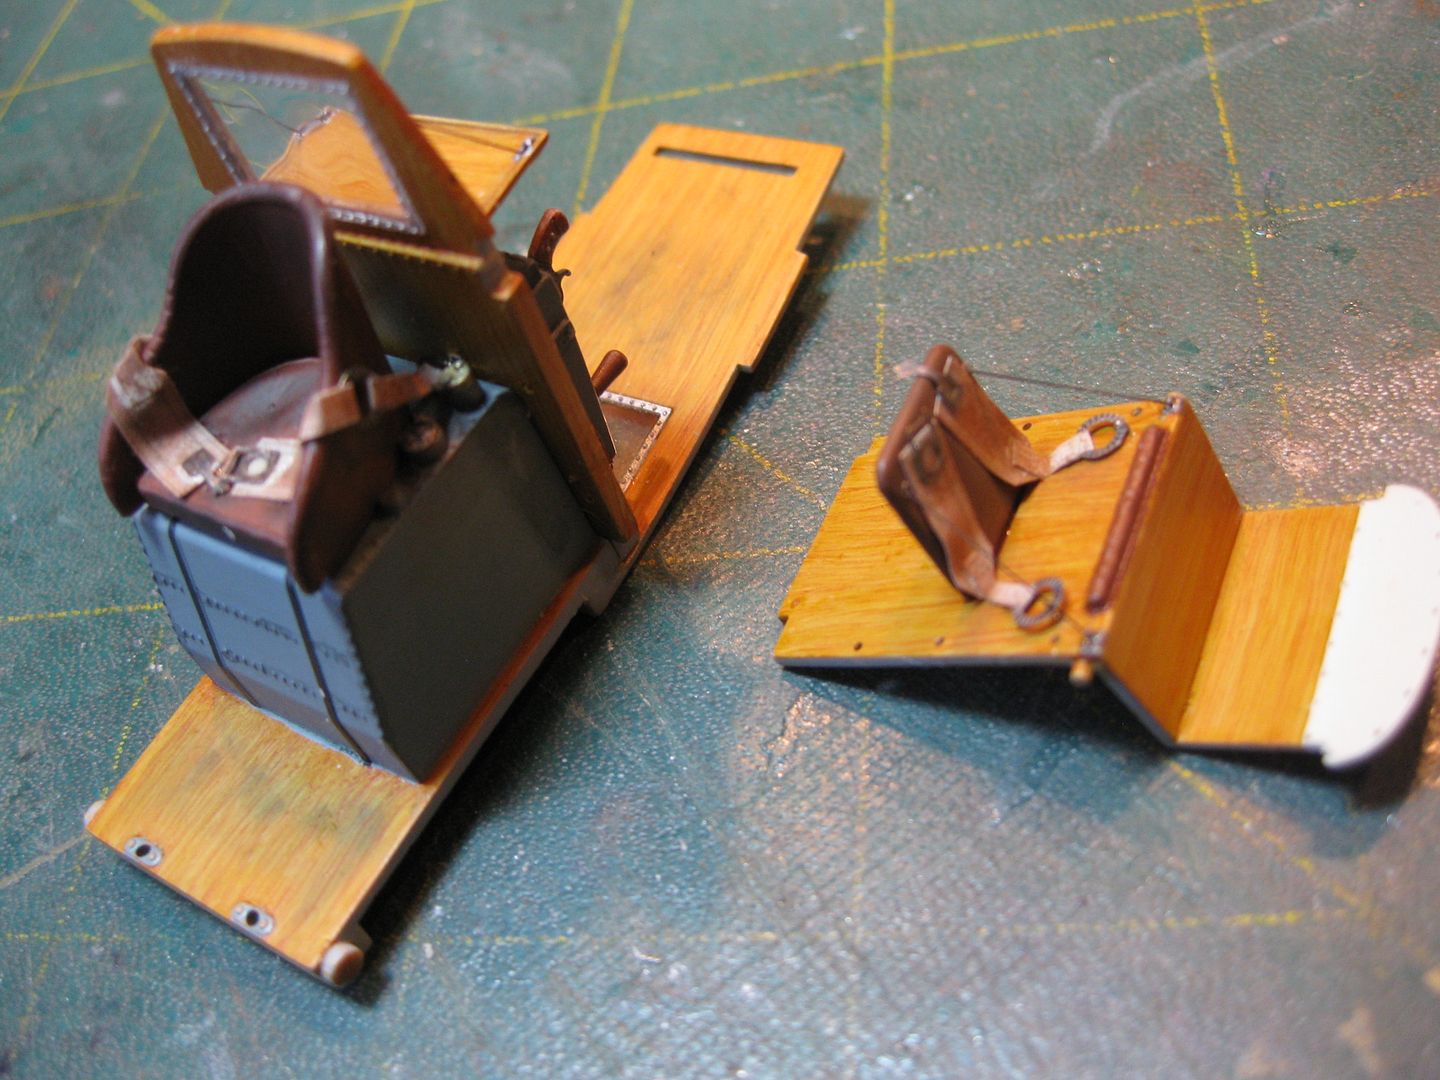
Here's a few detail shots of the completed cockpits:
The Instrument Panel is shown "posed" here as the engine bearer frame platform it is attached to won't be installed until the fuselage is closed.
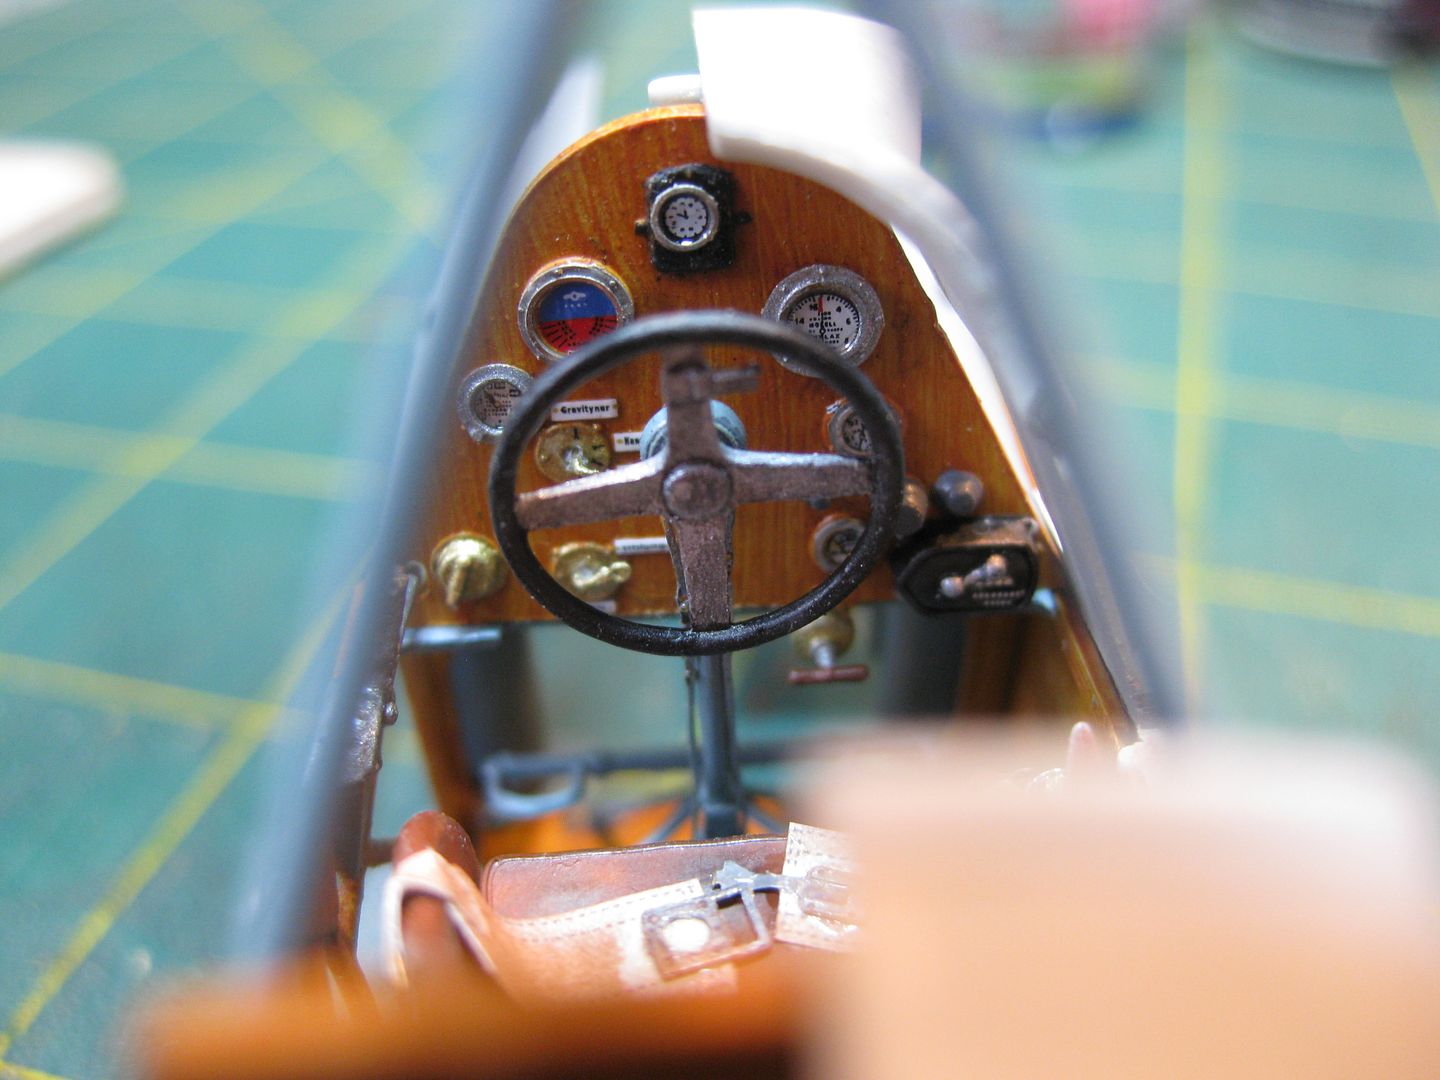
This last photo was taken without the Instrument Panel in place, thus the nasty scraped frame members on the attachment locations.
Next comes the engine which I hope to start working on tomorrow. Thus far I'm very impressed with the fit of this Kit, another engineering marvel from Wingnut Wings!
Cheers,
Lance

