On to the fuselageThe next chapter is all about prepping the fuselage and fitting the fuel tank.
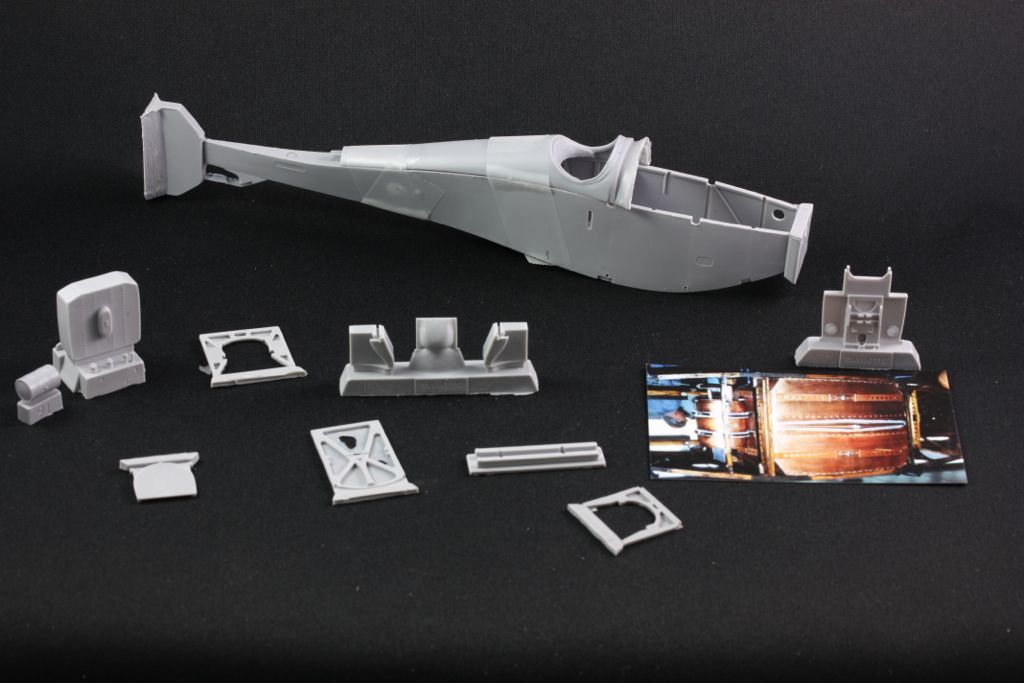
Here are the parts needed -- the fuselage in two parts and the contents of the baggie that contains the card with fuel tank images. (You can set aside the upper part of the fuselage for now -- it won't be needed for quite a while)
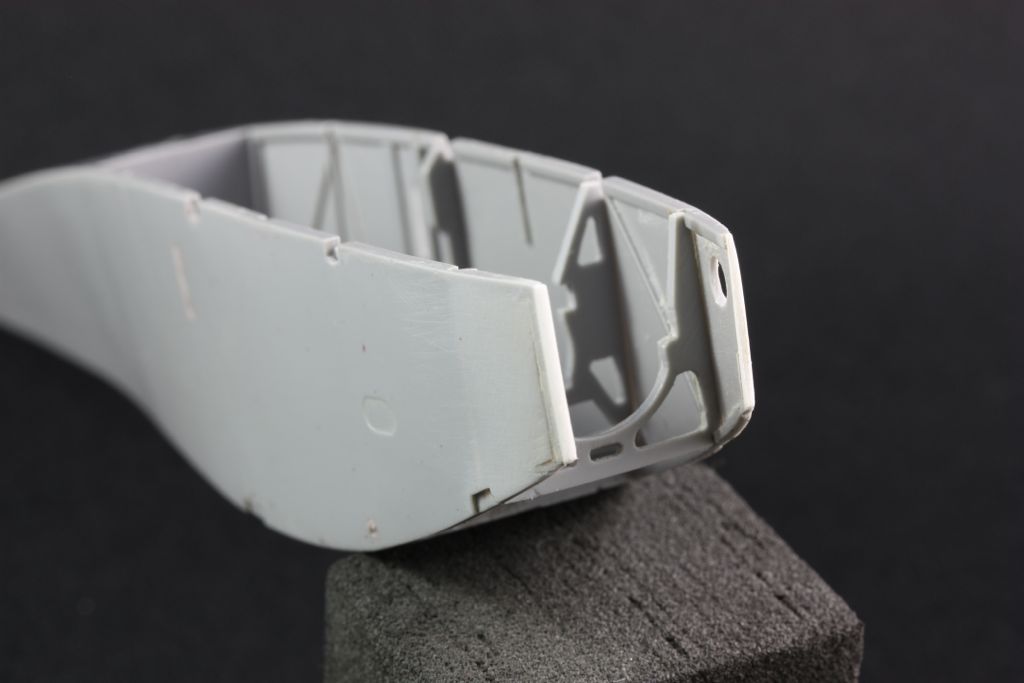
The fuselage needs some trimming and prep. The trimming required at the tail end should be obvious, but the nose end is a little more involved. When you cut off the casting block from the nose, you are left with something like this:
This actually somewhat closely resembles what you see when the radiator is removed from the real thing, and I think maybe at one time that was as far as Ron was going to go -- but it turns out they have provided a much more realistic PE part... :
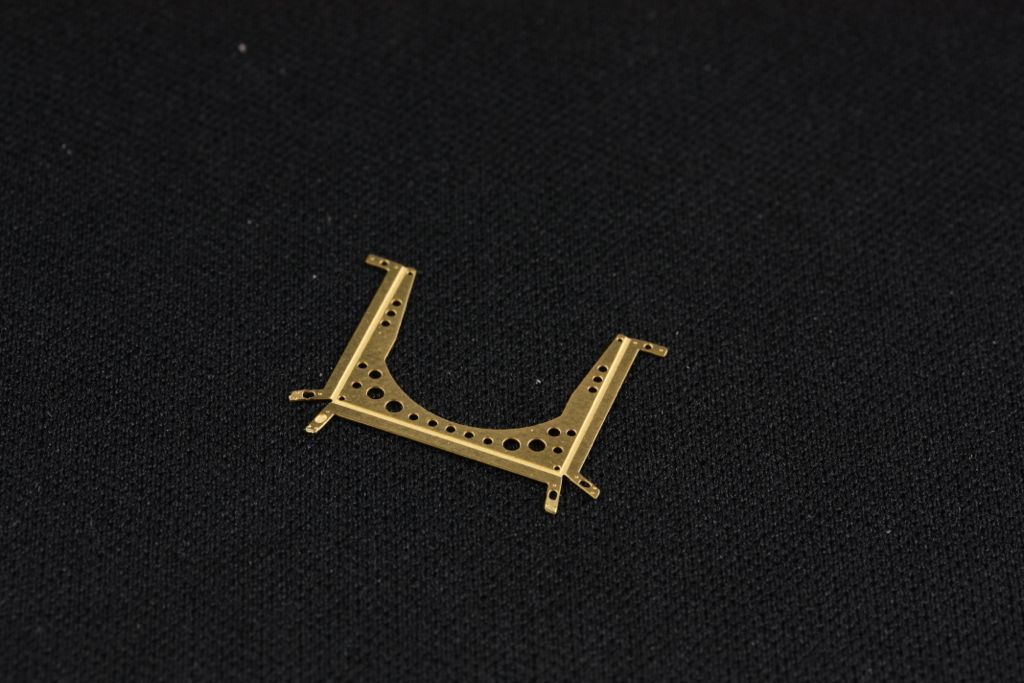
(bent to shape)

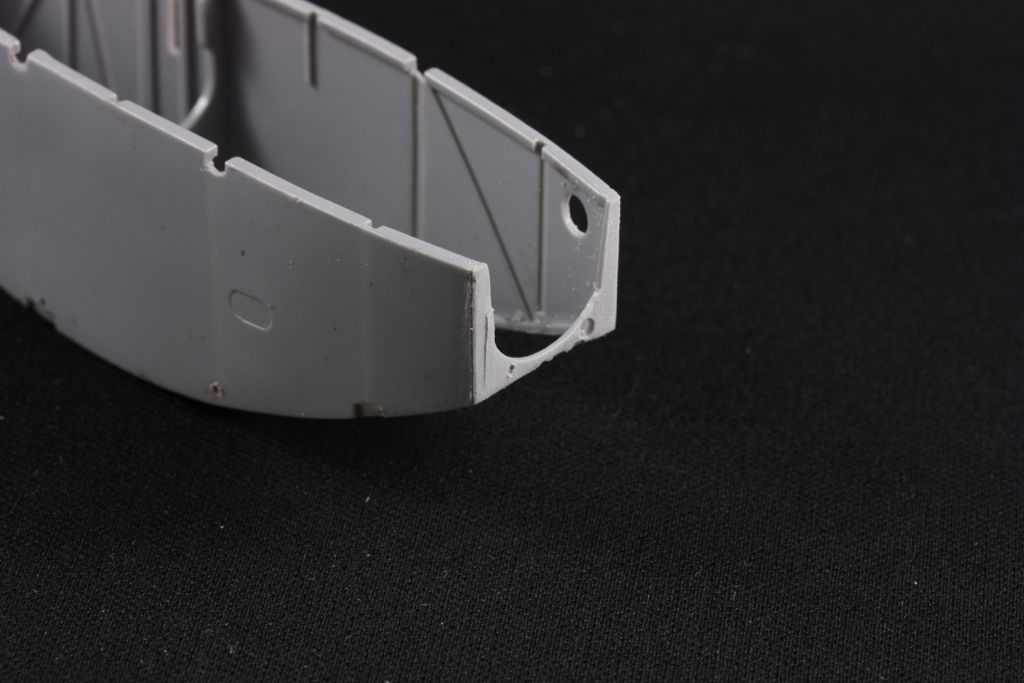
... which requires a bit of fiddling to fit:
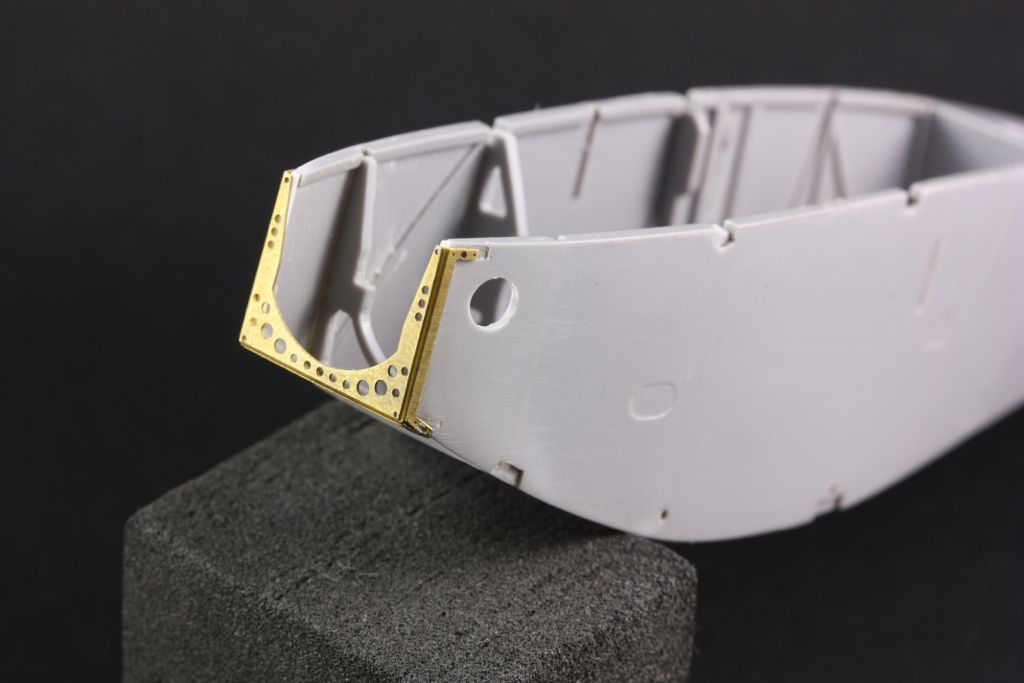
Basically, you need to trim the nose back a bit further, so that it is ~9.1mm from the second former. And you need to thin it a little bit to get the PE part to fit. As you can see, I went a little too far and had to build the nose back up with some strips of styrene. At any rate it's mostly a game of fit'n'try until it all goes together nicely...
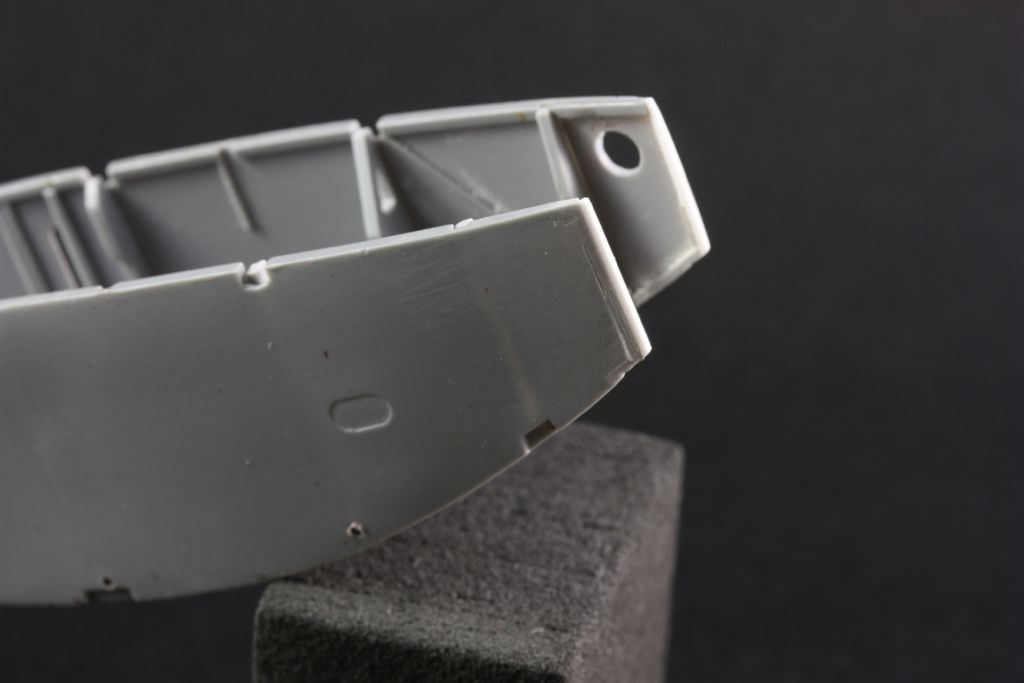
The trenches visible in the photos have since been filled in with SupaFilla and smoothed over...