Evening All,
First my thanks to the many of you who have dropped by and left such encouraging and complimentary remarks: they are greatly appreciated especially at the moment as I have been struggling with this one rather more than normal recently.
I have not reported much of late because I have not had too much time for modelling owing to life issues which keep getting in the way. Added to that I have reached a stage where I seem to spend a great deal of time achieving very little - or a least very little to show. I am desperately trying to avoid adding parts which I will inevitably knock off at some time in the future, and almost every operation seems to require much time and patience. However here is some of the progress that I have made to date.
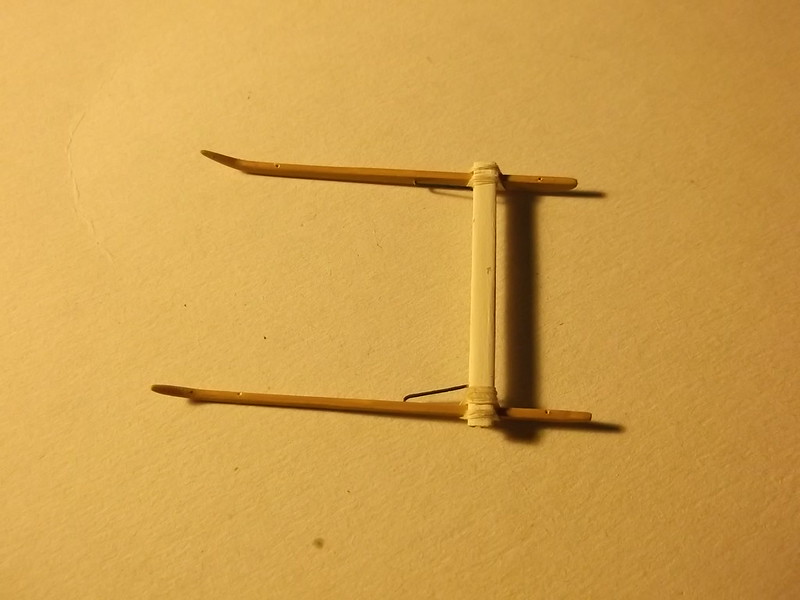
I have made the undercarriage skids and axle and completed this sub-unit. The skids are carved from thin basswood sheet, and the axle is shaped 60 thou card. I bound the axle to the skids with sewing thread which is about the correct colour: this represents the bungee cord which was used as a spring for the axles. I also added the metal bracing from thin wire:
I tried to make my own wire wheel but after several unsuccessful attempts decided that life is too short at the moment so I bought one of the superb Gaspatch sets instead. I used the tyre from one set and made my own disc from plastic card which had been laminated and the filed to shape, while I used the other unit from the kit. I painted the spokes black and tyres grey:
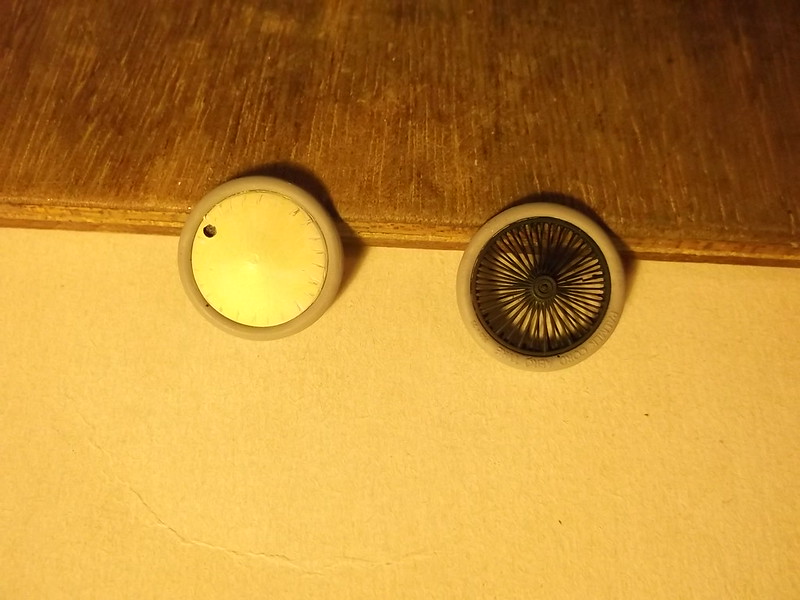
The marks on the disc are where I wanted to add the threads which held the canvass covers to the wheels but my first attempts to achieve this have not been successful either.... Looking at photos of the machine that I am trying to depict the threads are not very prominent so I may not bother after all.
The undercarriage legs have also been made and await being attached to the skids and nacelle, but not just yet as I am not ready to do so.
Another important step was to add the trailing edge wires to the exposed control surfaces, wings and tail unit. These were made from telephone wire which had been rolled with a brass strip and then carefully bent to shape and C A'd in place:

When the wires on the ailerons had been painted the units were put on to the wings:
I have been using EZ line for the first time for the control wires. I am using it because I know that I would not be able to get a consistent tension if I were to use monofilament thread as I am on the static rigging. The rudder wires were double on British machines and I have also added the elevator control horns and control wires to the pulleys at the rear of the wing. This means that the rudder bar has also been put into the cockpit, but it is very difficult to photograph:


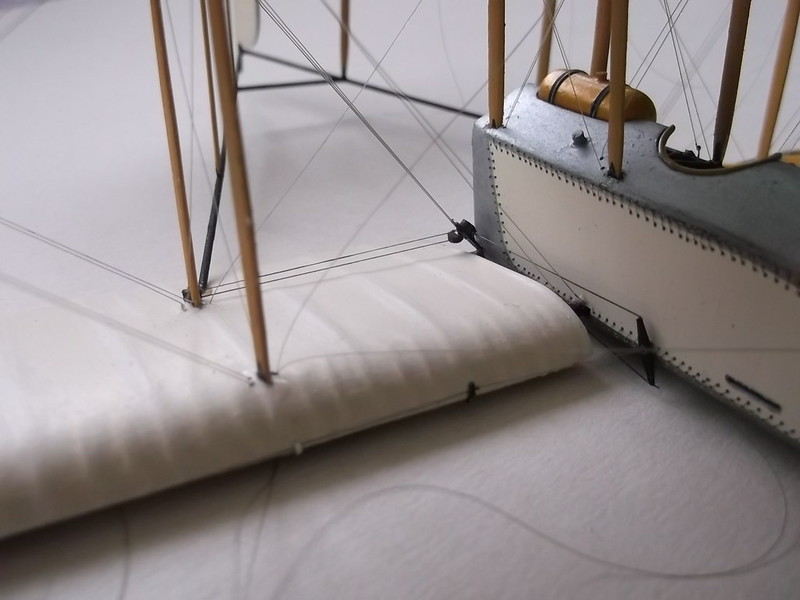
The last image shows the rudder wires running between the two sets of pulleys at the trailing edge of the wing.
The engine was finished by adding EZ line for the wires to the spark plugs:
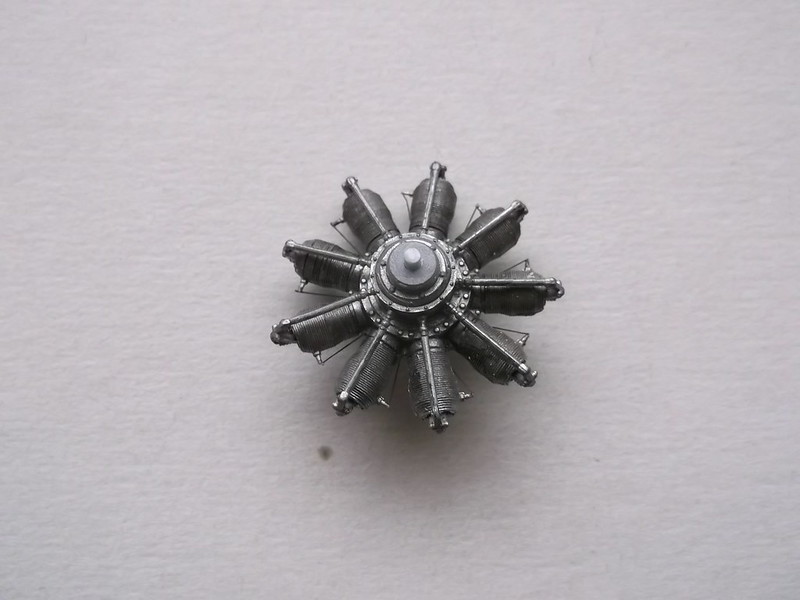
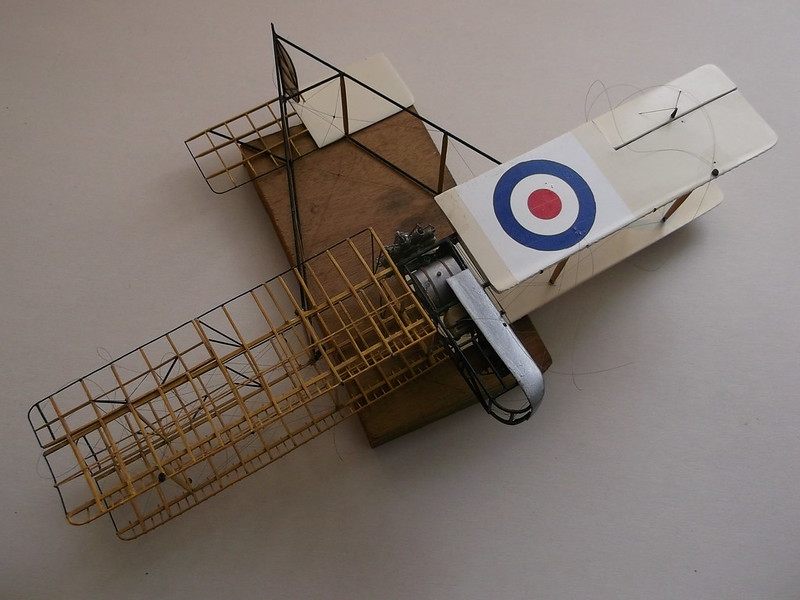
and then the engine was fixed to the rear of the nacelle:

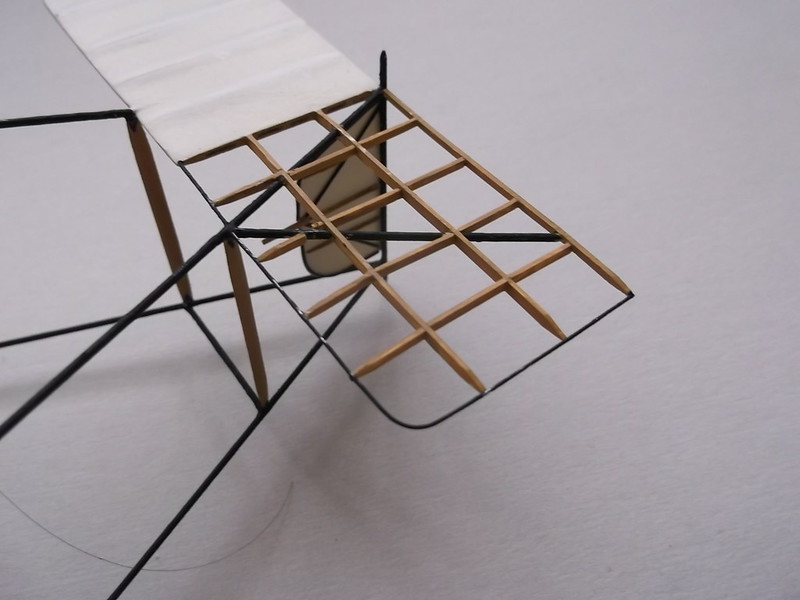
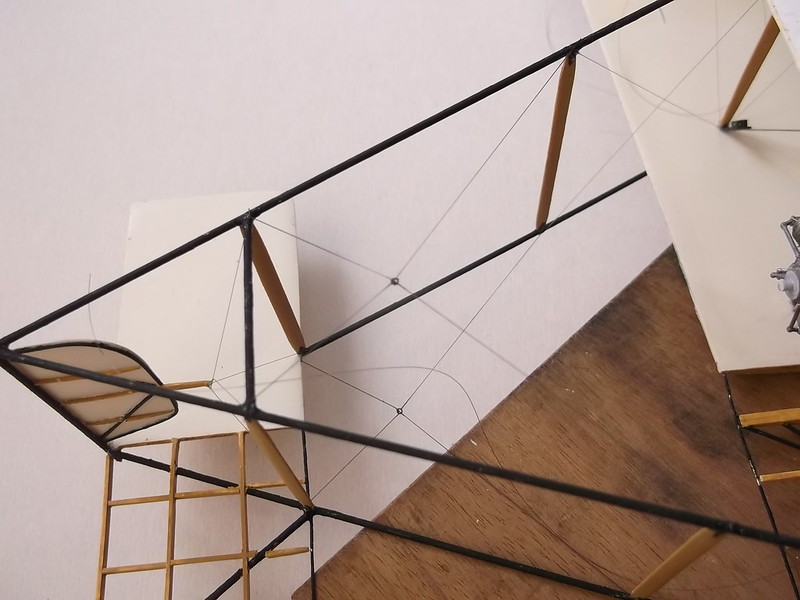
I have rigged the first bay of the boom but more importantly I have put in the horizontal bracing in front of the tail: this is formed by 4 wires attached to a small ring. Once again EZ line came to the rescue so that I could get two symmetrical and even patterns:
Finally I have been working on the machine gun. This is a Vickers from Gaspatch, but unfortunately the guns used on FB 5's were of a slightly different pattern to that depicted by the AM issue, so I have removed some of the moukding and made an ammunition box and receiver for discharged cases as per a photo in the DataFile:

This will be painted later and will be one of the last parts to be added to the model.
I am still struggling with errant lengths of thread which will be attached as anti drag wires eventually, but cannot be fixed at present because they will get damaged if I do. So, ever so slowly and in a crabwise manner I am getting nearer to finishing this project. I do not know how long that is going to take but I will probably wait until I do before I make the next post. Hopefully that will not be too long now.
Thanks for looking.
Stephen.

