Hi everyone,
Just want to thank you all for your positive comments and helpful tips. There as been a bit of cursing and swearing involved, but I have made some progress.
I've spent the last three days either painting the 'metal' parts in that lovely shade of grey-pea green or working on the same 3 cubic inches of Albatros, the cockpit.
I couldn't get the look of leather I wanted for the seat, and finally abdicated so that I could move ahead.
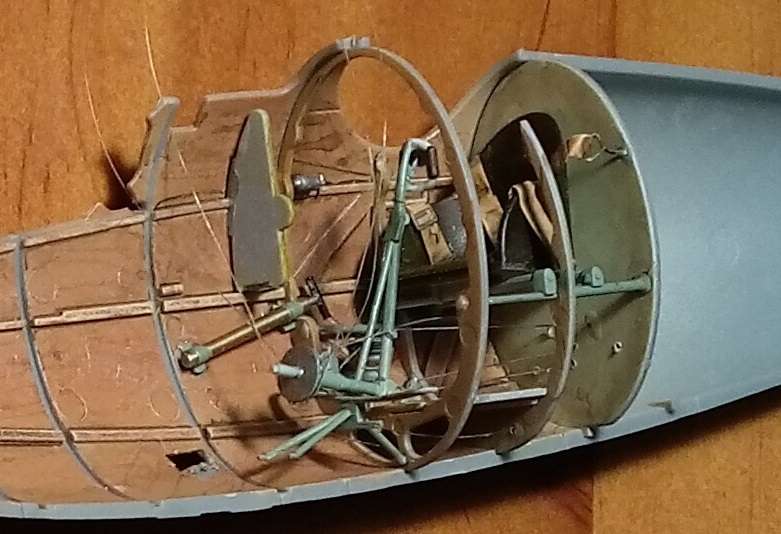
My next efforts went on those blasted PE seat belts. I don't know how anyone could get them to fit properly with that joining strap where it was placed. On the second annealing, some brass melted away from the 'D' loop causing me to curse my choice of a propane torch. In desperation I cut away the joining strap. Honestly, I think it was positioned horribly. I should have replaced it, but just getting them into a close-to-believable shape took more patience than I was granted. In the end, I decided that I had reached the 'good-enough' point.
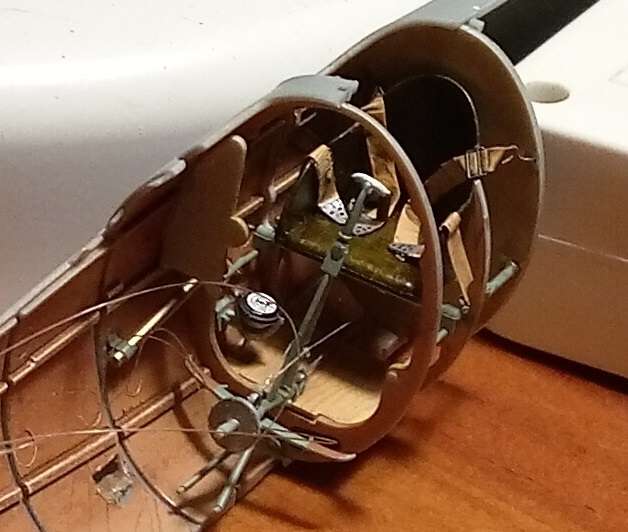
Inspired by the interior control rigging you guys are doing, I decided that I was going to try it for the first time. After getting a reply in the tips post, I decided to use the Stren 2lb. test that arrived after finishing my last Alby. After I got it into place and heat shrunk enough, I painted it silver. Despite the paint, it doesn't show well in the photos.
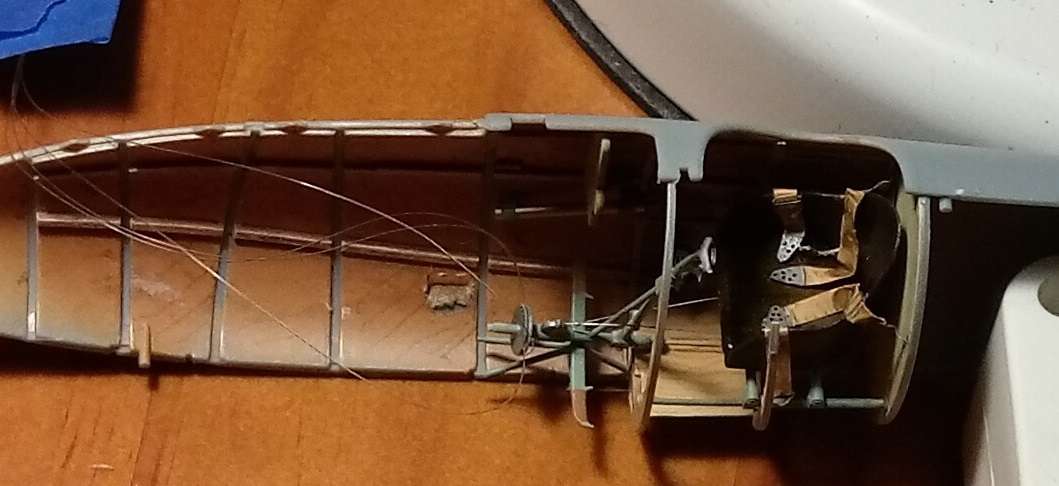
The bird I'm building is a D.V, so the control cables for the ailerons pass before the pilots eyes into the upper wing. This means a few less buckles, but it also means trying to cut four pieces to fit into a very short space once the upper wing is in place. I'm not one to enjoy precision work in confined spaces. I suppose I could drill all the way through the upper wing... but I really don't want to as this machine will have painted wings.

So...another step ahead, even if some fumbling was involved.
Thanks for looking!
Gaz

