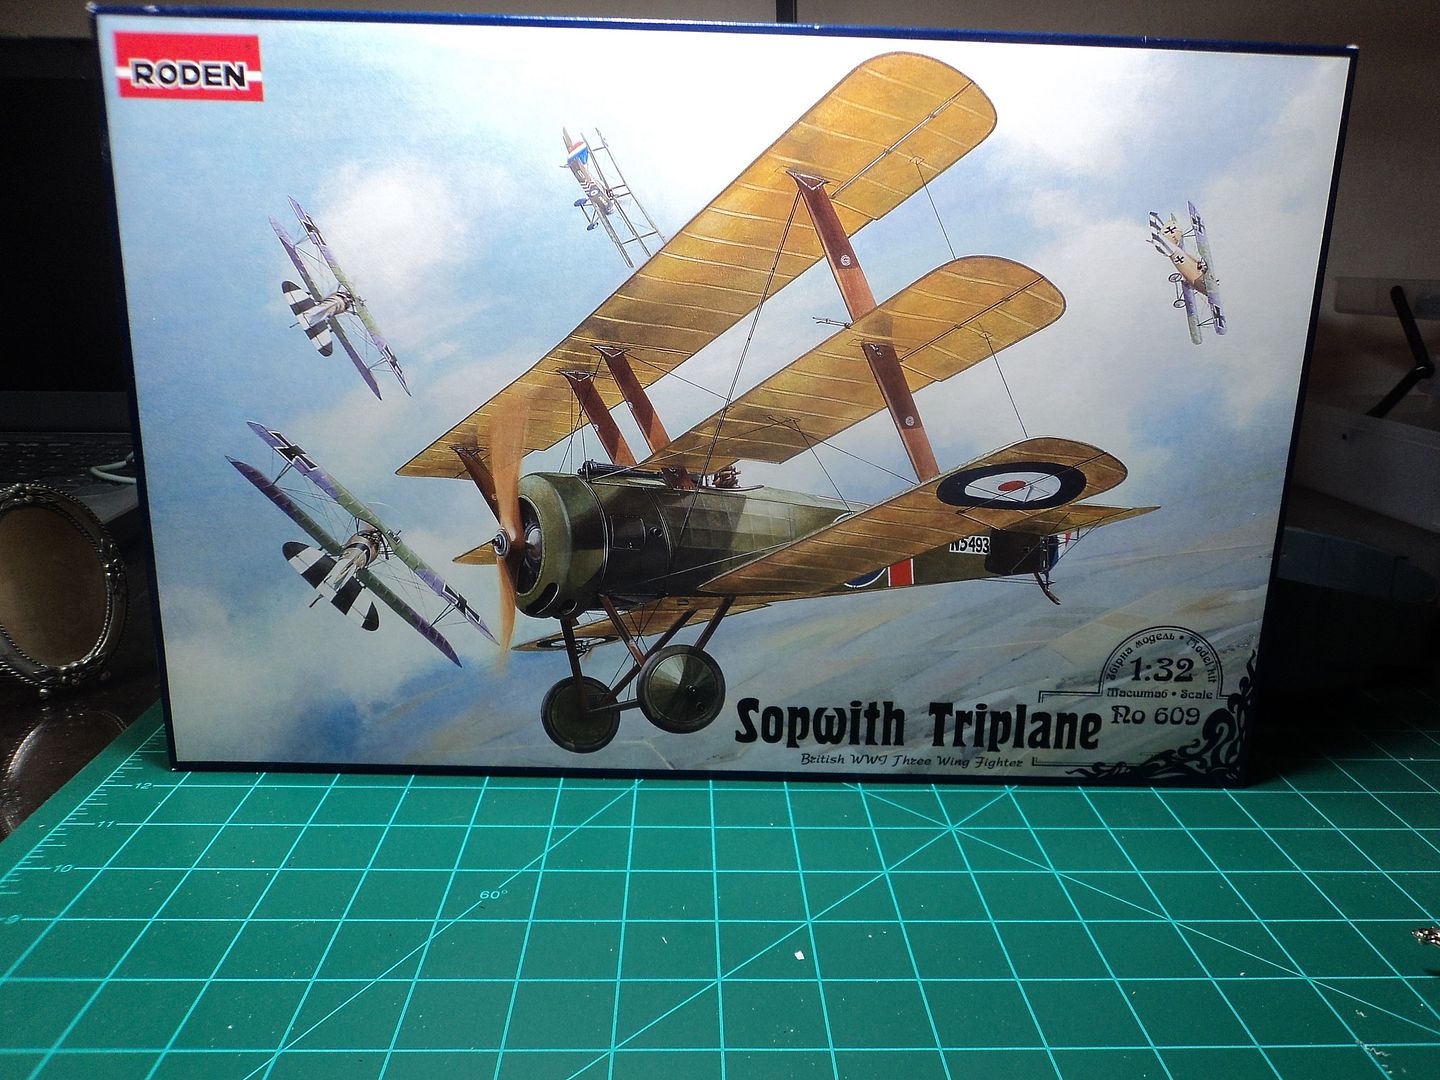
I had always wanted to do the Sopwith Triplane in 1/32nd scale and finally did. I have the WNW Sopwith Triplane, but wanted to try my hand on this Roden kit, which I purchaed prior to WNW releaseing their Sopwith Triplane, I also purchaed the PHEON Resin Corrected Fuselage when I purchased the Decal sheet for the Sopwith Triplane. If you look closely at the Roden Box Art you can see "Maud" being chased by Albatros.
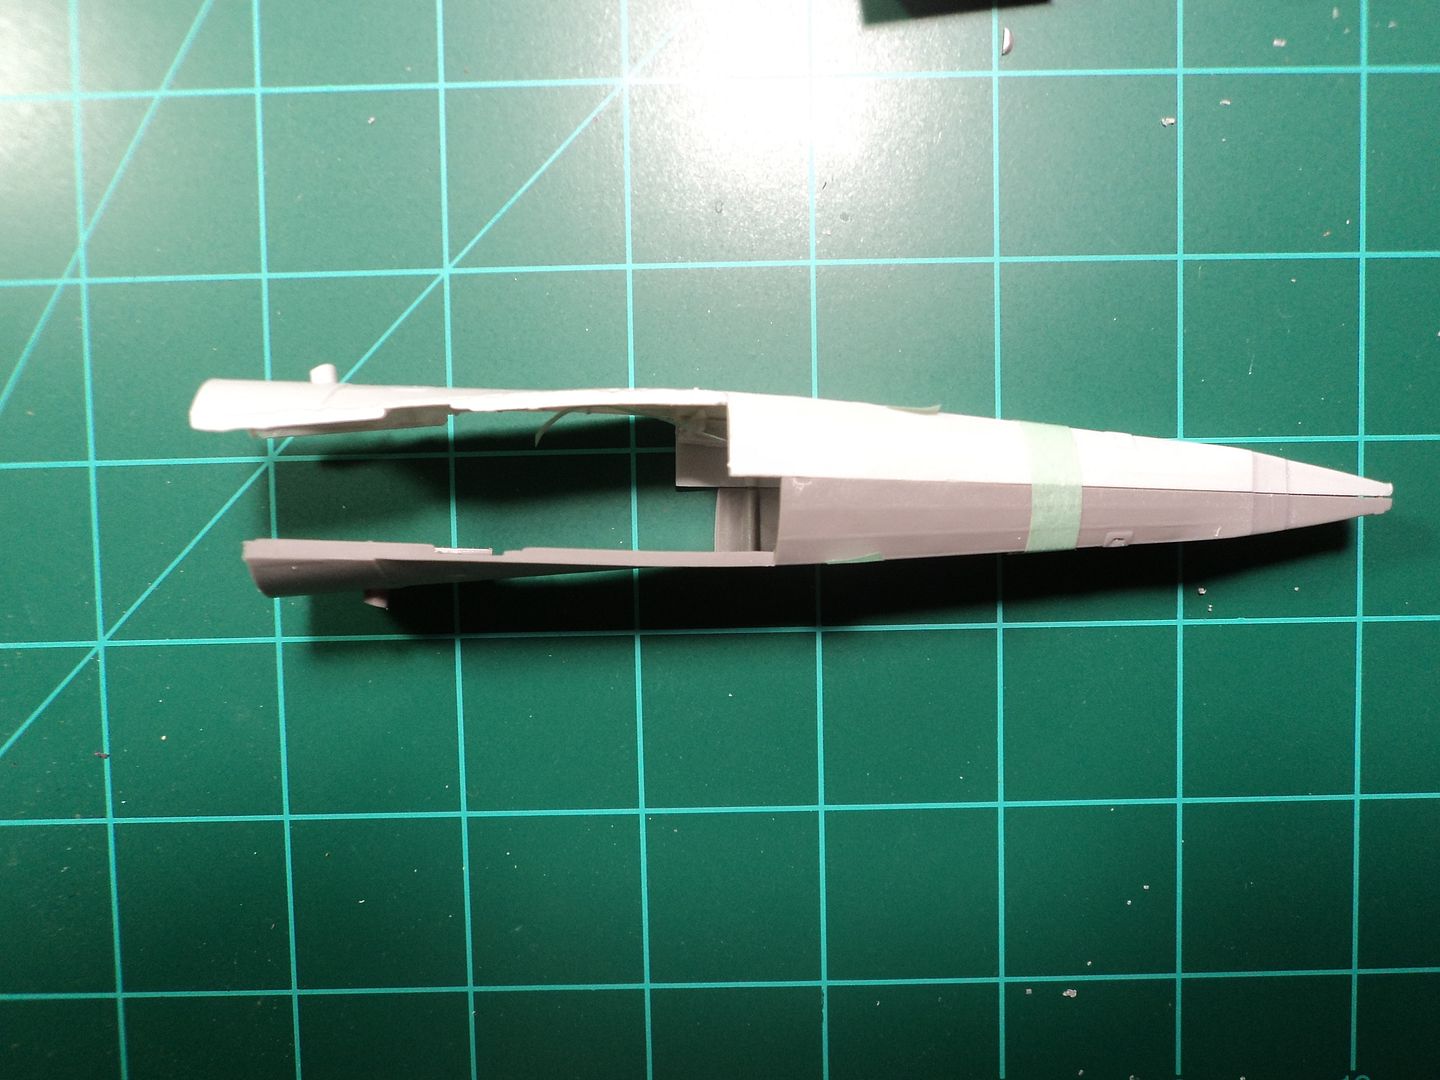
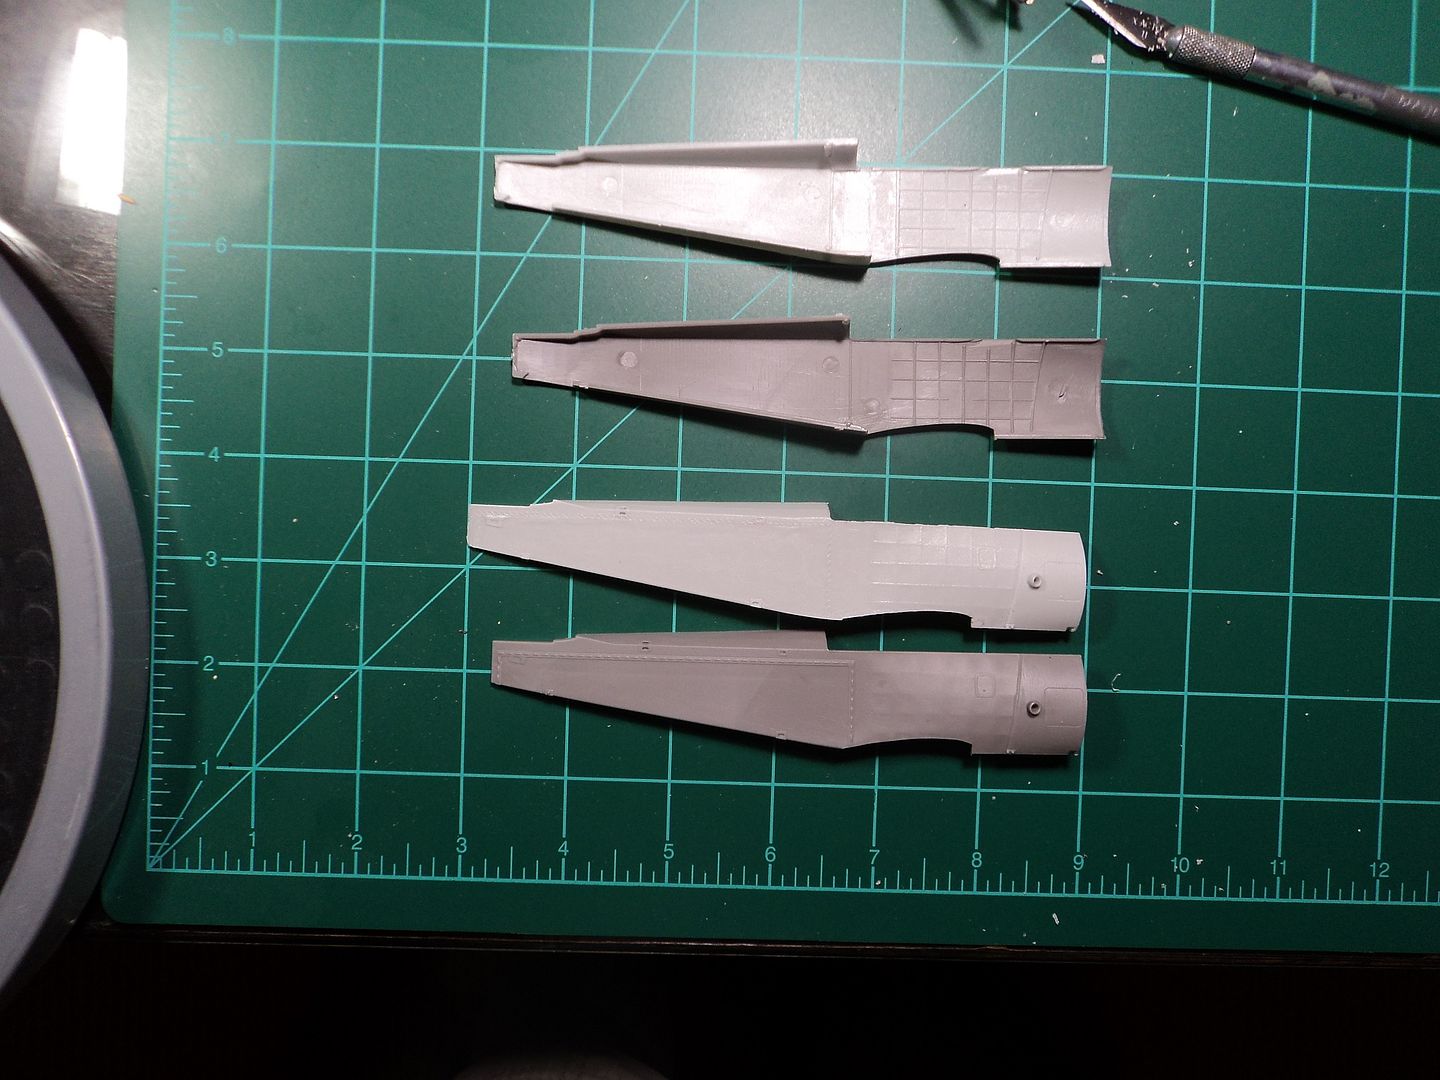
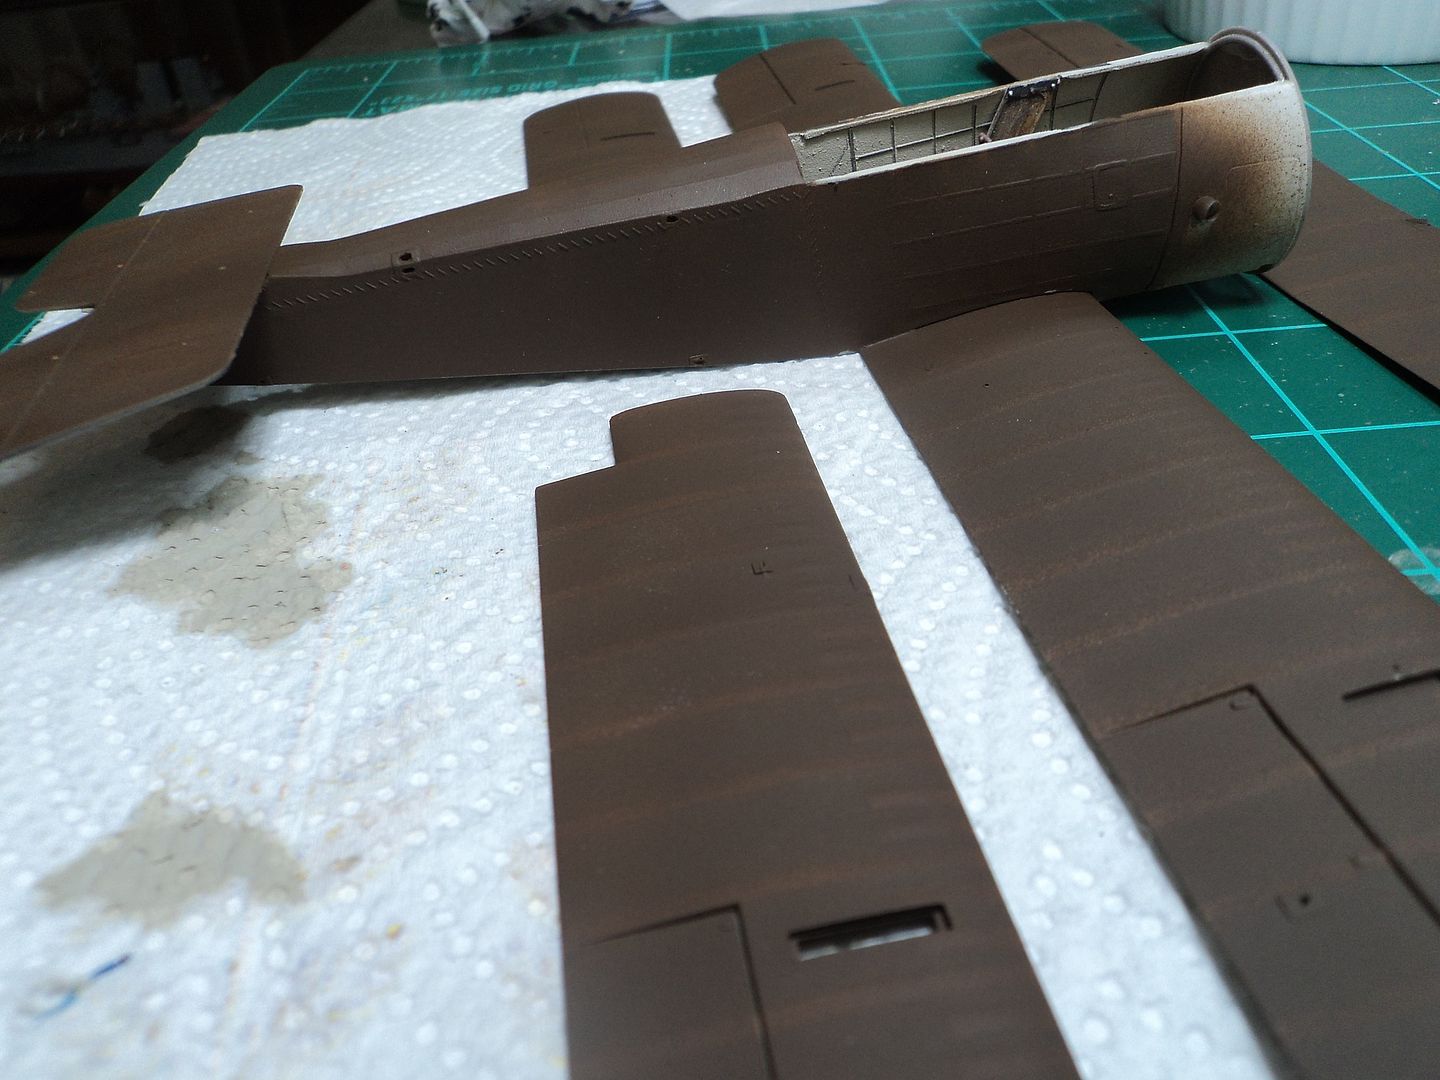
In the image below you can clearly see the difference in length between the kit fuselage and the corrected PHEON one. I believe Brian Fawcett was the creator of the resin fuselage. The Kit fuselage is for the prototype of which Des did an excellent job and can see his build up on the home page.
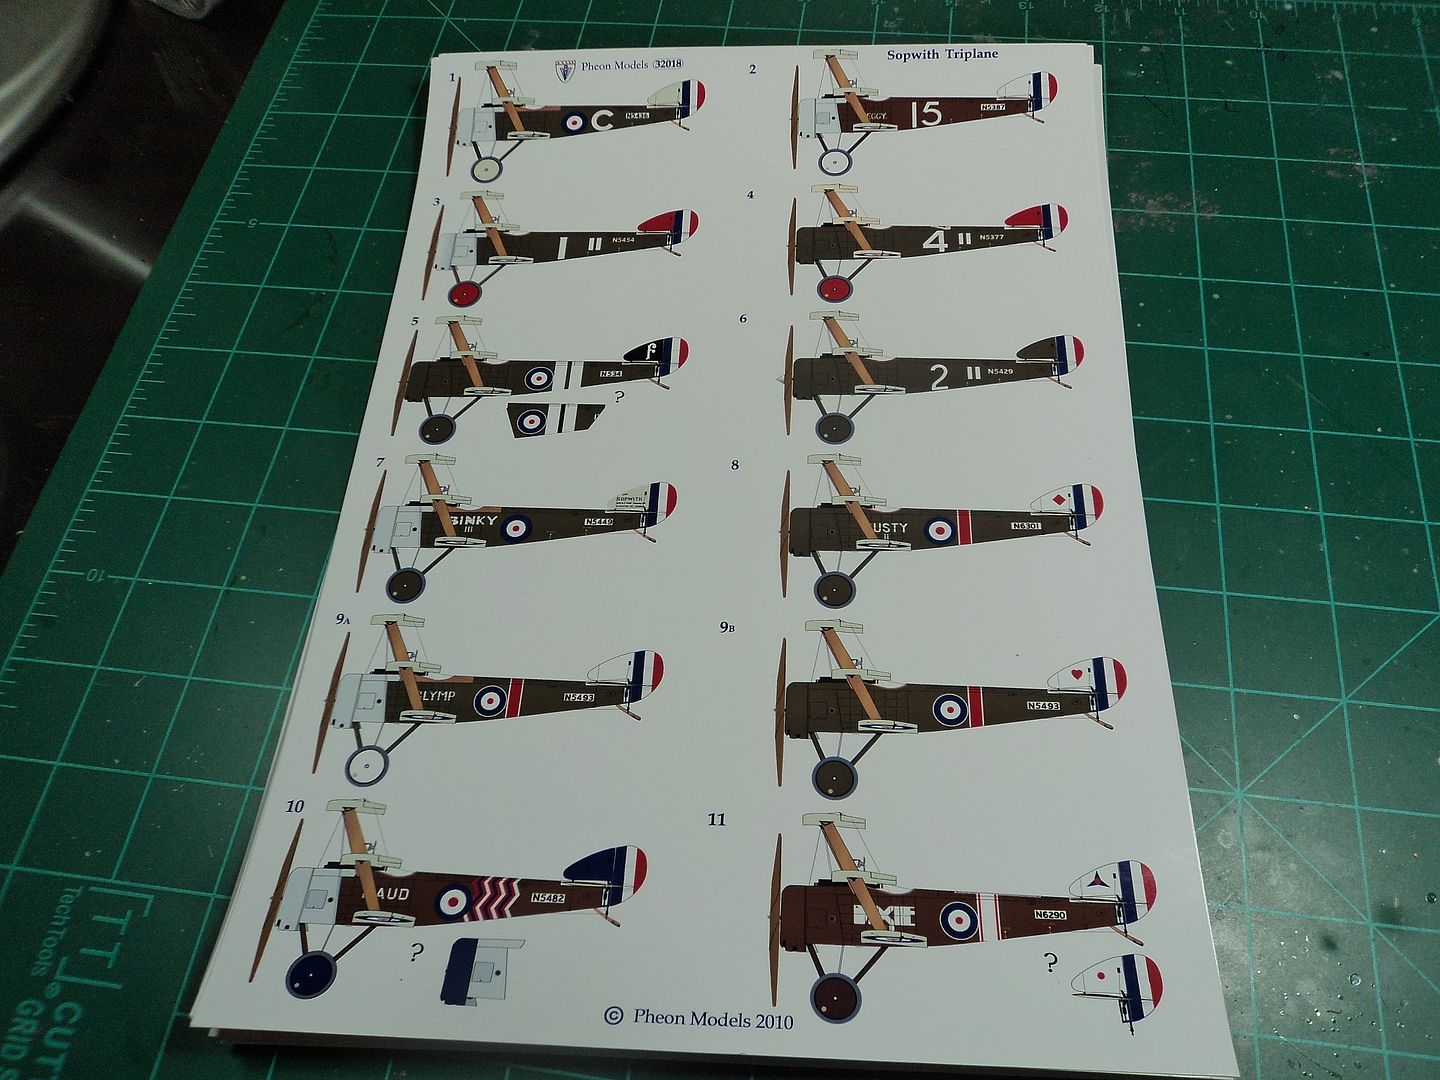
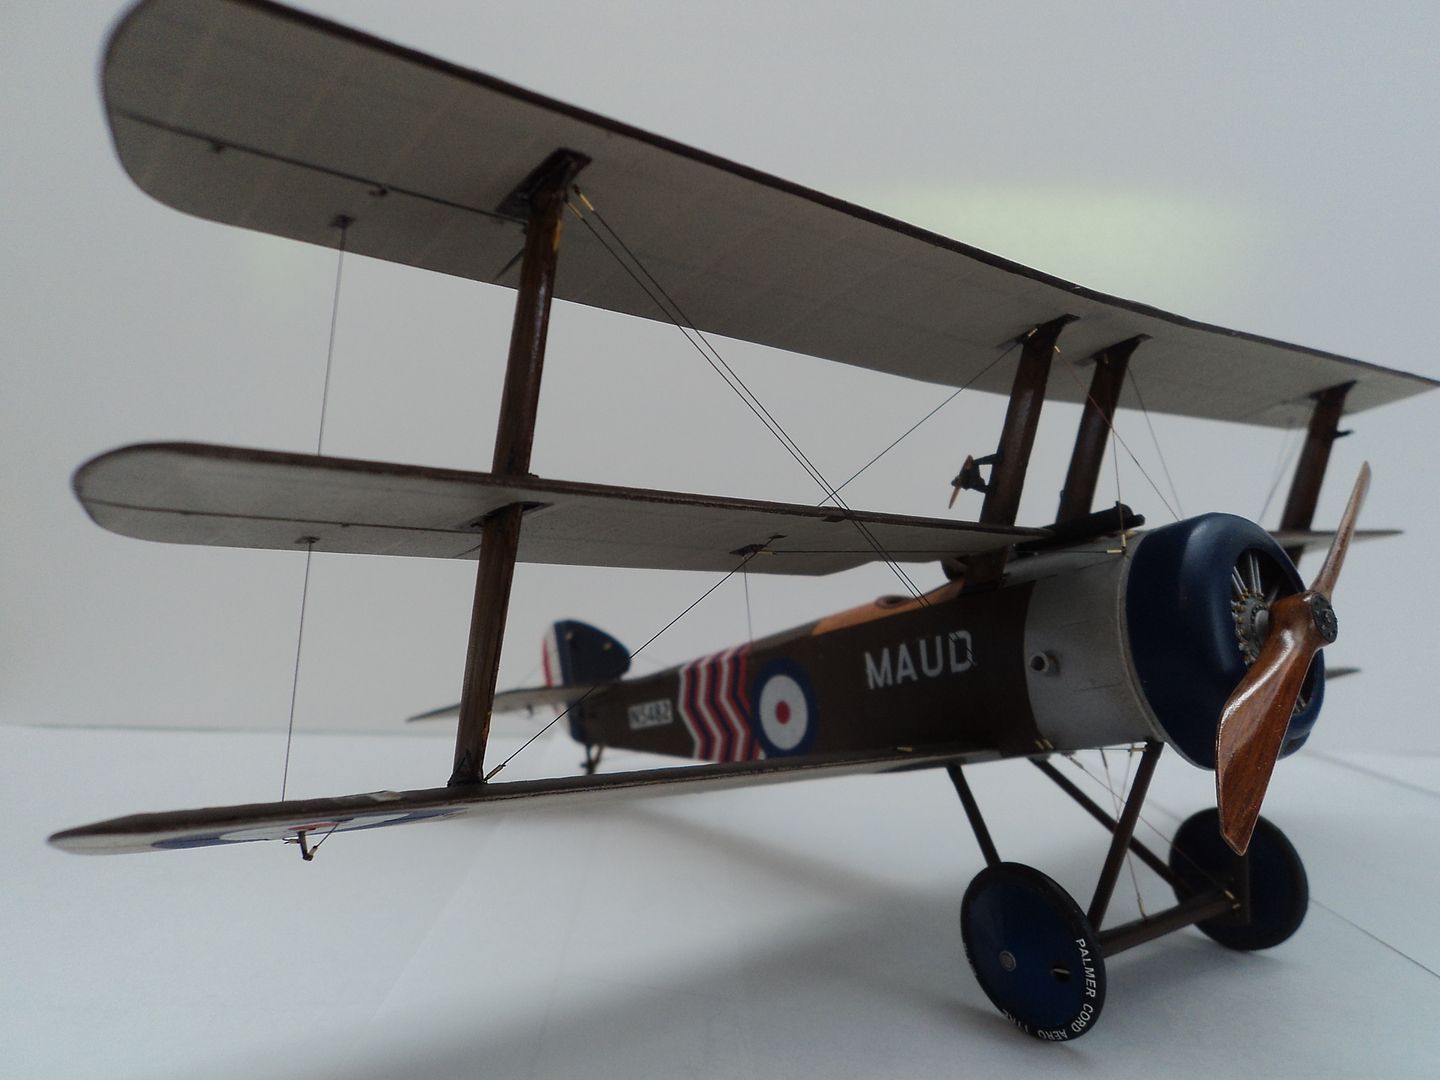
I like the color scheme of "MAUD" and went with the alternative blue cowling. Our Fellow Forumite, Bud "Coyote Magic" Pearson, did one awhile back using the WNW kit and PHEON Decals for "MAUD" and did an excellent job duplicating the machining on the panels and cowling, I wasn't about to try that so went with the blue cowling.
Maud is #10 on the sheet below:
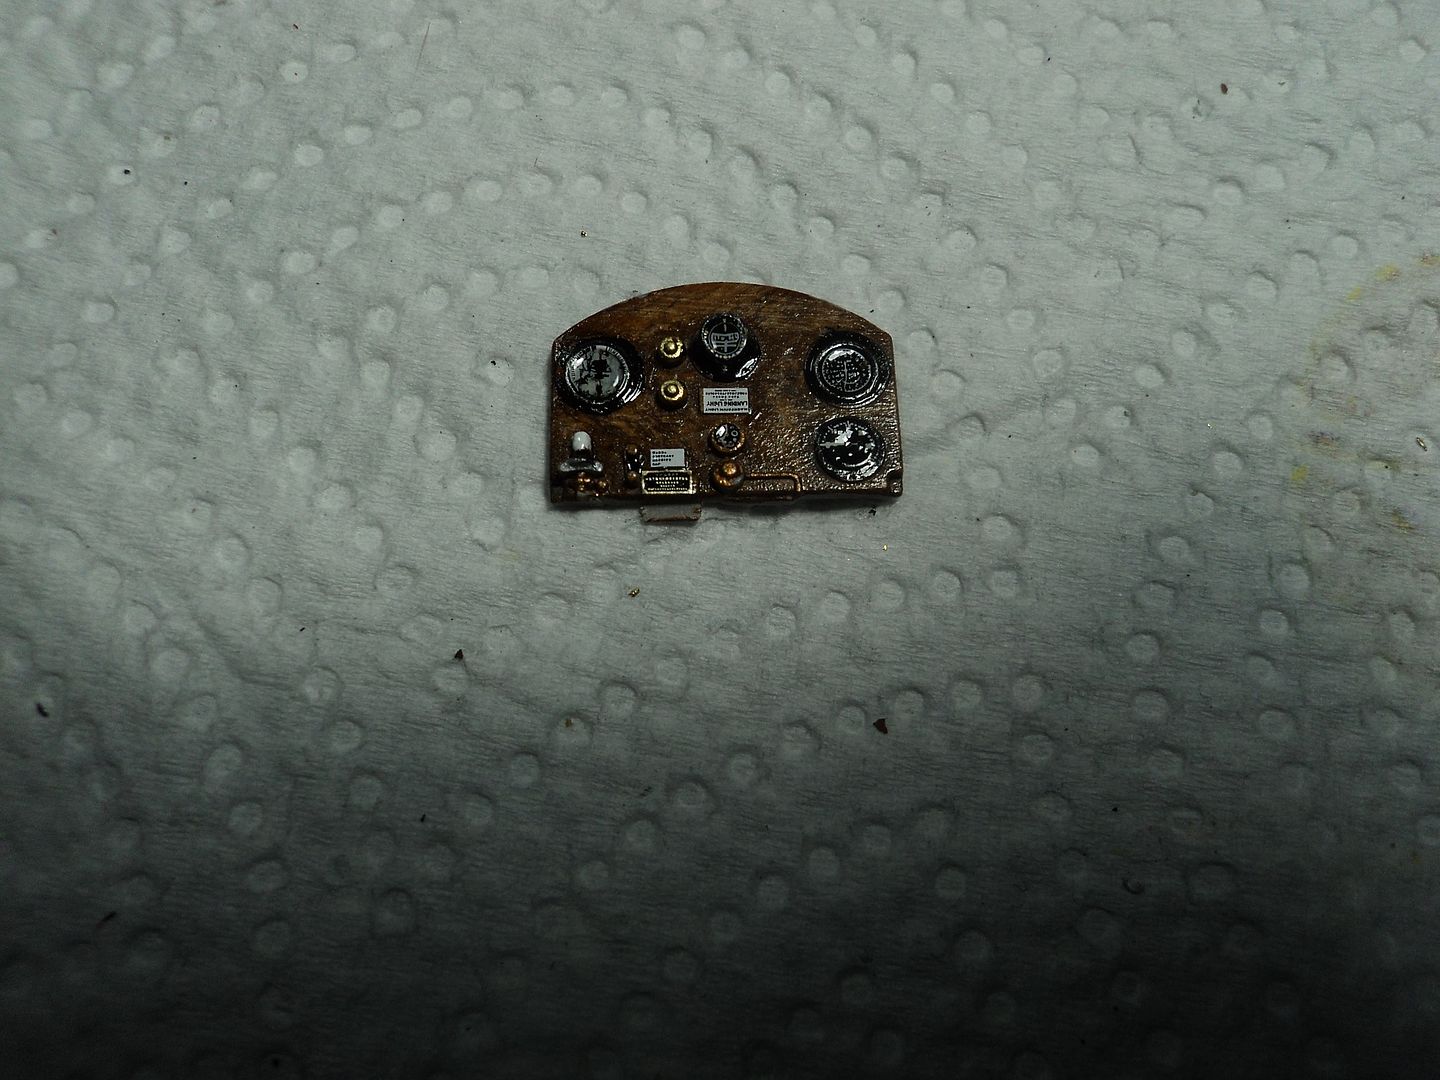
Using some spare WNW Insrument decals I finished up the I.P. and was happy with the turn out.
I had a Clerget engine from WNW I was going to use, but it didn't fit in the cowling and no amount of grinding was going to make it fit, so I opted for the kit engine. It looks fine as the cowling does not show off all the detail that the modeler could employ with a less restricted cowling.
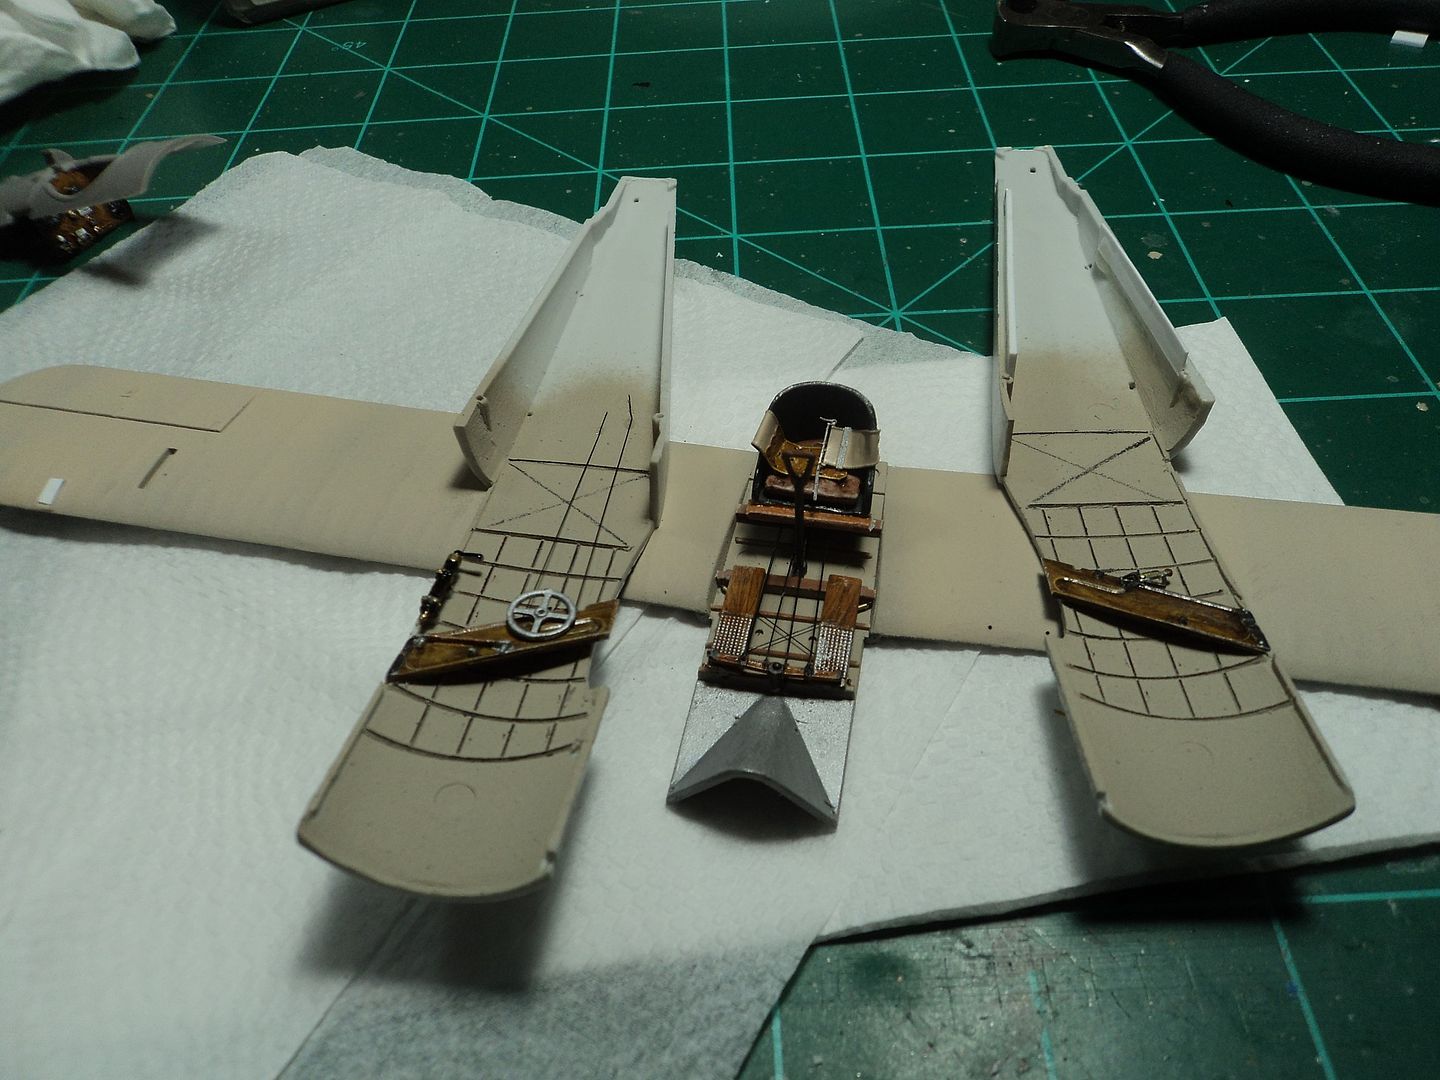
I didn't spend a lot of time with the interior, I added basic control cables and the stabilizer pitch wheel and ready to button it up. For the internal bracing I used a sepia sharpie to pick out the details and penciled in the cross bracing. Once buttoned up, it can't be seen.
The problem with using resin is getting it to adhere to plastic and vice versa. The fit was a little off as well so some "surgery" had to be employed.
Not very pretty and I almost gave up on it as I was about to move on to the next step when it all came apart. With a good nights sleep and strips of styrene I was back in business.
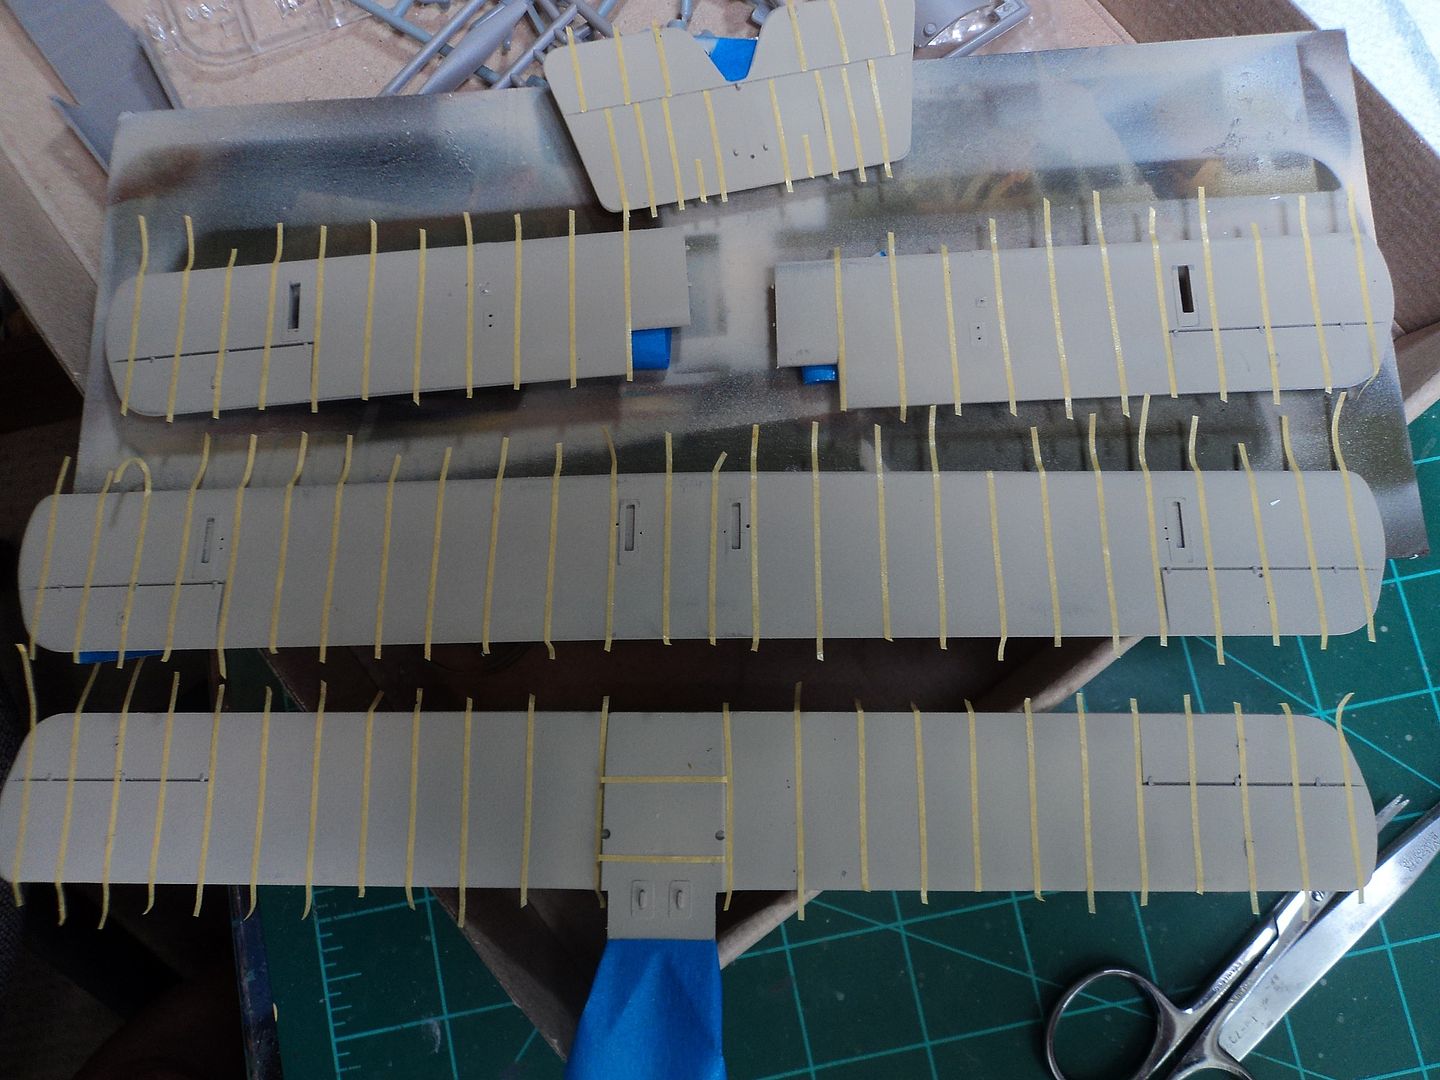
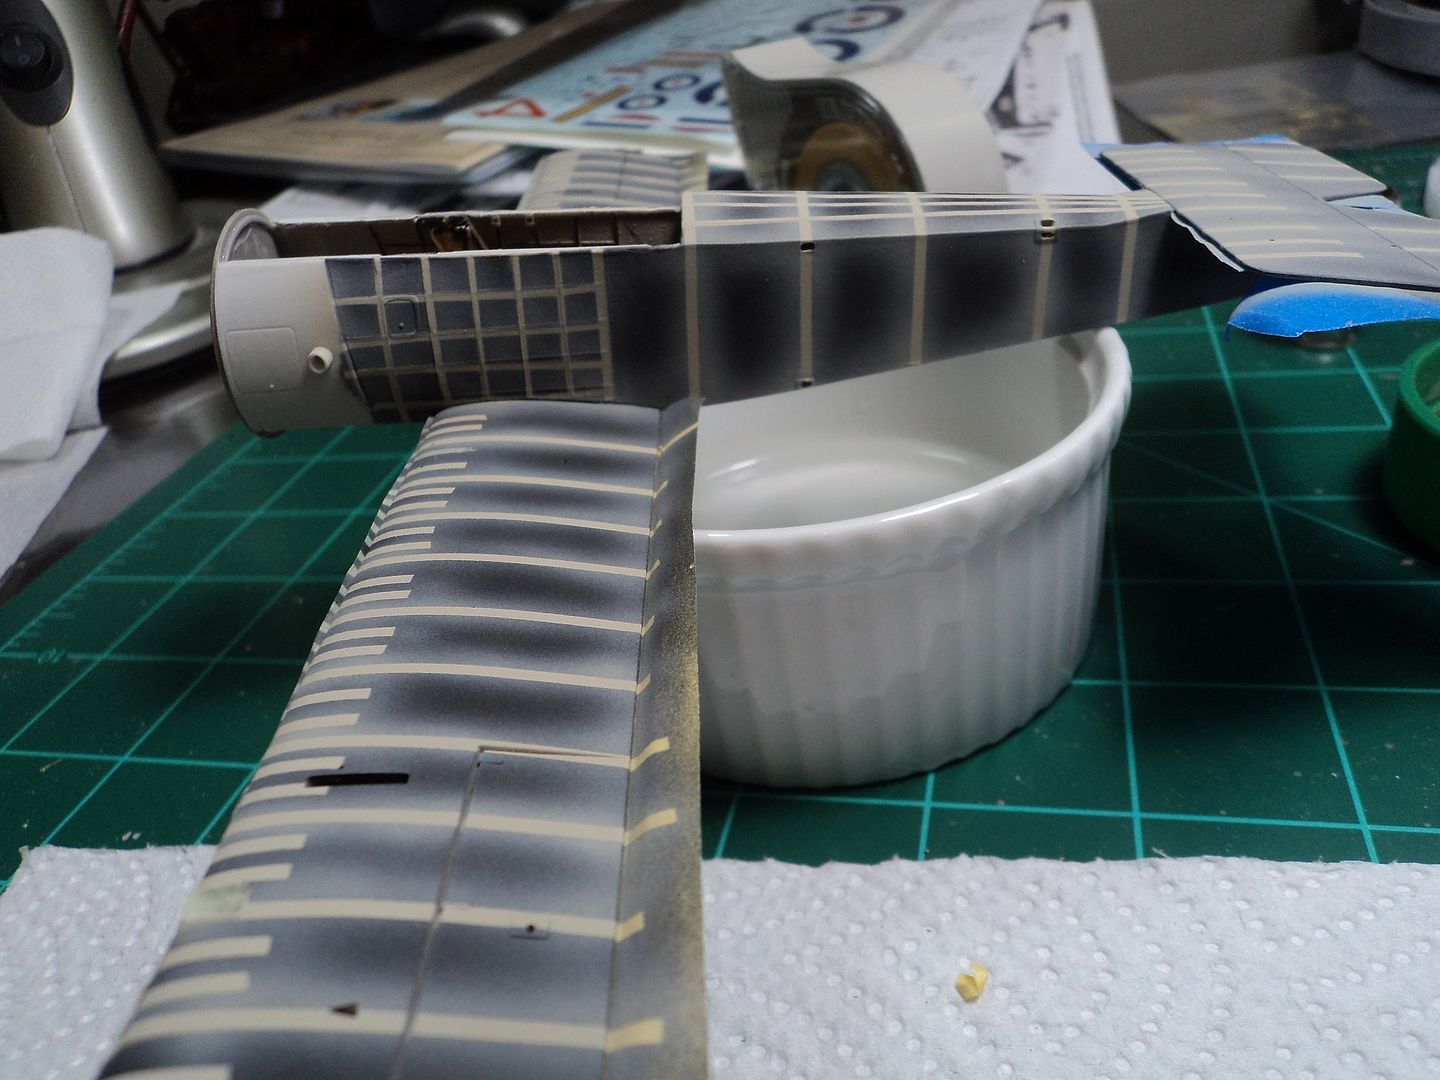
Now the tedious taping started. Using AIZU 1mm tape I taped off all the ribs
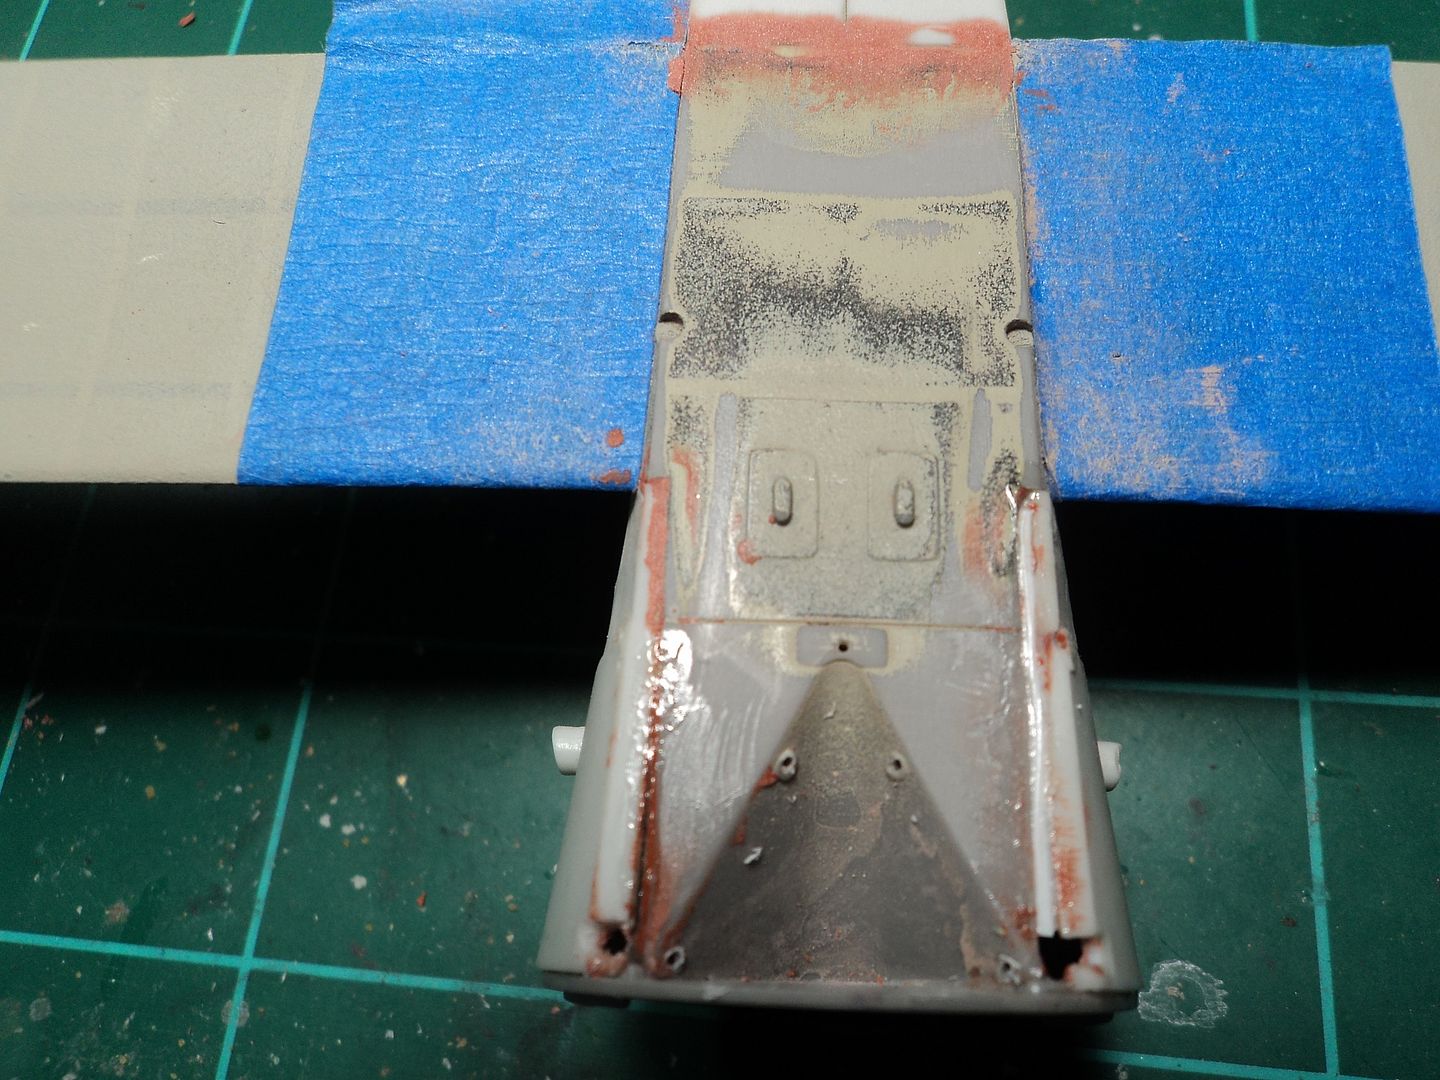
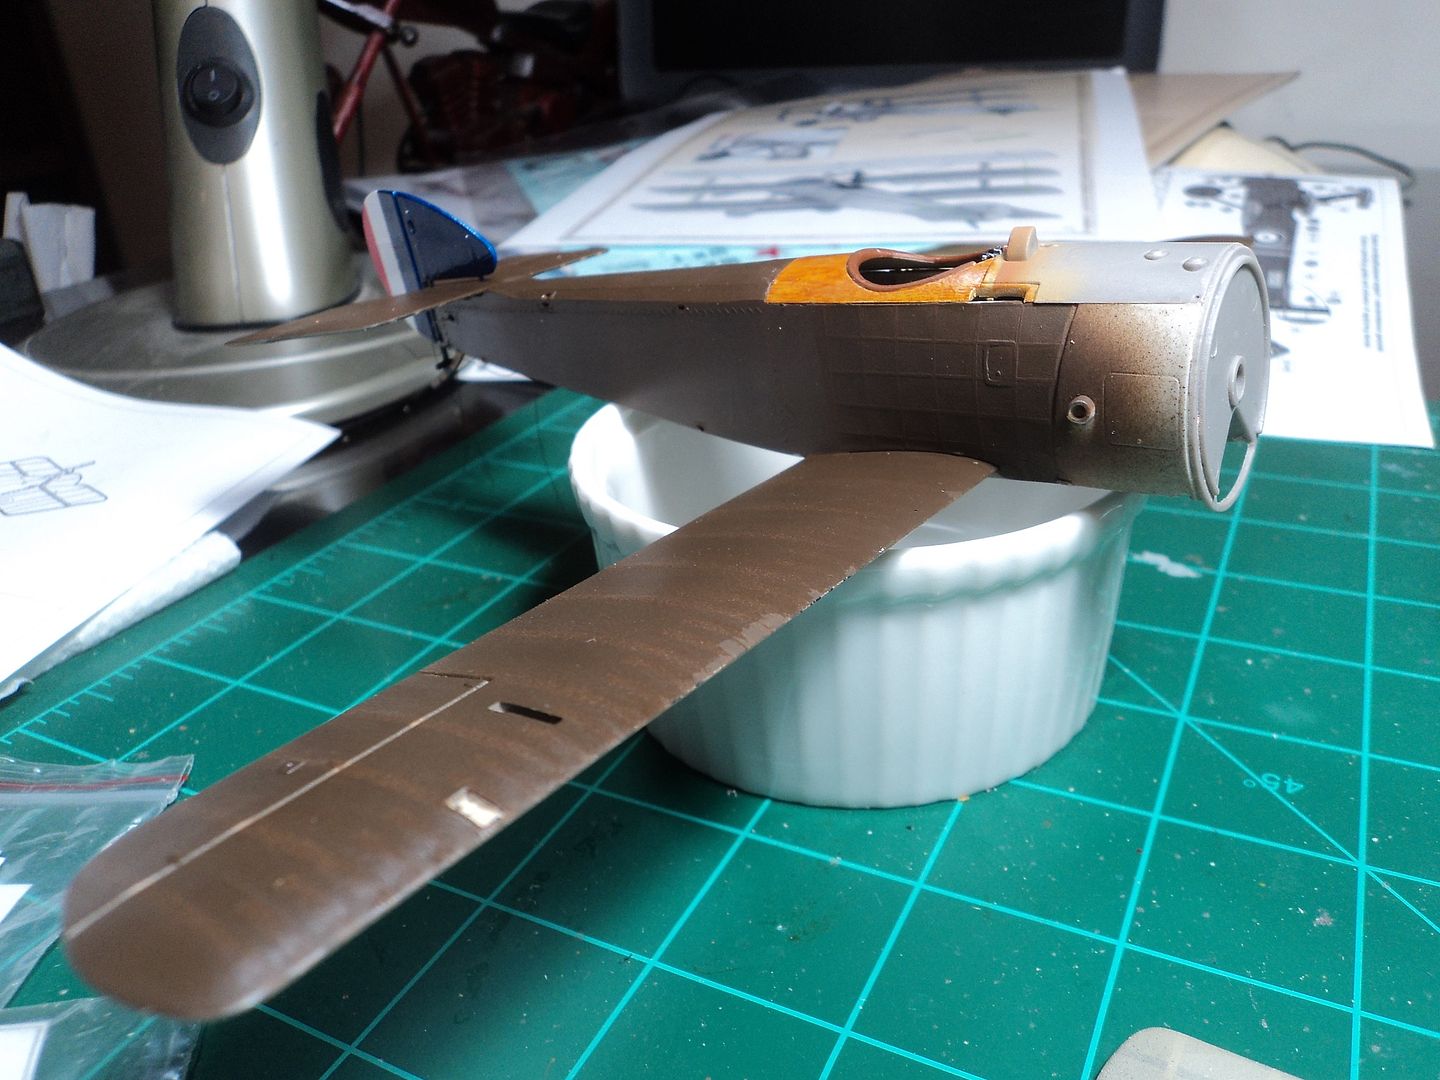
With the tape removed, I tried something different. Using Tamiya XF55 I created a "negative" shading in preparation for the final paint.
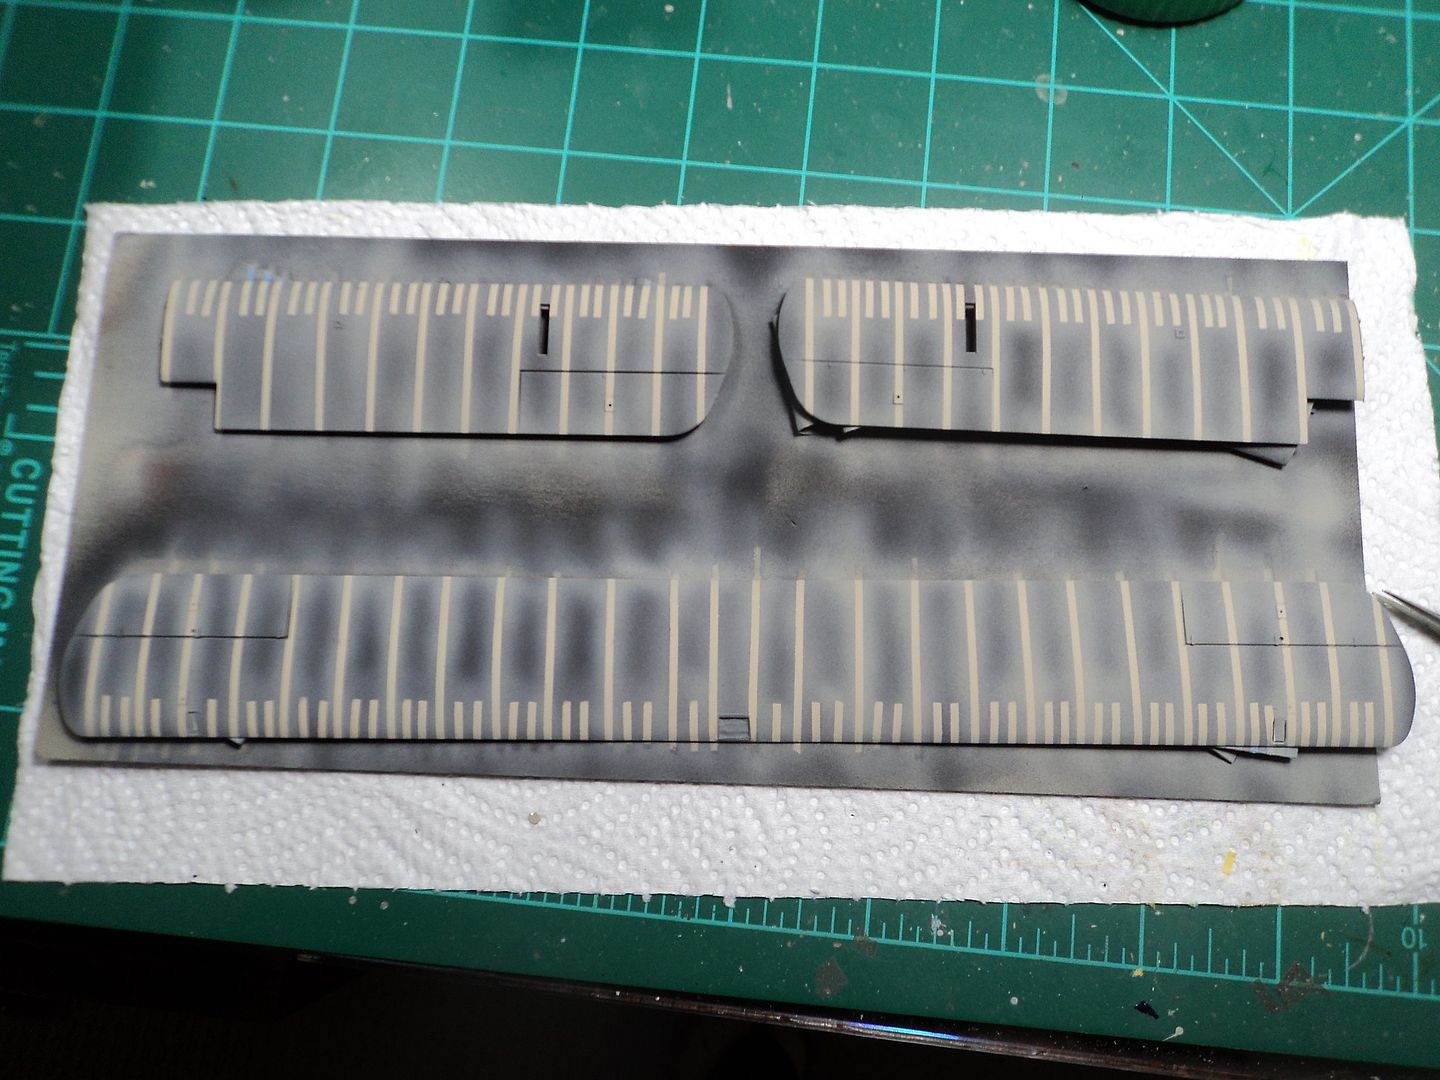
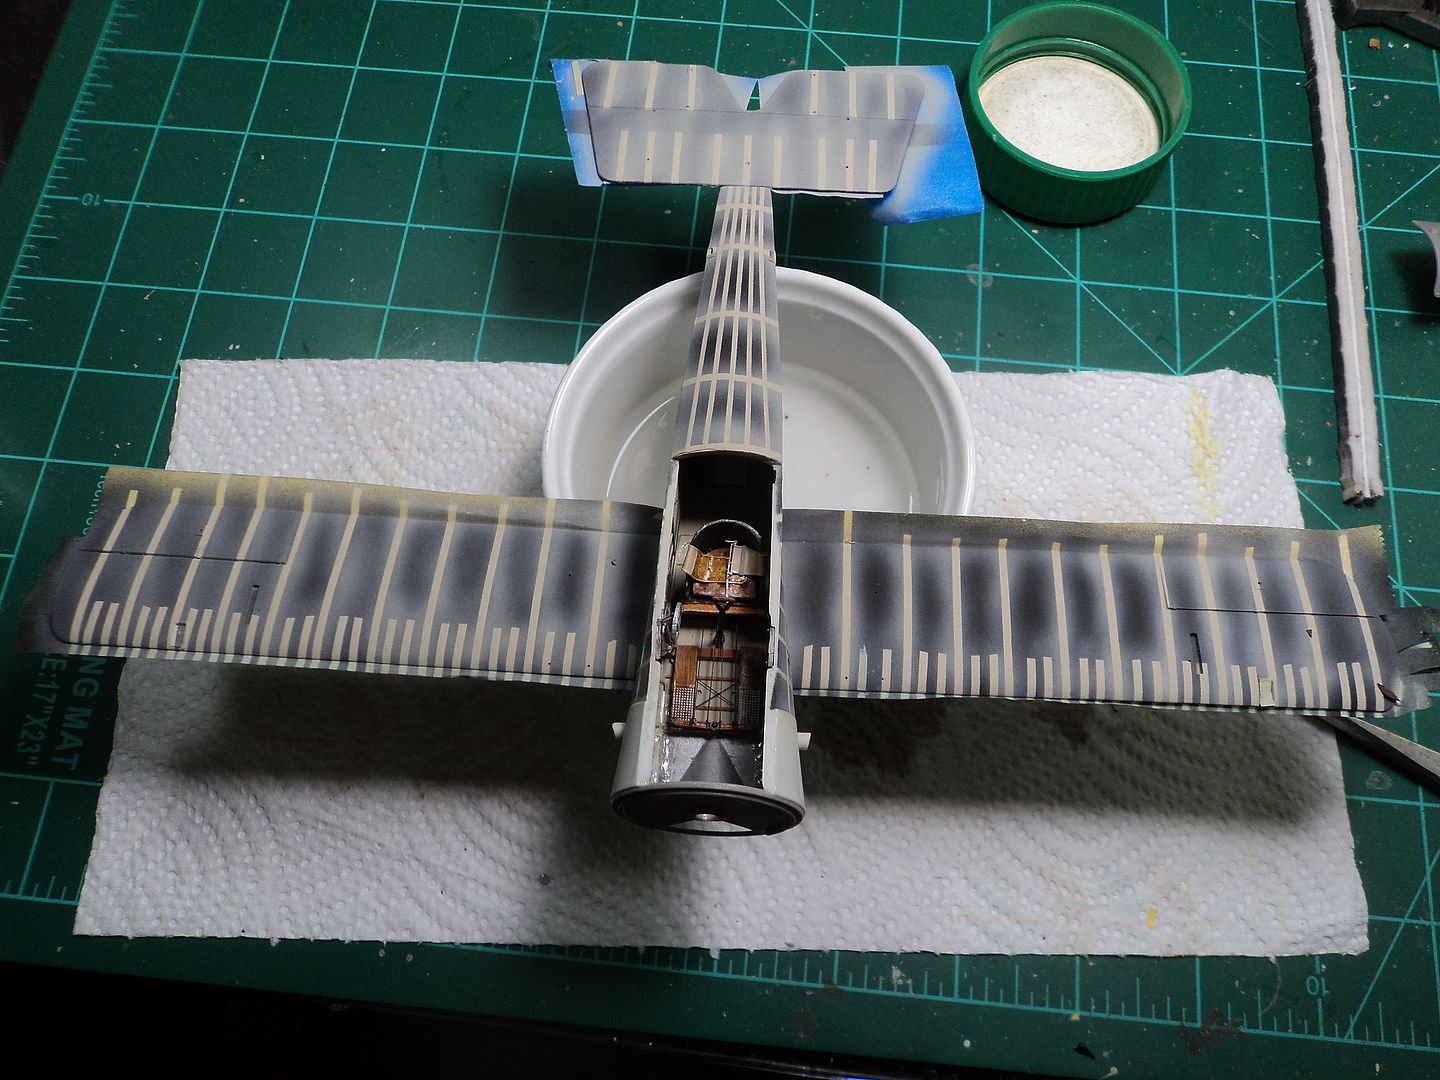
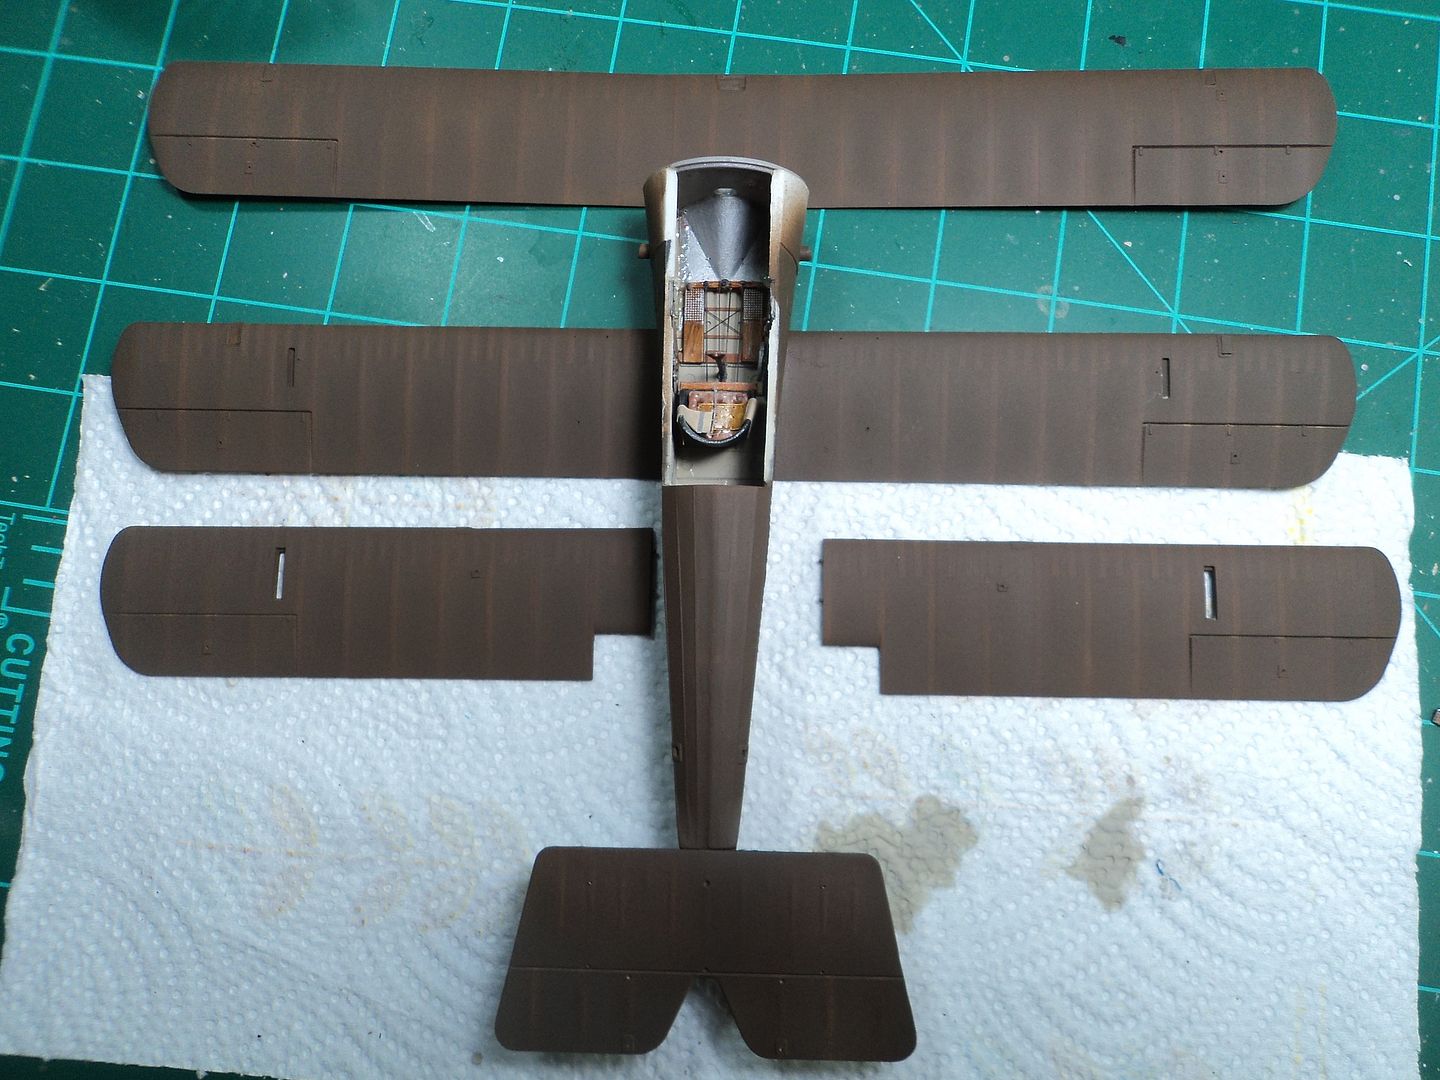
The finished product. As the roden surface detail is a bit soft unlike the crispness of a WNW kit, I wanted to show the rib detail, but show it subtley, I think it turned out okay. With more experimentation I think it will look better.
You will notice that Roden does have the cut outs for the cable pulley inspection windows. Roden gives the modeler a thin sheet of clear acetate to cut out the panes. I filled them with Testors Canopy Cement.
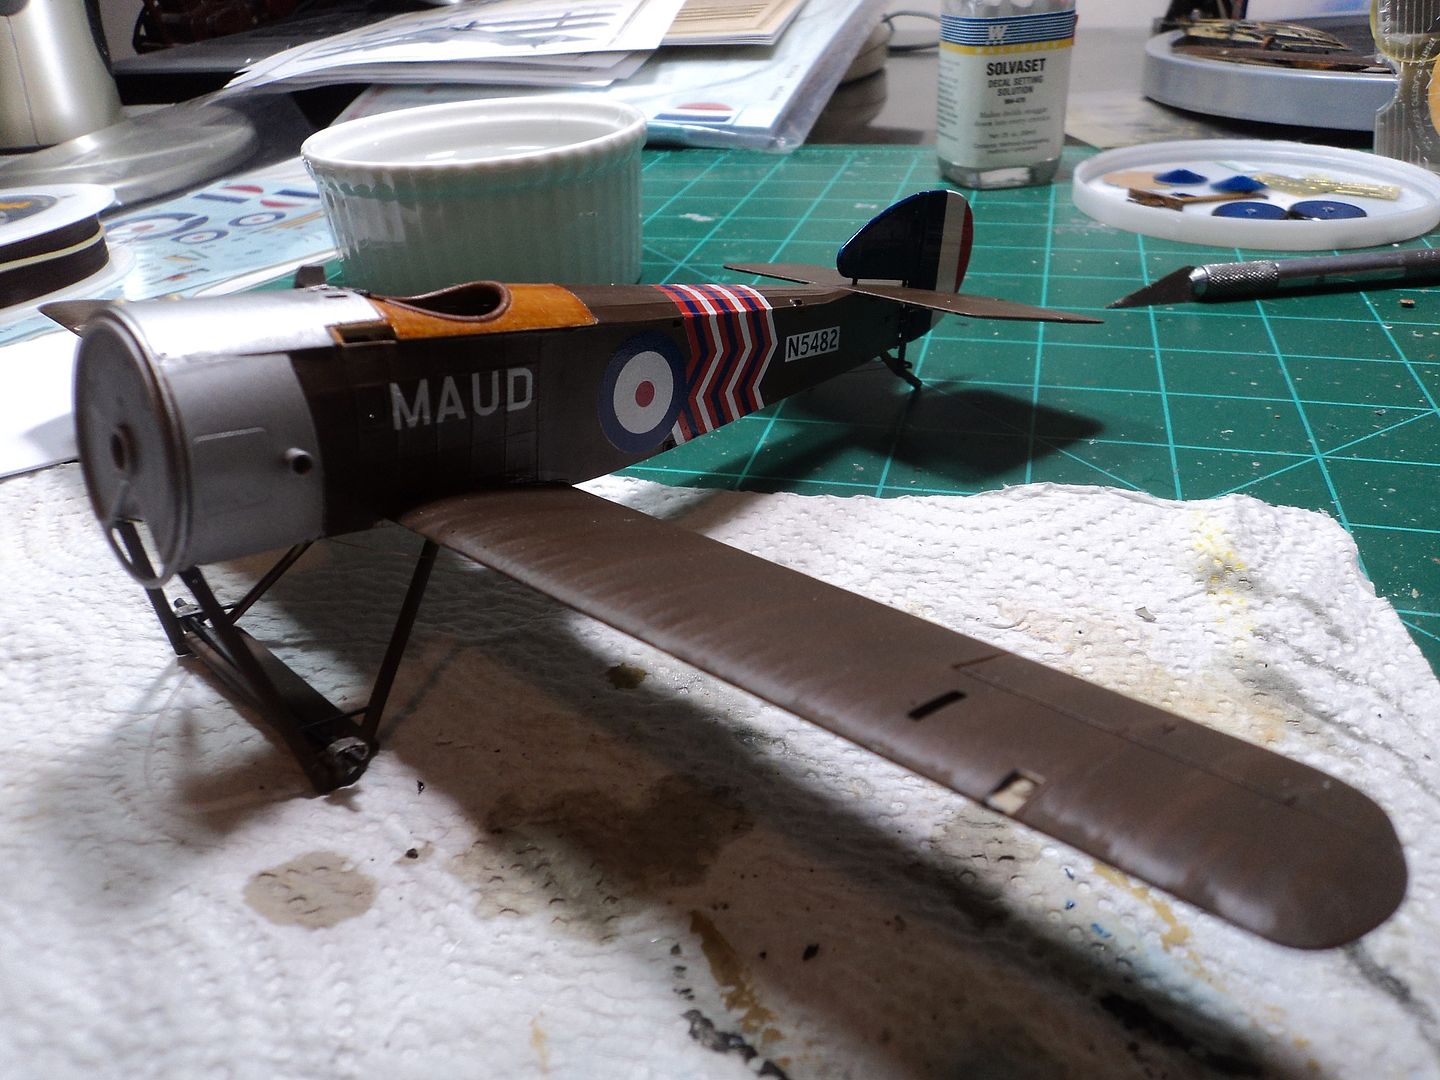
It's taking shape. The PHEON decals went on without a hitch, laid down nicely and fit like a glove over the resin fuselage.
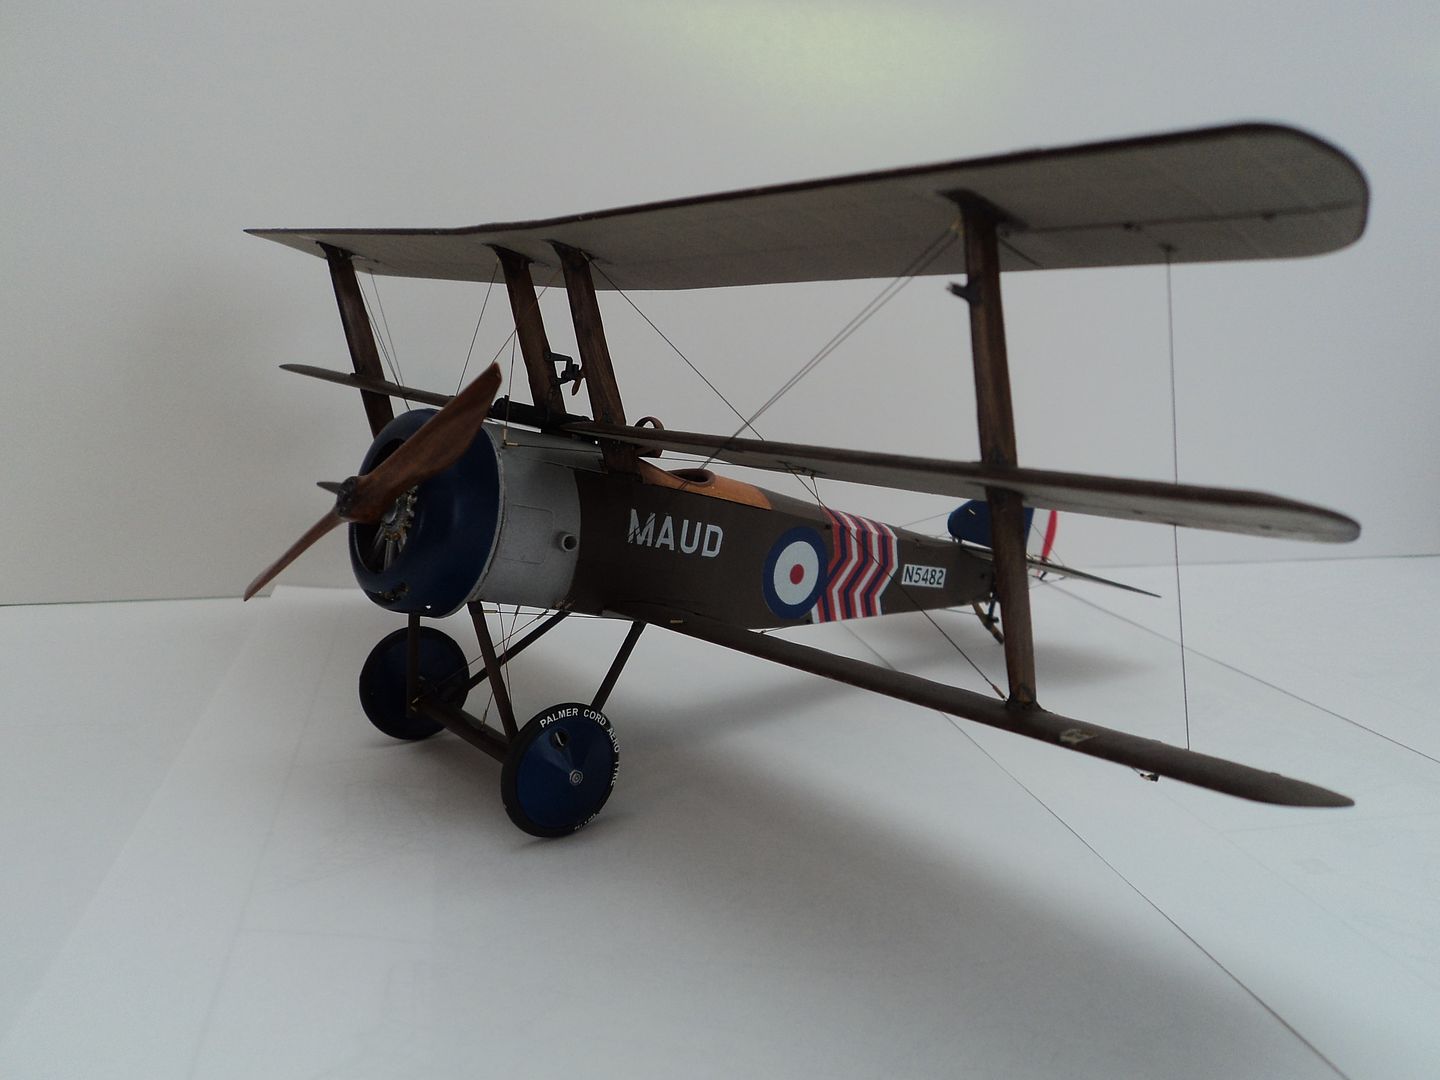
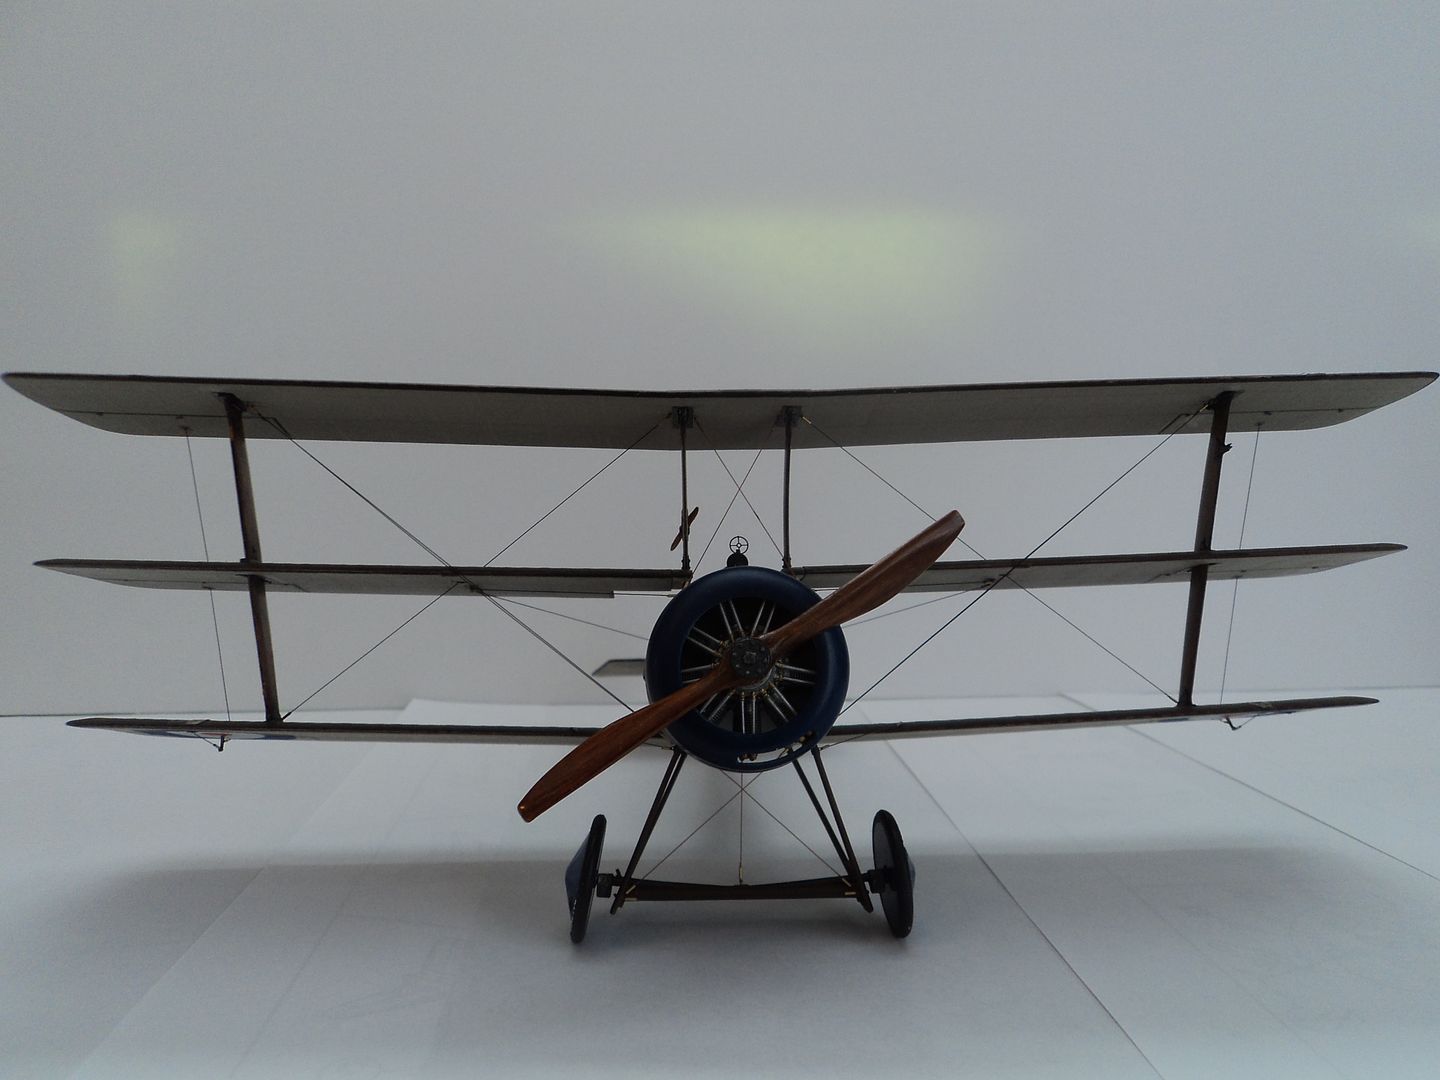
And it's rigged and finished. I used WNW Wheels and covers that were spares from the USAS Camel as well as control horns for the ailerons, as the Roden Supplied ones were consumed by the carpet monster. Not 100% correct, but Sopwith none the less.
Roden Kits have gotten a lot of bad press as of late and I want to show that with a little care and patience (A skill I am still learning) a nice model can be built. Squadron thought enough of them to dress them up a bit in their "Encore" line. Both Encore and Roden kits are now hard to find save on ebay and mostly out of the Ukraine. This is my fifth Roden kit and I will be building more of them to fill the void.

Thanks for stopping by and checking it out.


