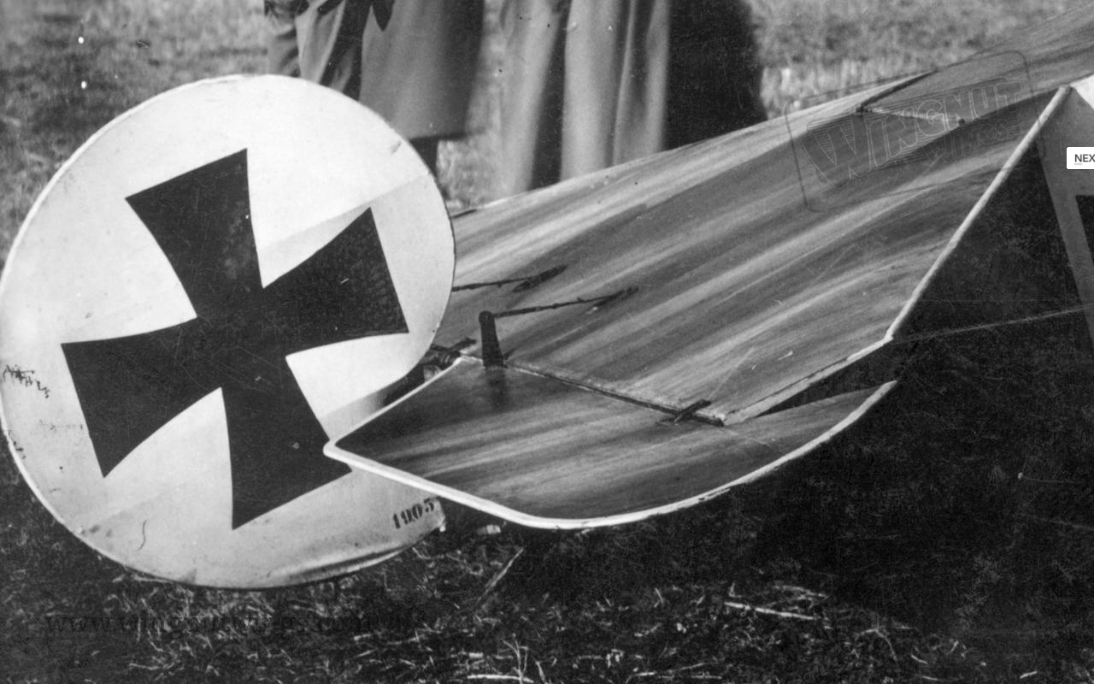
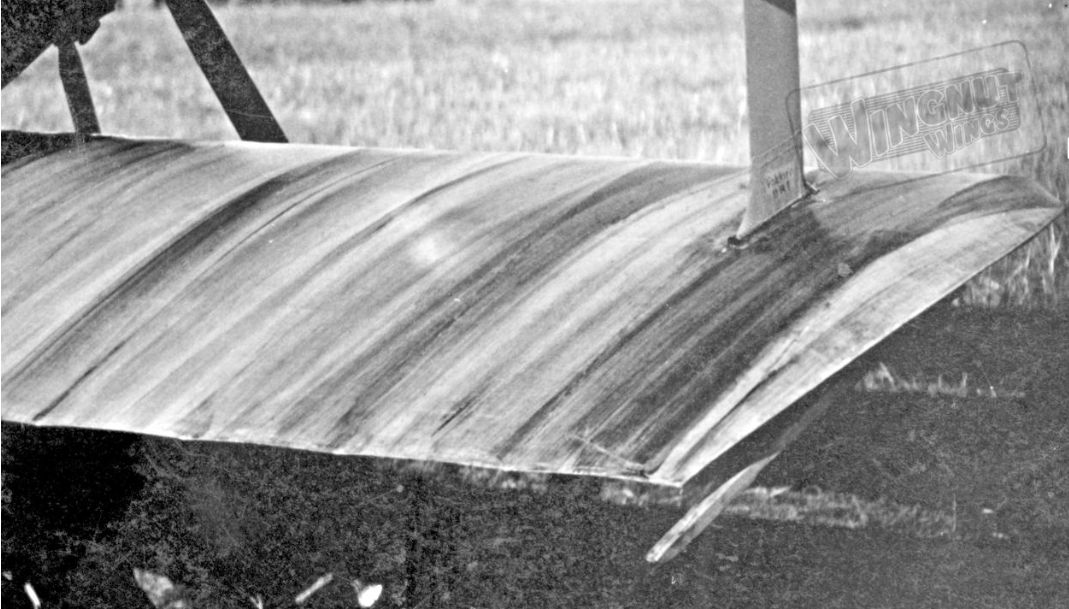
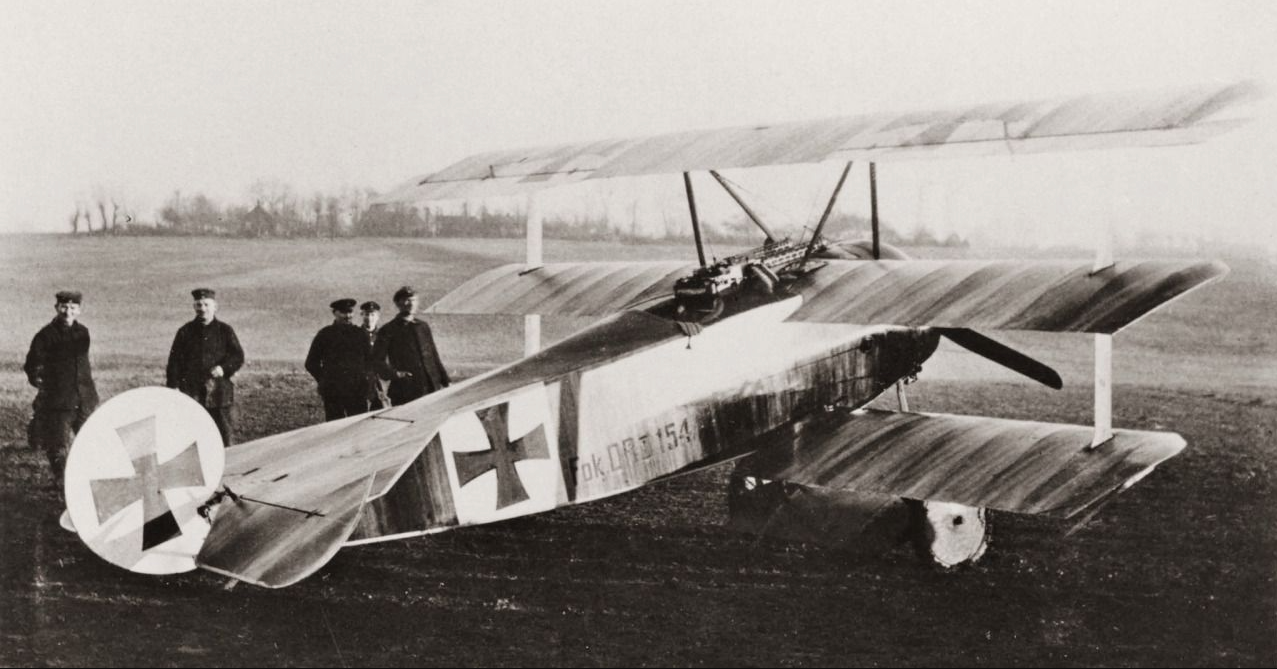
After looking at triplanes for years, I've watched so many try different methods to try and get that Fokker look.
As if it's not hard enough, the streaking on the same a/c can look very different from one photo to the next taken minutes apart...
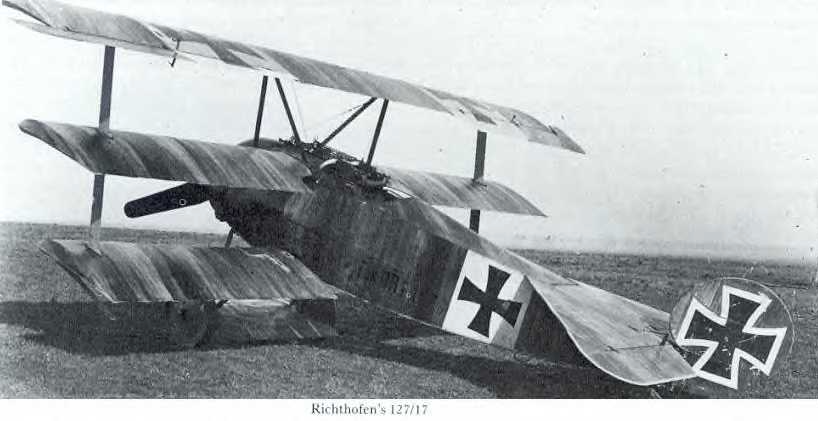
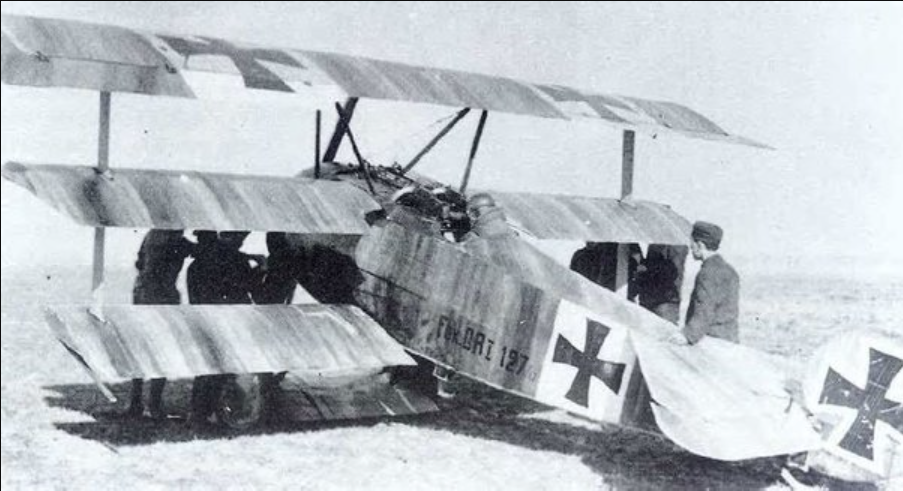
Some techniques seem to work better than others.
When Aviattic came out with there streaking decals, I was struck at how airbrushed they looked.
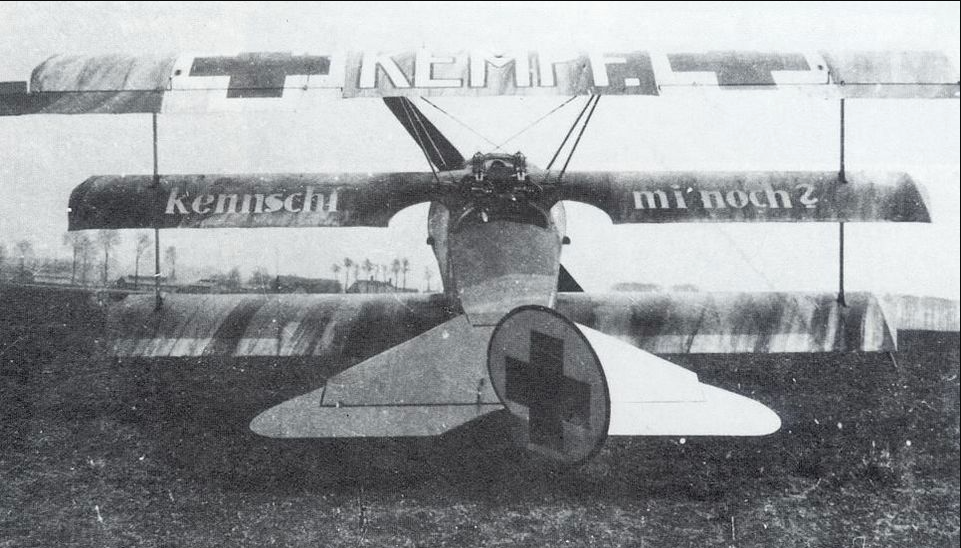
Airbrush alone won't do it. In many shots there seems to be a definite hard edge here and there.
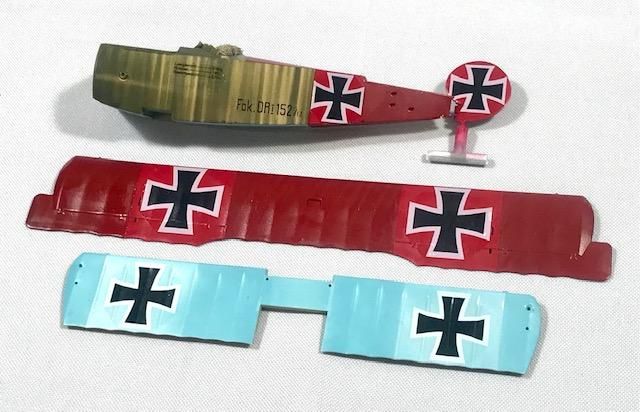
I'm experimenting but I think I'm pretty close to what I will use on my 152.
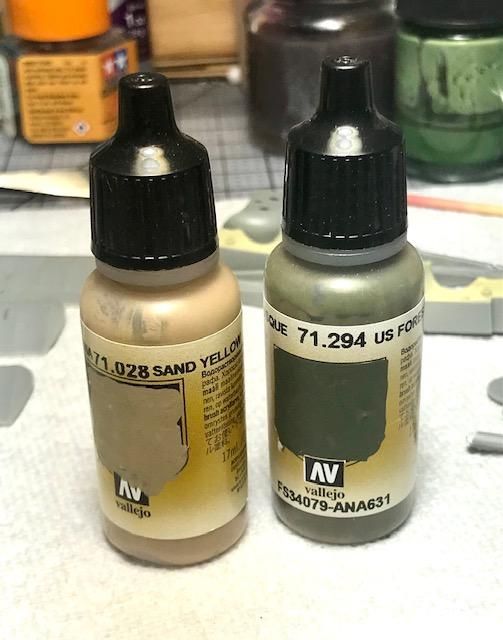
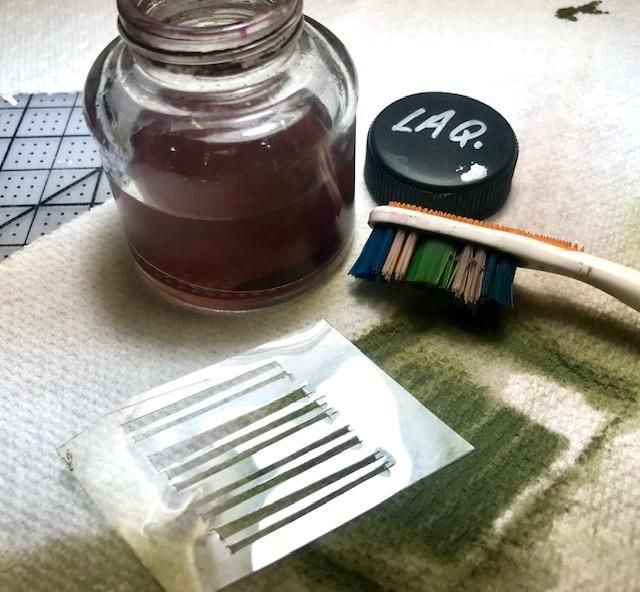
My colors.
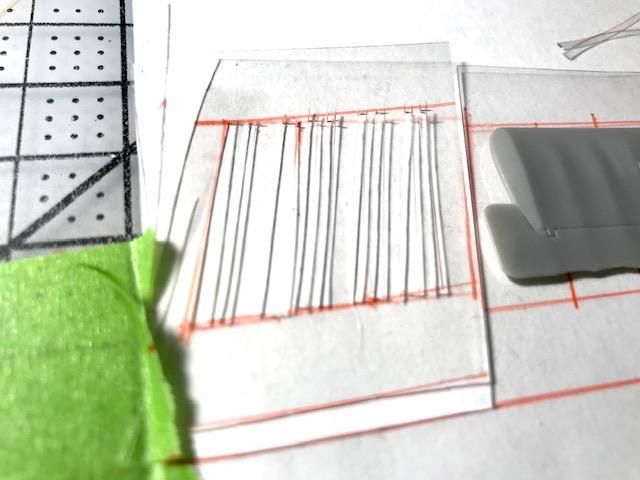
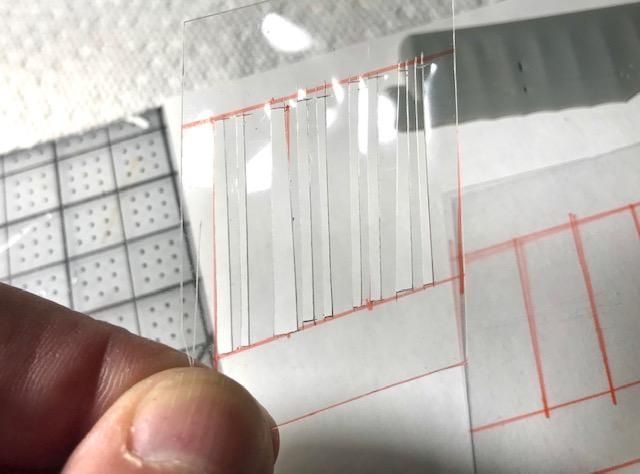
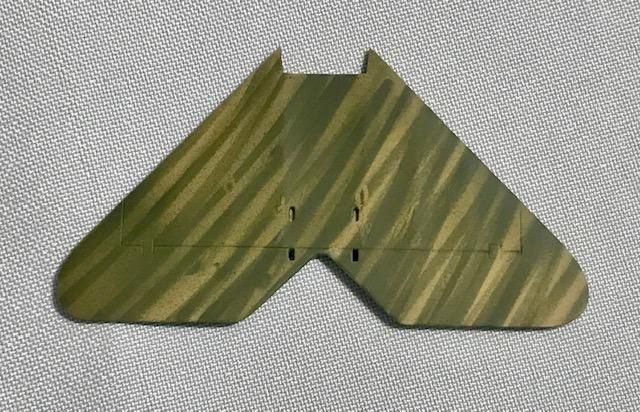
I cut some clear plastic from a food container to use as a mask. Fokker wing streaking seem to be about 10 degrees.
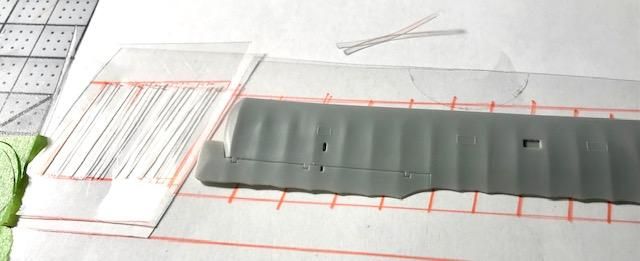
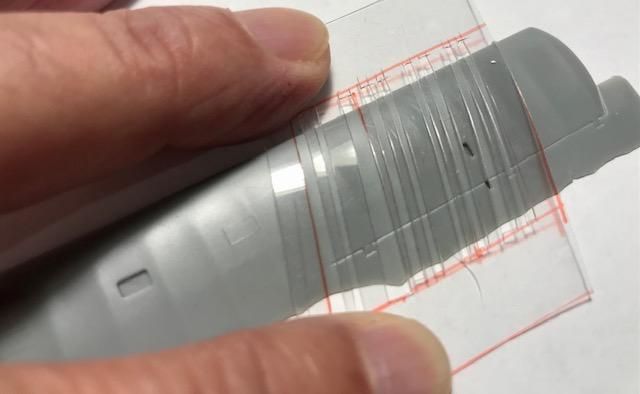
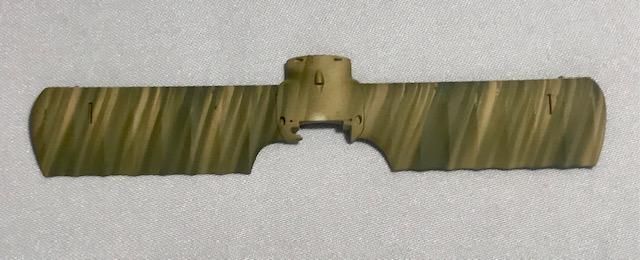
My faithful test mule was sprayed with the beige and then I used my go-to 34079 through the template. By moving and overlapping and going back I got this in one shot.
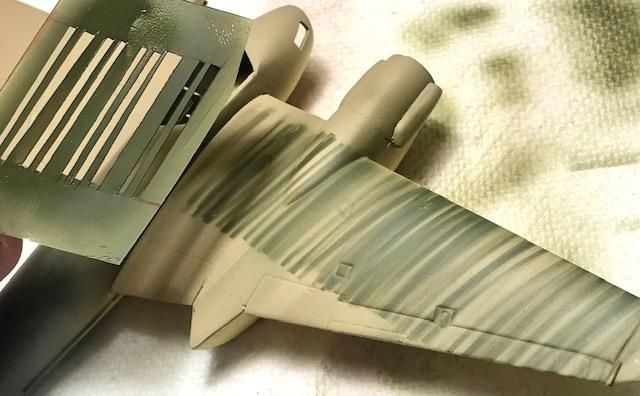
I think I will still experiment with some sharp pencil lines here and there.
_cQLnwJ8ruAxrp8hUrhQaug.jpeg?width=undefined&height=undefined&fit=bounds)
And you can clean up the stencil and use again...
I'm also thinking you can change the slots for 1/72 scale.
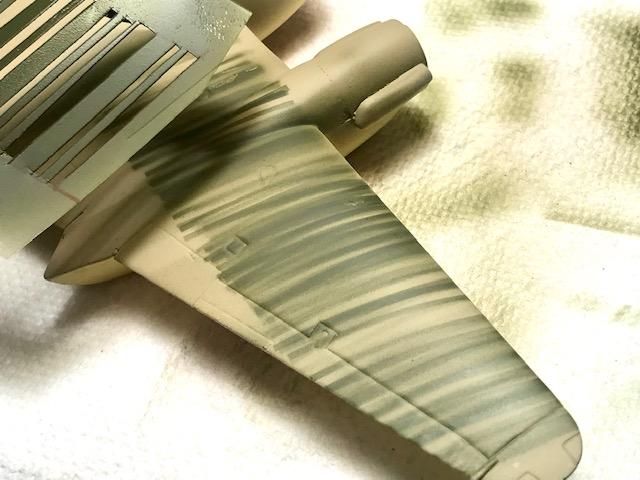
I think this is close but I still need to tweak it some.
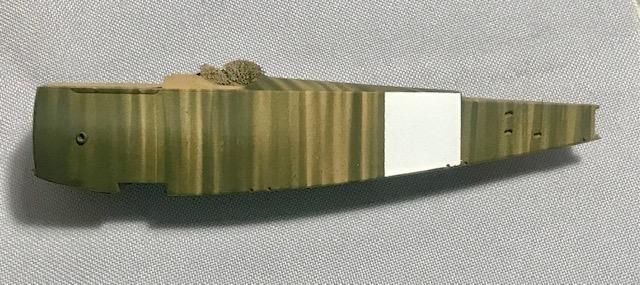
I shot fine white primer over everything, then shot my recipe for Fokker blue on the bottom then masked.
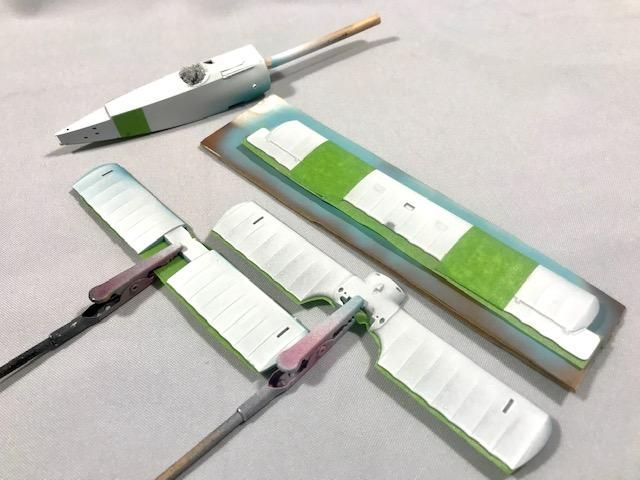
I then shot Vallejo 71.028 "sand yellow" as my base color.
I then shot Vallejo 71.294 through a cut stencil.
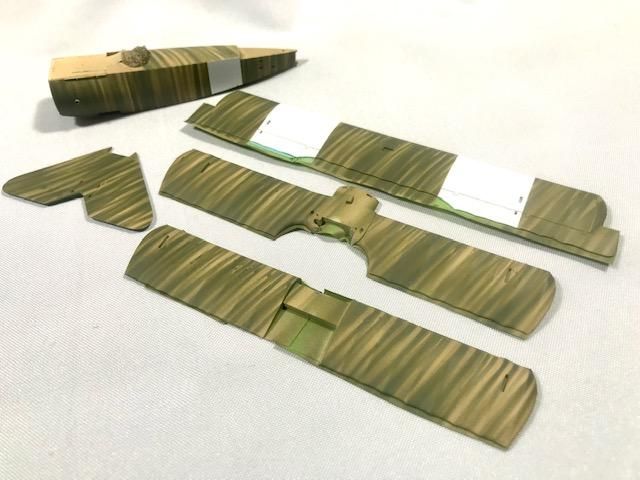
This is close. Some parts are better than others but by and large I think I can get this to be a viable way to replicate the Fokker streaking.

Things I learned:
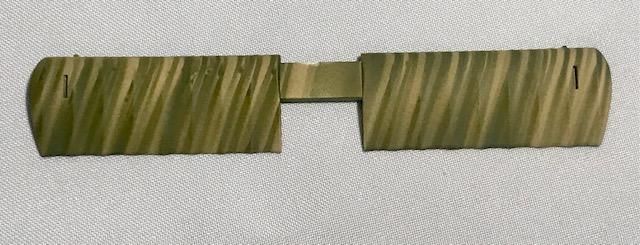
1) I need to make a better, longer stencil. I worked, as the "real guy" did on the wings, from right to left. As I moved the stencil left, by the time I got to the left end of the wing, I now had 3-4-5 applications of paint built up on the stencil making for a wet, messy piece of plastic. I will cut a new stencil the full length of the upper wing.(I think..)
2) I was trying to be clever and thinned the 34079 with retarder and thinner. Next time I will just mix it my regular way so it dries quicker with less chance of smudging.
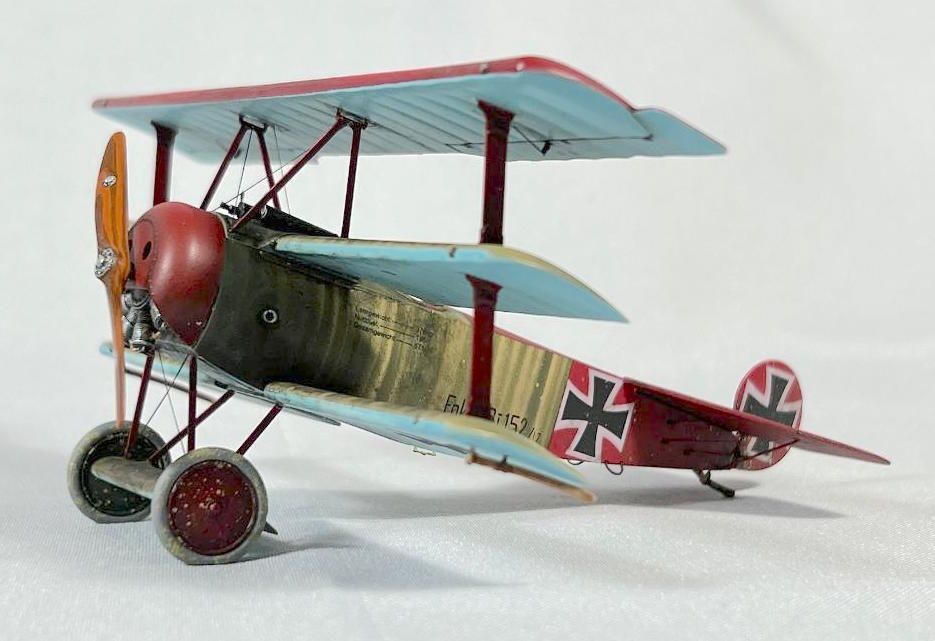
3) Important to know when to stop. I did the wings first, fuselage last. I realized I went too heavy with the streaking on the wings. The fuselage is about right coverage wise. I should have let more of the base show through on the wings.
4) You can see I got the stencil a little crooked on the right side, the left looks better straighter and with more base showing through.
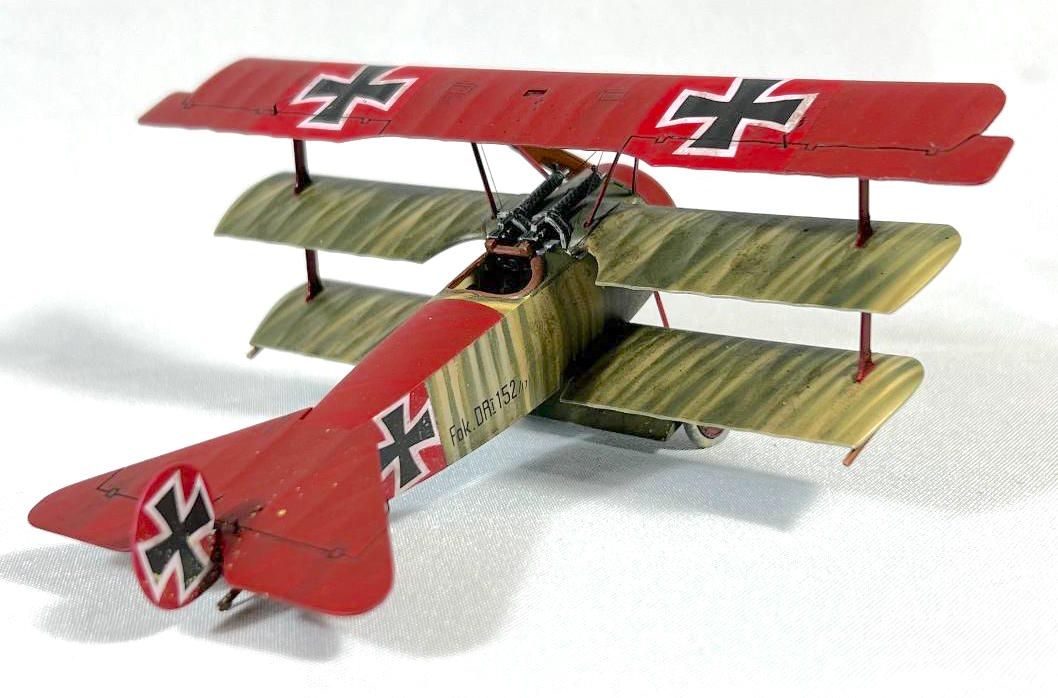
I'm not too concerned about my goofs on the top wing and horizontal stabilizer as they will be covered in red. I may try and fix the streaking on the right hand fuselage, I should figure out something to fix mistakes.
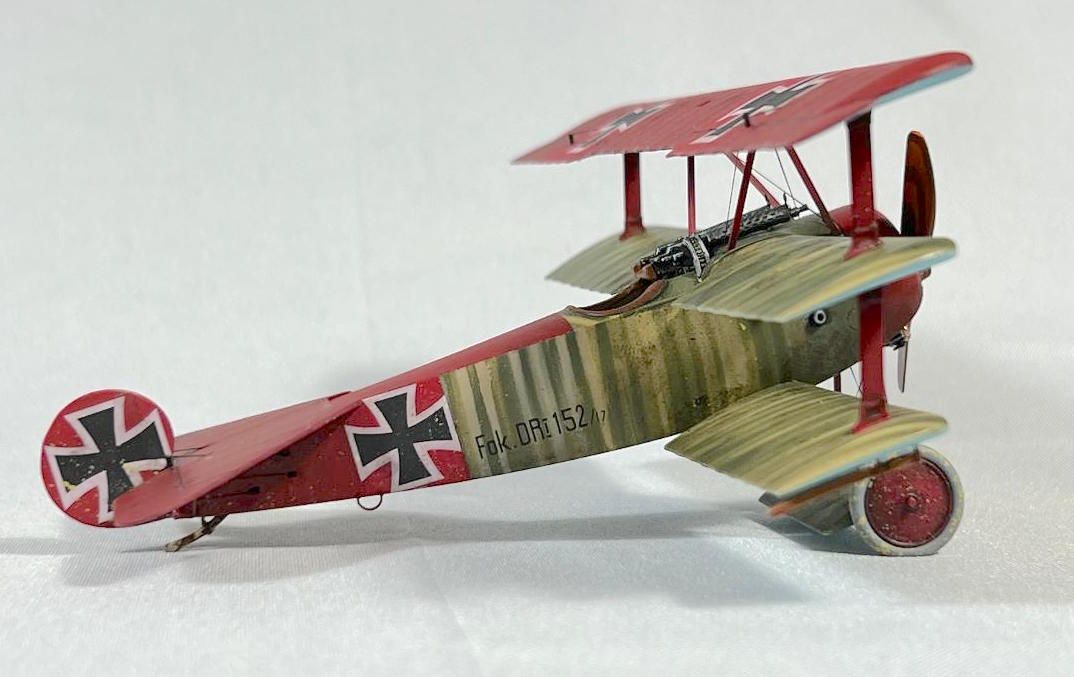
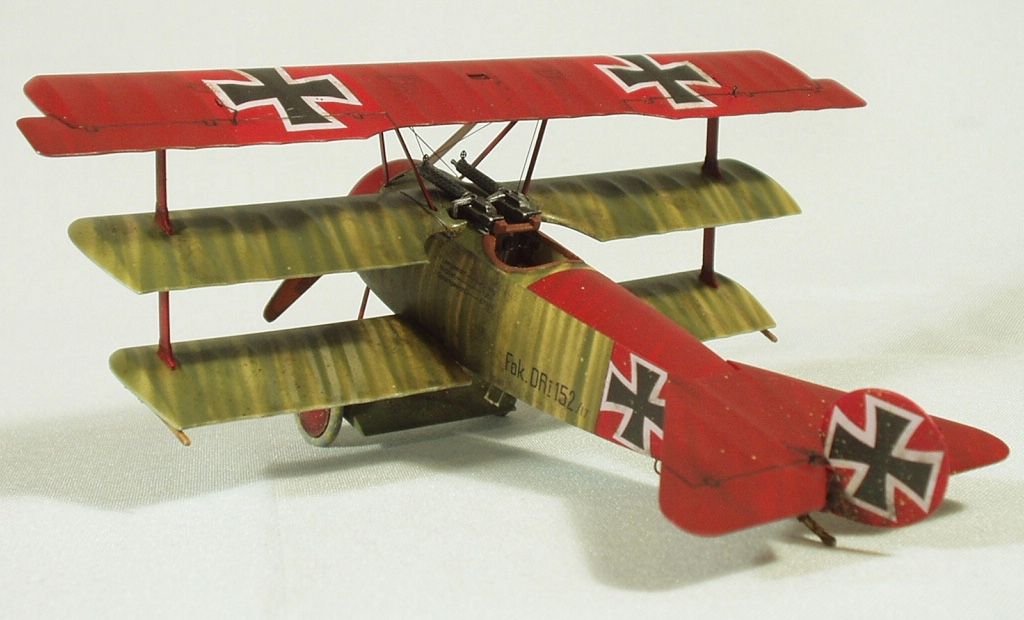
Well, the Peddinghaus decals performed just as expected, not opaque white and out-of-register, pink crosses,..... whatever.....
The "152" I pieced together from different sheets as the Peddinghaus sheet was totally the wrong font.
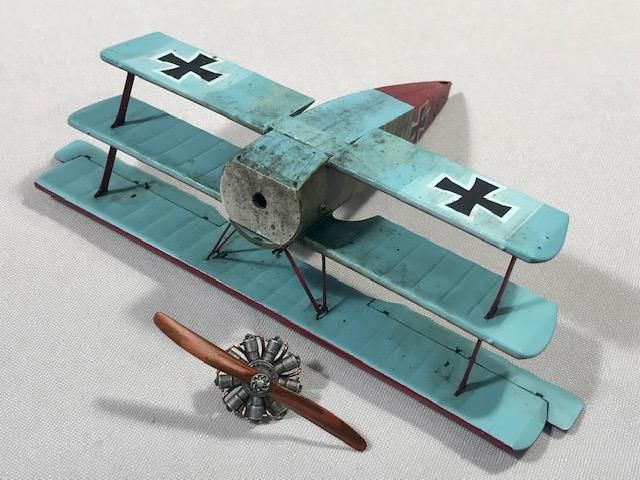
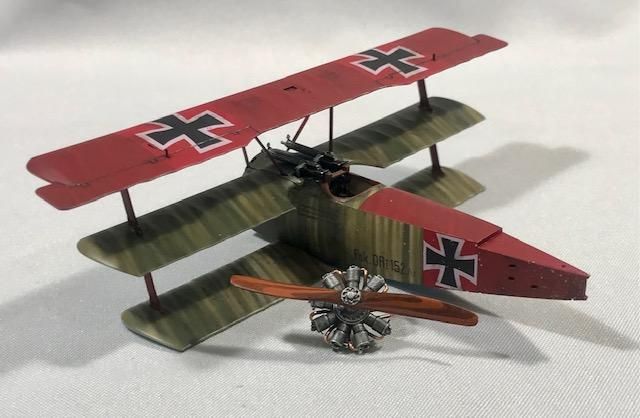
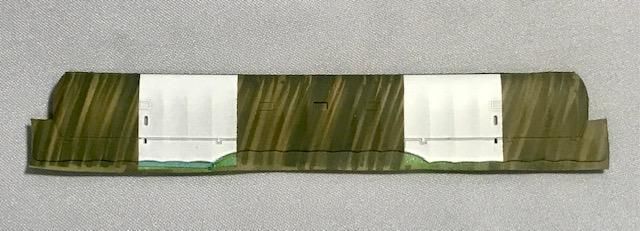
I think this side of the fuselage came out best, kinda choked on the wings.
I have 3-4 tripes in 1/72 scale and will attempt to adapt this technique to the one true scale.
Finished Dragon 1/48 scale.

Hope this helps...

