Evening All,
Thanks to all who have dropped by and left positive comments - I do appreciate them. Rick: please note that I am not currently building this kit - as I wrote in the intro I actually made it about three years ago - it was my third model after taking up the hobby again after a long break. I am writing up notes and including the few photos that I took at the time without ever thinking that it would one day become part of a build log. How times change!
The wing ribs are too heavy and needed rubbing down. Airfix conveniently provide holes for rigging in the wings but there is a problem as they only provide holes for flying and lift wires between the struts: there are none fore and aft between the struts. Therefore I drilled the necessary holes in the upper and lower wing halves for both top and bottom wings. I wanted to put in the double rigging wires so I had to drill the extra holes in both top and bottom wings. The bracing wires which stabilised the upper wing overhang were also double. The holes for the aileron control wires which ran above and below the top wing were also drilled. The upper parts of the inner wing units were glued to the stubs and fuselage and the gaps filled and rubbed down.
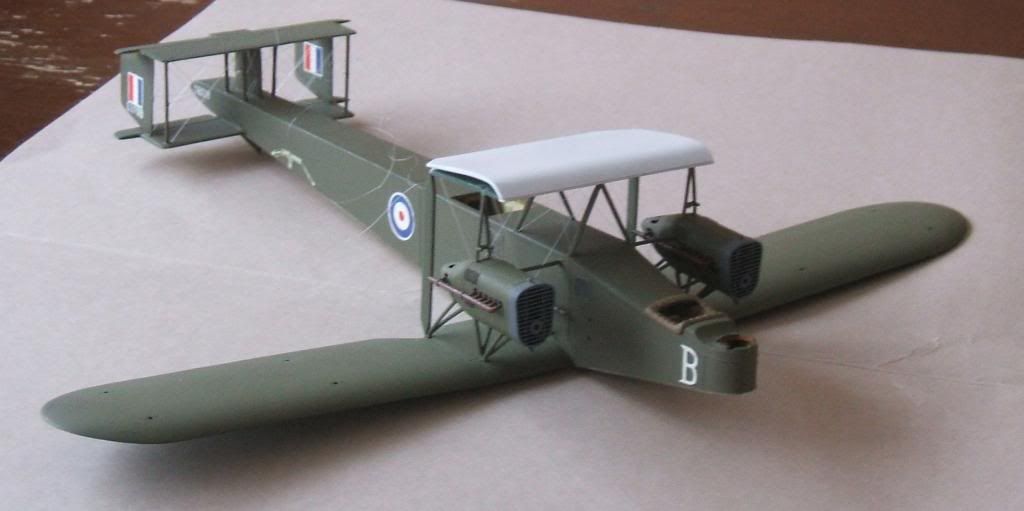
I found that the fit of the engine parts was very good but the joints needed rubbing down and cleaning up. I left off the propellors as these only get in the way and could easily be added later. The top and bottom engine struts (parts 110, 112, 116, 118,) were put into place but the joints were poor and needed filler. The engine assemblies were painted next as they would have been difficult to paint when the model was assembled. The nacelles were PC10, the radiator fronts black and the sides were dark grey on my model, and the exhausts were painted using a mixture of copper and rust. I added the exhausts but not the engine platforms at this stage.
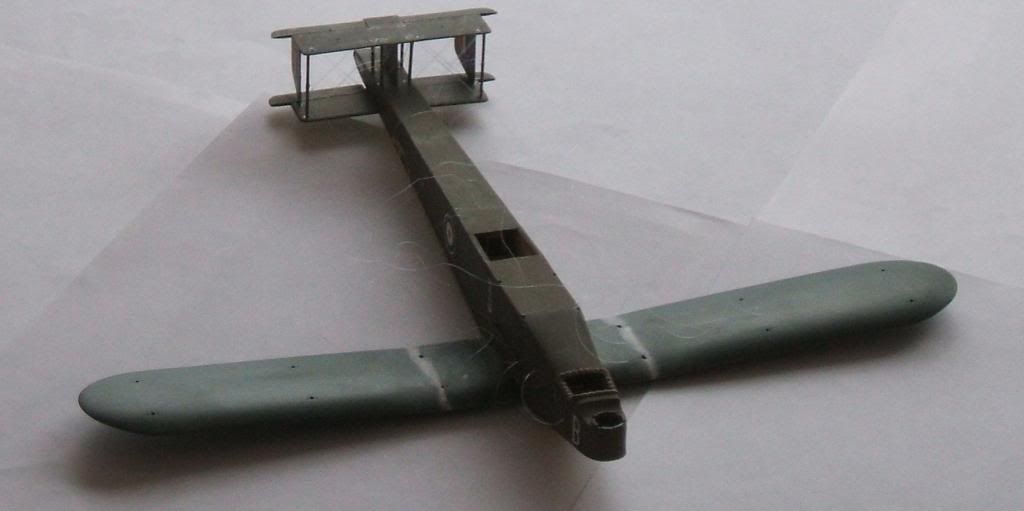
Now I diverged again from the kit instructions because the fit of the wings is not good and problems can arise with alignment and filling of gaps if you follow the instructions. First I checked carefully the alignment of the upper sections of the bottom wings (parts 3 and 13) and filed down and adjusted them. I then glued the upper wing sections to the inner wing stubs making sure that the dihedral was correct by supporting the wing tips while they dried out. I filled the gaps and sanded them down. Next came the fuselage cabane struts (123 and 124) to the fuselage. I had already drilled two small holes in the fuselage just in front of the cabane struts and under the centre-section of the top wing for fuel pipes: the pipes ran in front of the forward struts. I painted the upper surfaces of the bottom wing and the cabane struts and attached one engine assembly at a time to the lower wings. The forward bottom strut (109 on the port - left engine), and rear strut (111 on the same engine), was glued to the nacelle then the sub-assembly to the holes in the bottom wing. The control bar (part 114) and the inner engine strut (113) between the engine nacelle and the fuselage could then be put into place and properly aligned. This needed a little support while it dried out. The engine struts struts gave the assembly more rigidity when I put the nacelles into place and made this assembly easier. I only assembled the second engine when the first was complete and dry. Then the large wing struts (121 and 122) were put into the holes in the lower wing at the rear of the engine and finally the lower part of the upper wing centre section (125) was put into place, again making sure that everything was aligned.
I now had a problem because the kit was supposed to have 167 parts but mine only had 166 - part number 126, the upper wing centre section, was missing! I moulded a new one from plastic card and added strips of card to the leading and trailing edges of part 125. So the strange white top to the upper wing centre section in the photo above was my first attempt at moulding a new part in about 30 years.
Thanks for looking.
Stephen.

