This Build has been a slow one, too much time spent on Summer Chores and too little for leisure! Here's a quick update on the past month's progress. First, an illustration of what happens when you rush the hairspray method of paint "chipping". I normally let the hairspray dry for at least 48 hours, this time I cut that in half and sprayed the mid-grey (Tamiya acrylic thinned with Lacquer Thinner) over the "dry to the touch" hairspray. It looked just fine but a day later this cracked finish appeared all over!

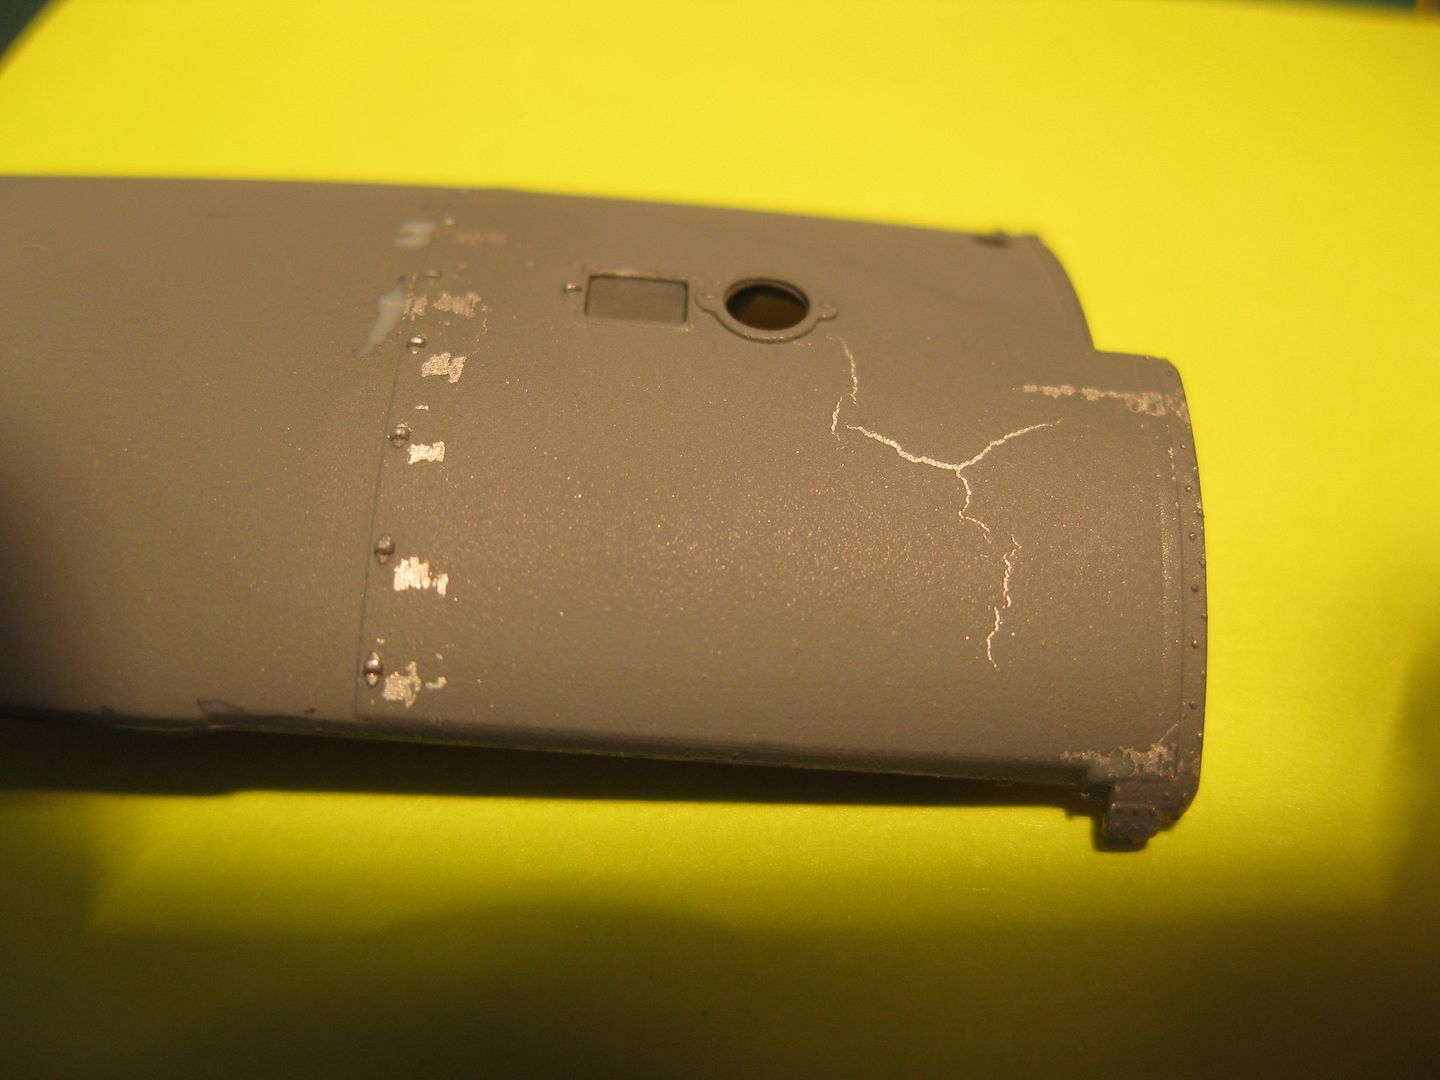
Although the chipping worked fine the cracks had to go, several thick coats of the grey solved the problem.......lesson learned!
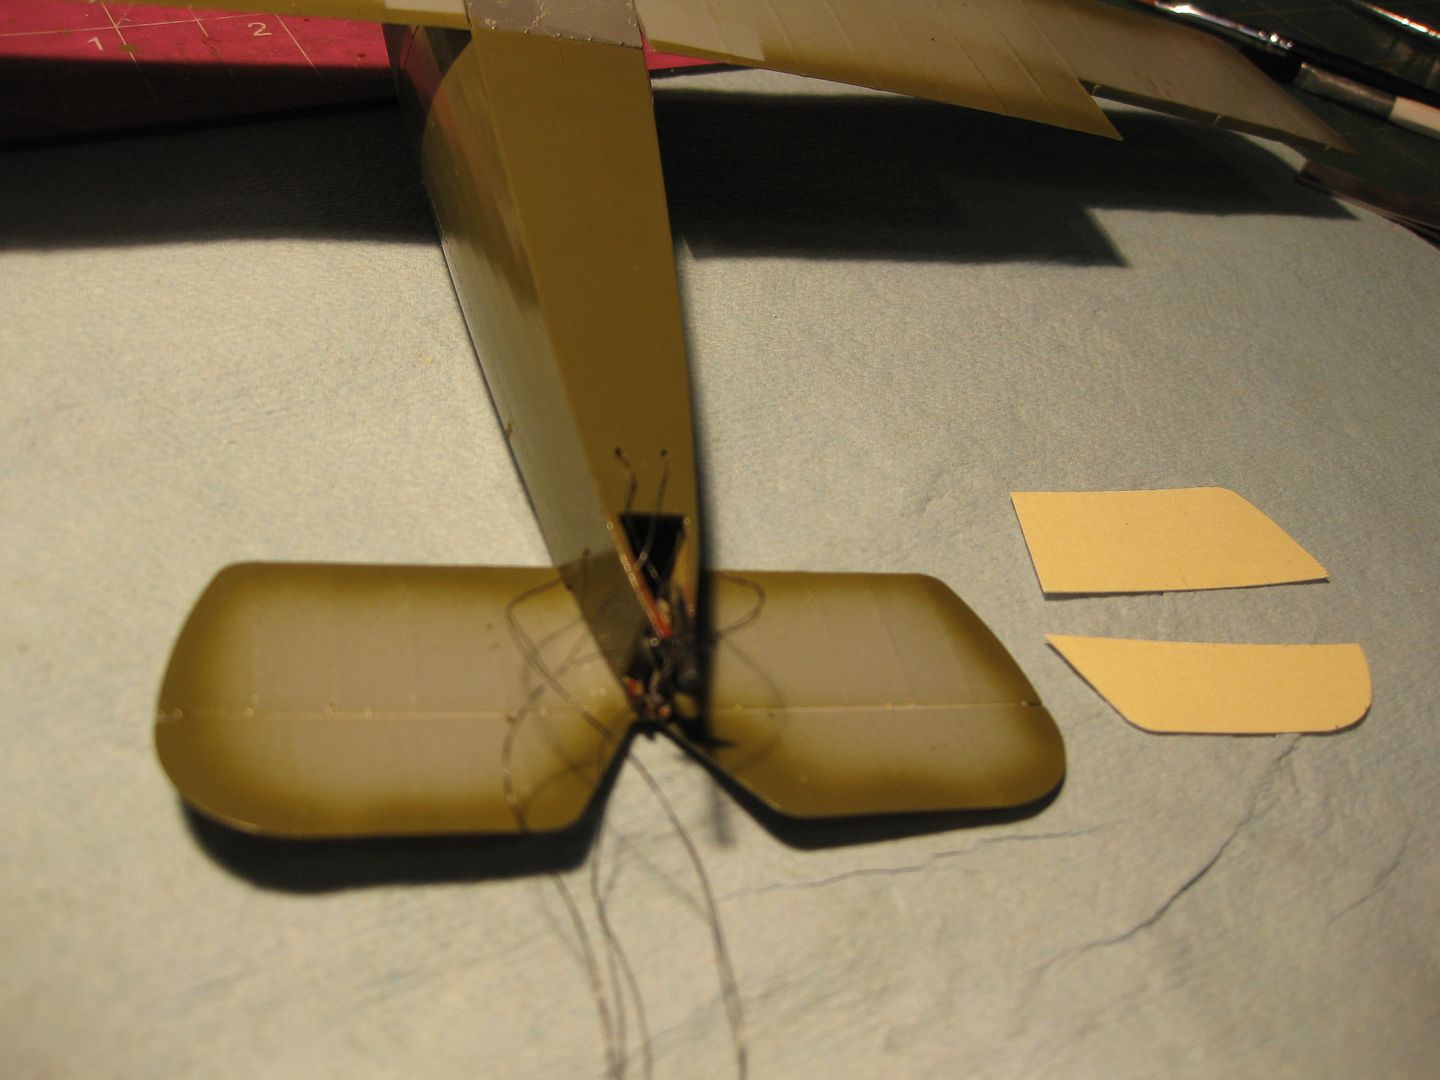
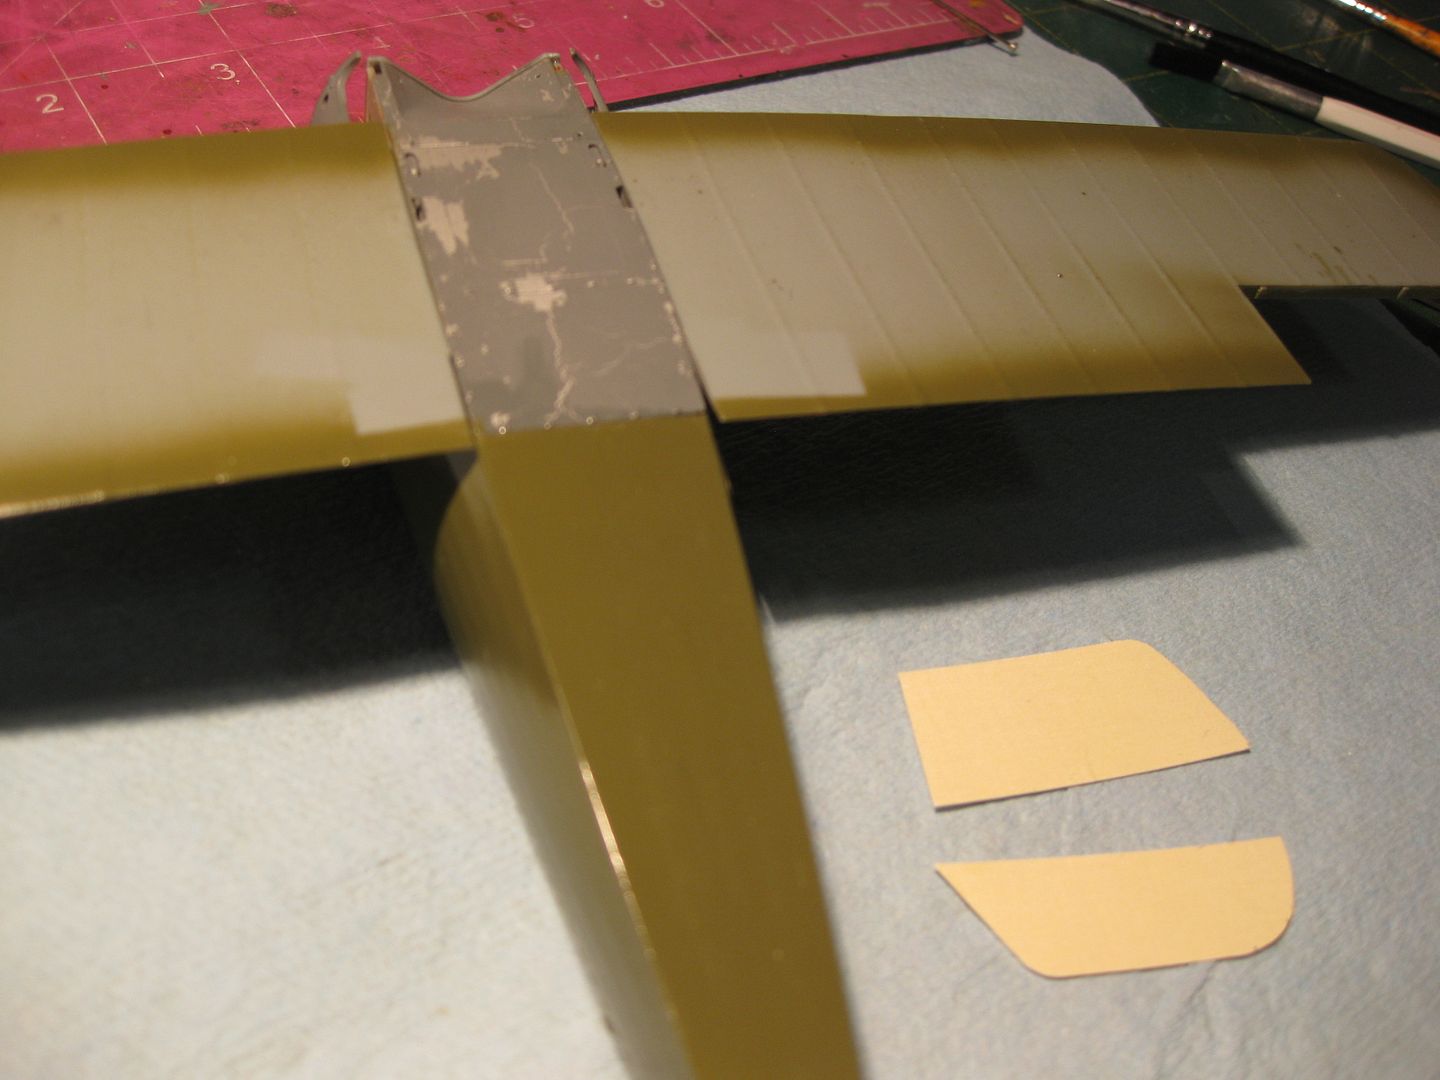
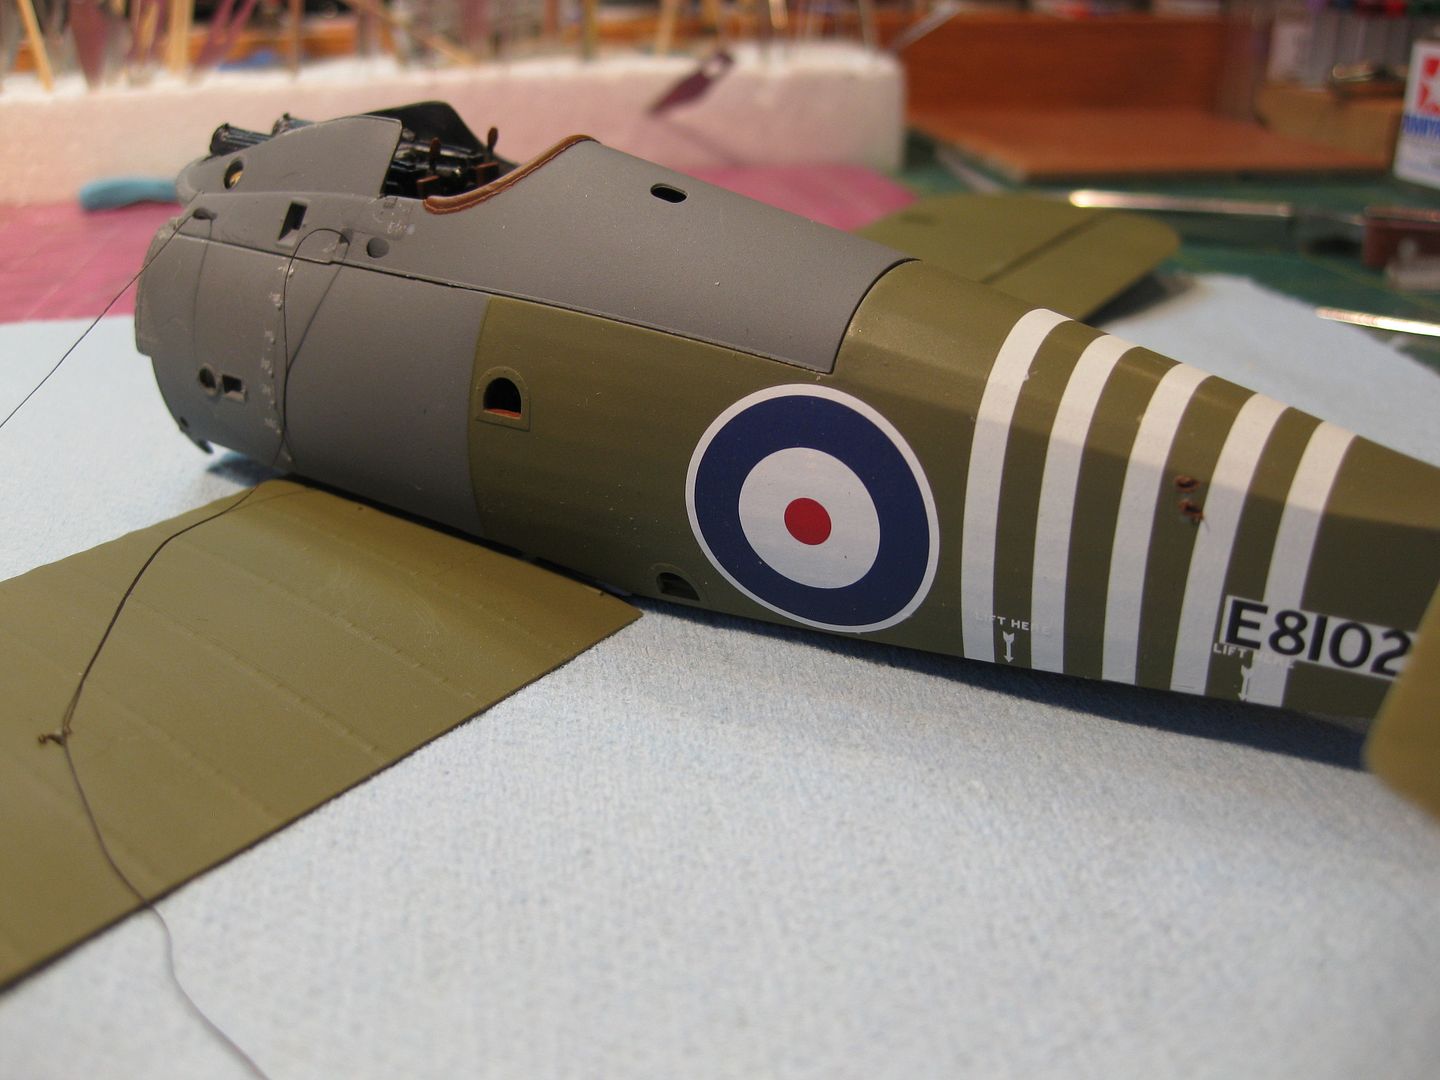
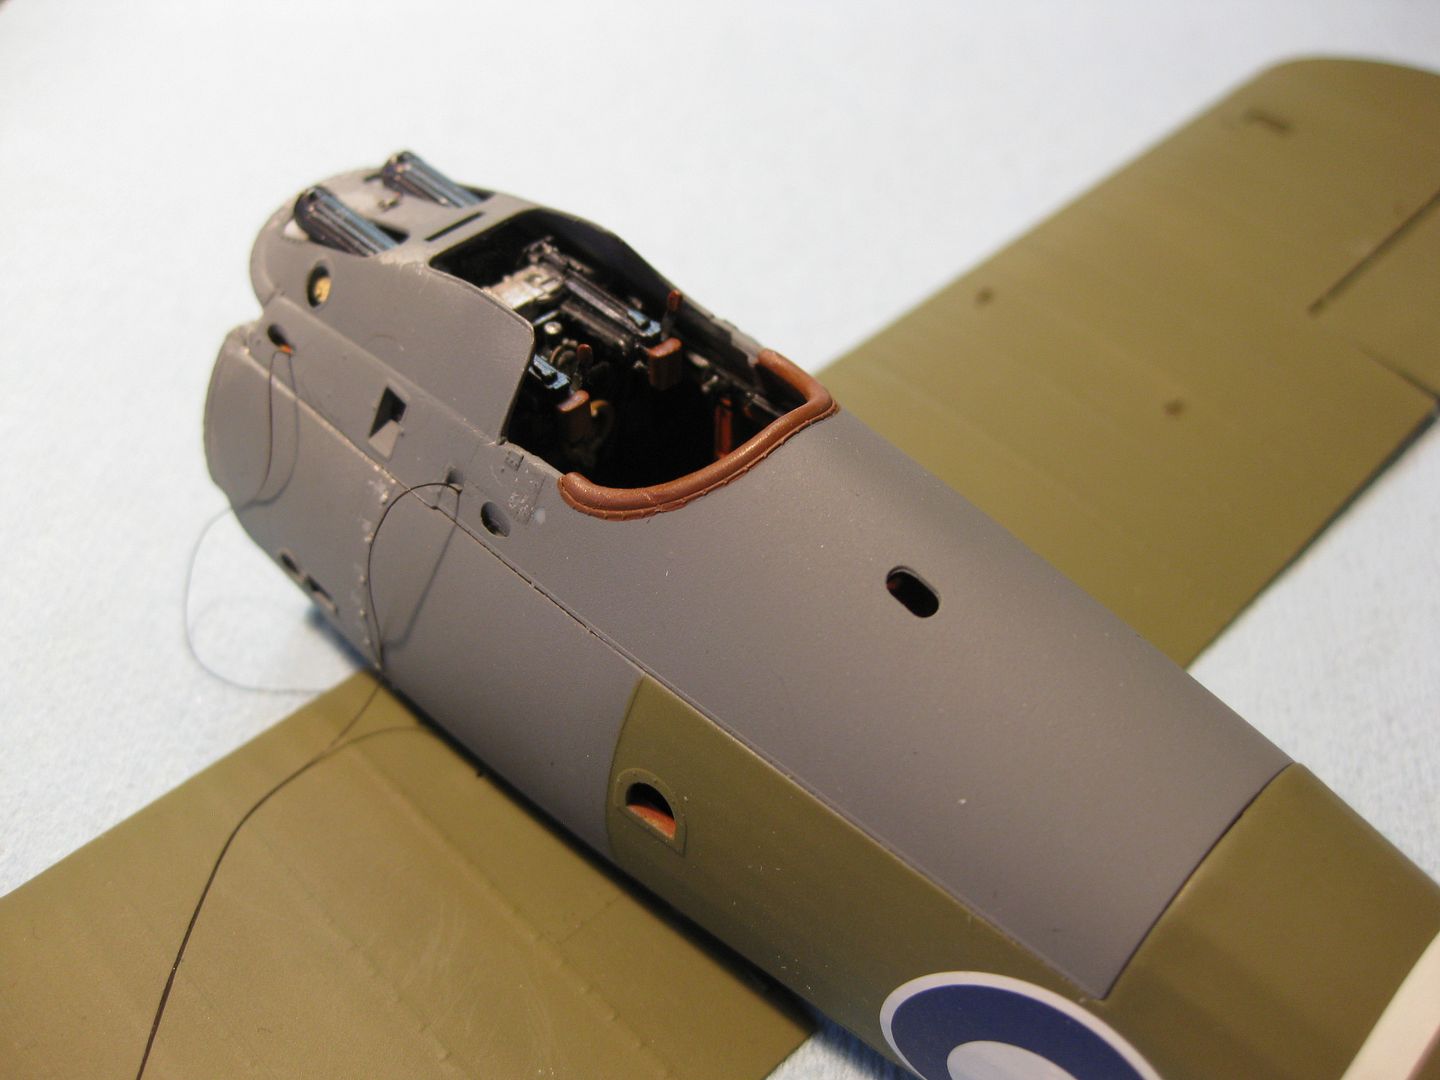
The fuselage was closed up once the various flight control wires were installed (Modelkasten). These quick photos were taken after 3 good coats of future were applied over the PC10 for decaling. For the PC10 I used my standard enamel (Model Master) of a 50/50 mix of their Olive Drab and Faded Olive Drab. I elected to go with PC10 overall as opposed to the mixed PC10 and 12 scheme. The colour was carried roughly under the control surfaces for the wrap around effect in preparation for the Aviattic CDL Fabric decals.
I left the few cracks in the paint on the lower aluminum panel as I thought it looked very natural for a light weight panel with a painted finish that would flex and vibrate in flight.
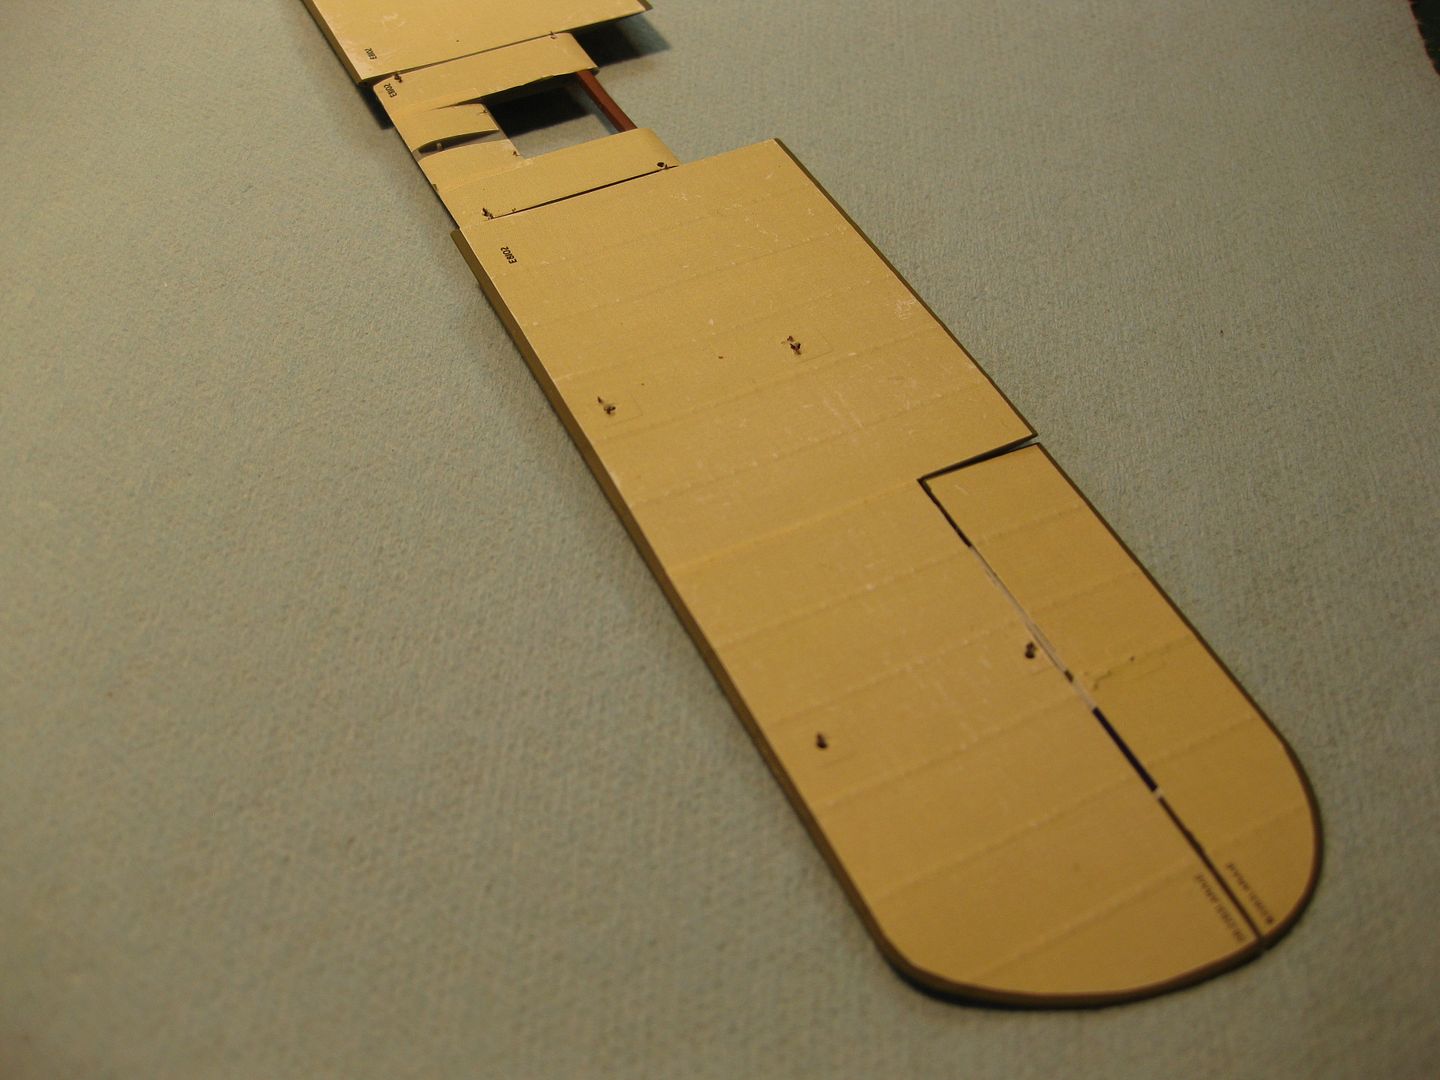
The Aviattic White backed CDL Decals were cut to shape and applied to the wings and empennage under surfaces to provide the two inch "wrap- under feature of the standard British Finish, great product that worked very well and I liked the results!

After installing the inter cabane rigging wires into the upper cowling it was installed on the fuselage, great fit as usual with Wingnut Wings.The entire model was given several light coats of Vallejo Polyurethane Matt Varnish after the decals were installed, this as a base for some light to medium pastel post shading.
I forgot to mention that all the eyelets are installed for the rigging at this point as well. Now for some post shading and only a little weathering as this aircraft was relatively new when Barker was brought down in his epic VC Battle.
Next up, the cabanes and then getting the upper wing on.
Cheers,
Lance

