Amazing how time flashes by as real world concerns get in the way of enjoying one's Hobby. I'm finally back at this, many Thanks for the recent comments and wonderfully positive and encouraging remarks!
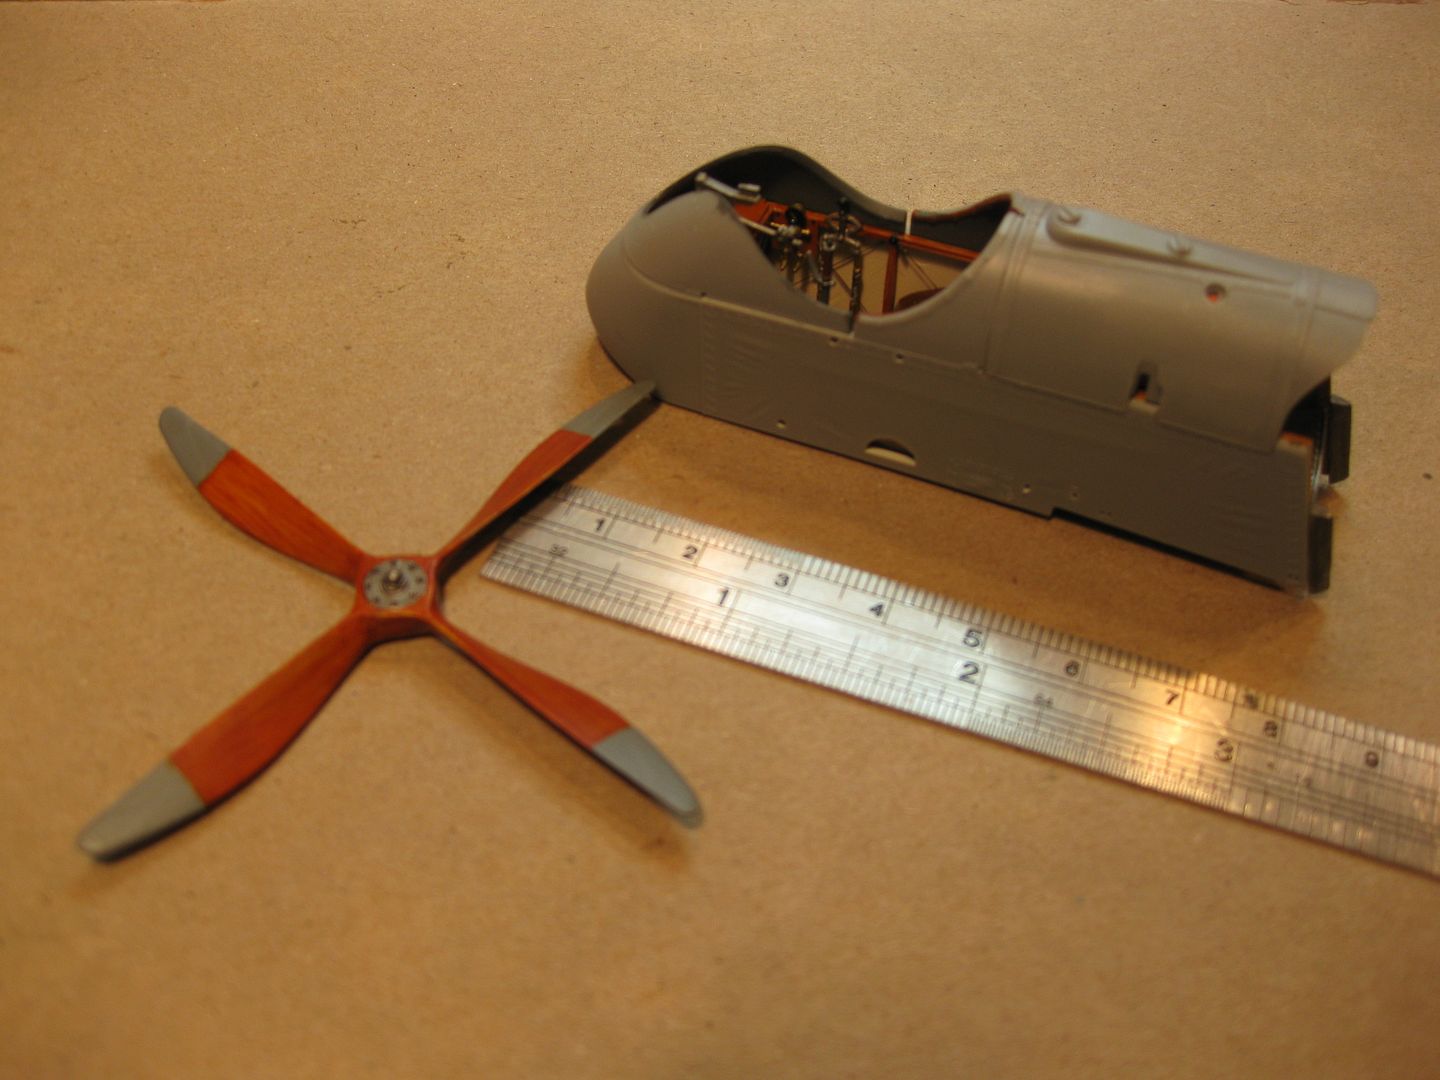
First, a photo missed on my last entry, just the prop which is done in acrylic base, oil woodgrain, and Tamiya Clear Orange with a couple of coats of Valejo Clear Satin Varnish.
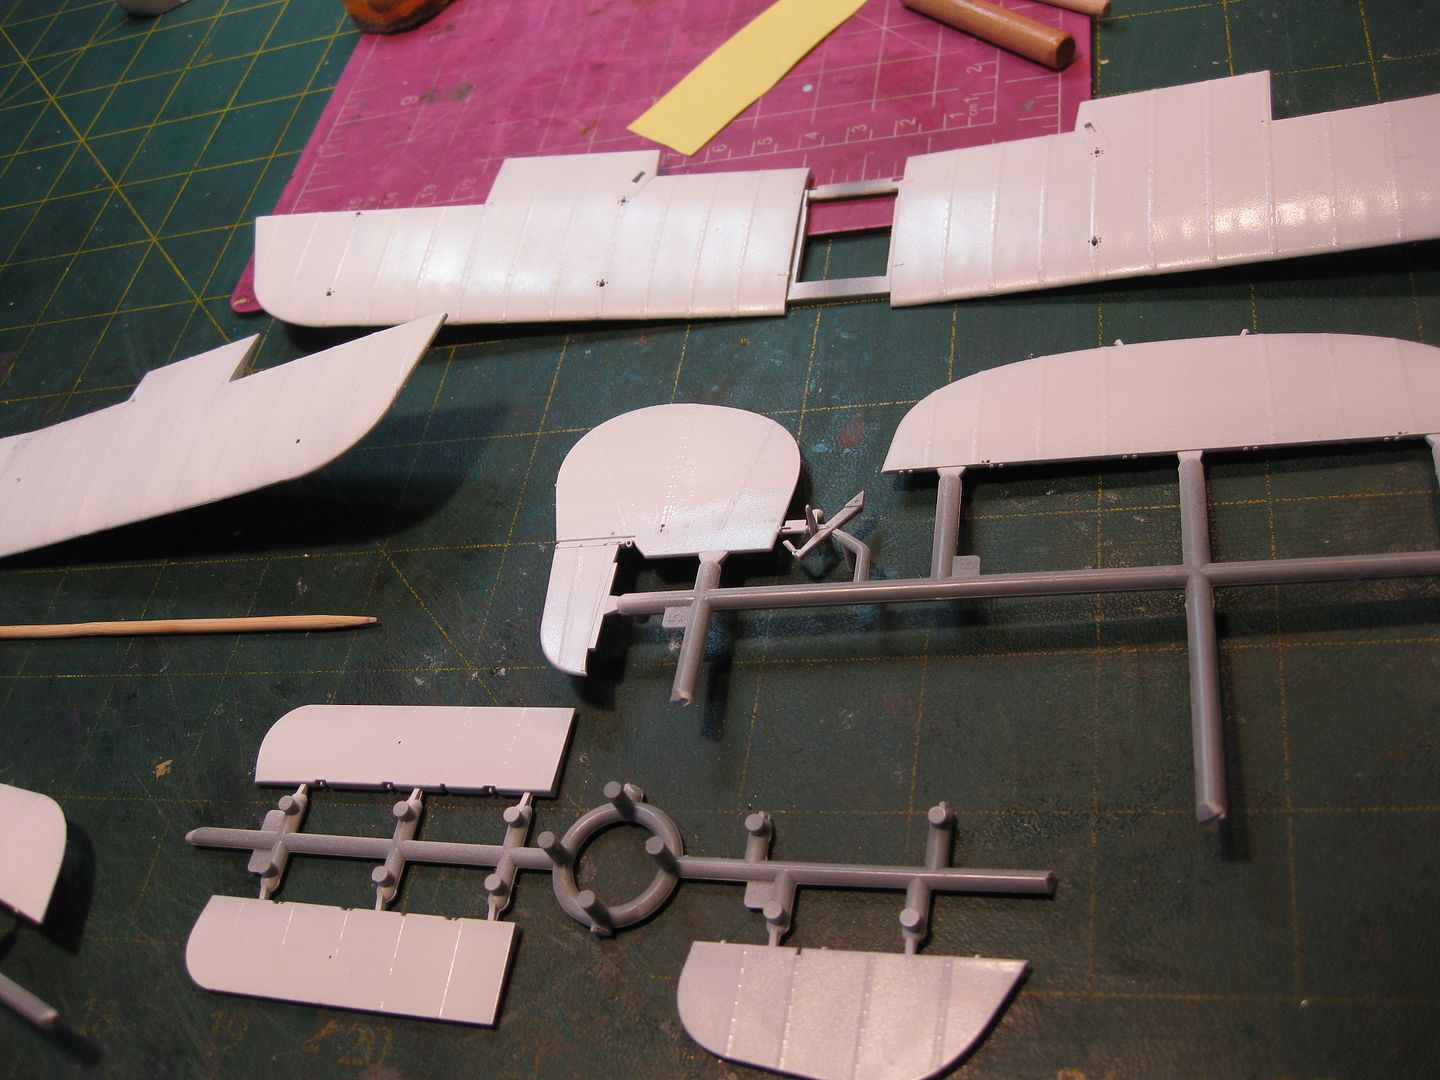
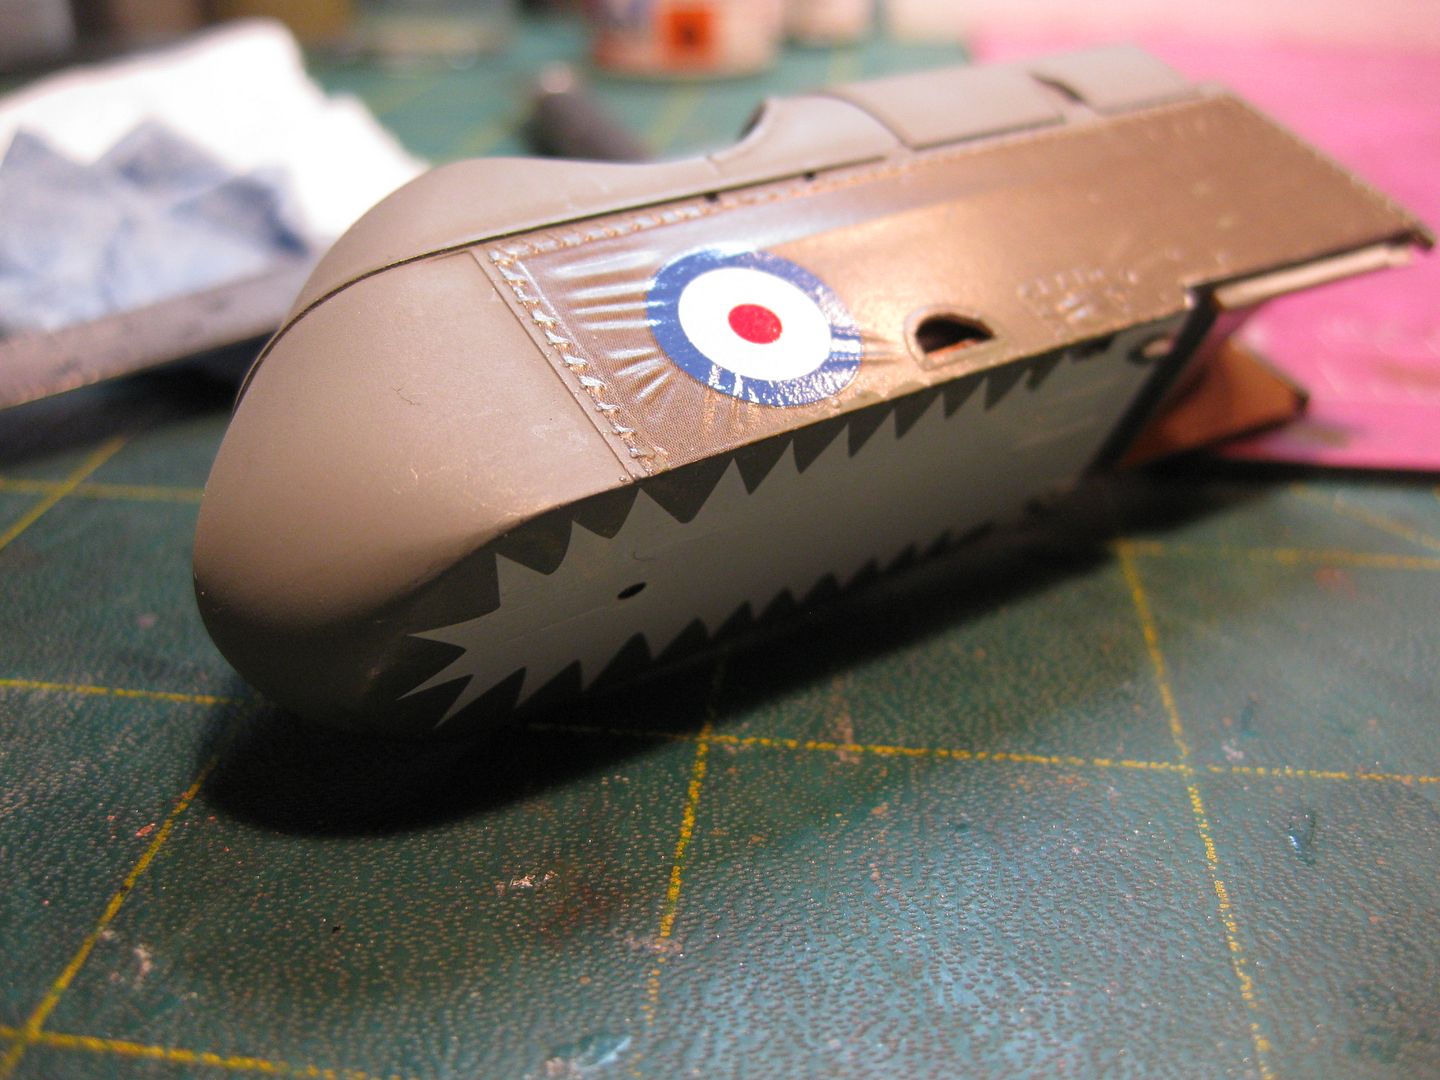
The Nacelle seams (minimal) were filled with Tamiya White Putty and, once sanded, refilled, and sanded again, a base coat of Tamiya Gloss White was applied to all areas destined for Aviattic's CDL and/or PC10 Decals.
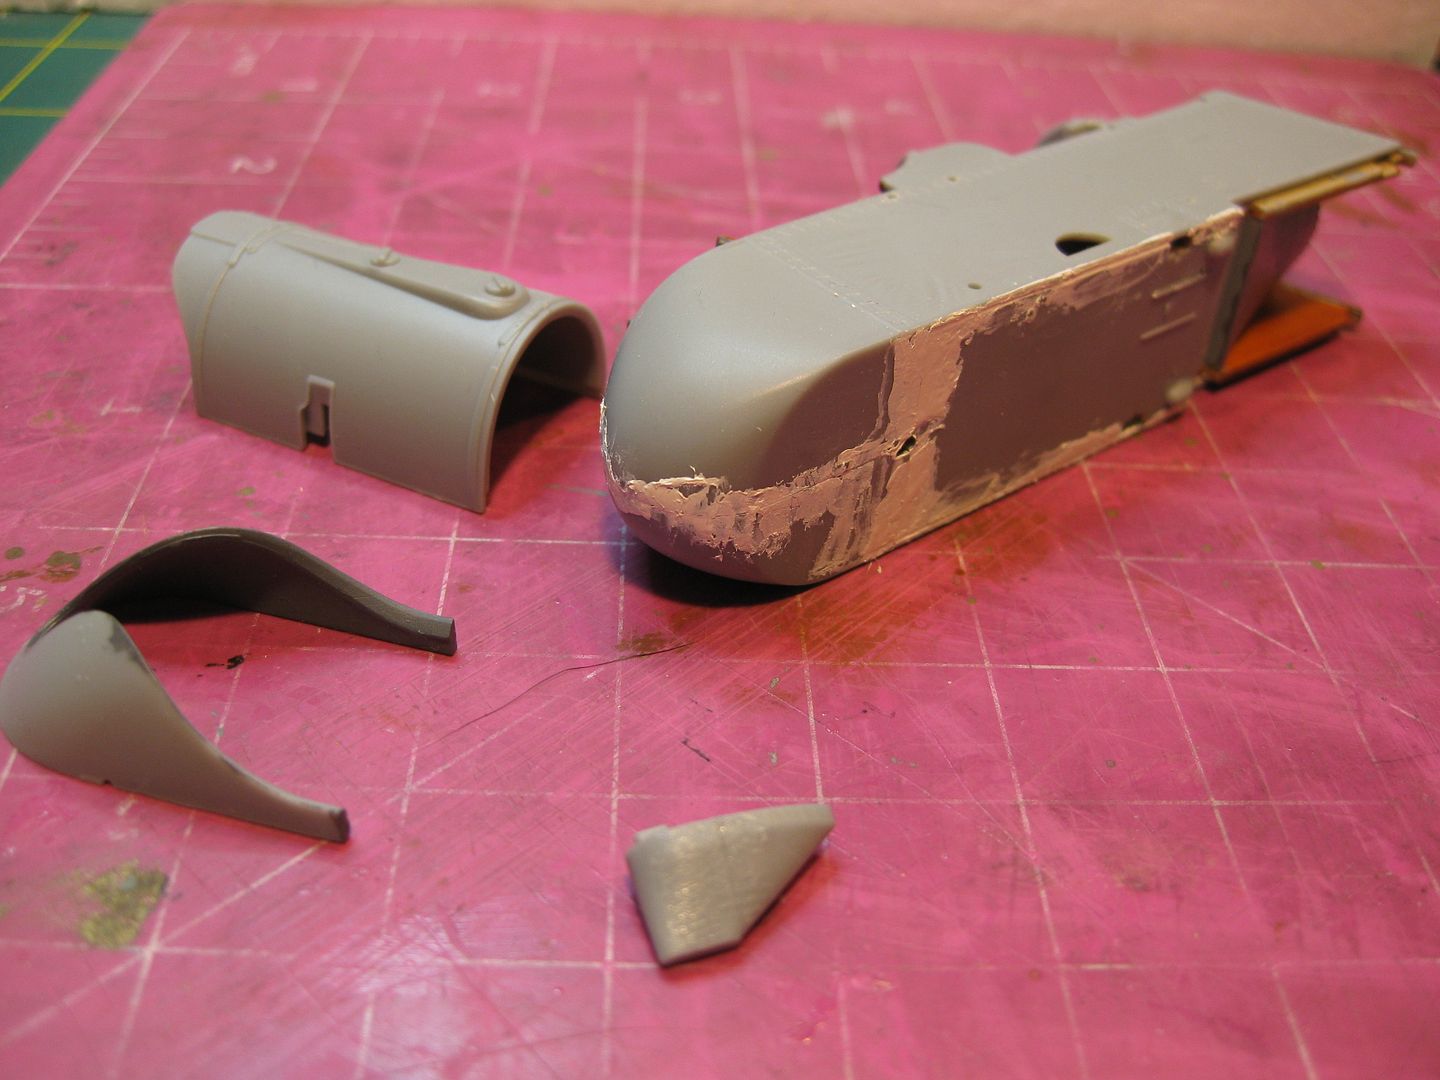
Evergreen Styrene Strip was used to add the seam projection on the upper forward nacelle cowling. This feature is visible in many photos but is not included on the moldings.
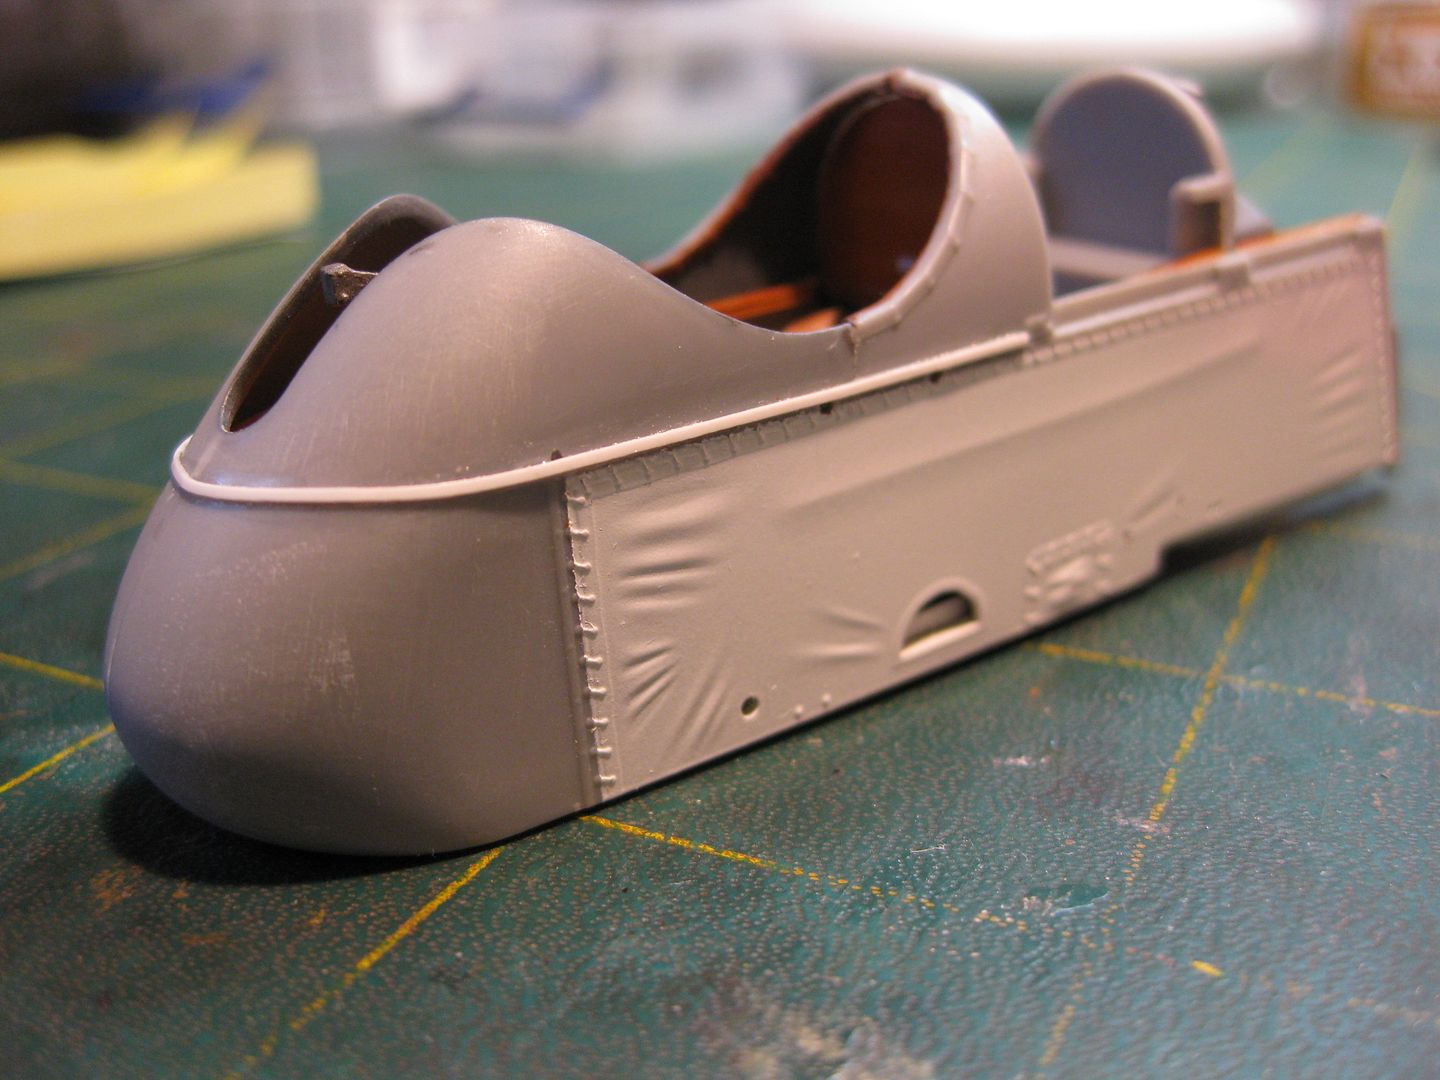
The nacelle upper metal areas were given a finish coat of Medium Grey (Fuel Tank cowling cover shown "posed")........
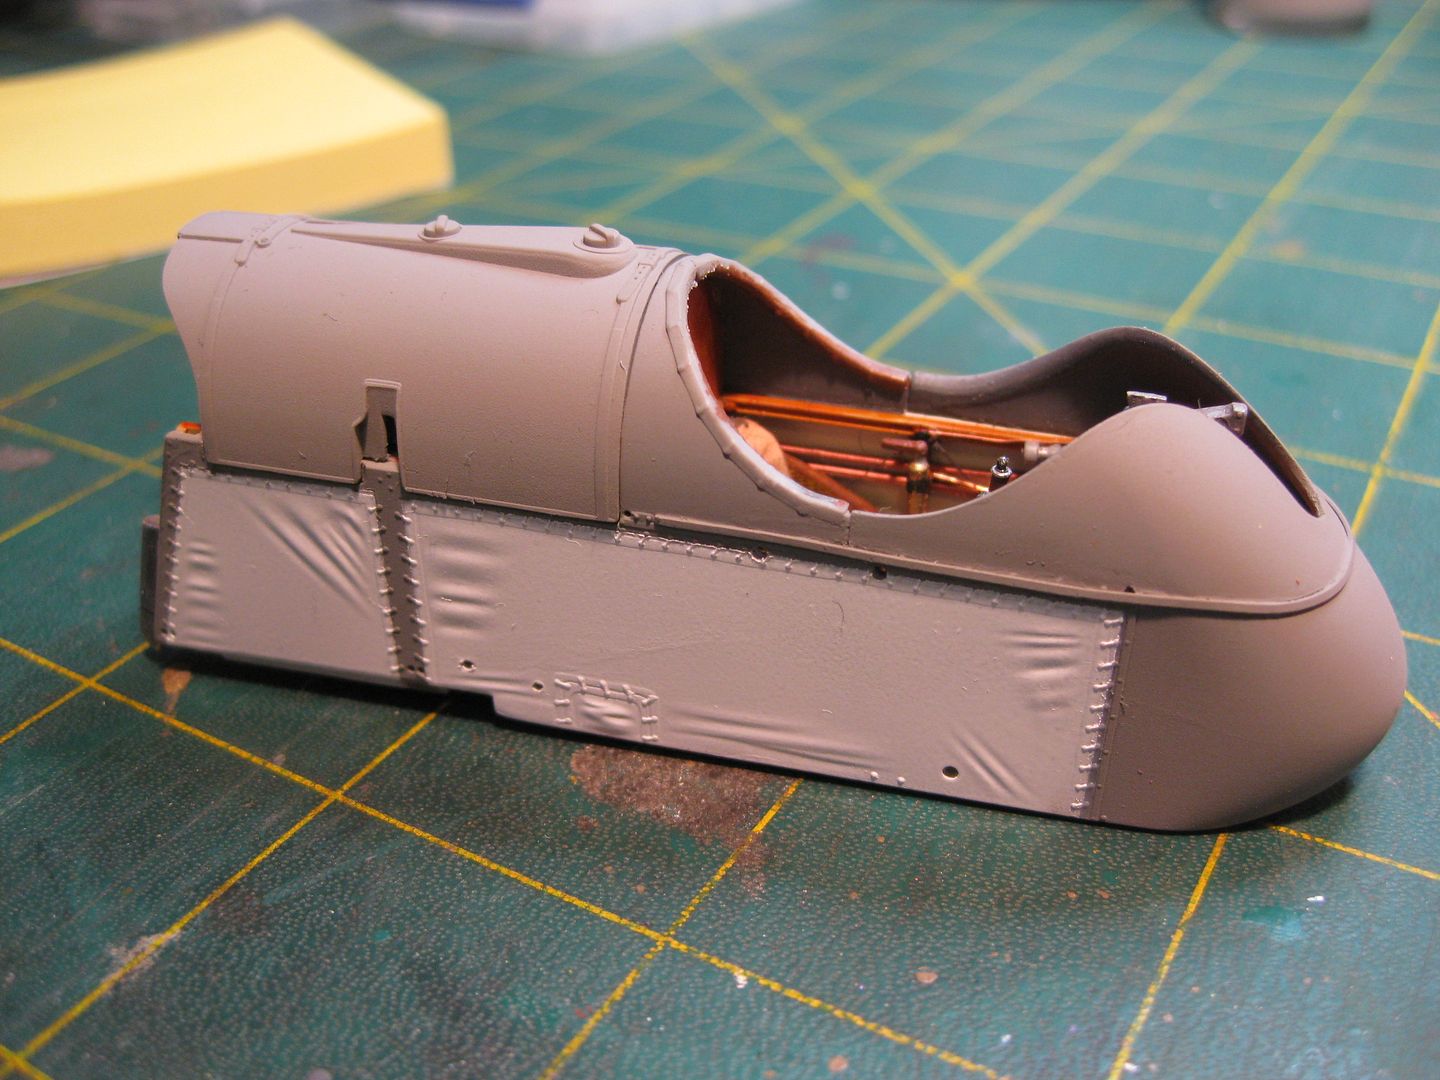
This was followed by carefully trimmed fabric side panels of Aviatic Clear backing Light PC10 and application of the No. 24 Squadron "sawtooth" underside decal.
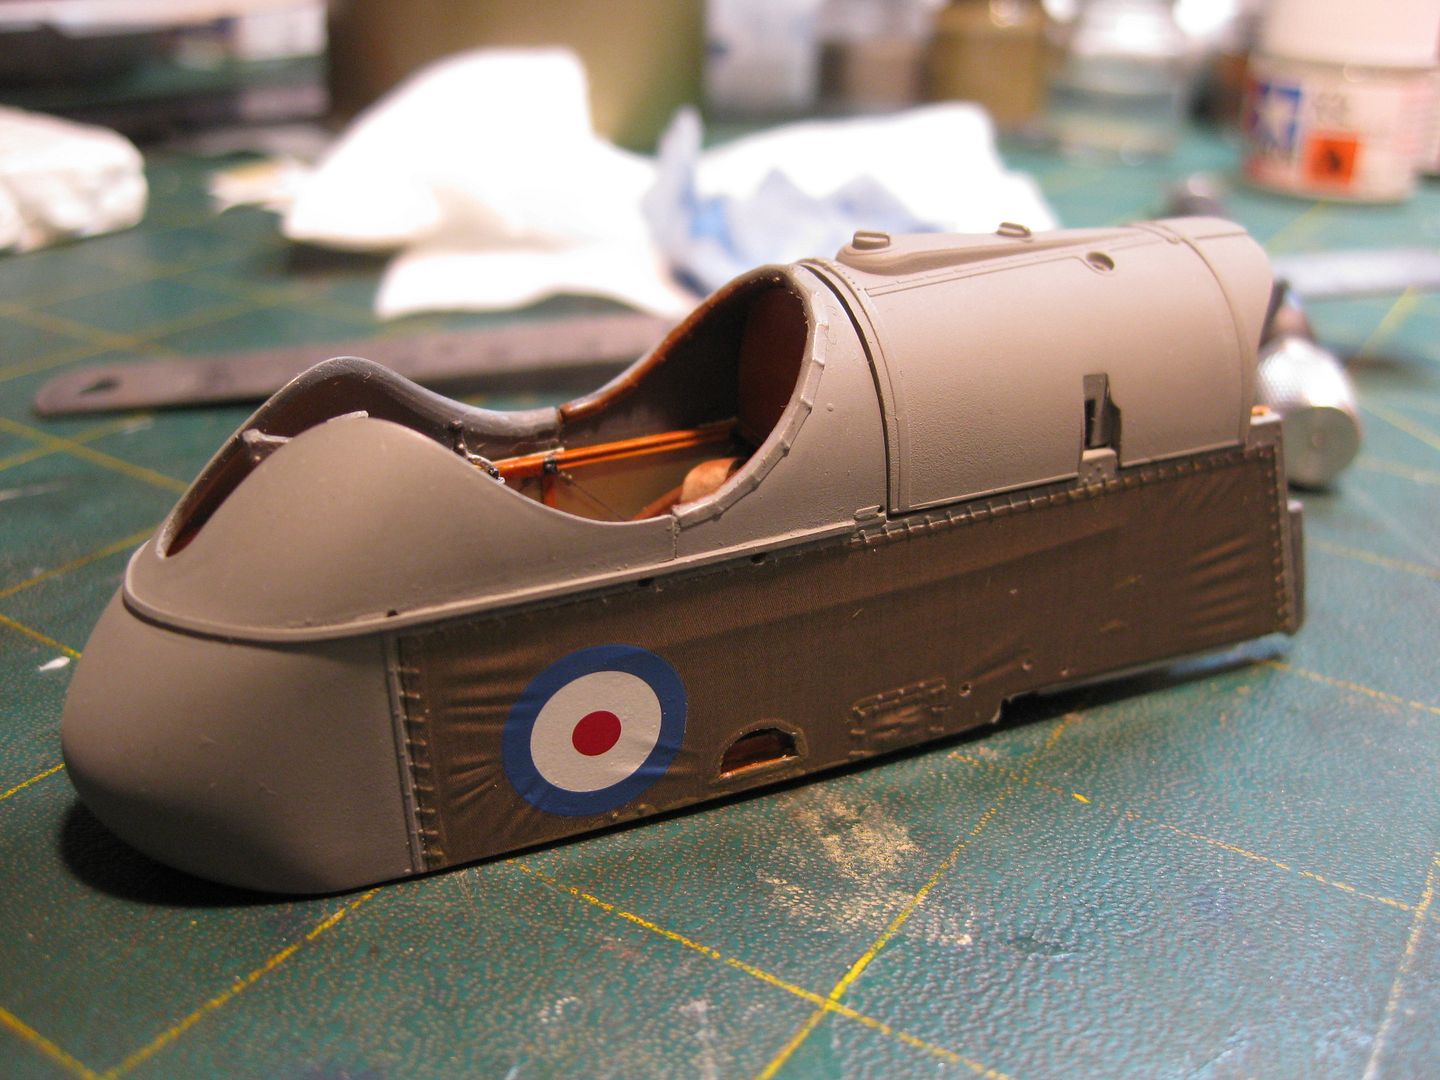
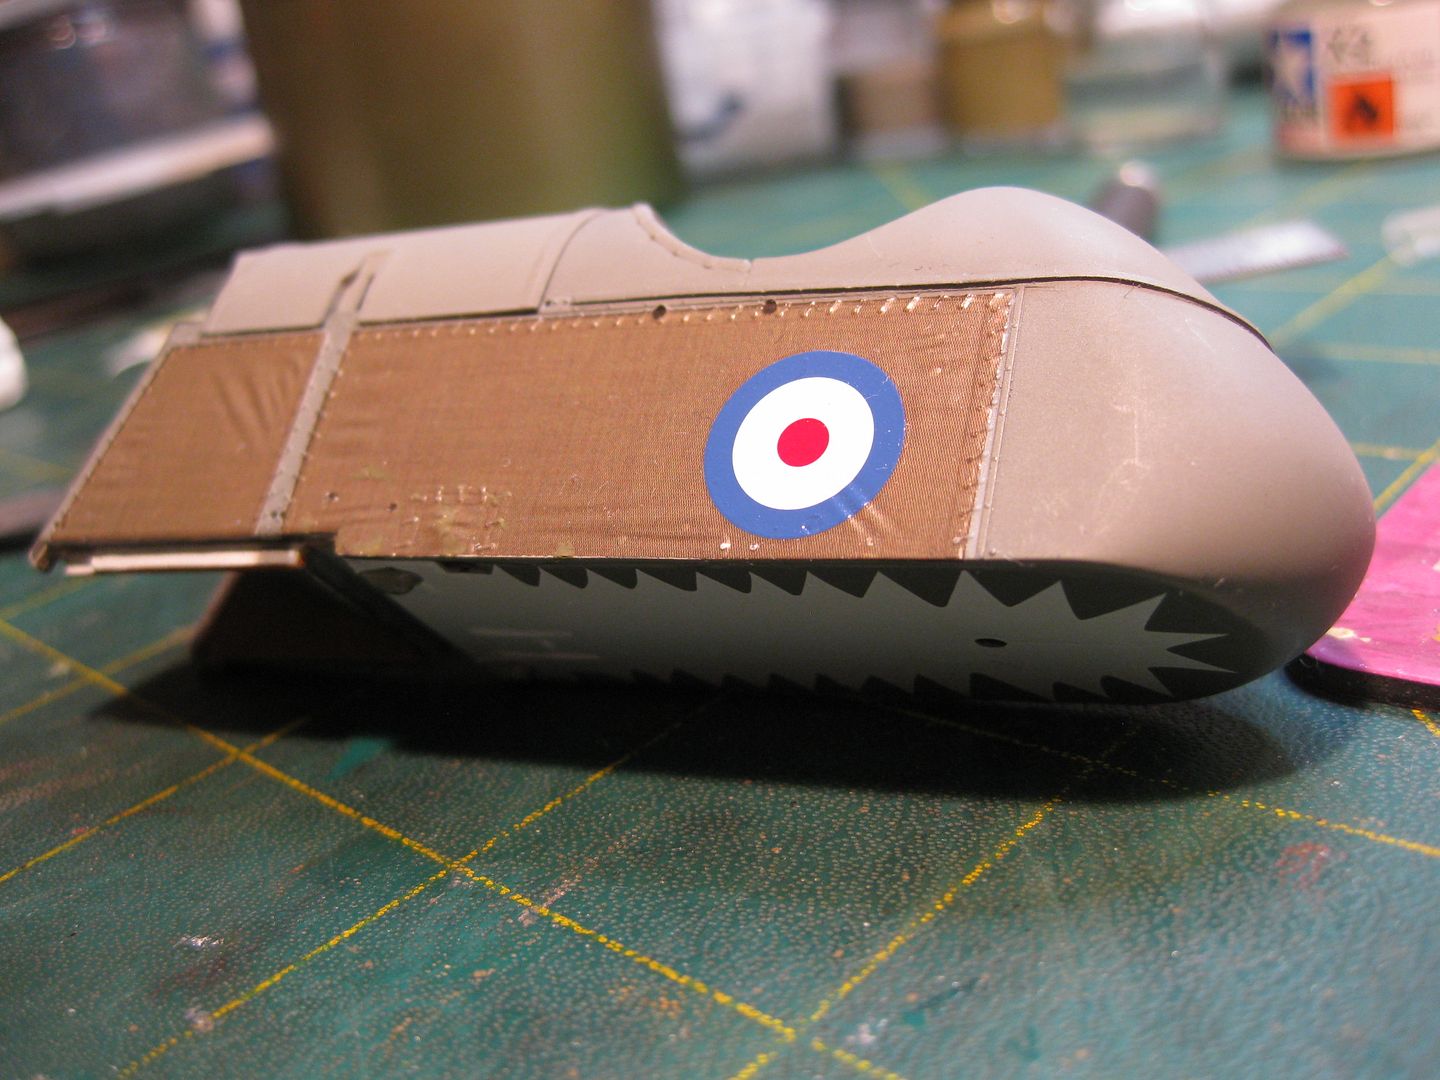
The next step on finishing the nacelle will be some subtle shading or highlighting of the stitching.
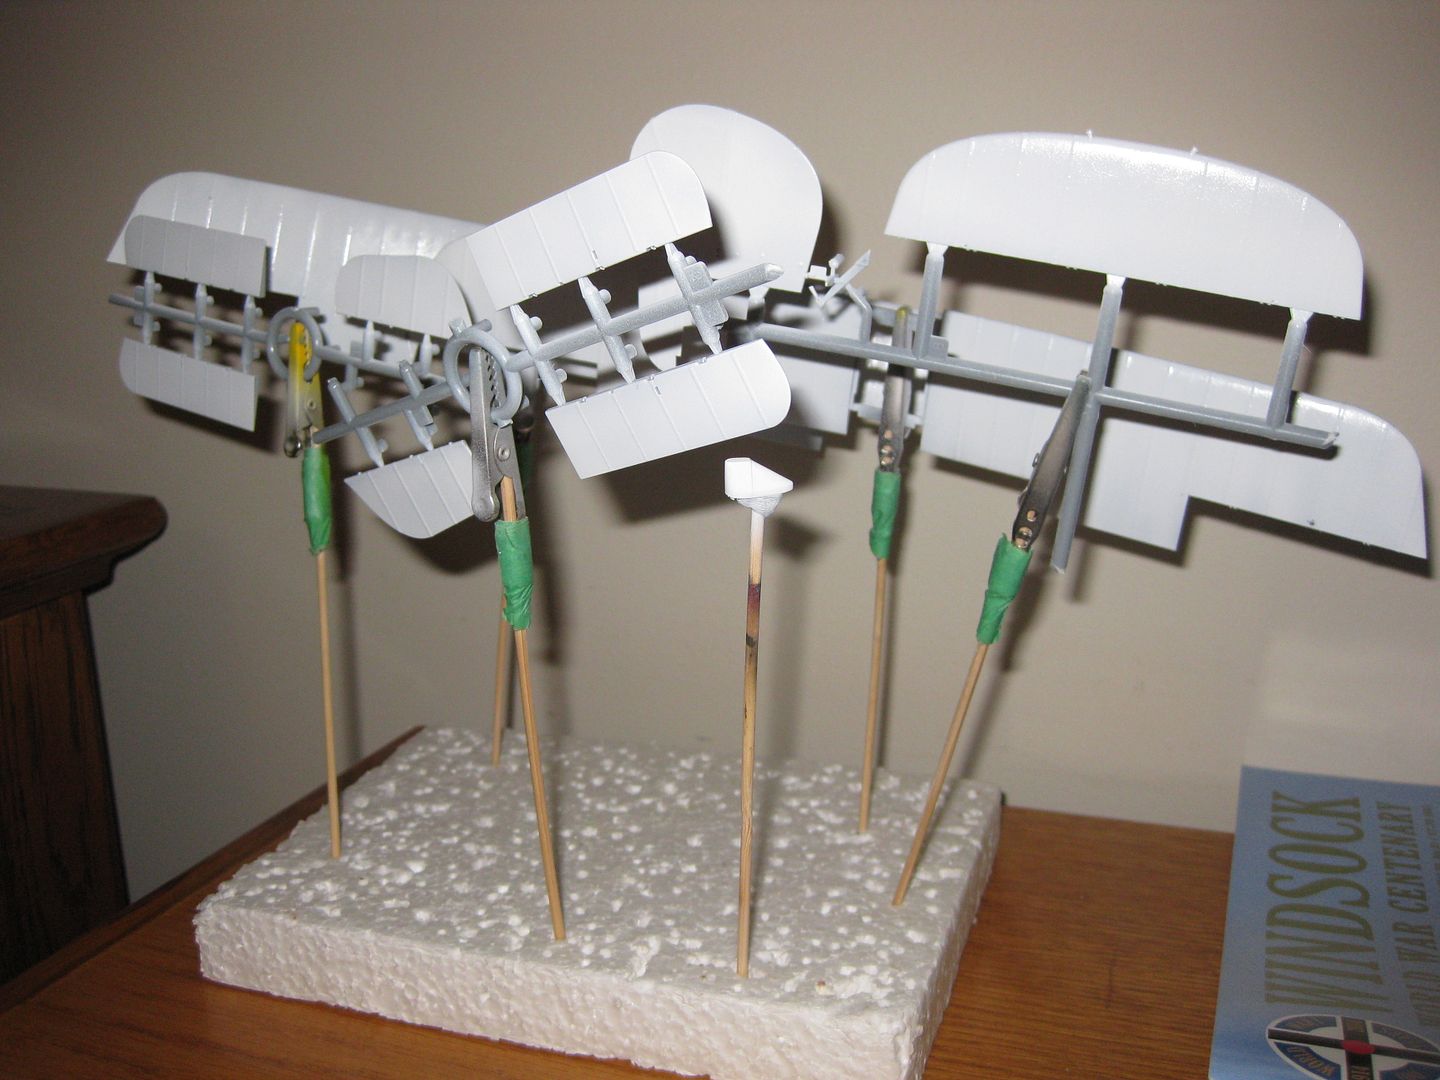
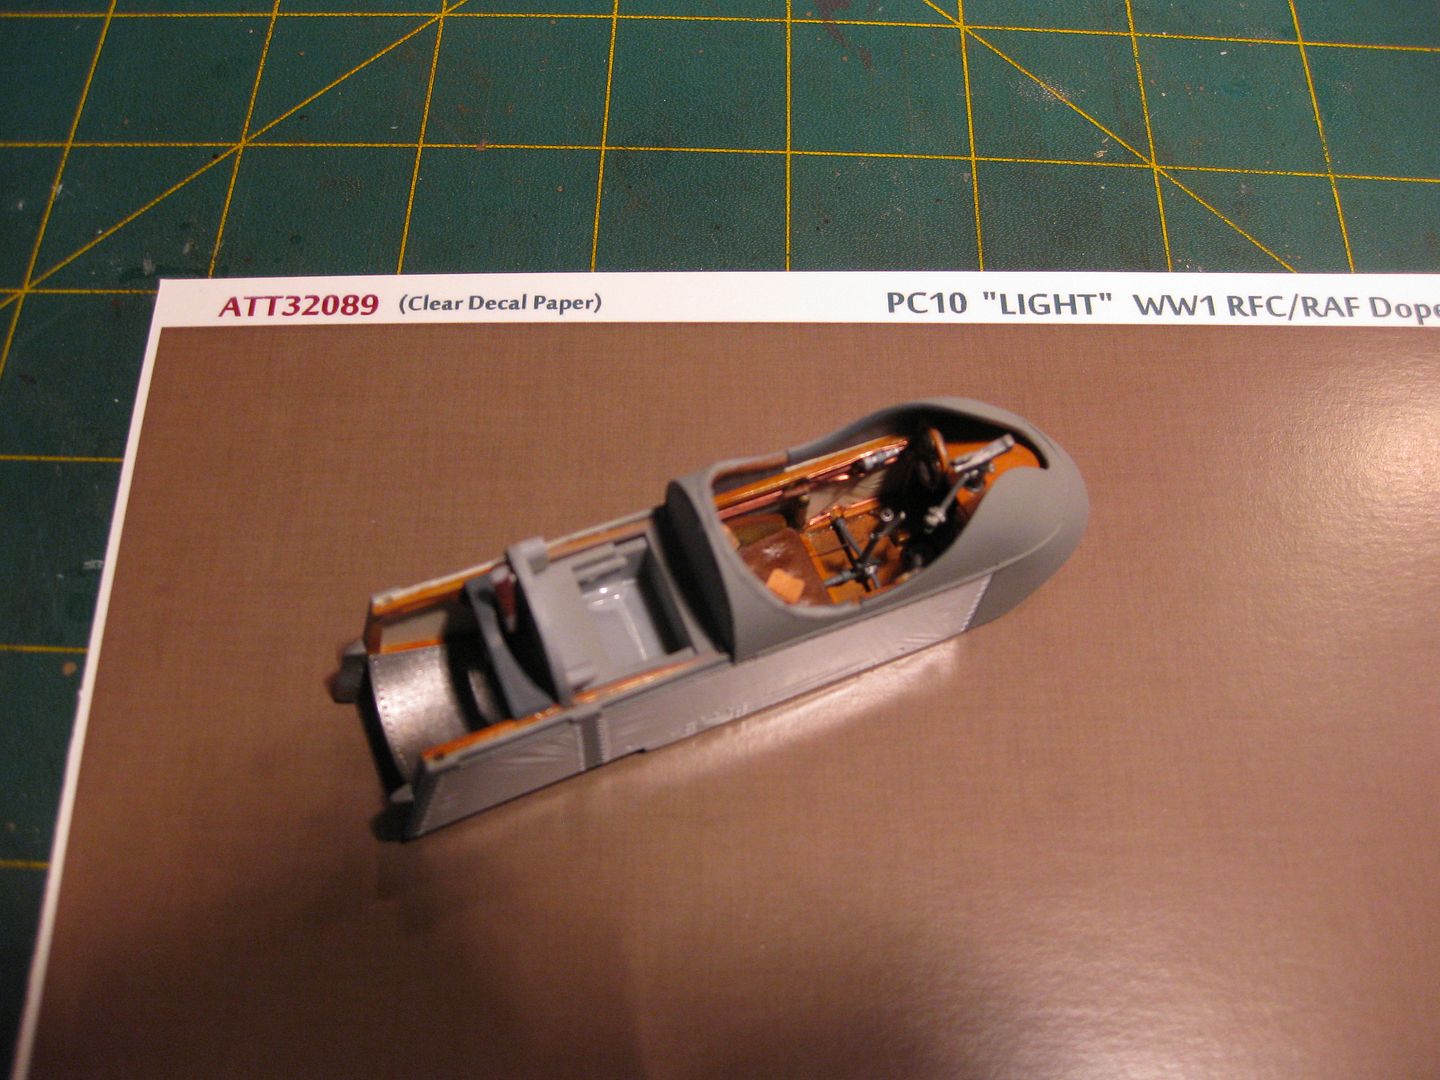
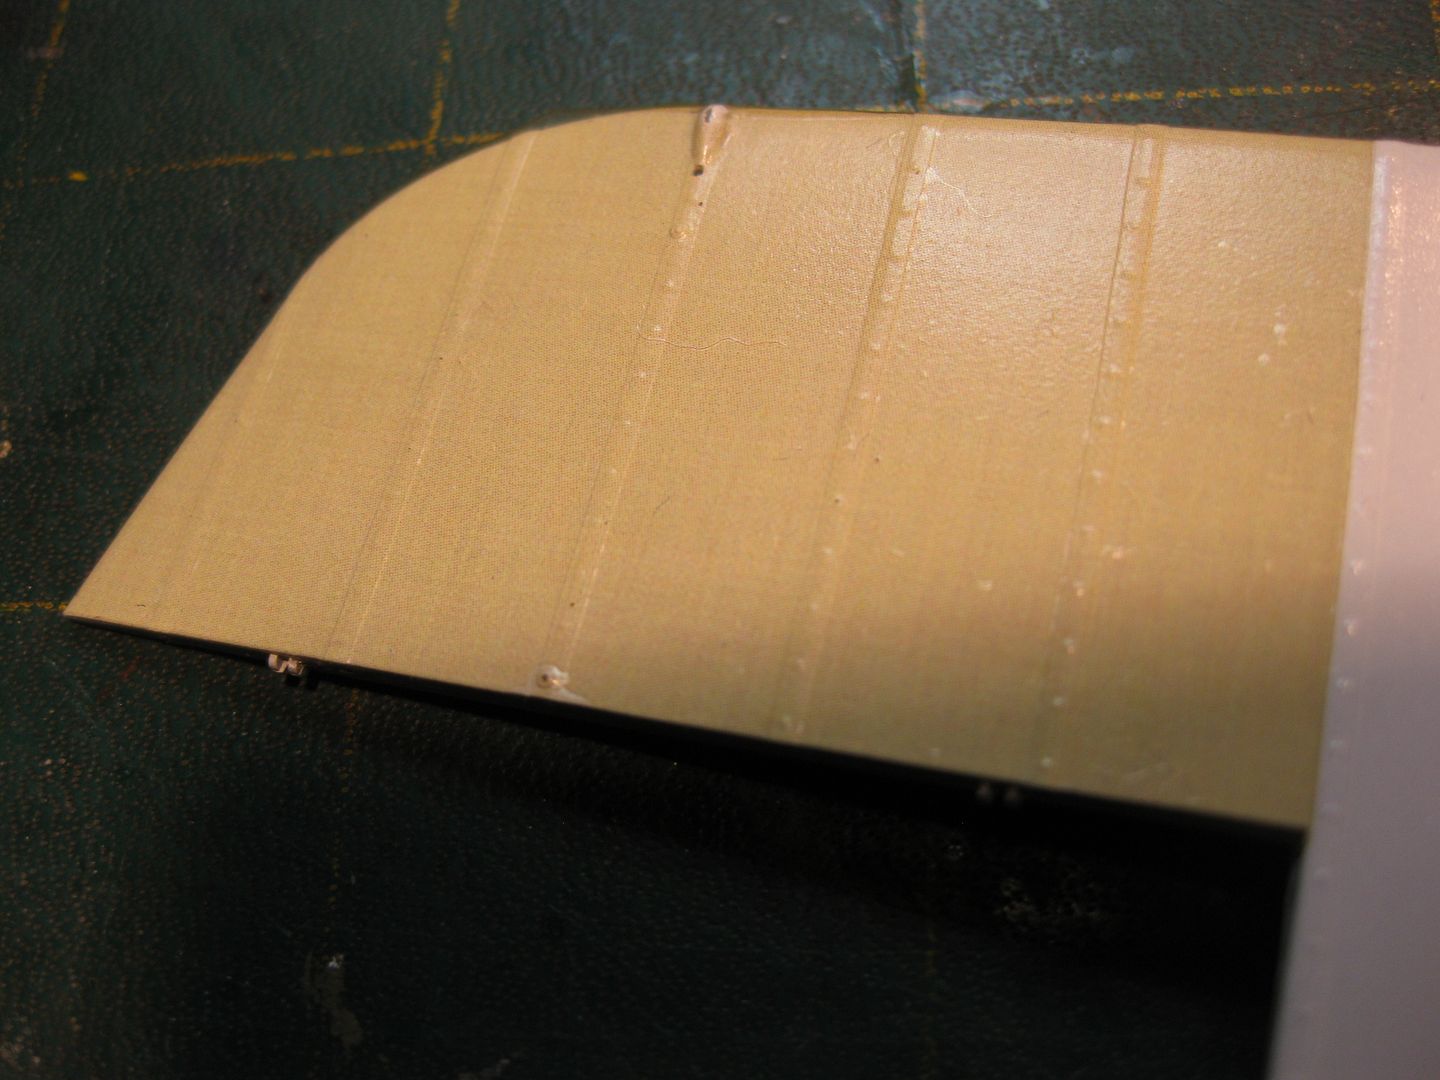
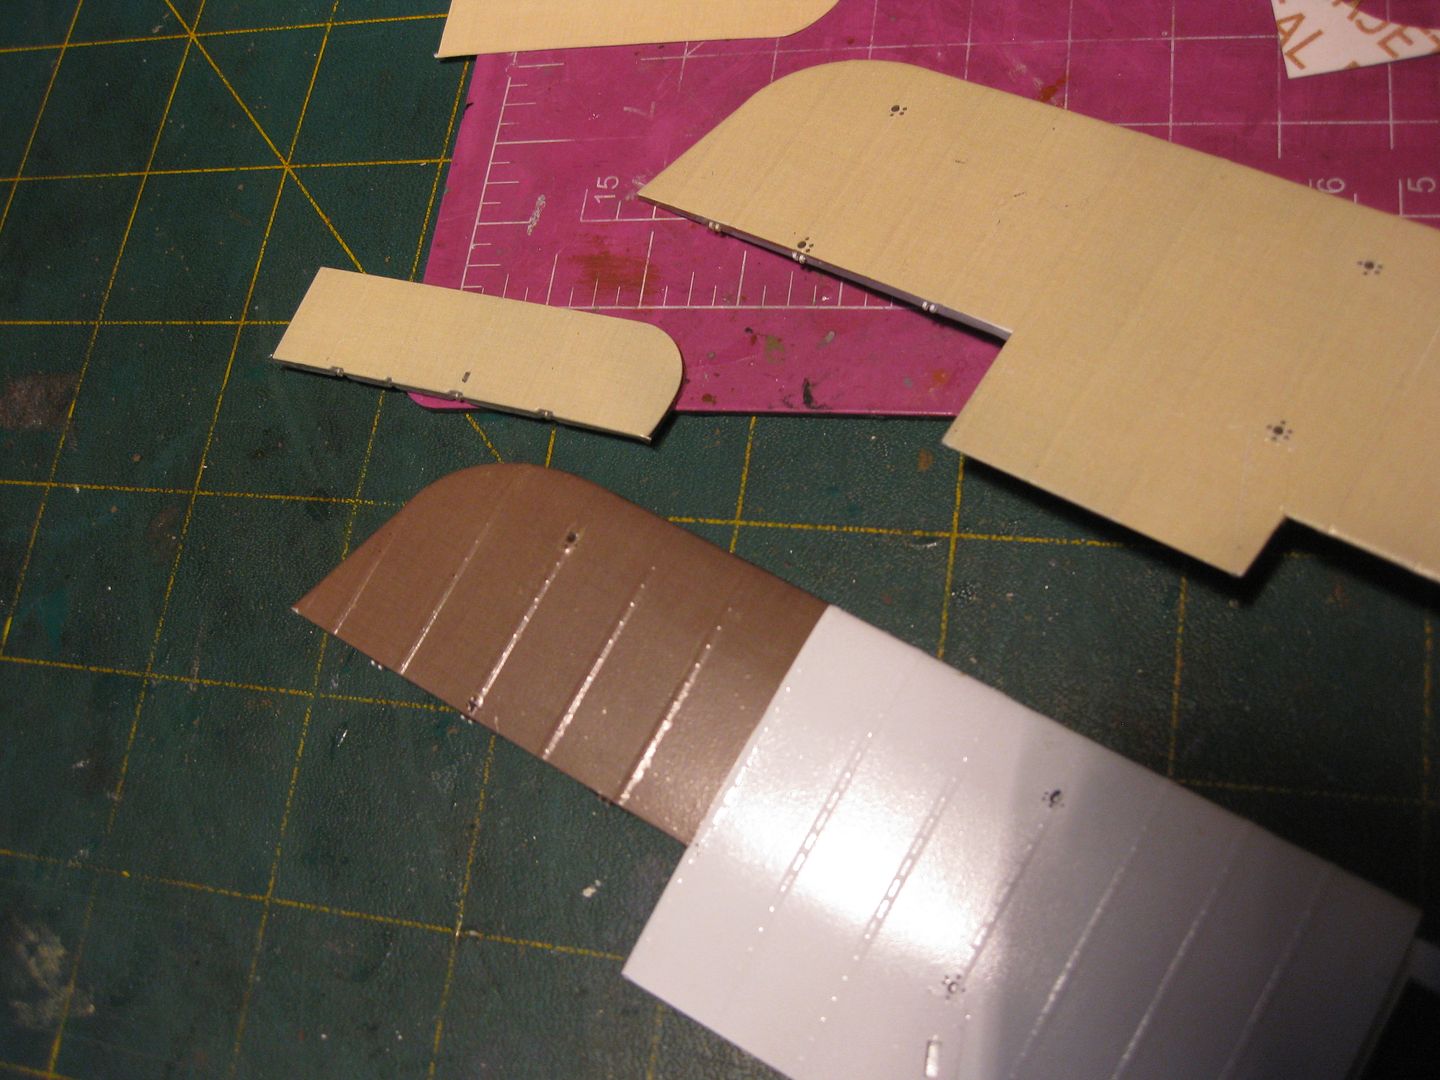
I've got a good start on the application of PC 10 and CDL to the other surfaces, the CDL is particularly impressive. Having used Aviattic's Lozenge on several occasions there have been no surprises in the use of these new products; getting the very small "wrap under" PC10 portions done will be a challenge in the trimming stage.
My Taurus Gnome Engine and Gas Patch Lewis arrived in the mail so it's all coming together.
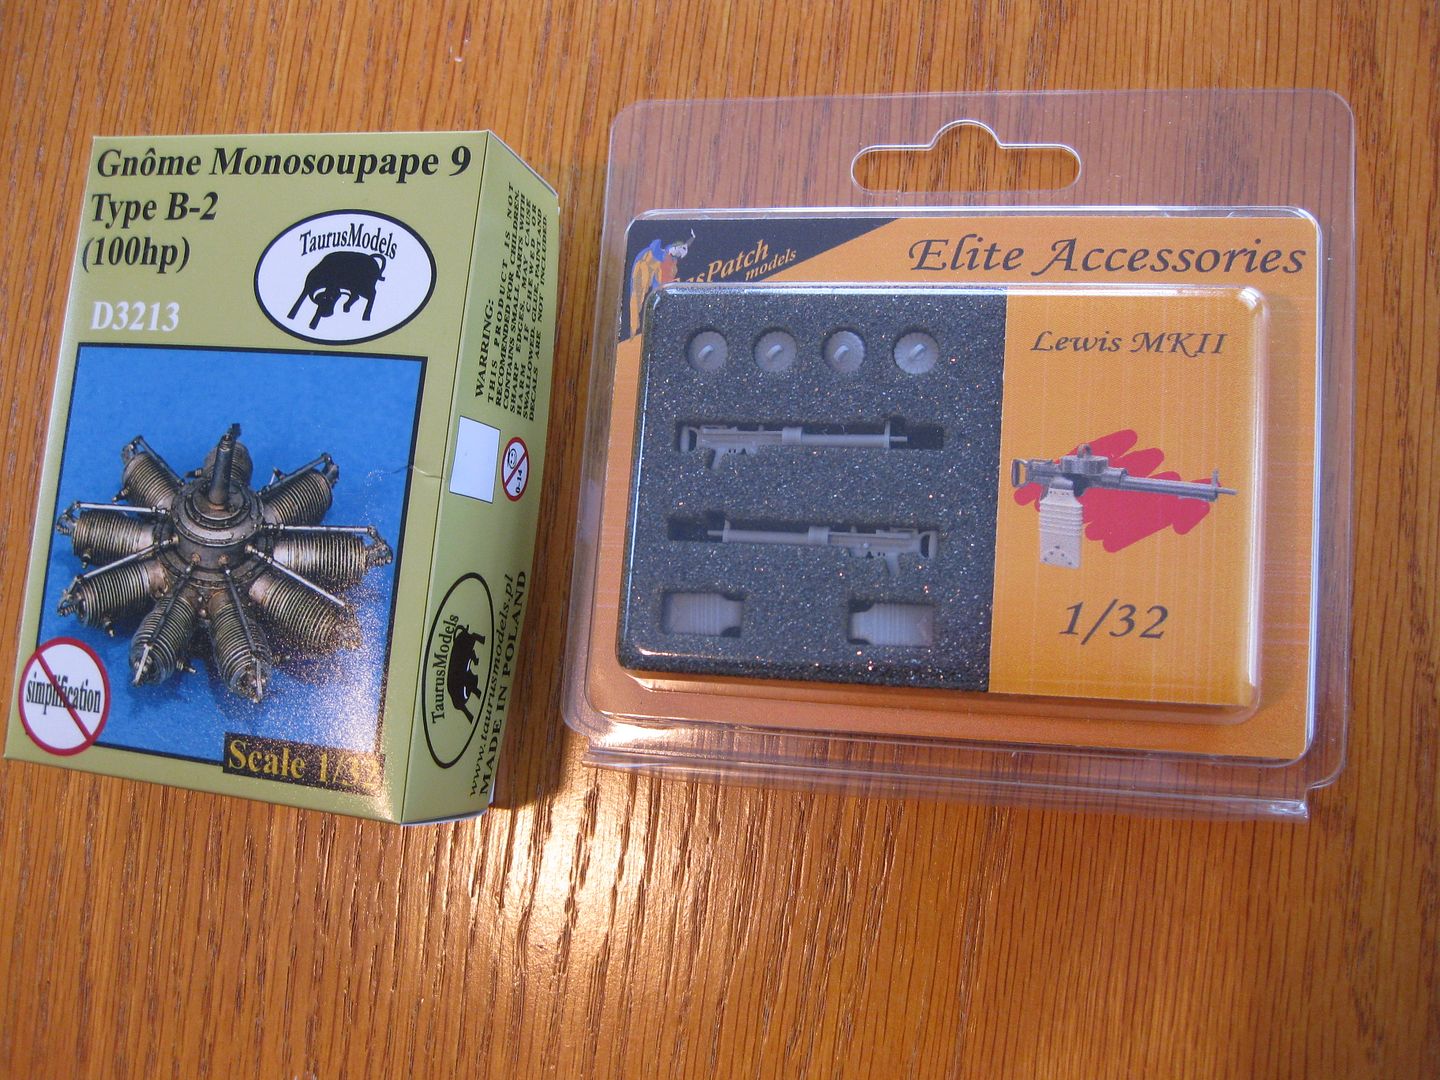
I'll now continue to work at the covering of all the flying surfaces and start the "separate model" of the Gnome Monosoupape 9, from what I've seen in other Builds here the latter is not exactly a cakewalk! Hopefully I can alternate between the two and keep my eyesight and sense of humour in good shape!
More to follow soon.........
Cheers,
Lance

