a little update, the Aviattic decals are here and I already started laying them

Its not easy and I just can imagine how bad is it to put the Roden original ones on such a big surface!
Before the decals, I mixed Tamiya XF-18 medium blue with gloss white XF-2 and gloss clear in 1:1:1 ratio and lightened the whole aircraft - it was too dark. The preshading is still visible but way, way more subtle. It also created a glossy surface for the decals, but I nevertheless polished it with some Tamiya polishing compound - to get rid of the dust.
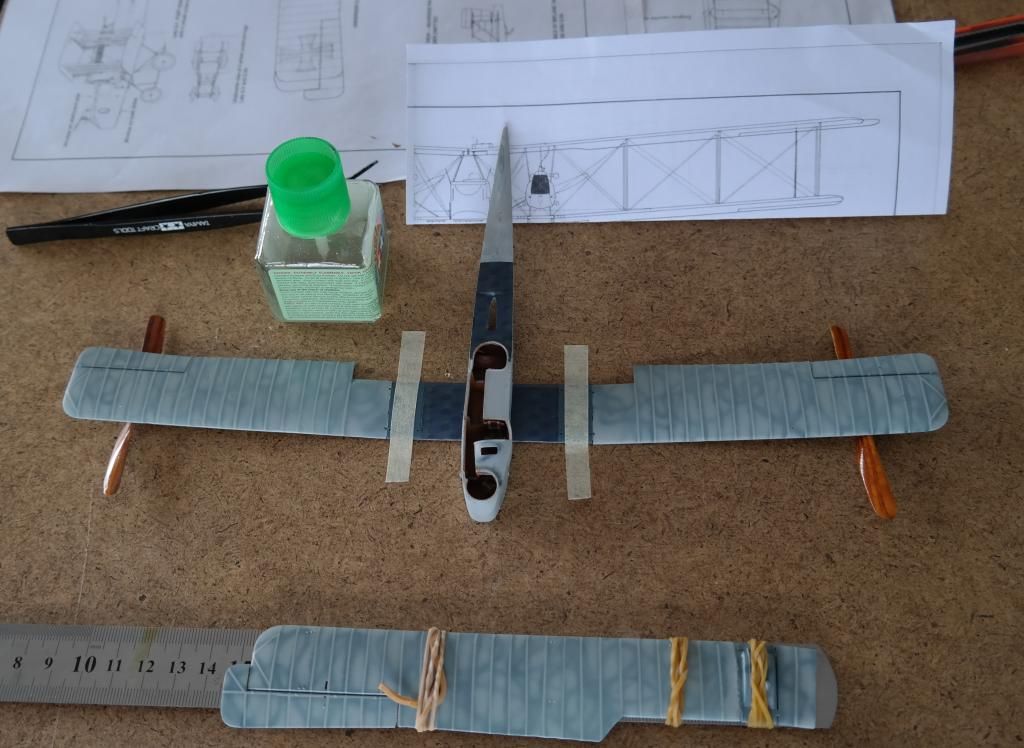
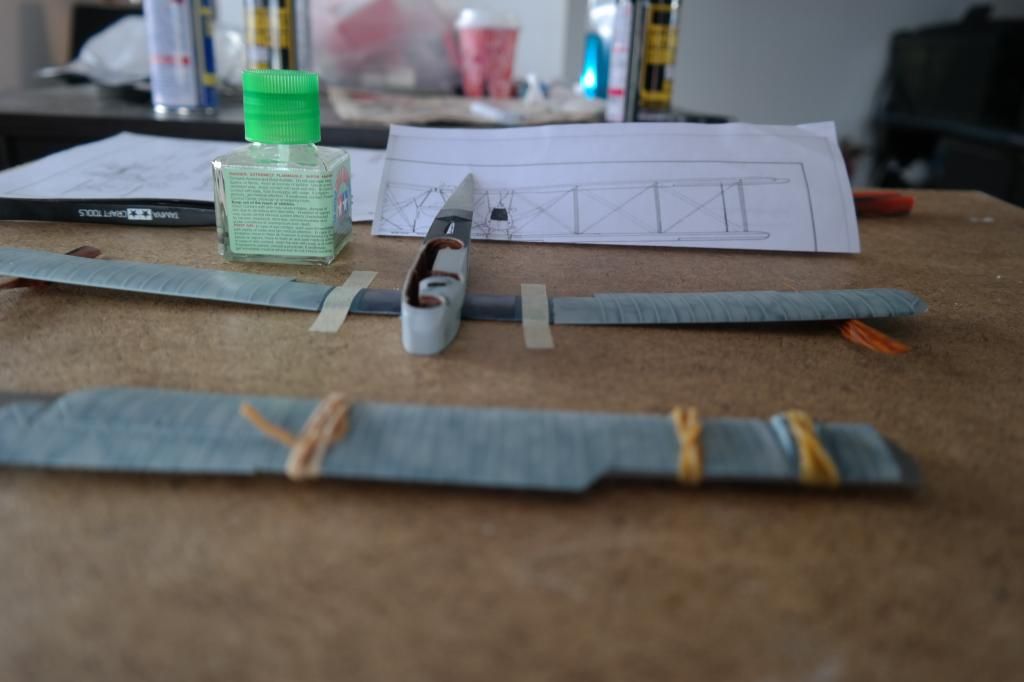
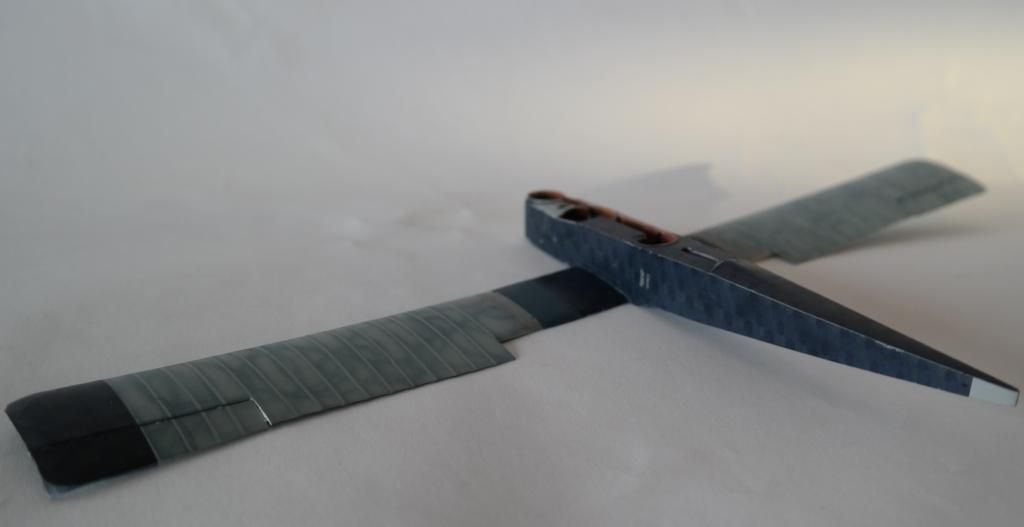
The wings were glued, and the brass pins, that were installed, really did what they were supposed to be doing. The dihedral was set a bit higher angle as when the top wing is glued it will sag a bit. I don't know if it is enough or not, only time will tell! Some putty and sanding were required of course and after this the decalling commenced. I’m just starting to lay the decals, so not much to be shown here, but I plan to decal the wings and fuselage, then to run the control wires along the fuselage and put all the eyelets on the wings, after the decals. Then I will mount the rigging wires on the upper wing and just then glue the engine nacelles and the upper wing.
Not sure if this will work, but if any problem arise I will be dealing with it on the go.
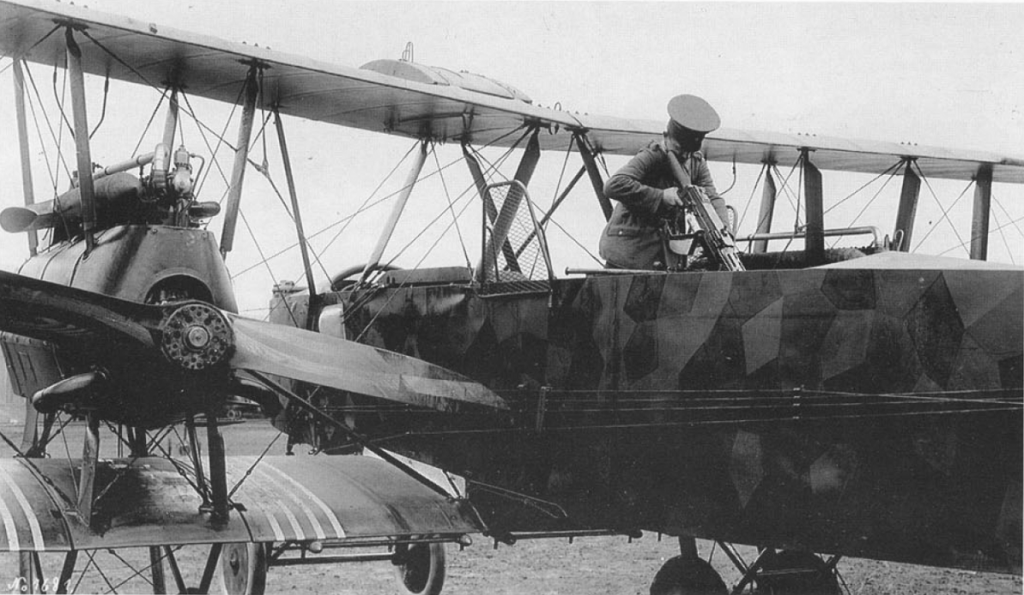
While checking the pictures I came to the conclusion that there was no lozenge under the engines and it was a medium blue plate. This can be seen on the archive photo bellow.
Here are few bad and dark pictures…I should finally set up a photo boot or at least get some additional light for taking pictures!
Any comments, questions, recommendations and constructive criticism are more than welcome!
Best regards,
Sasho
gluing the wings and settign the dihedral
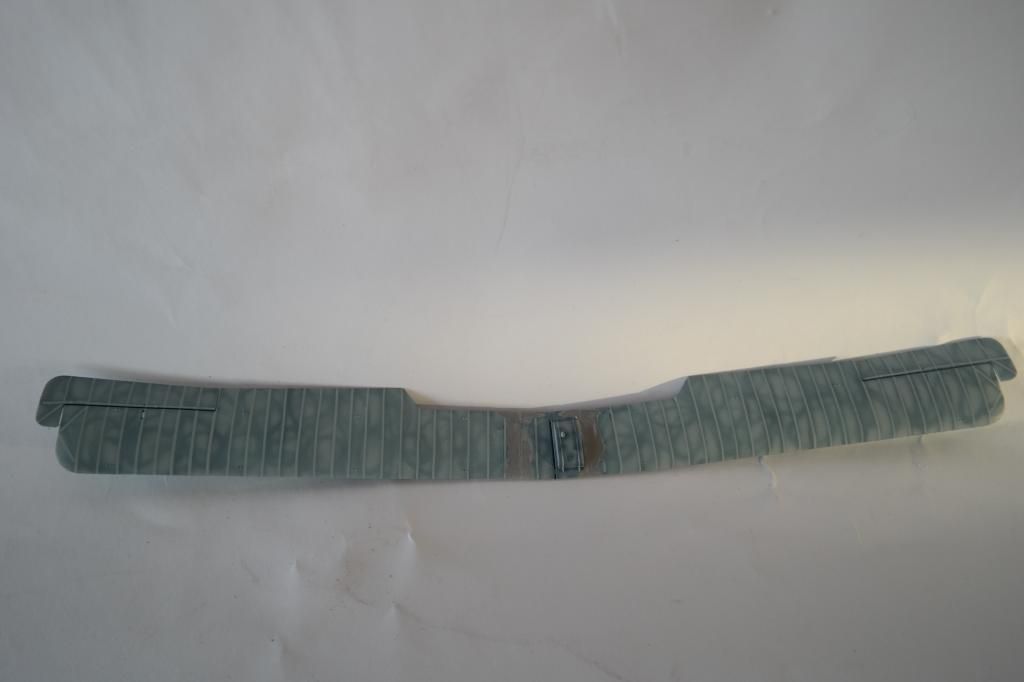
the decalling commenced
here I think it is visible that there is no lozenge under the engine