Time to update this Build before the model is completed; there should have been one more since the last but I'll catch up on the progress here.
Once the fuselage seam was repaired as mentioned earlier it was given one brushed coat of future to seal the finish and prepare it for decals. With that dried overnight the lozenge was started on the lower wings, the top already being underway.
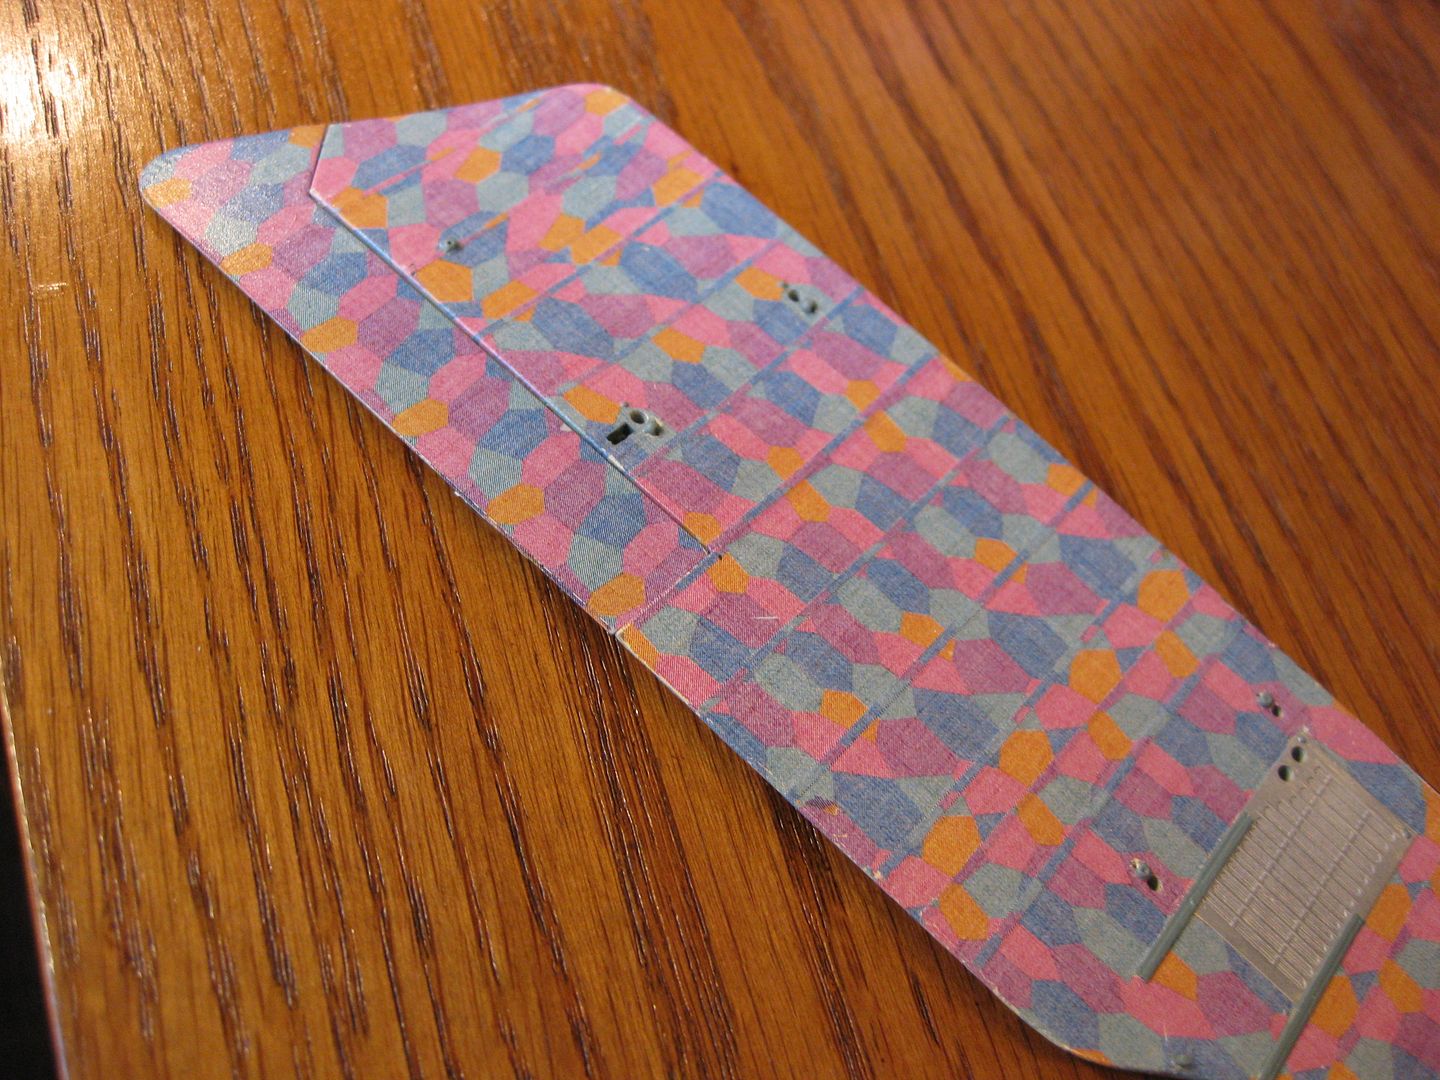
Here's the lower wing completed, one brush coat of Future and ready for the tapes. Note the chipping close to the wing root, in this case of no concern as the strengthened walk panels will cover them nicely.
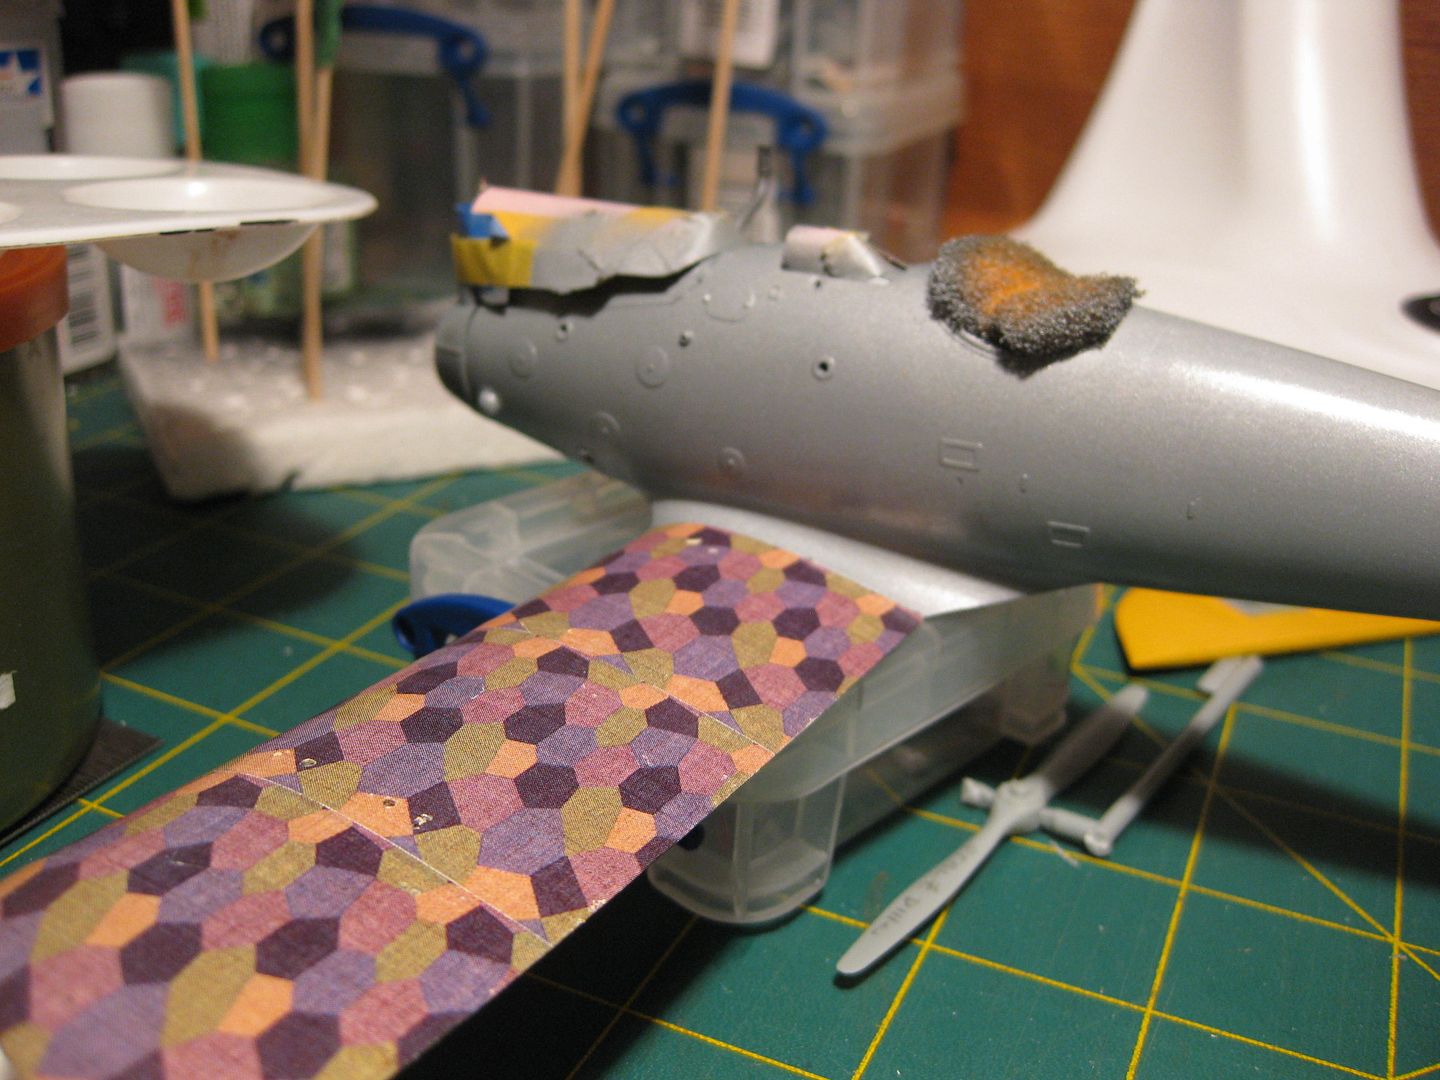
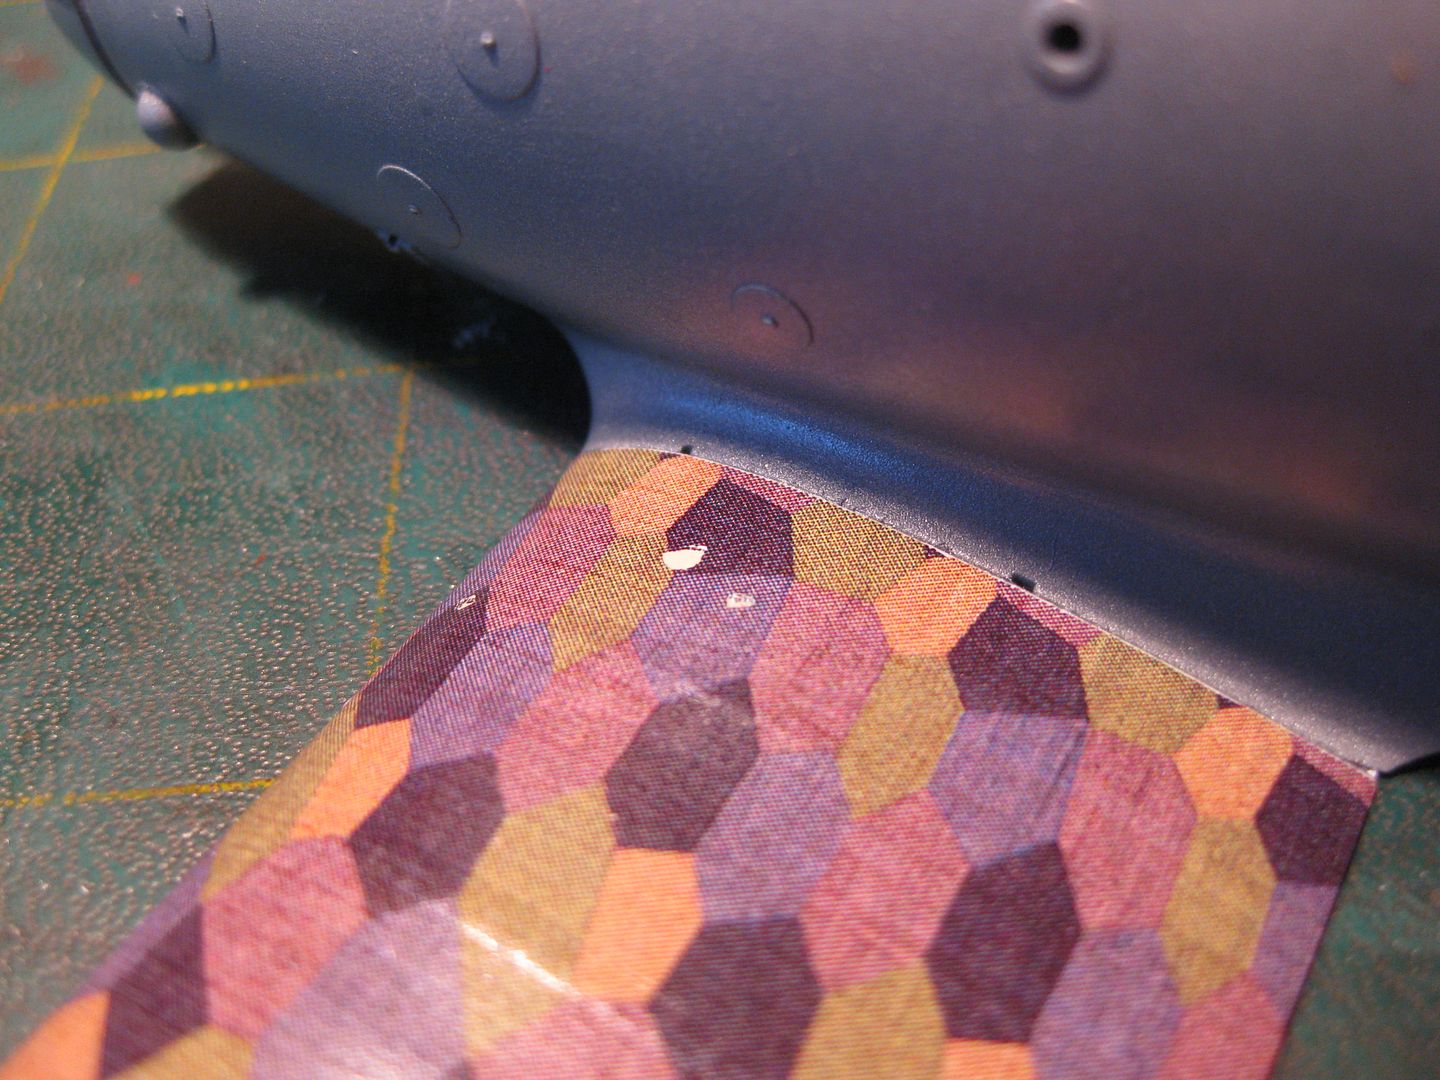
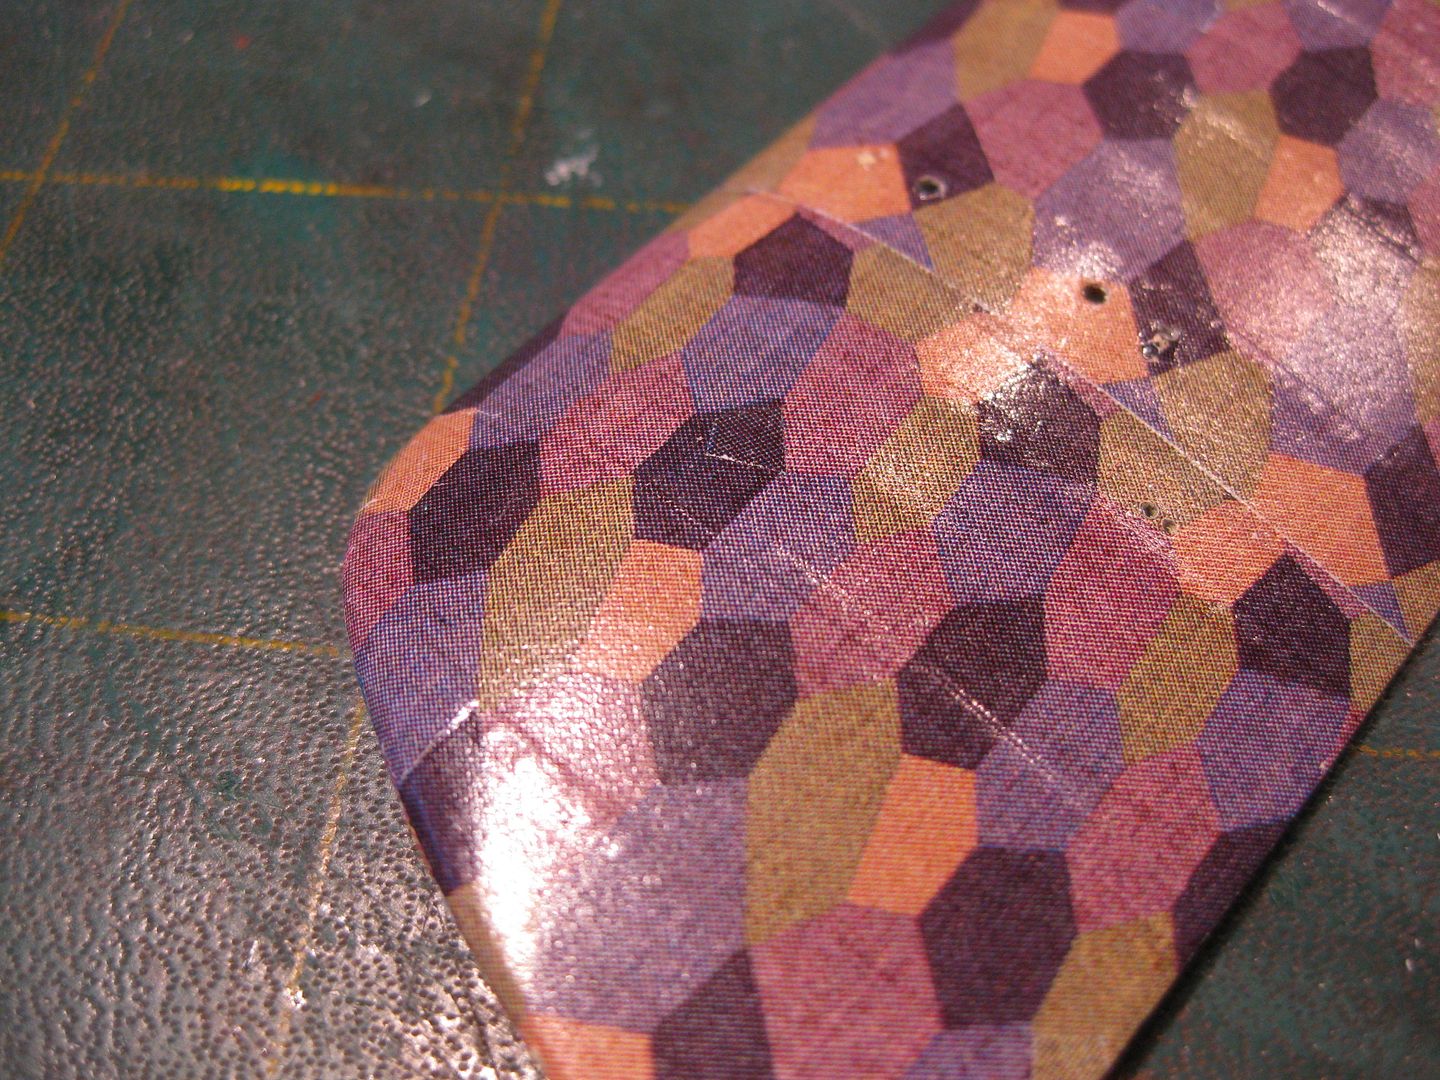
The lozenge chipping led to a lot of patching which was less then ideal as the white decal base showed regardless of how sharp a blade was used or how many attempts were made. In retrospect applying decal film as was done prior to cutting rib tapes would have vastly improved the results. If you look closely you'll be able to pick out the patches...............
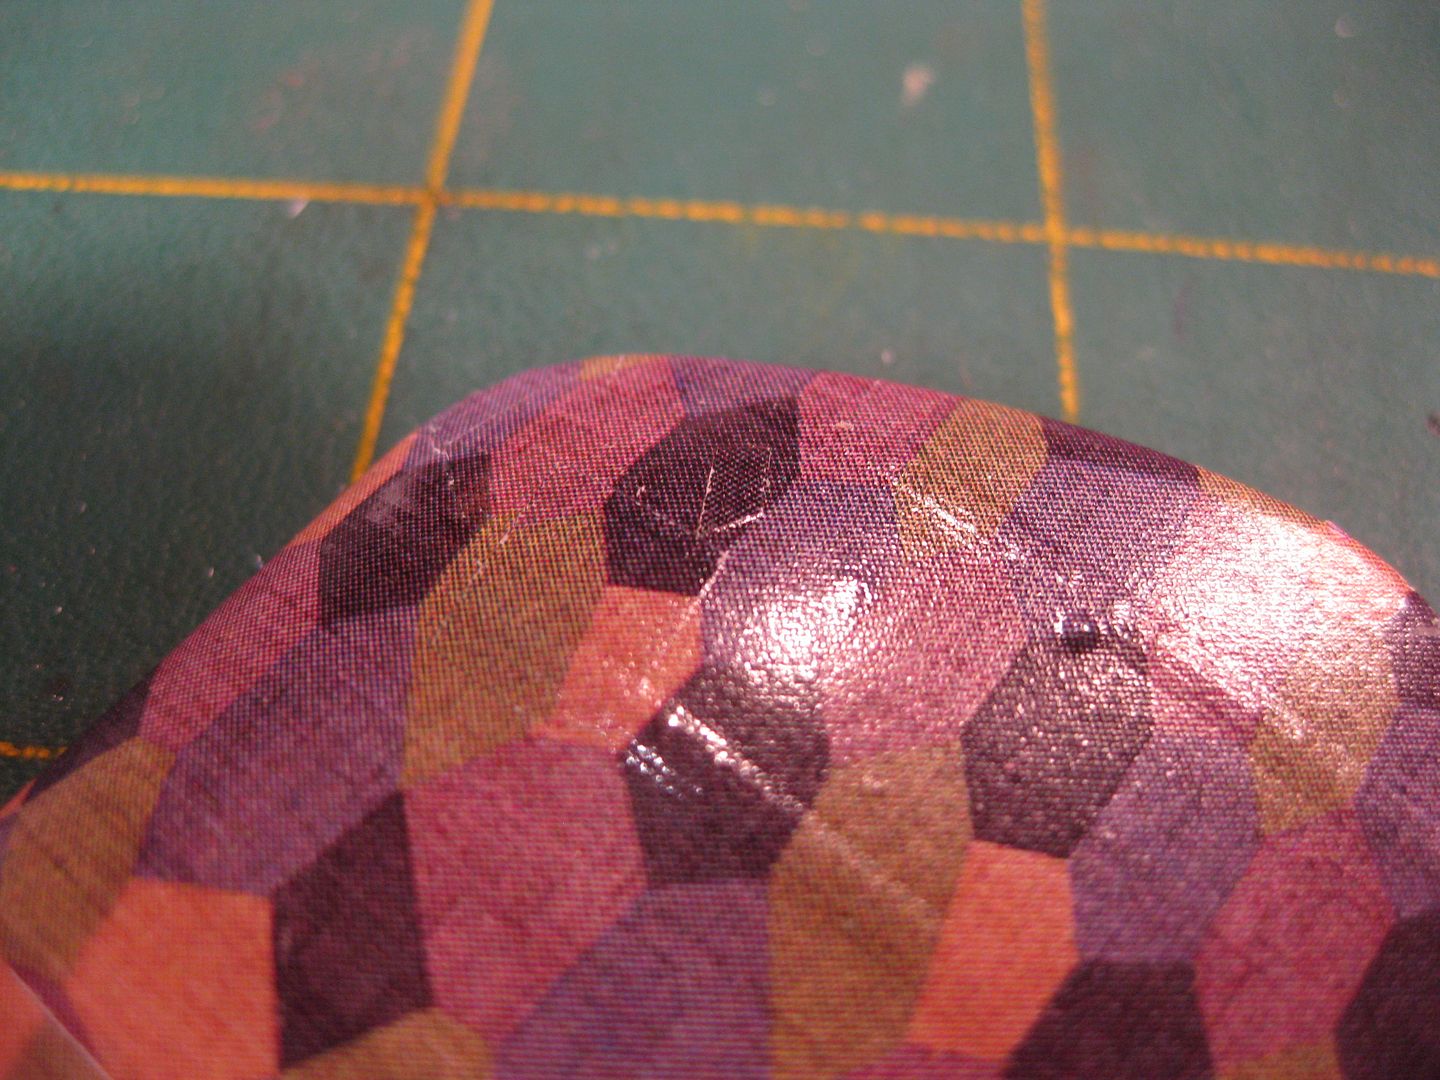

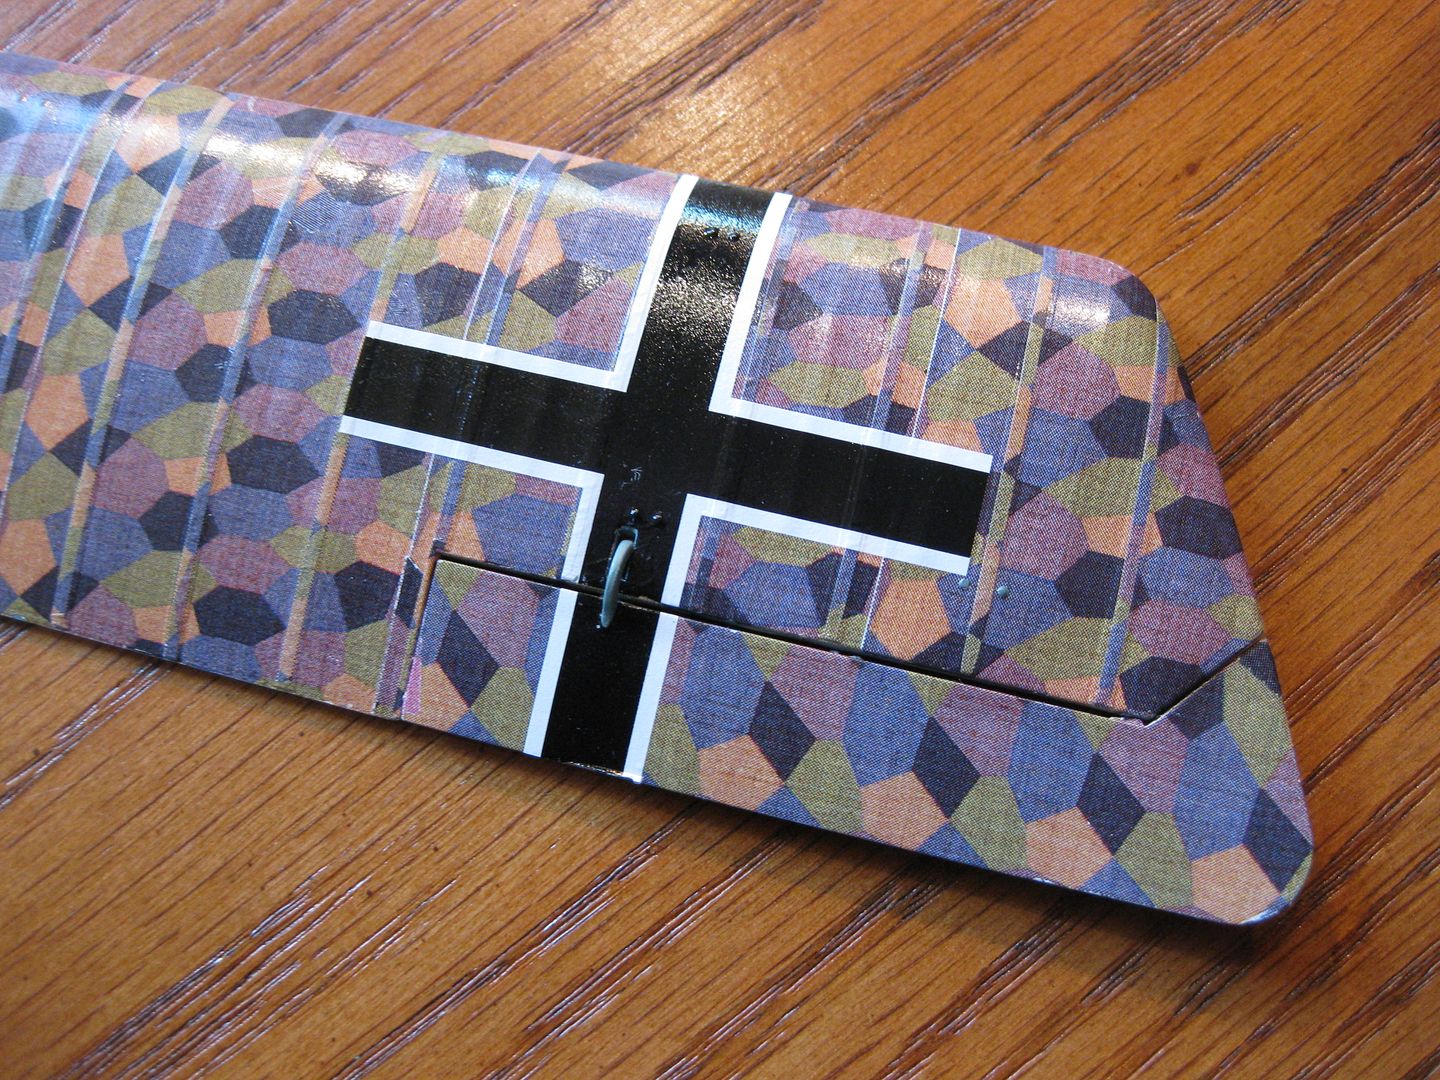
All the rib tapes were applied followed by the decals on both upper and lower wings.
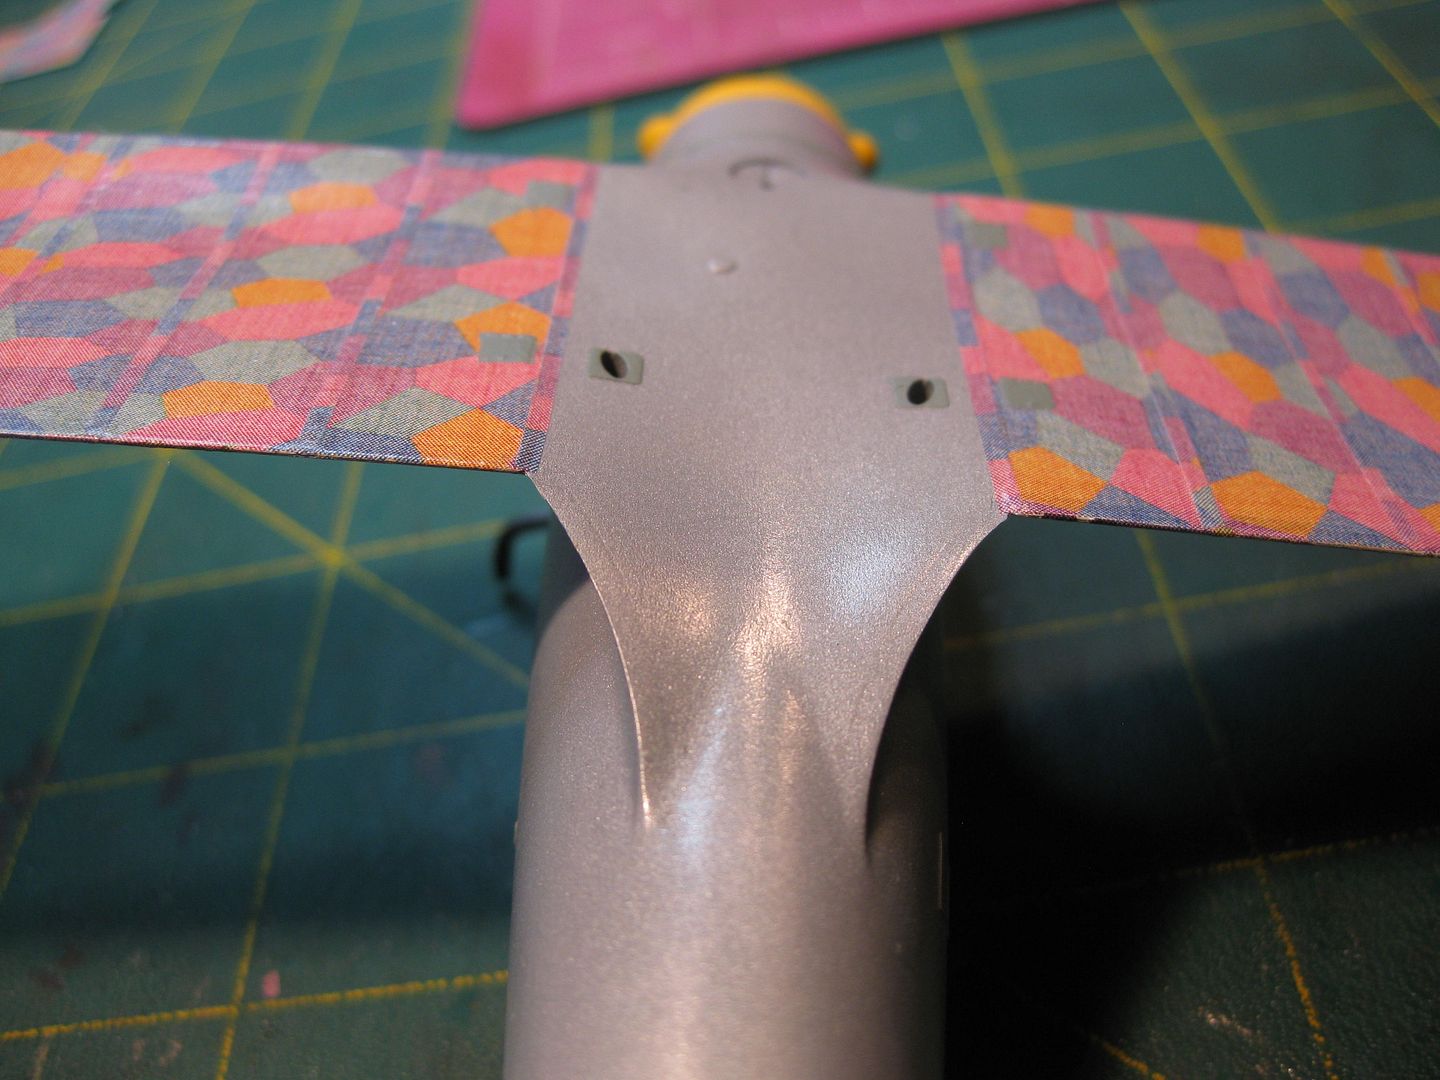
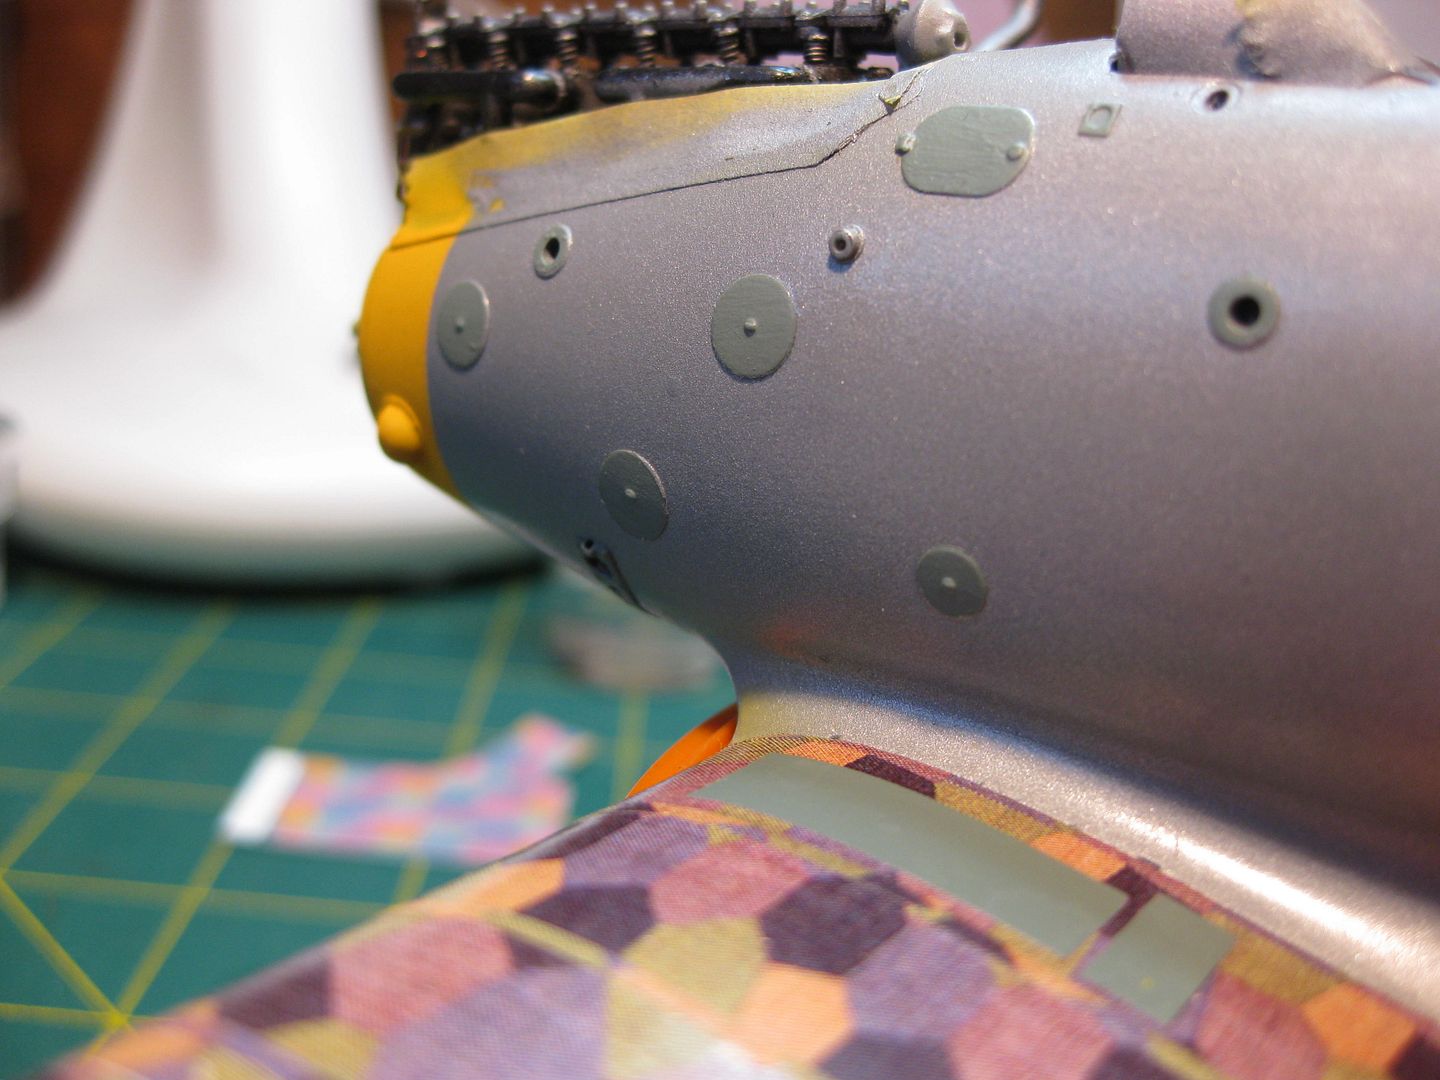
At this point the fuselage round access panels were masked off for painting; the step Kick Plates and wing access doors having been completed already, the former with overpainted decals, the latter by hand brush. The panels had been carefully measured several weeks back and the masks were special ordered from our great entrepreneur, Bob von Buckle, alias von Mask Maker and produced on his Vinyl Cutting Machine. OUTSTANDING PRODUCT!!! They were so good I was able to use them twice from one side to the other and have more to spare then I used. Also, significantly, no lifting of the future top coat. I elected to hand paint the panels and fittings, hopefully the brush marks will be more subdued by the semi gloss finish coats when applied.
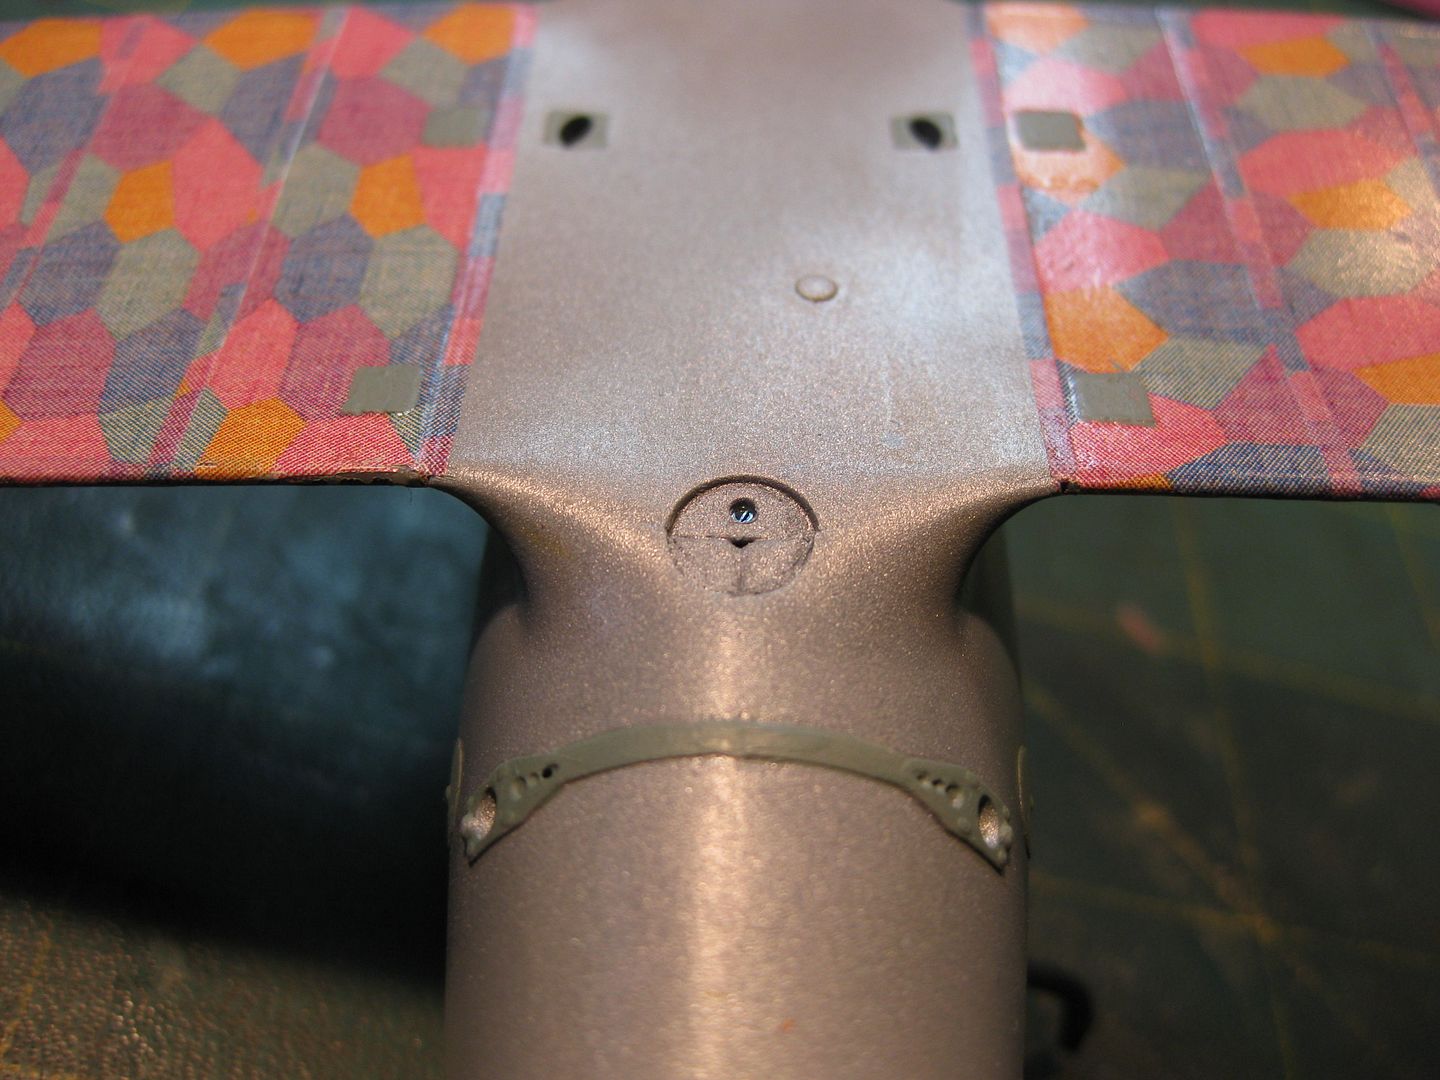
Masks in place with paint applied.........................The wing step areas were done with scrap decal overpainted with the grey/green interior and protective colour with a layer of decal film on top and the yellow nose area masked and airbrushed. Model Master Insignia Yellow Enamel provided a good match to the Profile and three light coats provided solid coverage and colour.
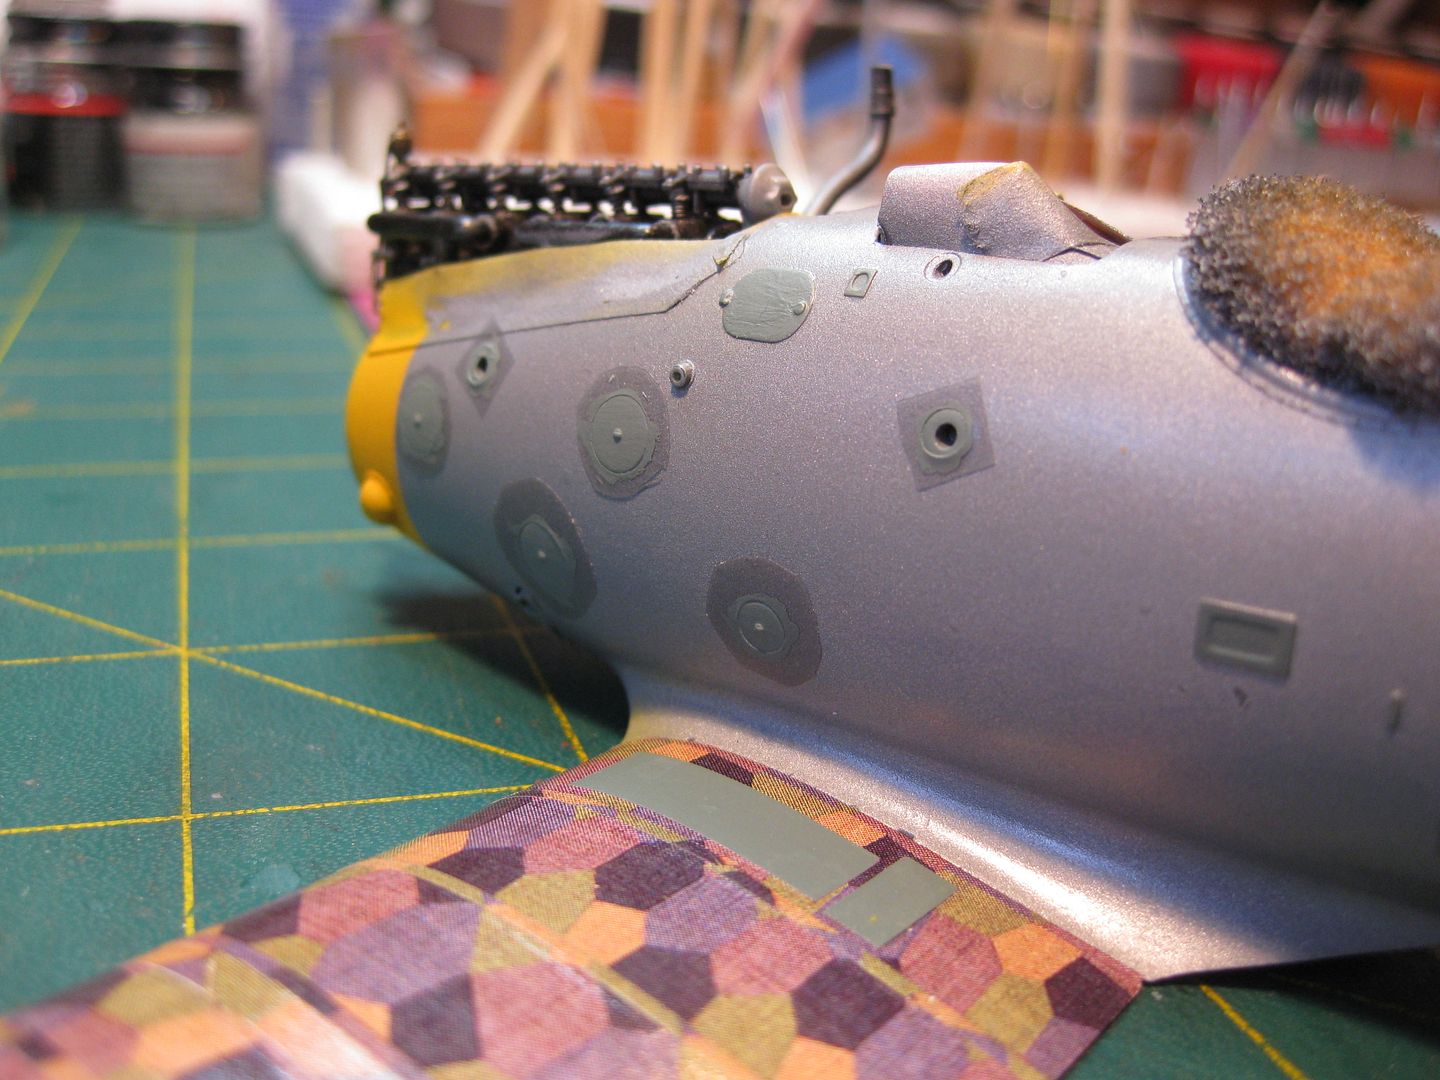
and final results...............
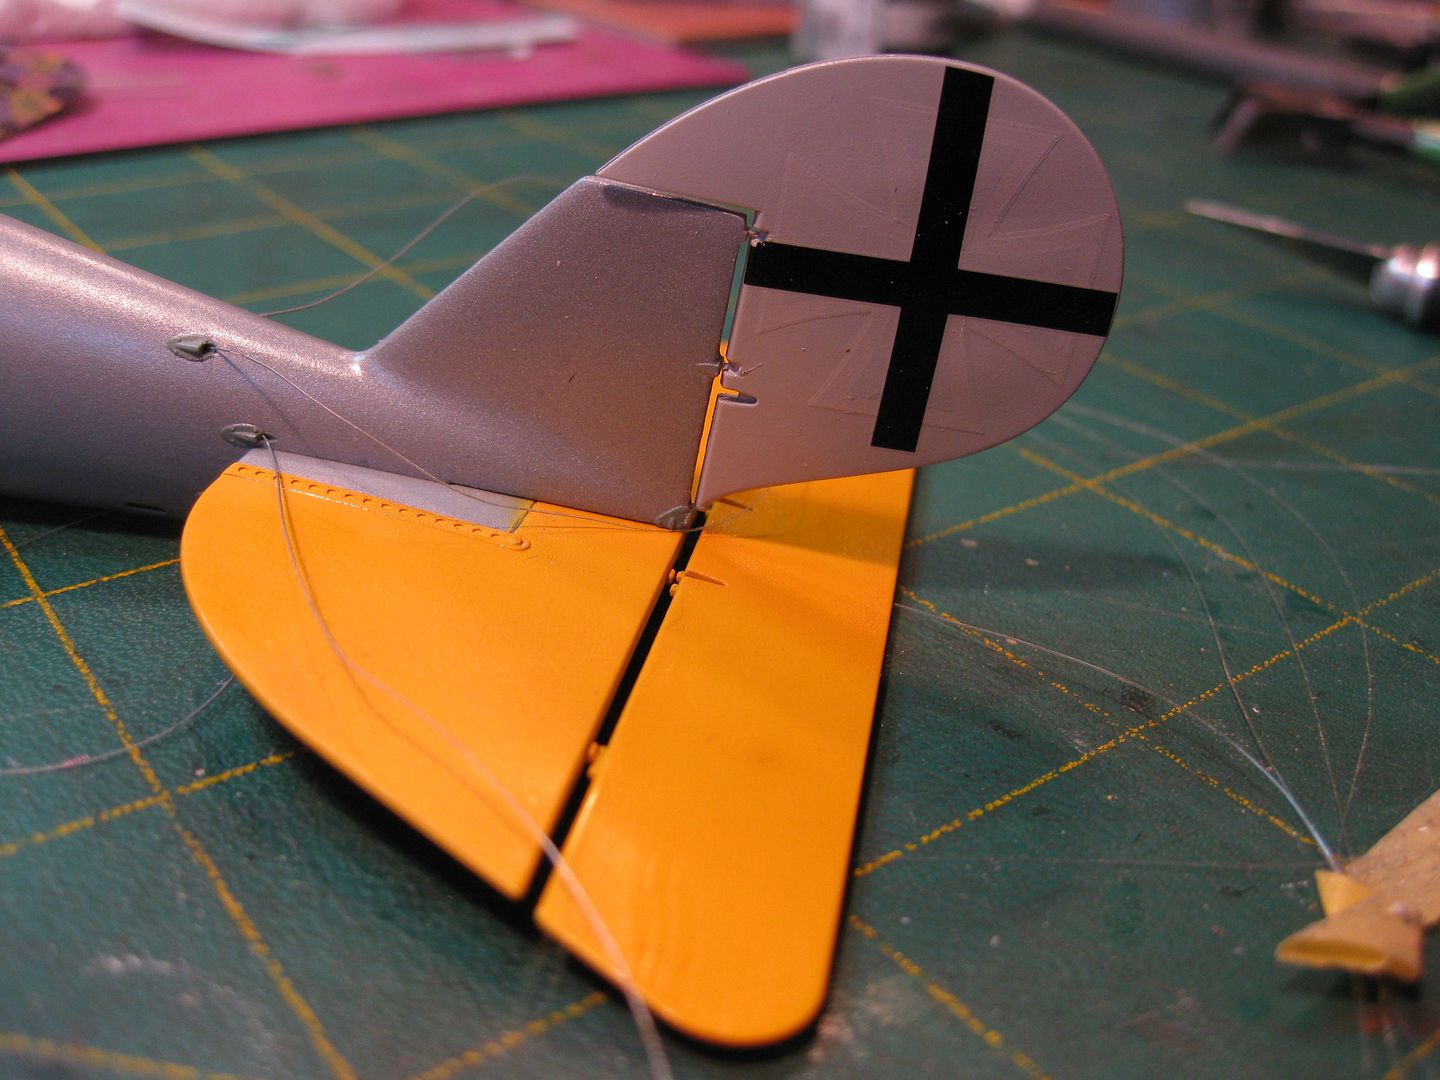
The tail section has been painted as well, components "posed" here for illustration. A little touch up required in this area............
Next will be the fuselage decals, a sealer coat of semi gloss, some post shading on the wings, and installation of the turn buckles in preparation for further assembly. I also hope to get the fuselage weathered before adding the upper wing and rigging etc.
So now, back to the work bench. Thanks for looking

Cheers,
Lance

