Author Topic: In the beginning...  (Read 4723 times)

Offline lawman56

  • Full Member
  • ***
  • Posts: 123
  • What about a pointed stick?
Re: In the beginning...
« Reply #15 on: April 26, 2013, 08:54:11 AM »
Ok, I figured it out. My technologically challenged brain loaded the pic, previewed the post, (which showed the pic), and posted it. Then I went into my photobucket account and moved the pic into the "Albatros" album. My assumption is once I did that, the URL changed, so it "moved". Anyway, here's the pic I originally posted.


And here's a pic after I installed the rocker arms, plug and magneto wires.
Joe Clark

"Illegitimi Non Carborundum"

Offline GAJouette

  • Hero Member
  • *****
  • Posts: 3579
  • " Beware of the Spanish Inquisition"
Re: In the beginning...
« Reply #16 on: April 27, 2013, 01:18:20 AM »
    Joe,
Looks like the beginning of an outstanding project with excellent details my friend. Looking forward to seeing more and keep up the good works.
Highest Regards,
Gregory Jouette
" What Me Worry"

Offline pepperman42

  • Hero Member
  • *****
  • Posts: 4443
  • Sergeant, my brown pants.......
Re: In the beginning...
« Reply #17 on: April 27, 2013, 02:28:05 AM »
Looks good. Are those the Taurus rocker arms people have said are too long? Any problems?

Steve

Offline lawman56

  • Full Member
  • ***
  • Posts: 123
  • What about a pointed stick?
Re: In the beginning...
« Reply #18 on: April 27, 2013, 04:32:04 AM »
Looks good. Are those the Taurus rocker arms people have said are too long? Any problems?

Steve

Steve,

Yes those are the Taurus rocker arms and cam people have had some issues with, but I honestly can't say why. The first set I recieved gave me problems, in that the cam was a hair too long and the rocker arms wouldn't line up with the centered valve springs. However, I also realized that I had accidentally ordered the timing set for the DIIIa motor, when mine is a DIII. The DIII rocker arms are mounted center of the cover, whereas the DIIIa rockers are mounted at the end of the cover. Given the fantastic amount of detail in the Taurus set, I have to believe that the gear is engine model specific.

I ordered the set for the DIII and have had no problems at all with it, so I'm not sure if I just lucked out or not. Regardless, the detail is crisp and fantastic, but you will need good tweezers, a magnifier of some sort, a steady hand and never-ending supply of aspirin to combat the eye strain!

The wires and photo etch comes from the HGW Albatross set. Another aftermarket product I would recommend. The "Detail" set includes a PE radiator, exterior details, interior details, engine details, seatbelts, paint masks and a wood grain decal.
Joe Clark

"Illegitimi Non Carborundum"

Offline pepperman42

  • Hero Member
  • *****
  • Posts: 4443
  • Sergeant, my brown pants.......
Re: In the beginning...
« Reply #19 on: April 27, 2013, 12:13:50 PM »
Thanks - a very interesting point.

Steve

Offline lawman56

  • Full Member
  • ***
  • Posts: 123
  • What about a pointed stick?
Re: In the beginning...
« Reply #20 on: May 01, 2013, 05:18:41 AM »
Ok. This is to be filed under "I have no idea why I did this". :o While browsing through the various Albatros pics, especially Jamos and TVALs, of the cockpit interior and controls, I noticed that on the right, interior side of the fuselage, just behind the right Spandau, there is a small board, with what I originally assumed to be 5 guages. Further inspection revealed that they weren't guages, but switches of some sort. So, I have no idea why I decided to do this, but I am attempting to scratchbuild these. Here's my progress so far:

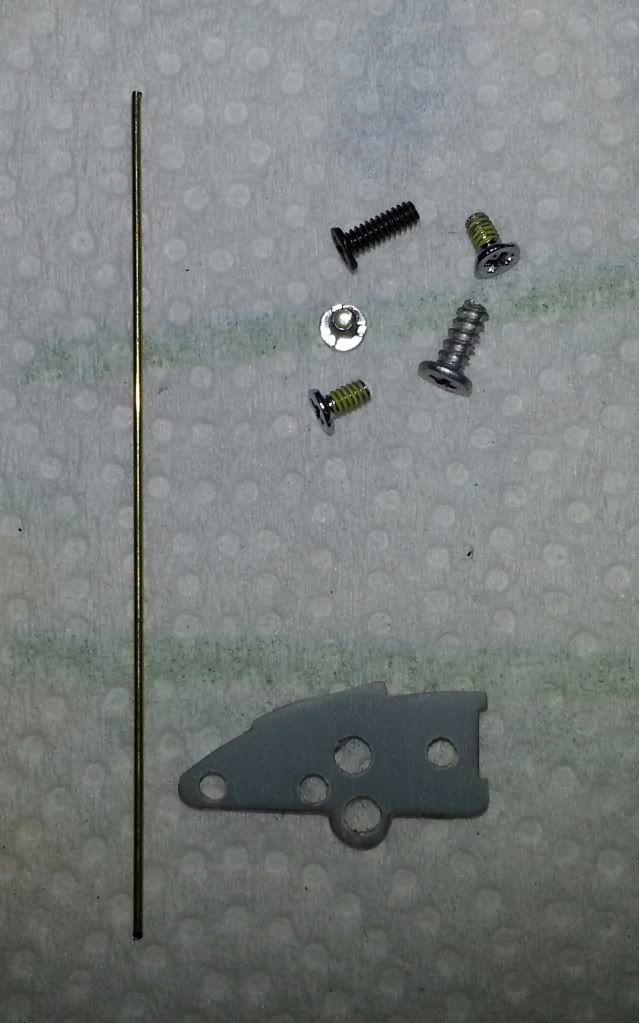
I started by drilling out the five molded on faces with pin vise bits of appropriate sizes, finding 5 very short model railroad screws from the junk box with heads of the same diameter, and a small, (.03mm I think), brass rod I keep in stock as antennas for my AFV builds.

I then superglued the screws into the holes. I chose to use  Philips or cross head screws in order to make the next step easier.

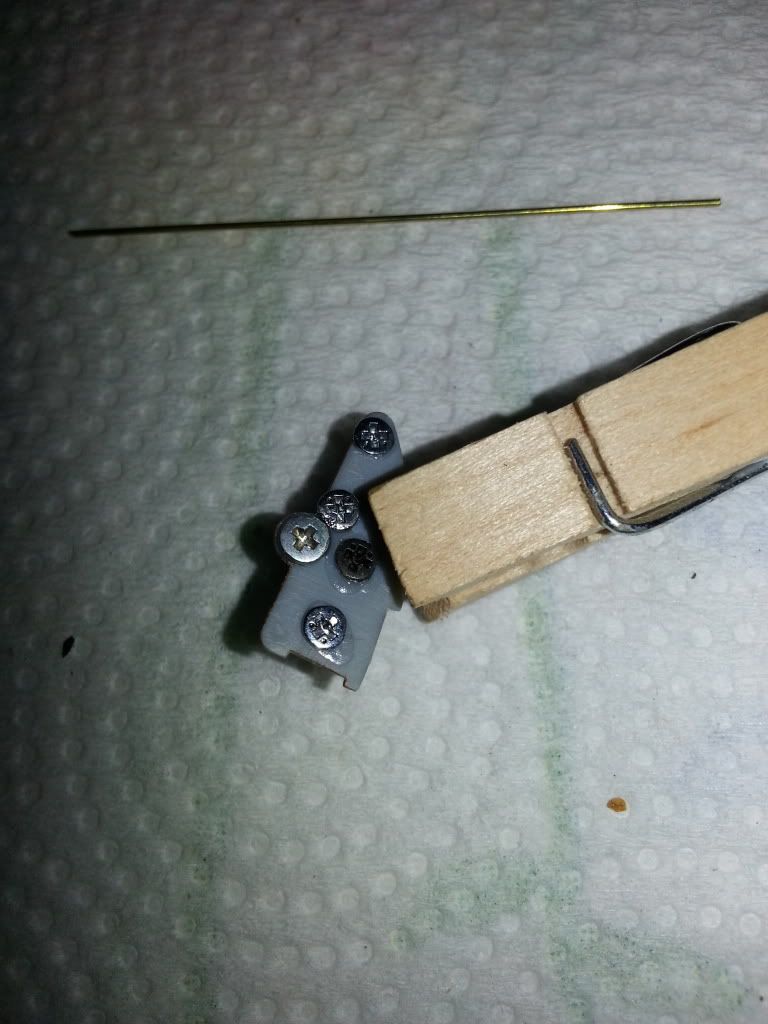
I then cut the brass rod into 5 3mm length pieces.

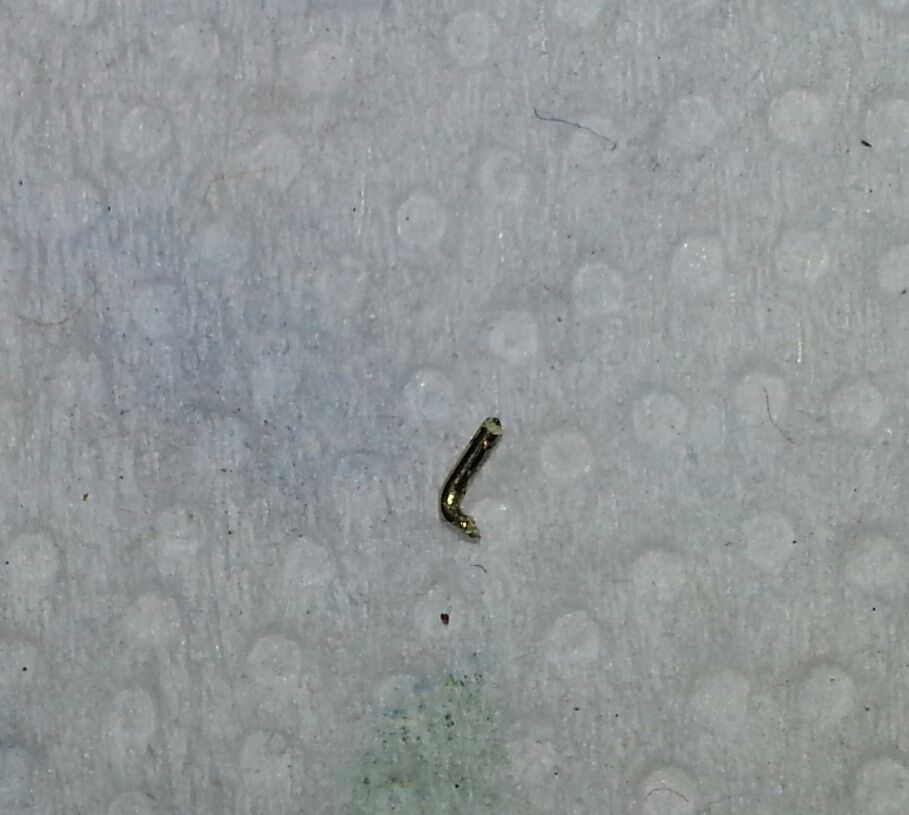
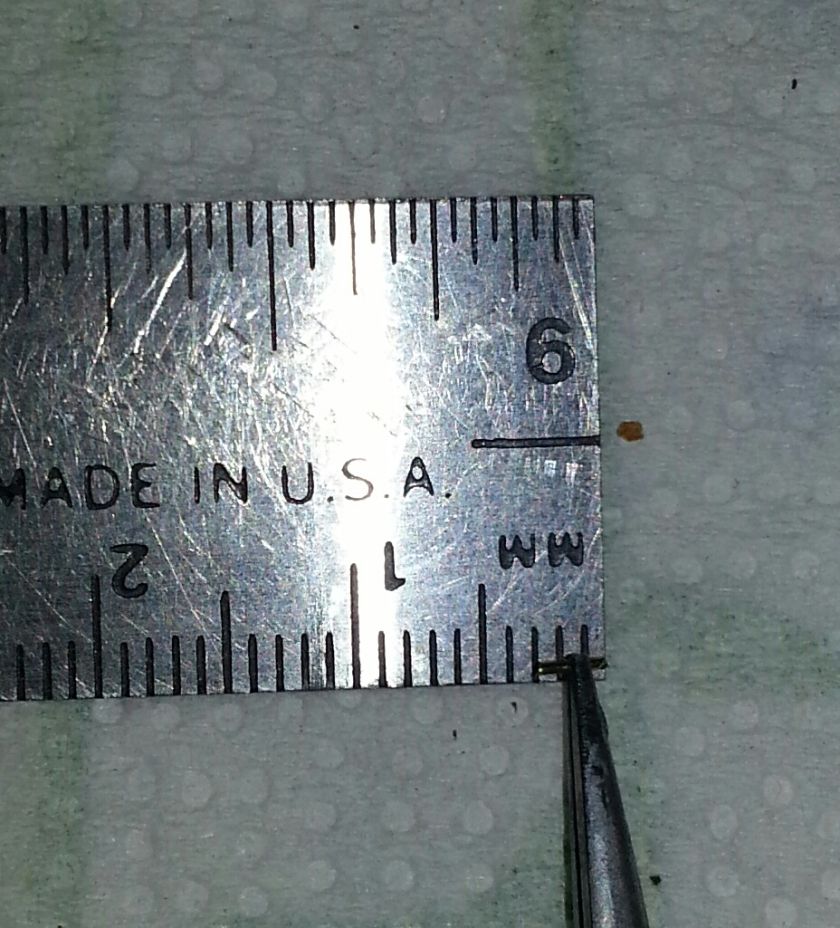
Then I bent 1mm of the rod as close to 90 degrees as I could.

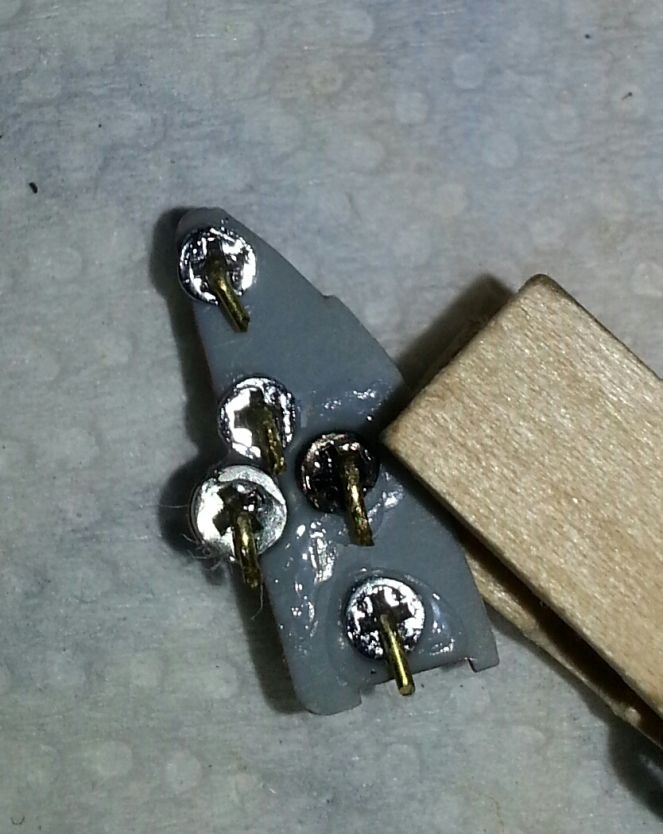
Lastly, for today anyhow, I glued the 1mm short side into the center of the screw heads. This is why I chose a Philips type screw. The center of the "x" allows me the rod to fit perfectly center with no guess work.

Tomorrow I start to paint!
Joe Clark

"Illegitimi Non Carborundum"

Offline RAGIII

  • Hero Member
  • *****
  • Posts: 18859
Re: In the beginning...
« Reply #21 on: May 01, 2013, 05:54:02 AM »
Nice work on the engine and the switch panel! Looking forward to more,
RAGIII
"A man has to know his limitations": Harry Callahan

"Don't slop it on" Lynda Geisler

Offline uncletony

  • Hero Member
  • *****
  • Posts: 4349
    • Aircraft In Pixels
Re: In the beginning...
« Reply #22 on: May 01, 2013, 08:52:33 PM »
The AMS is kicking in!  ;)

You might be interested to know that the panel is for controlling the fuel system; the levers open and close various valves relating to pressurization and flow from the two tanks and two sources of air pressure ("bicycle" hand pump and motor driven pump at the front of the engine). The top most thing on the panel is a pressure gauge.

There is a wonderful book published by the Smithsonian NASM covering the history and restoration of their D.Va which has complete details of the workings of this thing. Unfortunately it is OOP but copies can be found...

Cheers
« Last Edit: May 01, 2013, 08:55:42 PM by Bo Monroe »

Offline coyotemagic

  • Hero Member
  • *****
  • Posts: 7710
  • "Here's to not buggering it up." -Winston Chuchill
    • My Models
Re: In the beginning...
« Reply #23 on: May 02, 2013, 06:01:05 AM »
You're off to a great start, Joe.  The screws are an interesting solution.  I never would've thought of that.  Looking forward to your next update.
Cheers,
Bud
"All men dream: but not equally. Those who dream in the dark recesses of the night awake in the day to find all was vanity. But the dreamers of day are dangerous men, for they may act their dreams with open eyes, and make it possible." -T. E. Lawrence

Offline lawman56

  • Full Member
  • ***
  • Posts: 123
  • What about a pointed stick?
Re: In the beginning...
« Reply #24 on: May 03, 2013, 10:03:14 AM »
Bo-thanks for the info. Although I've already mounted a handle there in my ignorance, it won't be that difficult to remove and scratchbuild a guage there. Here's the nearly finished board, minor touch up needed, and I'll post how I built the pressure guage.  :)
 
Joe Clark

"Illegitimi Non Carborundum"

Offline pepperman42

  • Hero Member
  • *****
  • Posts: 4443
  • Sergeant, my brown pants.......
Re: In the beginning...
« Reply #25 on: May 03, 2013, 10:54:38 PM »
Nice work. After the "gluey" in progress shot its cleaned up nicely under paint.

Steve

Offline lawman56

  • Full Member
  • ***
  • Posts: 123
  • What about a pointed stick?
Re: In the beginning...
« Reply #26 on: May 04, 2013, 06:29:28 AM »
Thanks Steve.  :) I also tried something a little different in that I back-dragged a #11 Xacto blade across the surface to replicate wood grain, then hit it with a light Raw Sienna wash. Aside from needing a possible second coat to bring the grain out a little more, it seemed to work fairly well.

On a side note, my crew chief has been grumbling about having to replace the one switch with a pressure guage, but like the good Prussian mechanic that he is, he'll do it regardless!  :D
Joe Clark

"Illegitimi Non Carborundum"