Author Topic: Fokker E.II 69/15 Kurt von Crailsheim  (Read 30020 times)

Offline michael

  • Sr. Member
  • ****
  • Posts: 464
Re: Fokker E.II 69/15 Kurt von Crailsheim
« Reply #120 on: May 21, 2013, 04:46:09 AM »
i have nothing to say other than WOW!

michael
“An ounce of action is worth a ton of theory.”

Offline uncletony

  • Hero Member
  • *****
  • Posts: 4349
    • Aircraft In Pixels
Re: Fokker E.II 69/15 Kurt von Crailsheim
« Reply #121 on: May 21, 2013, 05:01:20 AM »
totally convincing, brilliant!

Offline mgunns

  • Hero Member
  • *****
  • Posts: 2255
Re: Fokker E.II 69/15 Kurt von Crailsheim
« Reply #122 on: May 21, 2013, 05:04:21 AM »
Hello Dirk:

Prop is truly outstsanding.  You nailed the subtle differences but yet you can see the lamiations.  Very convincing.  I am liking how it is turning out.

Best

Mark
Mark

We few, we happy few.....

Offline GAJouette

  • Hero Member
  • *****
  • Posts: 3579
  • " Beware of the Spanish Inquisition"
Re: Fokker E.II 69/15 Kurt von Crailsheim
« Reply #123 on: May 21, 2013, 10:57:04 AM »
  Outstanding prop my friend.You've captured the life like appearence perfectly. Well Done.
Highest Regards,
Gregory Jouette
" What Me Worry"

Offline Chris Johnson

  • Hero Member
  • *****
  • Posts: 1959
Re: Fokker E.II 69/15 Kurt von Crailsheim
« Reply #124 on: May 22, 2013, 10:53:38 PM »
Incredible craftsmanship Dirk. Simply beautiful work.

Cheers,

Chris
You can have it good; You can have it fast; you can have it cheap. Pick any two, but all three are impossible.

Offline dirk

  • Full Member
  • ***
  • Posts: 246
Re: Fokker E.II 69/15 Kurt von Crailsheim
« Reply #125 on: May 25, 2013, 05:25:42 AM »
Hi everybody,

I have started with the rigging on the undercarriage. First I prepared some of the excellent photetch turnbuckles from Radu Brinzan. The buckles were masked on the center part which is in brass colour. The rest of the turnbuckle is sprayed in Alclad steel.


After studying Scott's scale drawing of the Fokker EIII at Windsock worldwide, I decided to create my own, more narrow type of turnbuckle for the undercarriage. I used 0.12 Fisherman's Fluorcarbon monofilament for more stability. One eyelet, made of .15 copper wire was sticked into 0.5 mm Albion tube while the monofilament was fixed to the other side. 0.05mm copper wire, bend around a 0.3mm drill was used to simulate the winding.


The rigging was done by using the 0.5mm Albion tube to fix the monofilament on the eyelets of undercarriage and the turnbuckles. I am not very happy with the albion tubes because they seem to be oversized as sleeves and don't correspond with the quite narrow turnbuckles.


With greetings, Dirk

Online RAGIII

  • Hero Member
  • *****
  • Posts: 18845
Re: Fokker E.II 69/15 Kurt von Crailsheim
« Reply #126 on: May 25, 2013, 06:16:56 AM »
This continues to be an OUTSTANDING build! Beautiful work on the LG rigging and overall aircraft!!
RAGIII
"A man has to know his limitations": Harry Callahan

"Don't slop it on" Lynda Geisler

Offline uncletony

  • Hero Member
  • *****
  • Posts: 4349
    • Aircraft In Pixels
Re: Fokker E.II 69/15 Kurt von Crailsheim
« Reply #127 on: May 25, 2013, 06:18:06 AM »
Yep, outstanding is the word.

Offline pepperman42

  • Hero Member
  • *****
  • Posts: 4437
  • Sergeant, my brown pants.......
Re: Fokker E.II 69/15 Kurt von Crailsheim
« Reply #128 on: May 25, 2013, 11:18:09 PM »
Allignment and appearance are absolutely perfect!!!

Steve

Offline michael

  • Sr. Member
  • ****
  • Posts: 464
Re: Fokker E.II 69/15 Kurt von Crailsheim
« Reply #129 on: May 26, 2013, 01:23:51 AM »
superb as always Dirk  :)

michael
“An ounce of action is worth a ton of theory.”

Offline stefanbuss

  • Hero Member
  • *****
  • Posts: 976
Re: Fokker E.II 69/15 Kurt von Crailsheim
« Reply #130 on: May 26, 2013, 06:47:59 PM »
Next time you might decide to go for smaller tube sizes - those are available from Griffon, via Lucky Model in Hongkong.

Stefan

Offline dirk

  • Full Member
  • ***
  • Posts: 246
Re: Fokker E.II 69/15 Kurt von Crailsheim
« Reply #131 on: May 27, 2013, 02:32:35 AM »
Hi all,

thanks to everybody for showing interest and given such an amount of constructive feedback.

To Stefan: Thanks for the tip using Griffon tubes. For the structural rigging I will use heat stretched Q-tips which prooved to be far more close to the original size.

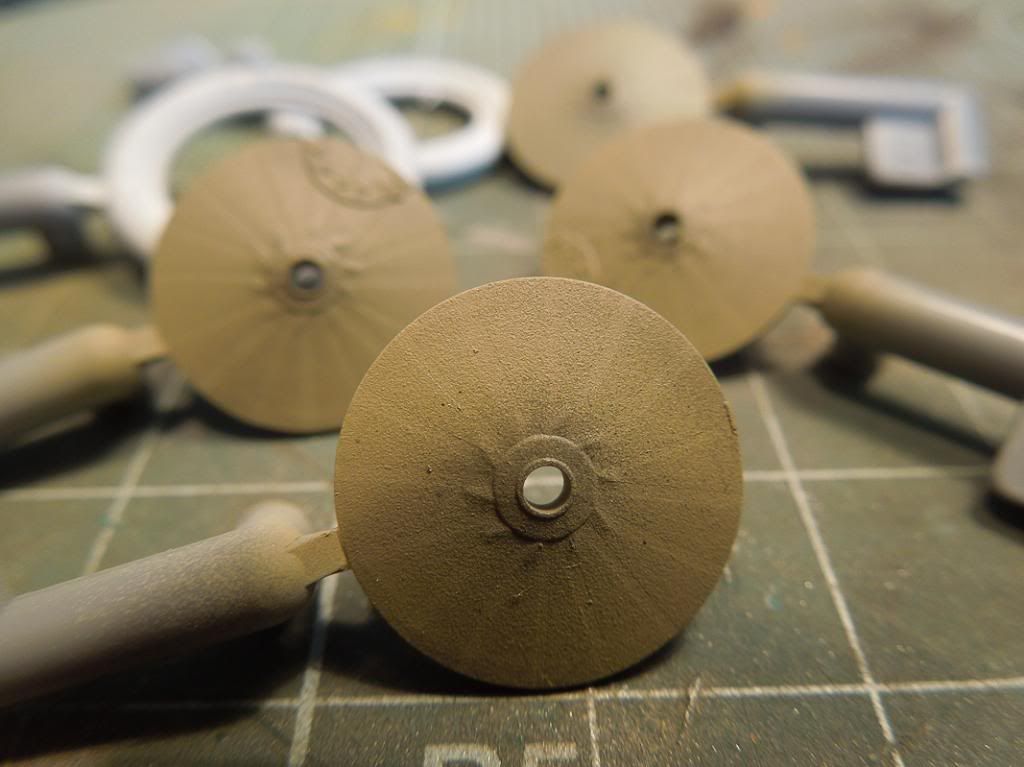
Here is an update on my work on the wheels. For the effect of the underlying spokes  the wheel cover was presprayed in Tamiya Linnen, masked and sprayed in Fokker Beige. Unlike other WNW's kits, the Manufactors label (Continental) on the wheels has no decal option.


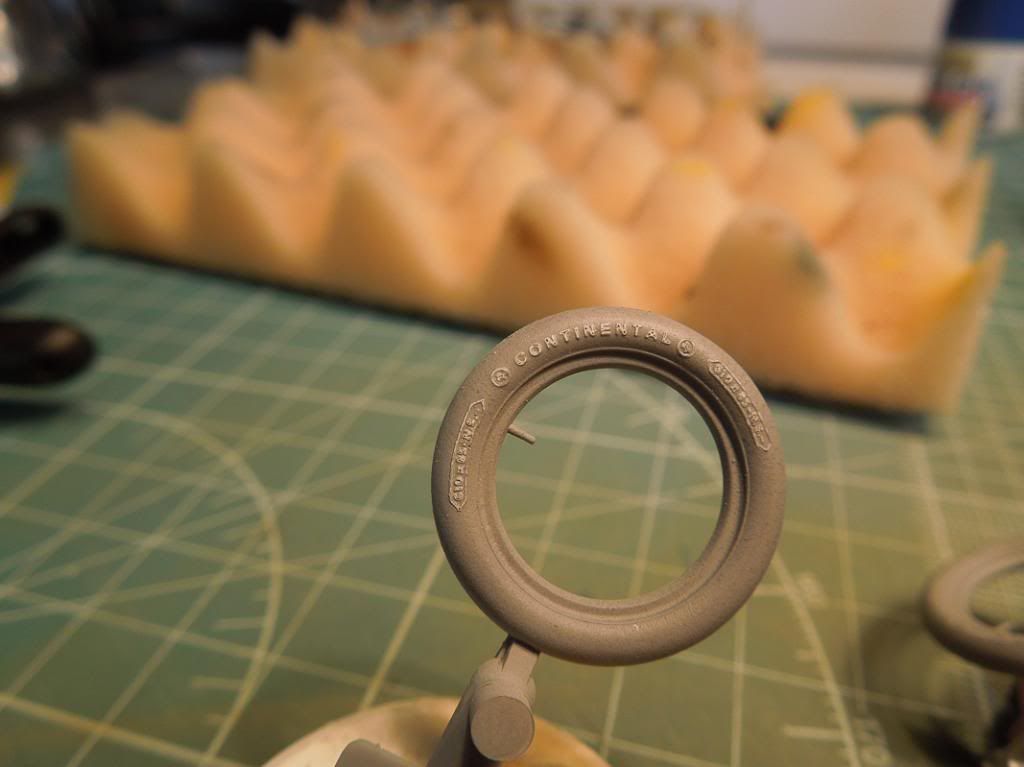
To bring out the lettering, first Tamiya white was sprayed and sealed with gloss varnish.


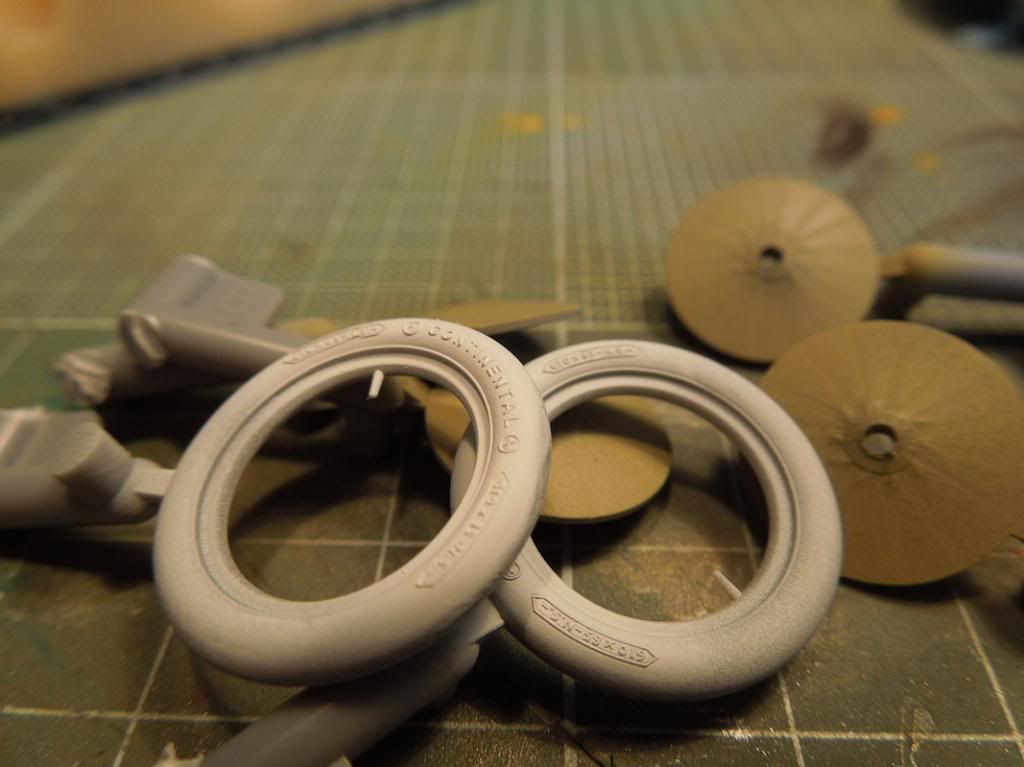
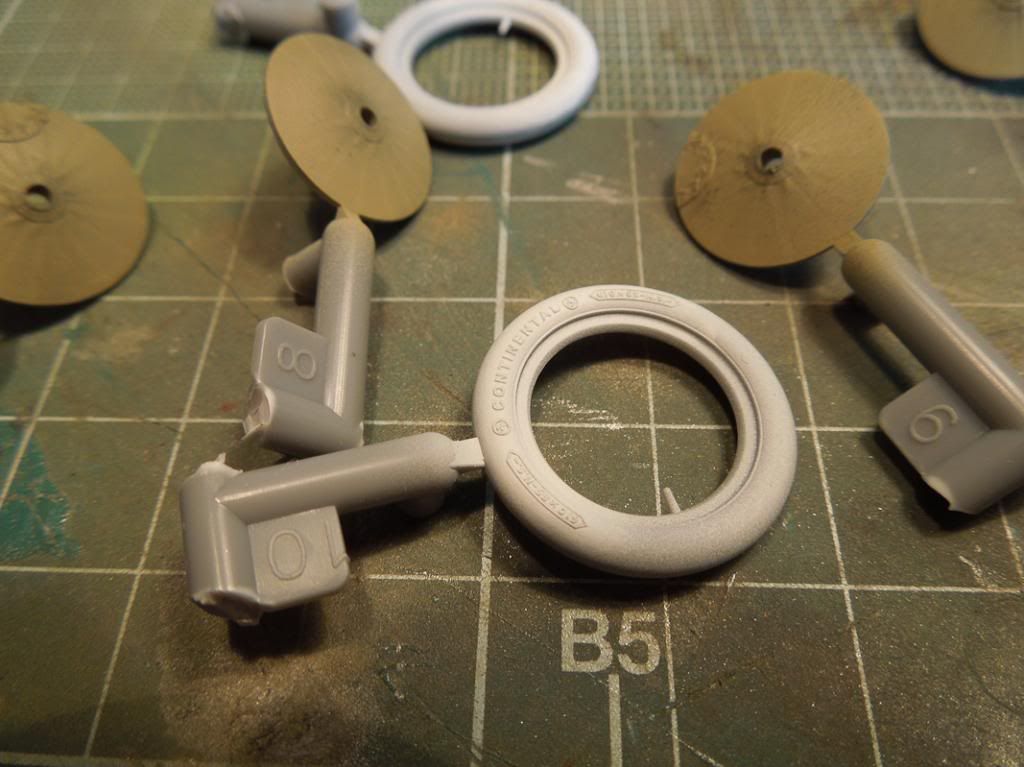
The grey colour was applied and almost immediately sanded down on the lettering by using wet 12000 grain micromesh.


With kind regards,

Dirk

Offline IvotB

  • Sr. Member
  • ****
  • Posts: 426
Re: Fokker E.II 69/15 Kurt von Crailsheim
« Reply #132 on: May 27, 2013, 03:16:09 AM »
Very nice Dirk!

You applied the technique on the lettersI tried for my D.VII, but I failed. Probably because I didn't use the suitable abrasve. Mmm, let's look for 12000 grain micromesh.

I think I should try that too for polishing Alclad copper. It works fine, but just isn't shiny enough yet.


regards.
Ivo

Offline dirk

  • Full Member
  • ***
  • Posts: 246
Re: Fokker E.II 69/15 Kurt von Crailsheim
« Reply #133 on: May 27, 2013, 04:41:23 AM »
Hi Ivo,

I guess that it is not only because of the 12000 grain but also because of the use of water and I think it is also important to start the sanding almost immediately after spraying. Maybe some microfabric clothes or rough paper will do the sanding job as well.

Dirk

Offline GAJouette

  • Hero Member
  • *****
  • Posts: 3579
  • " Beware of the Spanish Inquisition"
Re: Fokker E.II 69/15 Kurt von Crailsheim
« Reply #134 on: May 27, 2013, 07:37:37 AM »
  Dirk,
Beautiful work in progress my friend.Thanks for the great letter tip too.
Highest Regards,
Gregory Jouette
" What Me Worry"