Author Topic: 1/32 Wingnuts Roland D.VIb - completed for my friend Dave Wilson  (Read 13242 times)

Offline RAGIII

  • Hero Member
  • *****
  • Posts: 19684
Re: 1/32 Wingnuts Roland D.VIb
« Reply #30 on: July 30, 2024, 05:01:06 AM »
I am glad things went as planned. I Look forward to seeing the Oils applied!
RAGIII
"A man has to know his limitations": Harry Callahan

"Don't slop it on" Lynda Geisler

Offline DaddyO

  • Hero Member
  • *****
  • Posts: 958
Re: 1/32 Wingnuts Roland D.VIb
« Reply #31 on: July 30, 2024, 05:49:29 AM »
Enjoying this one. The Roland is one of those models that's not seen often enough (Oooo what about a triplane) 8)

Paul
There cannot be a crisis today, my schedule is full

Offline macsporran

  • Hero Member
  • *****
  • Posts: 1967
Re: 1/32 Wingnuts Roland D.VIb
« Reply #32 on: July 31, 2024, 06:33:44 PM »
Again, thanks everybody for continuing interest and encouragement.

Right. Time to address those clinker fuselage striations. Photos show a fair variation in tone in the planks used so I decided to approach this with oils. This is one of my favourite bits of WWI modelling - working in and refining the colours. With long drying times you can keep going back to adjust.

I laid out my tools - burnt sienna, naples yellow, raw umber and cadmium orange, some thinners, a fast drying agent, Q-tips, some coffee filters to work on and some good small brushes. This one is a real hairy stick for coverage.
(I find well-used W&N caps jam shut so a pair of pliers is always handy to get quick access!)

First task was to get a good base tone to cover all the wood areas - I love burnt sienna but have to be careful as a little goes a long way and can easily darken a model too much.
Sandy
« Last Edit: July 31, 2024, 06:47:50 PM by macsporran »

Offline macsporran

  • Hero Member
  • *****
  • Posts: 1967
Re: 1/32 Wingnuts Roland D.VIb
« Reply #33 on: July 31, 2024, 06:47:05 PM »
Right, having a good overall colour with a little subtle grain and allowed to start to dry overnight, we can start adding variation.

Using a fine brush loaded with thinners then drained off on a filter paper, we can start to remove oils from individual planks. This is a time consuming job but helped immensely by the WNW moulding definition.

The damp brush is applied to the end of a random plank then drawn along it to reveal the acrylic base coat. As soon as the oils resist, brush is reloaded and applied again. After application a cotton bud is used to work thinners and paint a bit more. This is a very subtle process and benefits from variation.


Next, a slightly darker oil mix is applied to alternate random planks with a fine brush. Again cotton buds are used to smooth and pattern this fresh paint and each plank is worked with paint, thinners and brush until a satisfactory effect is achieved.


Sandy
« Last Edit: July 31, 2024, 07:42:39 PM by macsporran »

Offline macsporran

  • Hero Member
  • *****
  • Posts: 1967
Re: 1/32 Wingnuts Roland D.VIb
« Reply #34 on: July 31, 2024, 07:00:55 PM »
Let's put it away for the night and have a look with fresh eyes in the morning.


zzzzz  zzzzz!

Right, let's see what daylight shows.


Yes, I think I'm happy with that. But as with all things, I'll leave it for a day and go back to make sure I'm still happy.
Sandy
« Last Edit: July 31, 2024, 07:43:48 PM by macsporran »

Offline PrzemoL

  • Hero Member
  • *****
  • Posts: 5287
  • There was Eru... and he made first the Ainur...
    • Przemysław Litewka
Re: 1/32 Wingnuts Roland D.VIb
« Reply #35 on: July 31, 2024, 07:30:28 PM »
That wood looks lovely indeed.
Ash nazg durbatuluk, ash nazg gimbatul,
Ash nazg thrakatuluk, agh burzum-ishi krimpatul.

Offline pepperman42

  • Hero Member
  • *****
  • Posts: 4503
  • Sergeant, my brown pants.......
Re: 1/32 Wingnuts Roland D.VIb
« Reply #36 on: July 31, 2024, 10:47:06 PM »
Very impressive results! Sherry is clearly a handy modelling accessory!

Steve

Offline NigelR

  • Hero Member
  • *****
  • Posts: 1791
Re: 1/32 Wingnuts Roland D.VIb
« Reply #37 on: August 01, 2024, 05:39:43 PM »
Looking really good with the oils so far. I too love working with oils to get wood effects, and like you, Burnt Sienna is my favourite colour. I have to be careful not to overuse it otherwise everything goes a bit orangey-red!

Are you going to try to replicate any of the "finger" joins in the clinker? I think this would be quite hard to do myself (one of the reasons I am doing a black fuselage on mine!).

Offline macsporran

  • Hero Member
  • *****
  • Posts: 1967
Re: 1/32 Wingnuts Roland D.VIb
« Reply #38 on: August 01, 2024, 07:57:56 PM »
Thanks Prze and Steve

.. and thanks too, Nigel. I'm not sure what these finger joints are. (My only experience of clinker builds was a Billings Viking ship in wood many years ago.) Are these the butt-joints of shorter planks?
I don't intend doing too much more before establishing exactly where the markings and Kreuze will go, so I don't spend time on something I'll then cover up! Then will come shading and weathering.
At the moment I'm trying to decide whether to apply a clear yellow overspray (as originally intended), or not, as I quite like it as it is. I'll do a test shot before I decide.
You've got me wondering about finger joints now though!
Sandy

Offline NigelR

  • Hero Member
  • *****
  • Posts: 1791
Re: 1/32 Wingnuts Roland D.VIb
« Reply #39 on: August 01, 2024, 10:27:16 PM »
Nigel. I'm not sure what these finger joints are.
It's where they joined the wood in one row of planking, it looks like you are sliding the fingers of one hand into those of the other. Scroll through the pics on the WNW DIVa page here and you will see what I mean: http://www.wingnutwings.com/ww/productdetail?productid=3004&cat=1

They seem more obvious on some aircraft than others. It's the kind of detail that I obsess over once I have noticed it...... Only a hard core nerd would notice if they aren't there :D

Offline macsporran

  • Hero Member
  • *****
  • Posts: 1967
Re: 1/32 Wingnuts Roland D.VIb
« Reply #40 on: August 02, 2024, 05:46:53 PM »
It's where they joined the wood in one row of planking

I'm with you now, Nigel. I must say, scanning through the Herris book & Datafile etc I hadn't picked up on this - but now it's there it'll bother me!!

Not sure how I'd represent this: maybe a single hair from a paintbrush to apply the chevrons. Hmm. Sort of thing WNW could have included on the decal sheet - maybe I'll re-classify this as an OOB build (if it's not in the kit, it doesn't get done)!

Cheers
Sandy

Offline NigelR

  • Hero Member
  • *****
  • Posts: 1791
Re: 1/32 Wingnuts Roland D.VIb
« Reply #41 on: August 03, 2024, 01:58:55 AM »
Not sure how I'd represent this: maybe a single hair from a paintbrush to apply the chevrons. Hmm. Sort of thing WNW could have included on the decal sheet - maybe I'll re-
Proper Plane did do some decals for the Roland which included the joins but they are all sold out. Maybe just cut some jagged edges in a lightweight paper strip and use that as a mask to get the effect with oils - you could add this on top of the first oil coat and just feather the edges into the existing paint. Or not bother. Or do a painted scheme like I plan to.... ;)

Offline DaddyO

  • Hero Member
  • *****
  • Posts: 958
Re: 1/32 Wingnuts Roland D.VIb
« Reply #42 on: August 03, 2024, 03:19:00 AM »
Looks gorgeous Sandy
(I'm looking at the clinker hull on the Billings longship model on top of the book case as we speak. Ah those instructions were fun - 'Plank hull to shape shown from enclosed wood'  :o)

Keep it going
Paul
There cannot be a crisis today, my schedule is full

Offline RAGIII

  • Hero Member
  • *****
  • Posts: 19684
Re: 1/32 Wingnuts Roland D.VIb
« Reply #43 on: August 05, 2024, 07:10:17 AM »
Well, whatever details you deem Necessary are important are indeed important  ::) Personally I think a well done finish is impressive enough.
RAGIII
"A man has to know his limitations": Harry Callahan

"Don't slop it on" Lynda Geisler

Offline macsporran

  • Hero Member
  • *****
  • Posts: 1967
Re: 1/32 Wingnuts Roland D.VIb
« Reply #44 on: August 05, 2024, 10:38:23 PM »
Thanks Prze and Rick.

... and, Nigel, I've had a look at the WNW pics (should have done this in the first place) and my initial assumption that these joints could be represented by a fine line (perhaps a decal) prove unrealistic as most appear to mark the join of a darker plank with a lighter one.

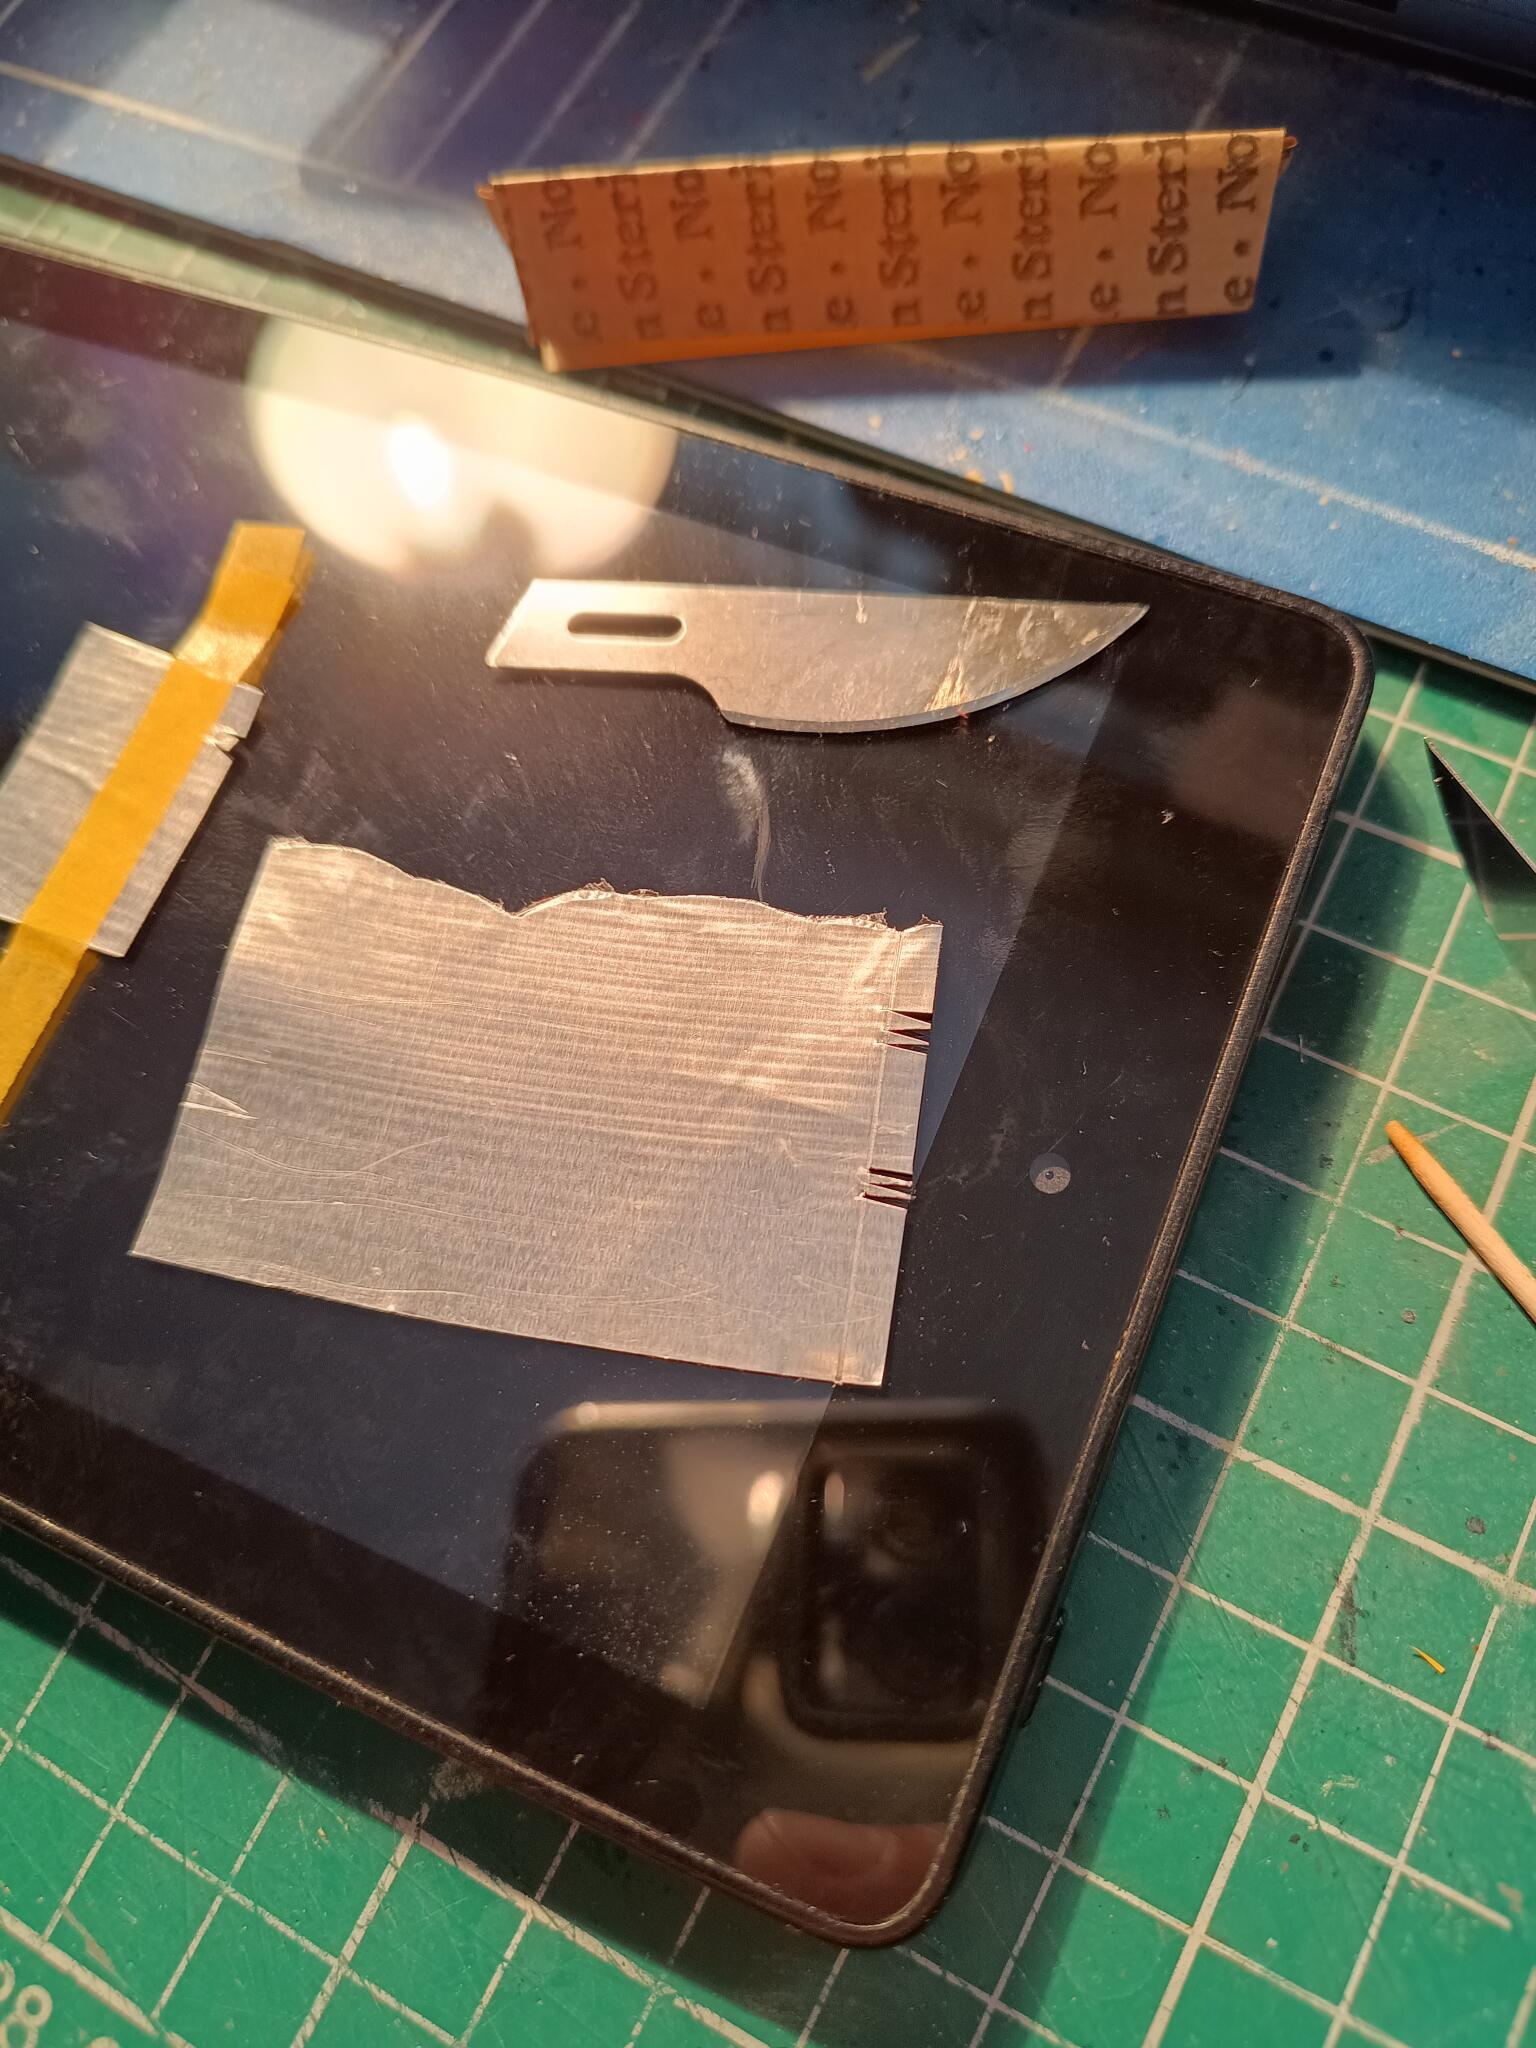
Hmm. several thoughts - first using a very fine aluminium foil - maybe Bare Metal Foil - as a mask, cutting these little chevrons into the foil then overlaying on planks to apply oils. However I found these ultra-thin foils too delicate to cut accurately. So I resorted to the metal foil from a bottle of Rioja!

This was easier to work with and after several attempts, something approximating to what I wanted was achieved.


To see if the system would work I overlayed on a plank and gently brushed on some darker oil tone.


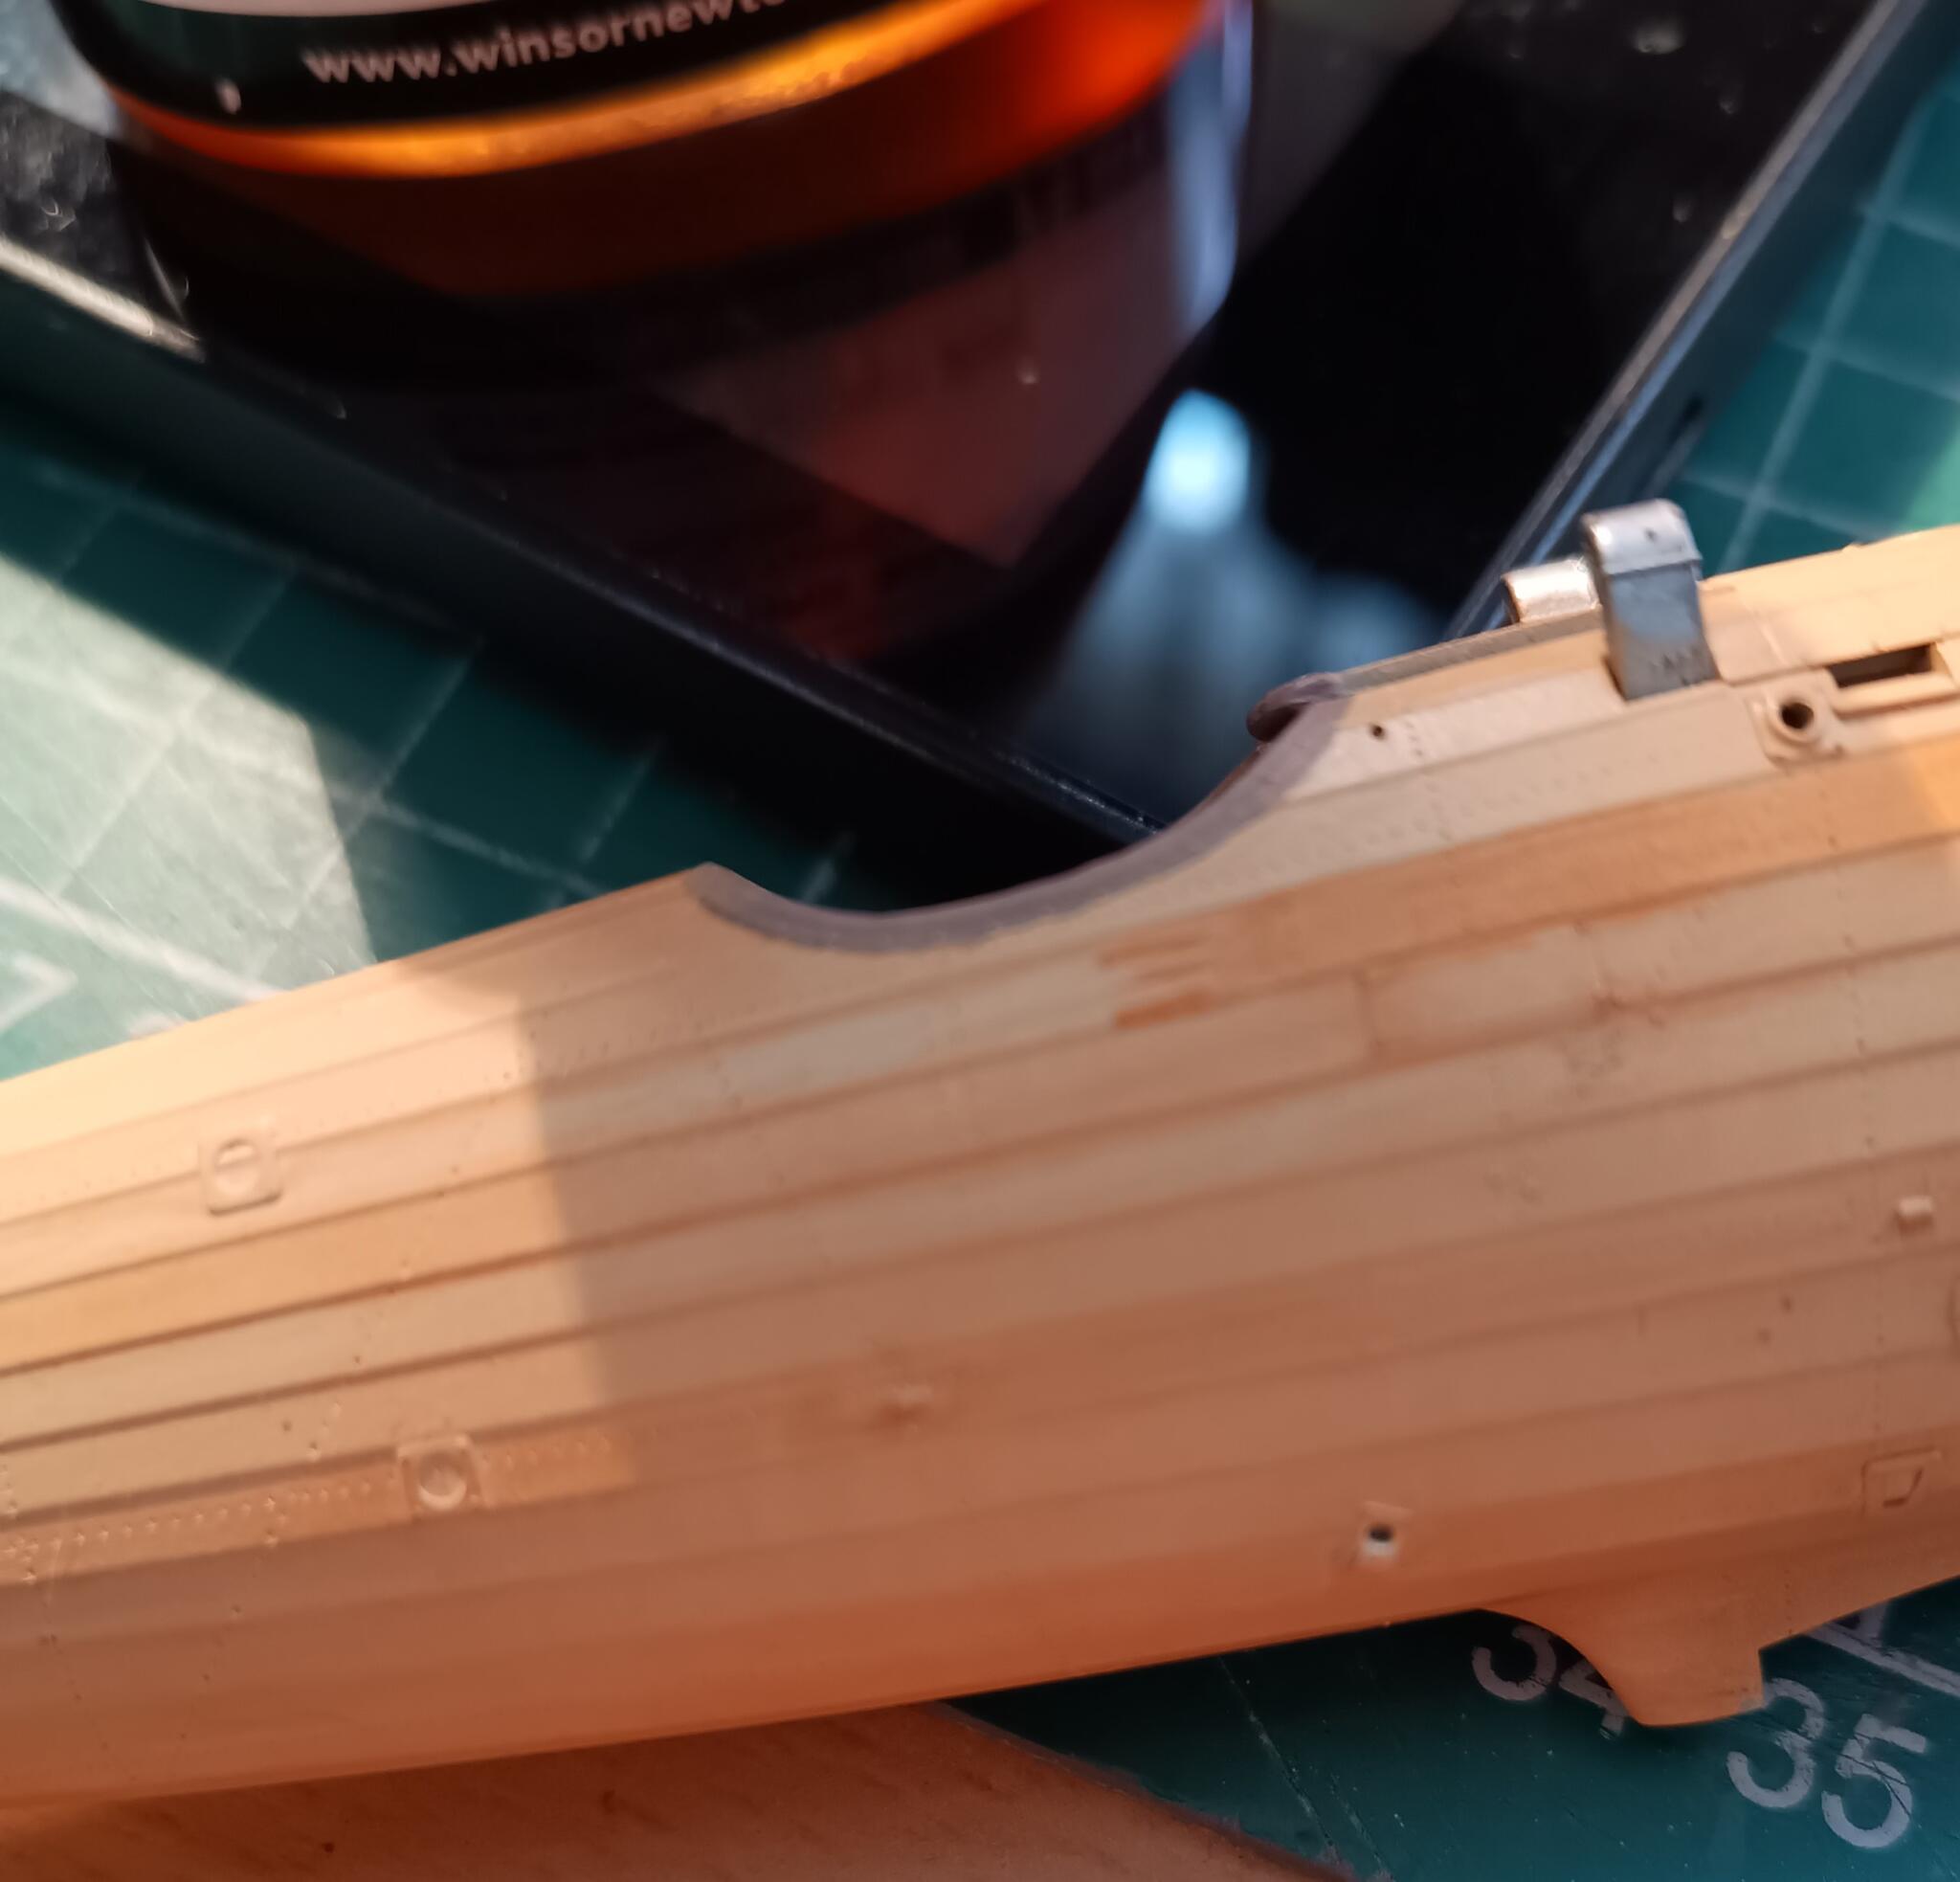
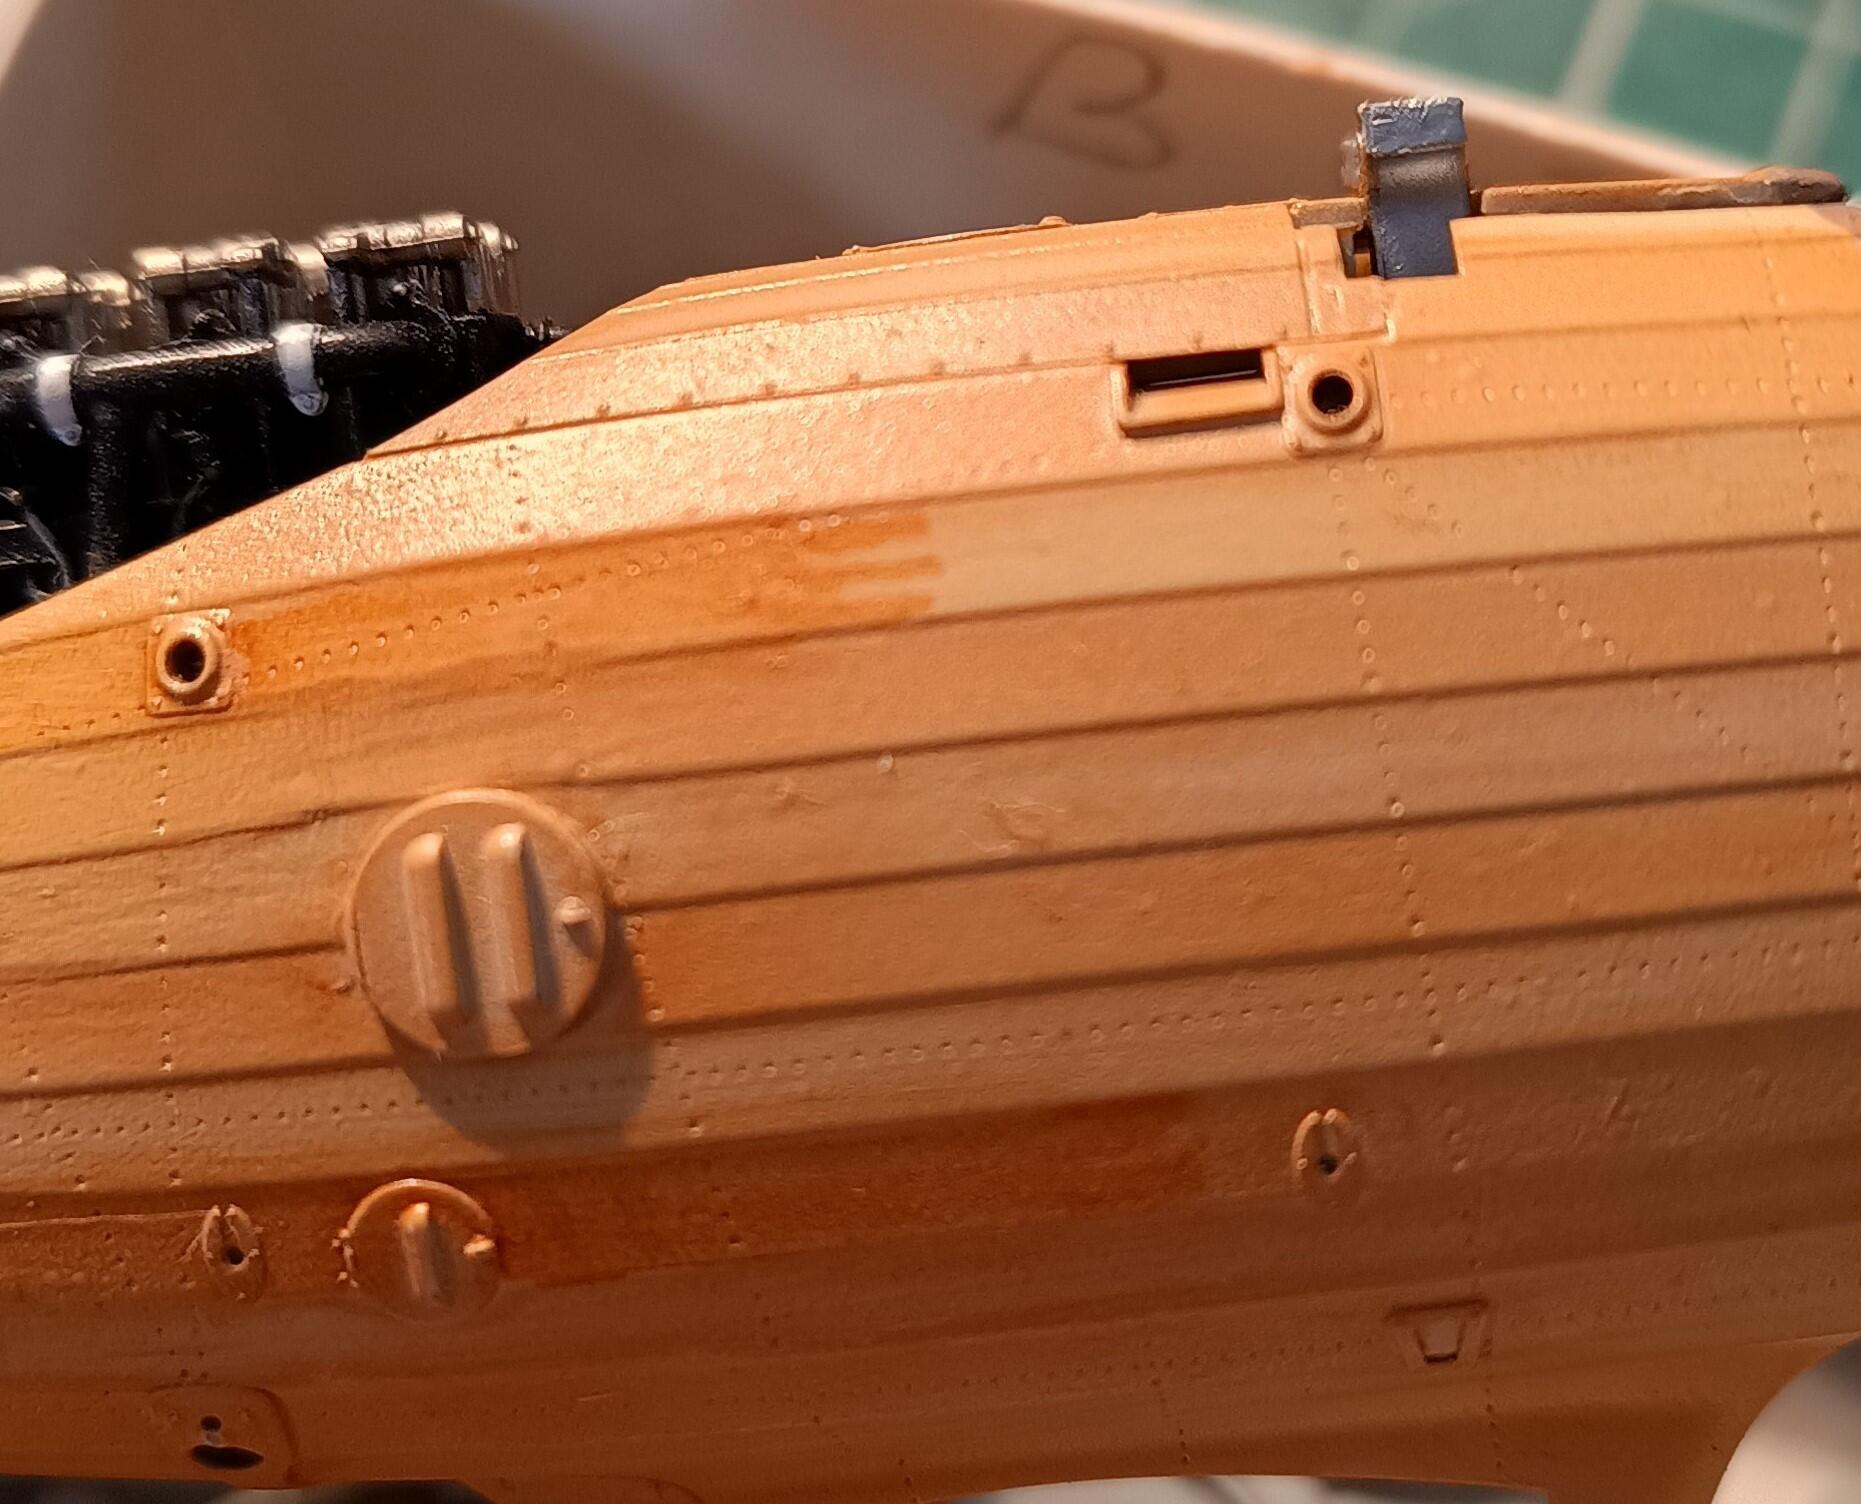
Well it's not perfect, (and the picture is under a very bright light,) but I think I've got a way forward. I'll practice a bit more and apply a few more joints - bearing in mind that a black line will obscure the middle two planks of this scheme all along the fuselage. also I'll need to tone things down a little, just leaving the darker definition at the actual join. But this will be sufficient for what was intended as a simple OOB exercise. Well it's a tribute to Dave, so worth the work!
Sandy
« Last Edit: August 06, 2024, 06:09:12 PM by macsporran »