

January 24
Been quite the few days but the model is complete.
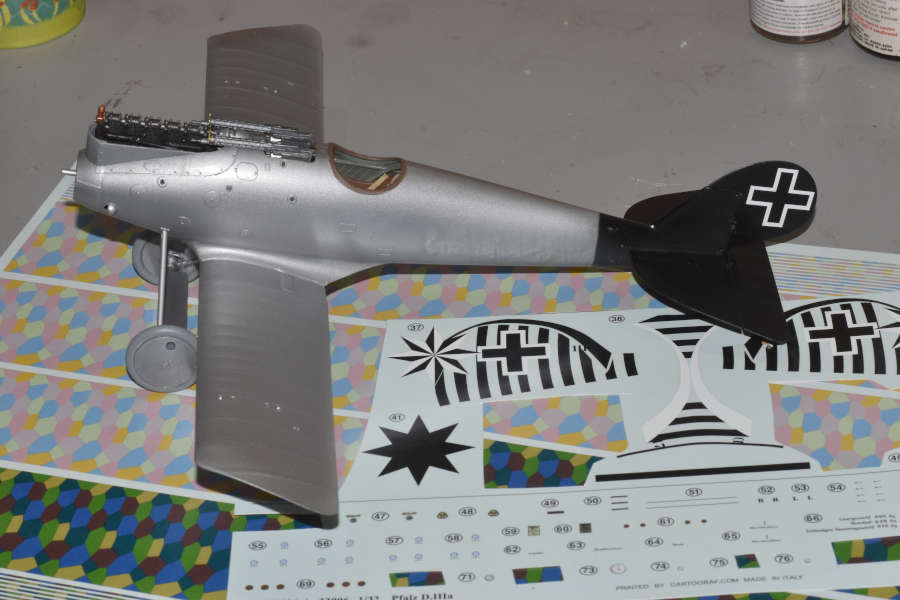
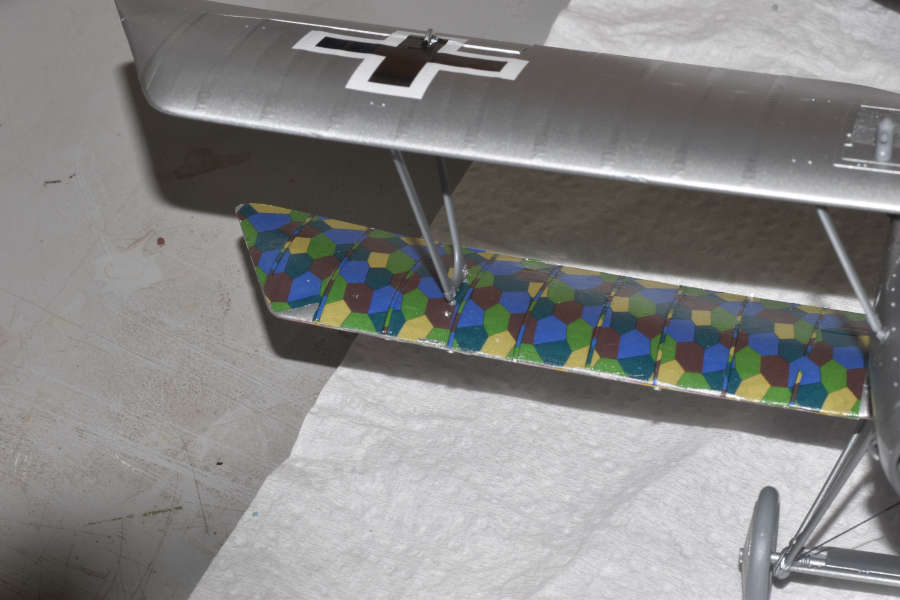
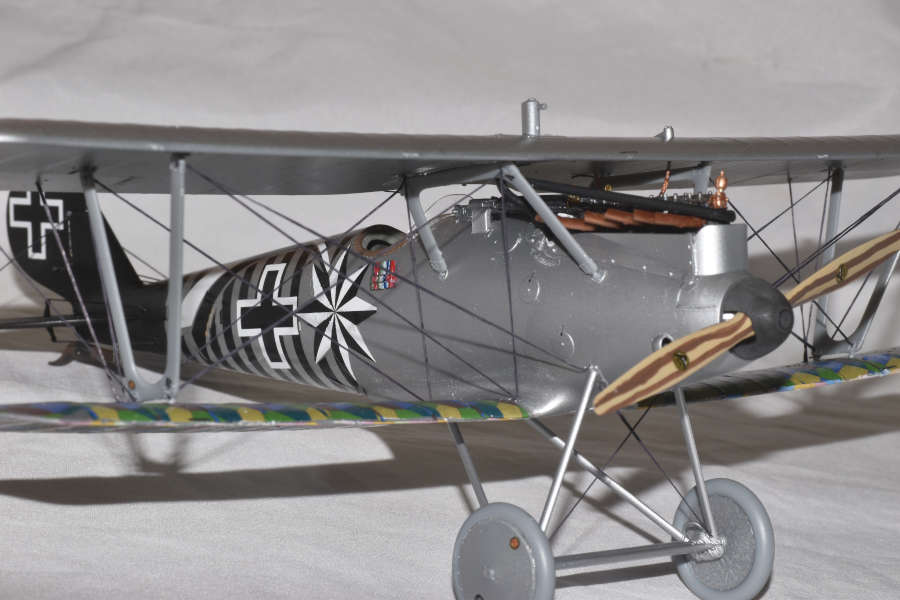
The first set of photo is application of decals. The decals were without any flaws. They came out the water easily with no breakage. The fuselage decal is three pieces that were applied all at the same time. The top center decal goes on first and the two side decals are second. Keeping the decals wet, I was able to move them around until they fit. I have heard some have had the decals come apart, these did not. I did have a problem with bubbles, especially the wings. I am going to point the finger at the modeller, not the decals.
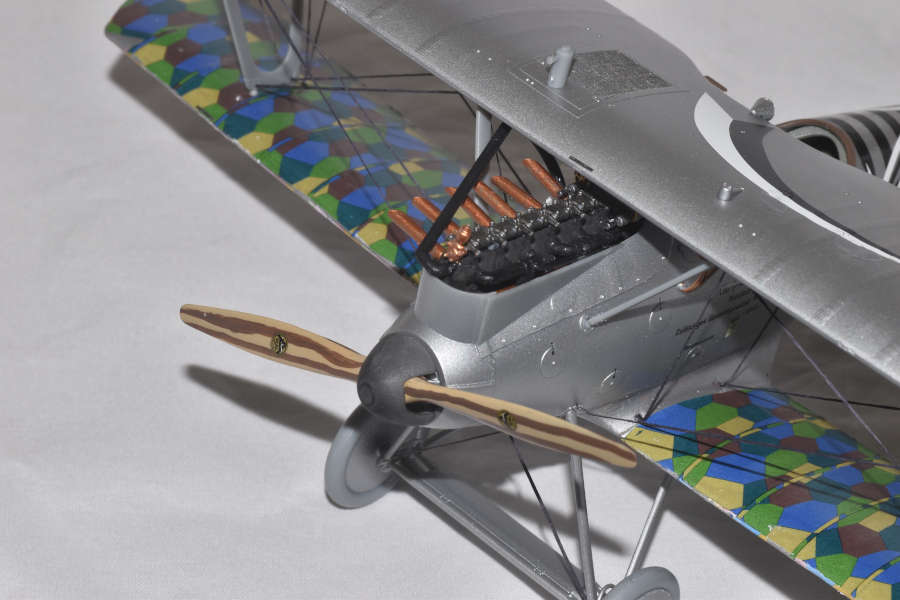
Final construction is applying the top wing. Again, I trimmed the locating pins about 1/16th of an inch and enlarged the hole just a little. After that, the top wing almost installed itself. The model is now rigged and all the little parts were installed. These go on last so as not to interfere with the rigging.

January 24, 2024
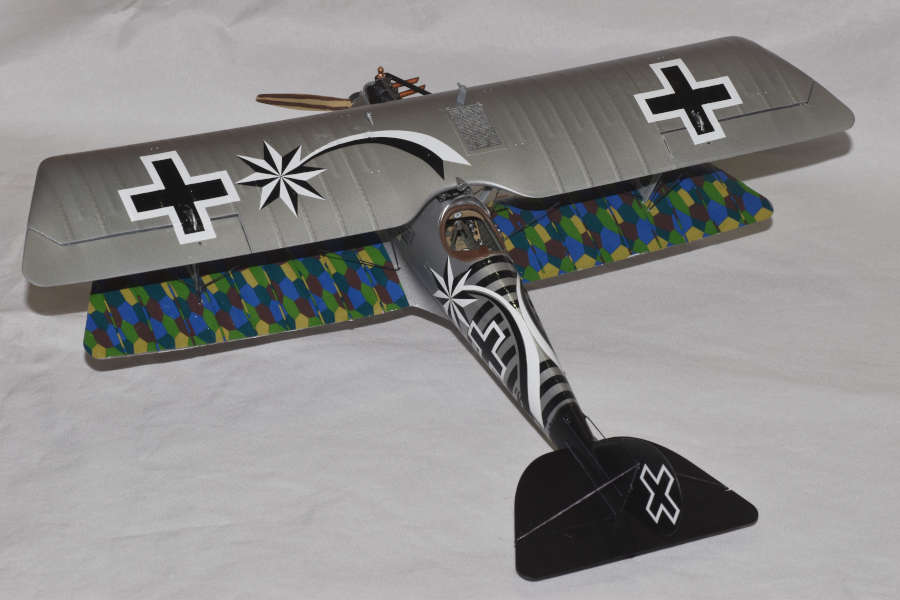
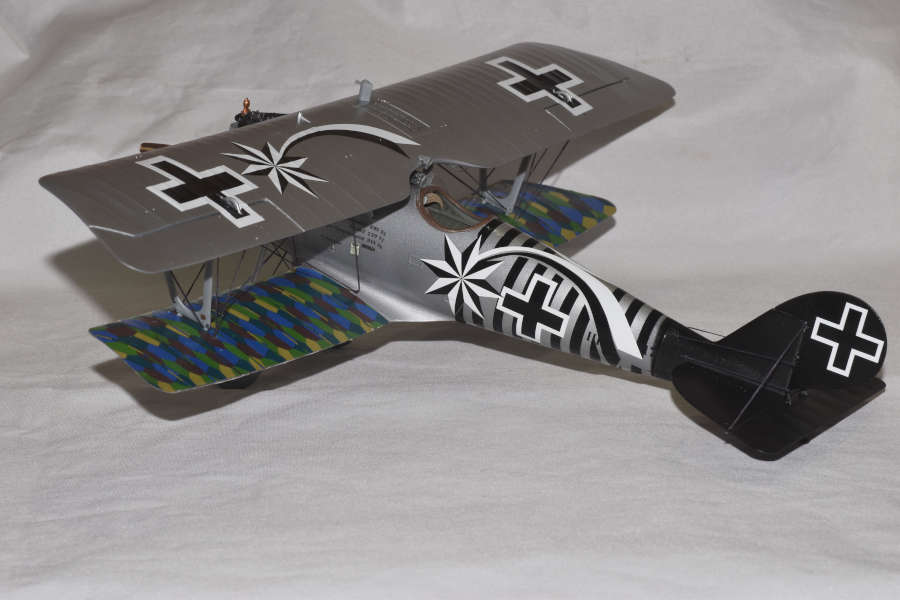
Here is the completed kit.
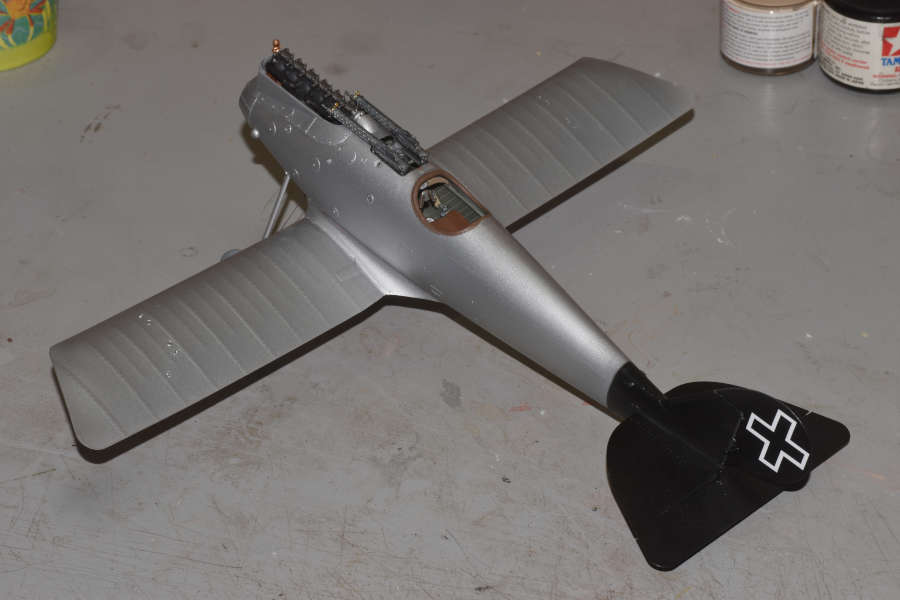
I have read some of the comments about the interiors not fitting well. WNW kits are very precise kits, not allowing for any flaws in the building. Since my builds do not meet that standard, I have fit problems. Look at the photo of the dry fit and how perfect it is. What is not seen in my build is the amount of putty needed after the interior was installed. This is not a criticism of WNW kits. They are at the highest level of models I have ever built. They need your highest level of construction, especially when installing the interior.
Dennis
Next WNW kit: Roland CLII (late)
Currently under construction: Another vacuform to be revealed soon.

