Evening All
Thanks Joachim and Zac for your kind comments - they are very much appreciated. The wire looks so thin Zac because it is copper wire which is actually incredibly thin and IMHO does look realistic despite the colour.
Many thanks for your (too) kind comments - they are greatly appreciated. I have given a lot of thought to the undercarriage problem but cannot drill holes under the wing because in the front there is a strut in the way, and at the rear the boom is where the undercarriage leg is to be attached. I will probably have to use butt joints which are not the strongest attachment, but I am hoping that if the model is secured to the launch platform it will have sufficient strength to hold properly.
I have become a ship modeller recently: usually I make aeroplanes so I am learning fast. When I dropped into my LMS and asked for a kit of the front turret and foredeck of an Edwaed VII class battleship of 1912 in 1/72 scale I just received a blank stare! I started by downloading a plan and side elevation of the foredeck of HMS Africa/Hibernia and enlarged it until 1mm represents 1 foot. I could then draw a plan at 1/72 scale where 1 inch represents 6 feet.
I have made a base which is 12 inches (30 cm) x 11 inches (28cm) from hardboard and painted the edges which will not be covered by the deck white. I used white rather than sea blue because this will not be a waterline model: only the top of the ship sides above the portholes of the crew accommodation will be represented. Three supports from 1 inch x 1 inch (2.5cm x 2.5 cm) wood were glued to the top of the hardboard - these will hold the deck. I shaped 2 pieces of 1 inch square wood to represent the sides of the ship immediately below the deck line and covered the outer faces with 10 thou plastic sheet. These will be painted battleship grey later. The small fillets at the rear of the sides represent the curve of the ship sides above a 9.2 inch gun mounted low down in the hull:
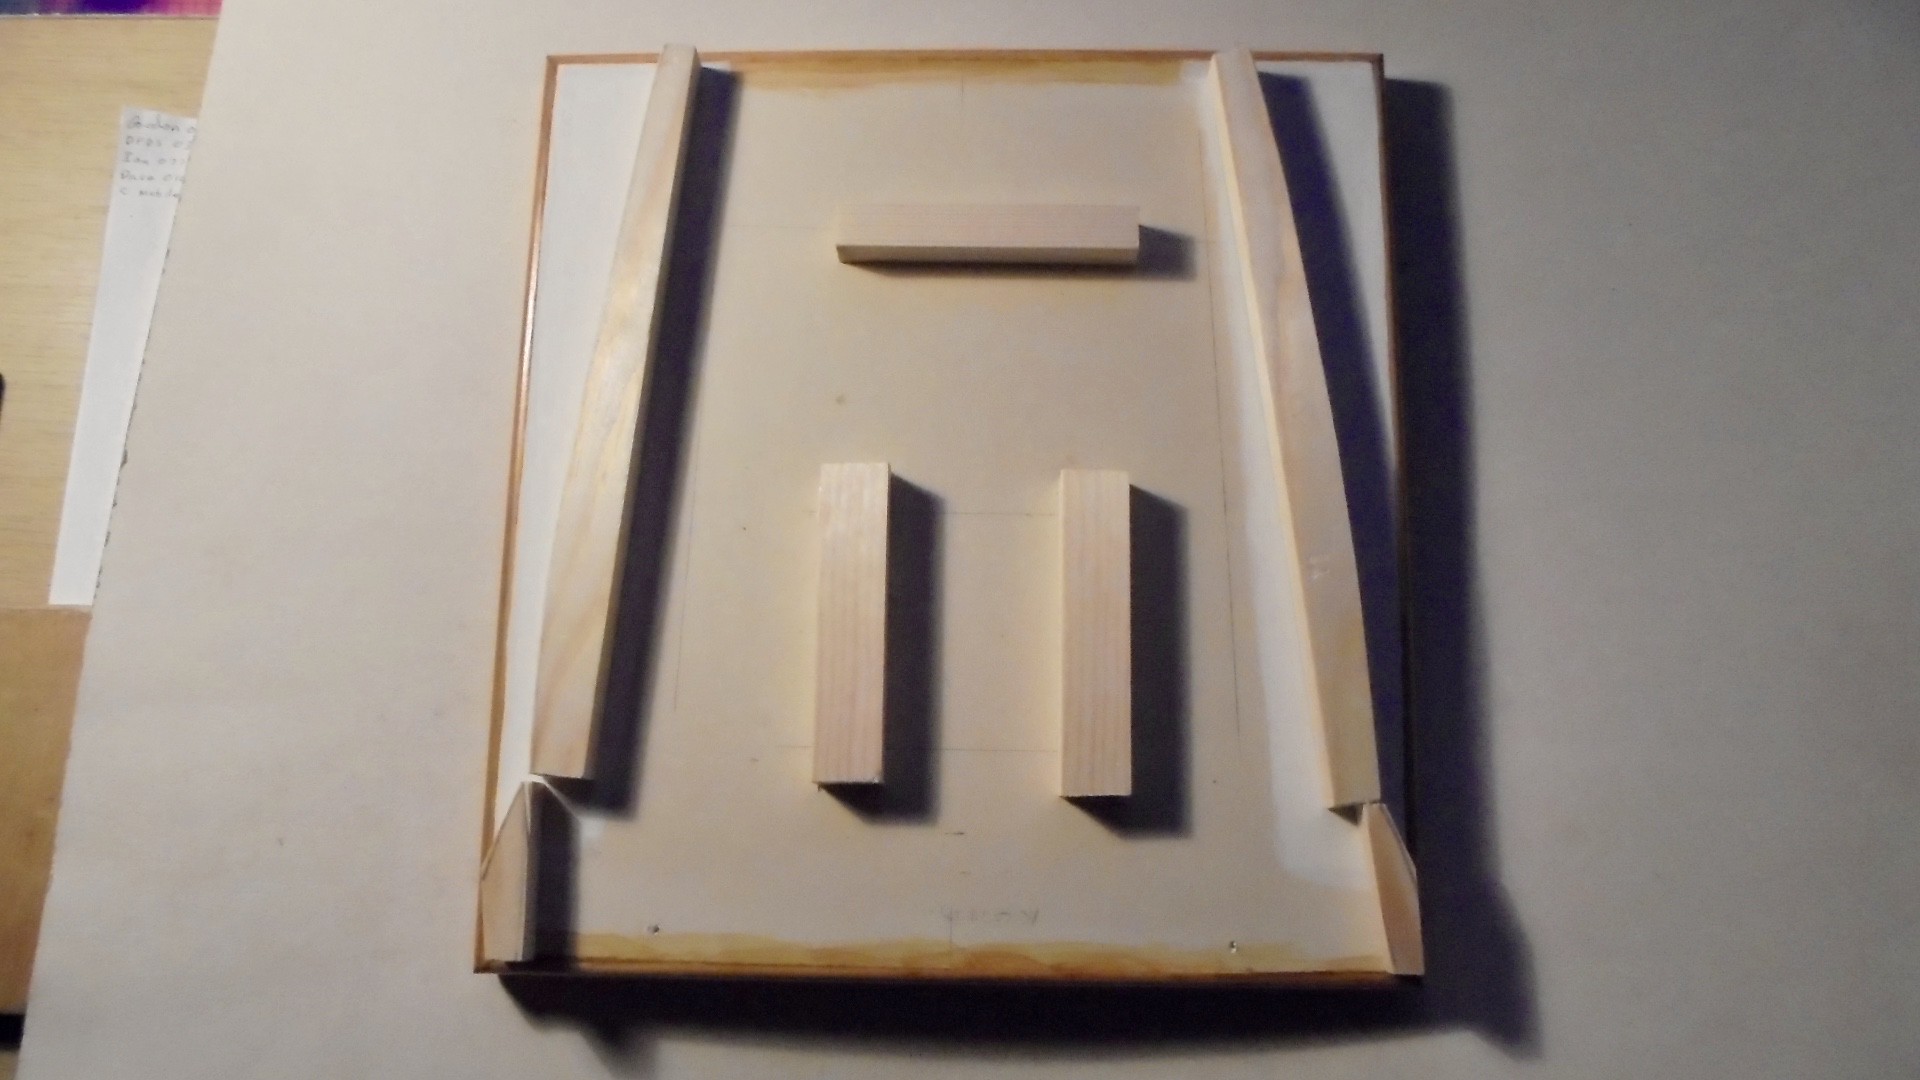
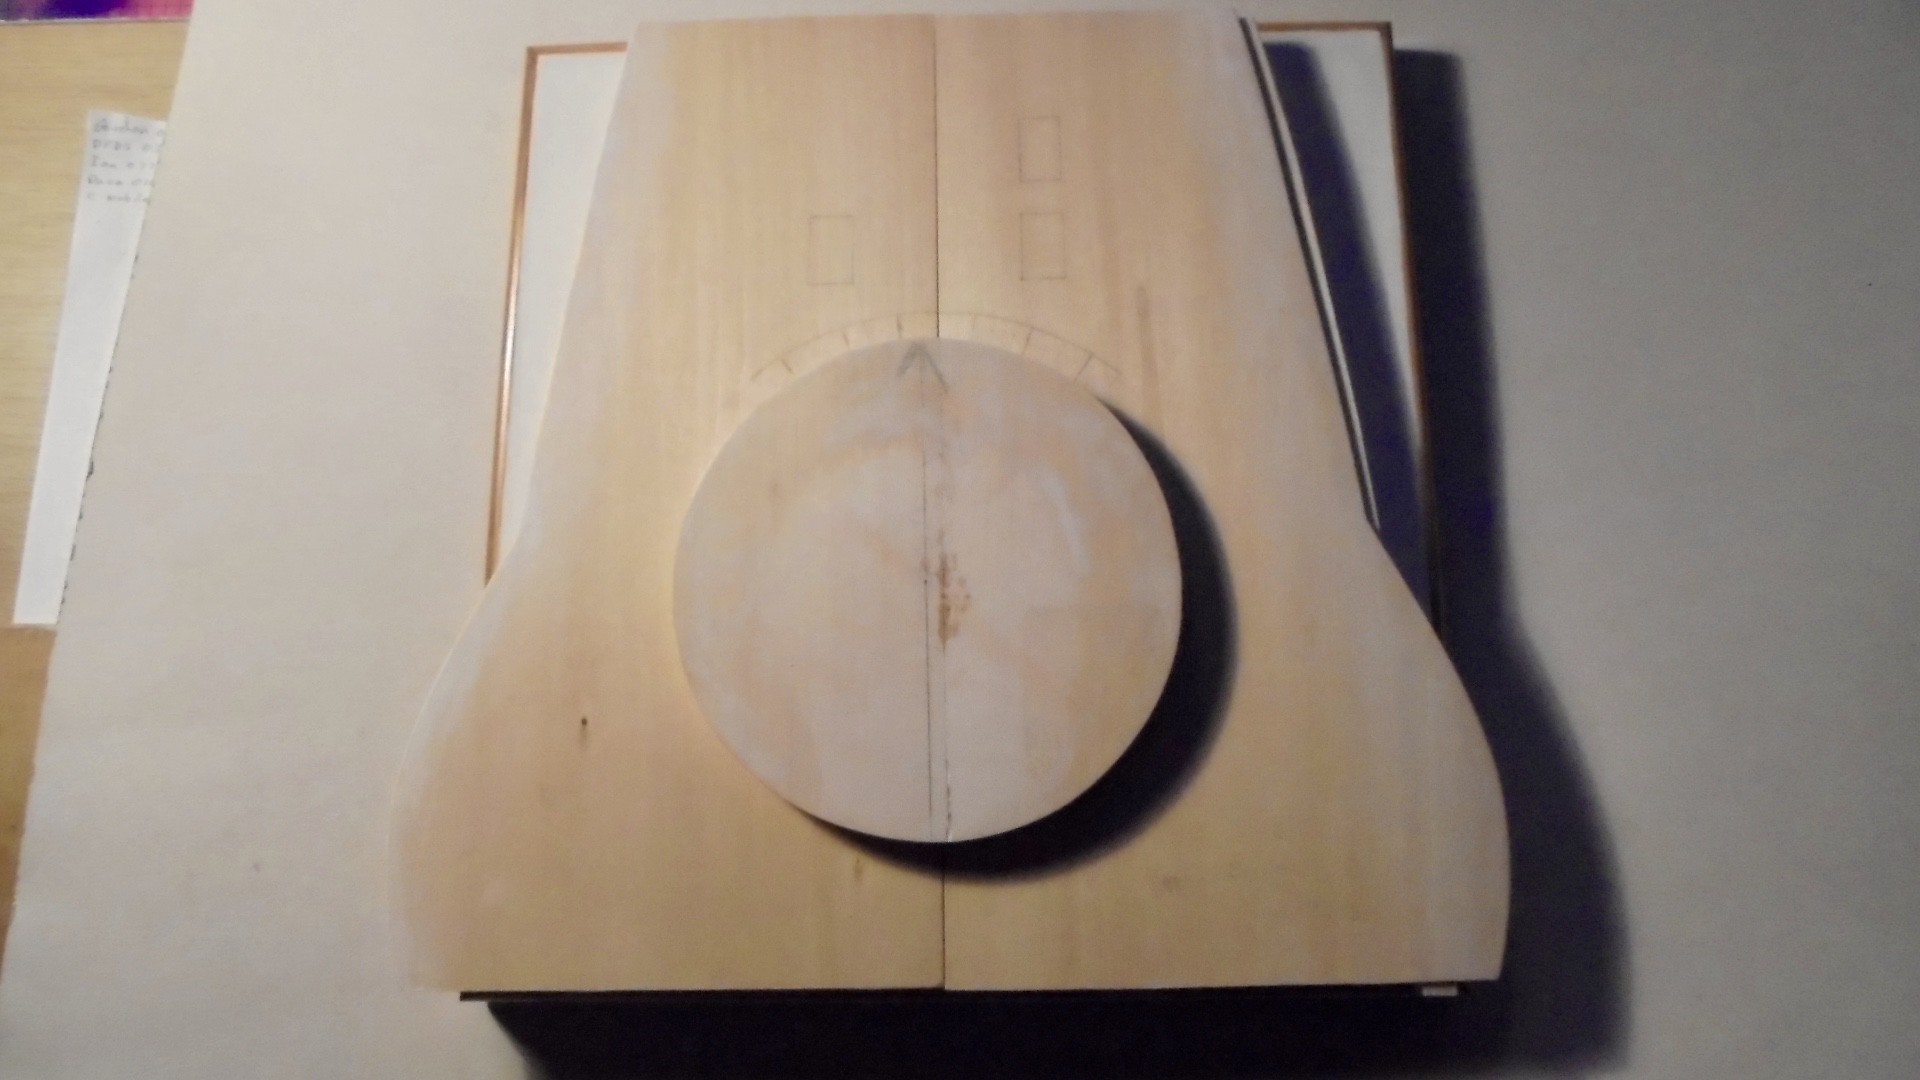
The gaps at the front and rear of the model between deck and base will be covered with plastic card later. The deck was cut form 1/8th inch (2mm) basswood (lime) sheet: 2 pieces were cut and shaped to represent the deck forward of the bridge to a point approximately 30 feet (8.2m) forward of the forward barbette breakwater. The edges were rounded with glass paper and sealed with a mixture of talcum powder and dope:

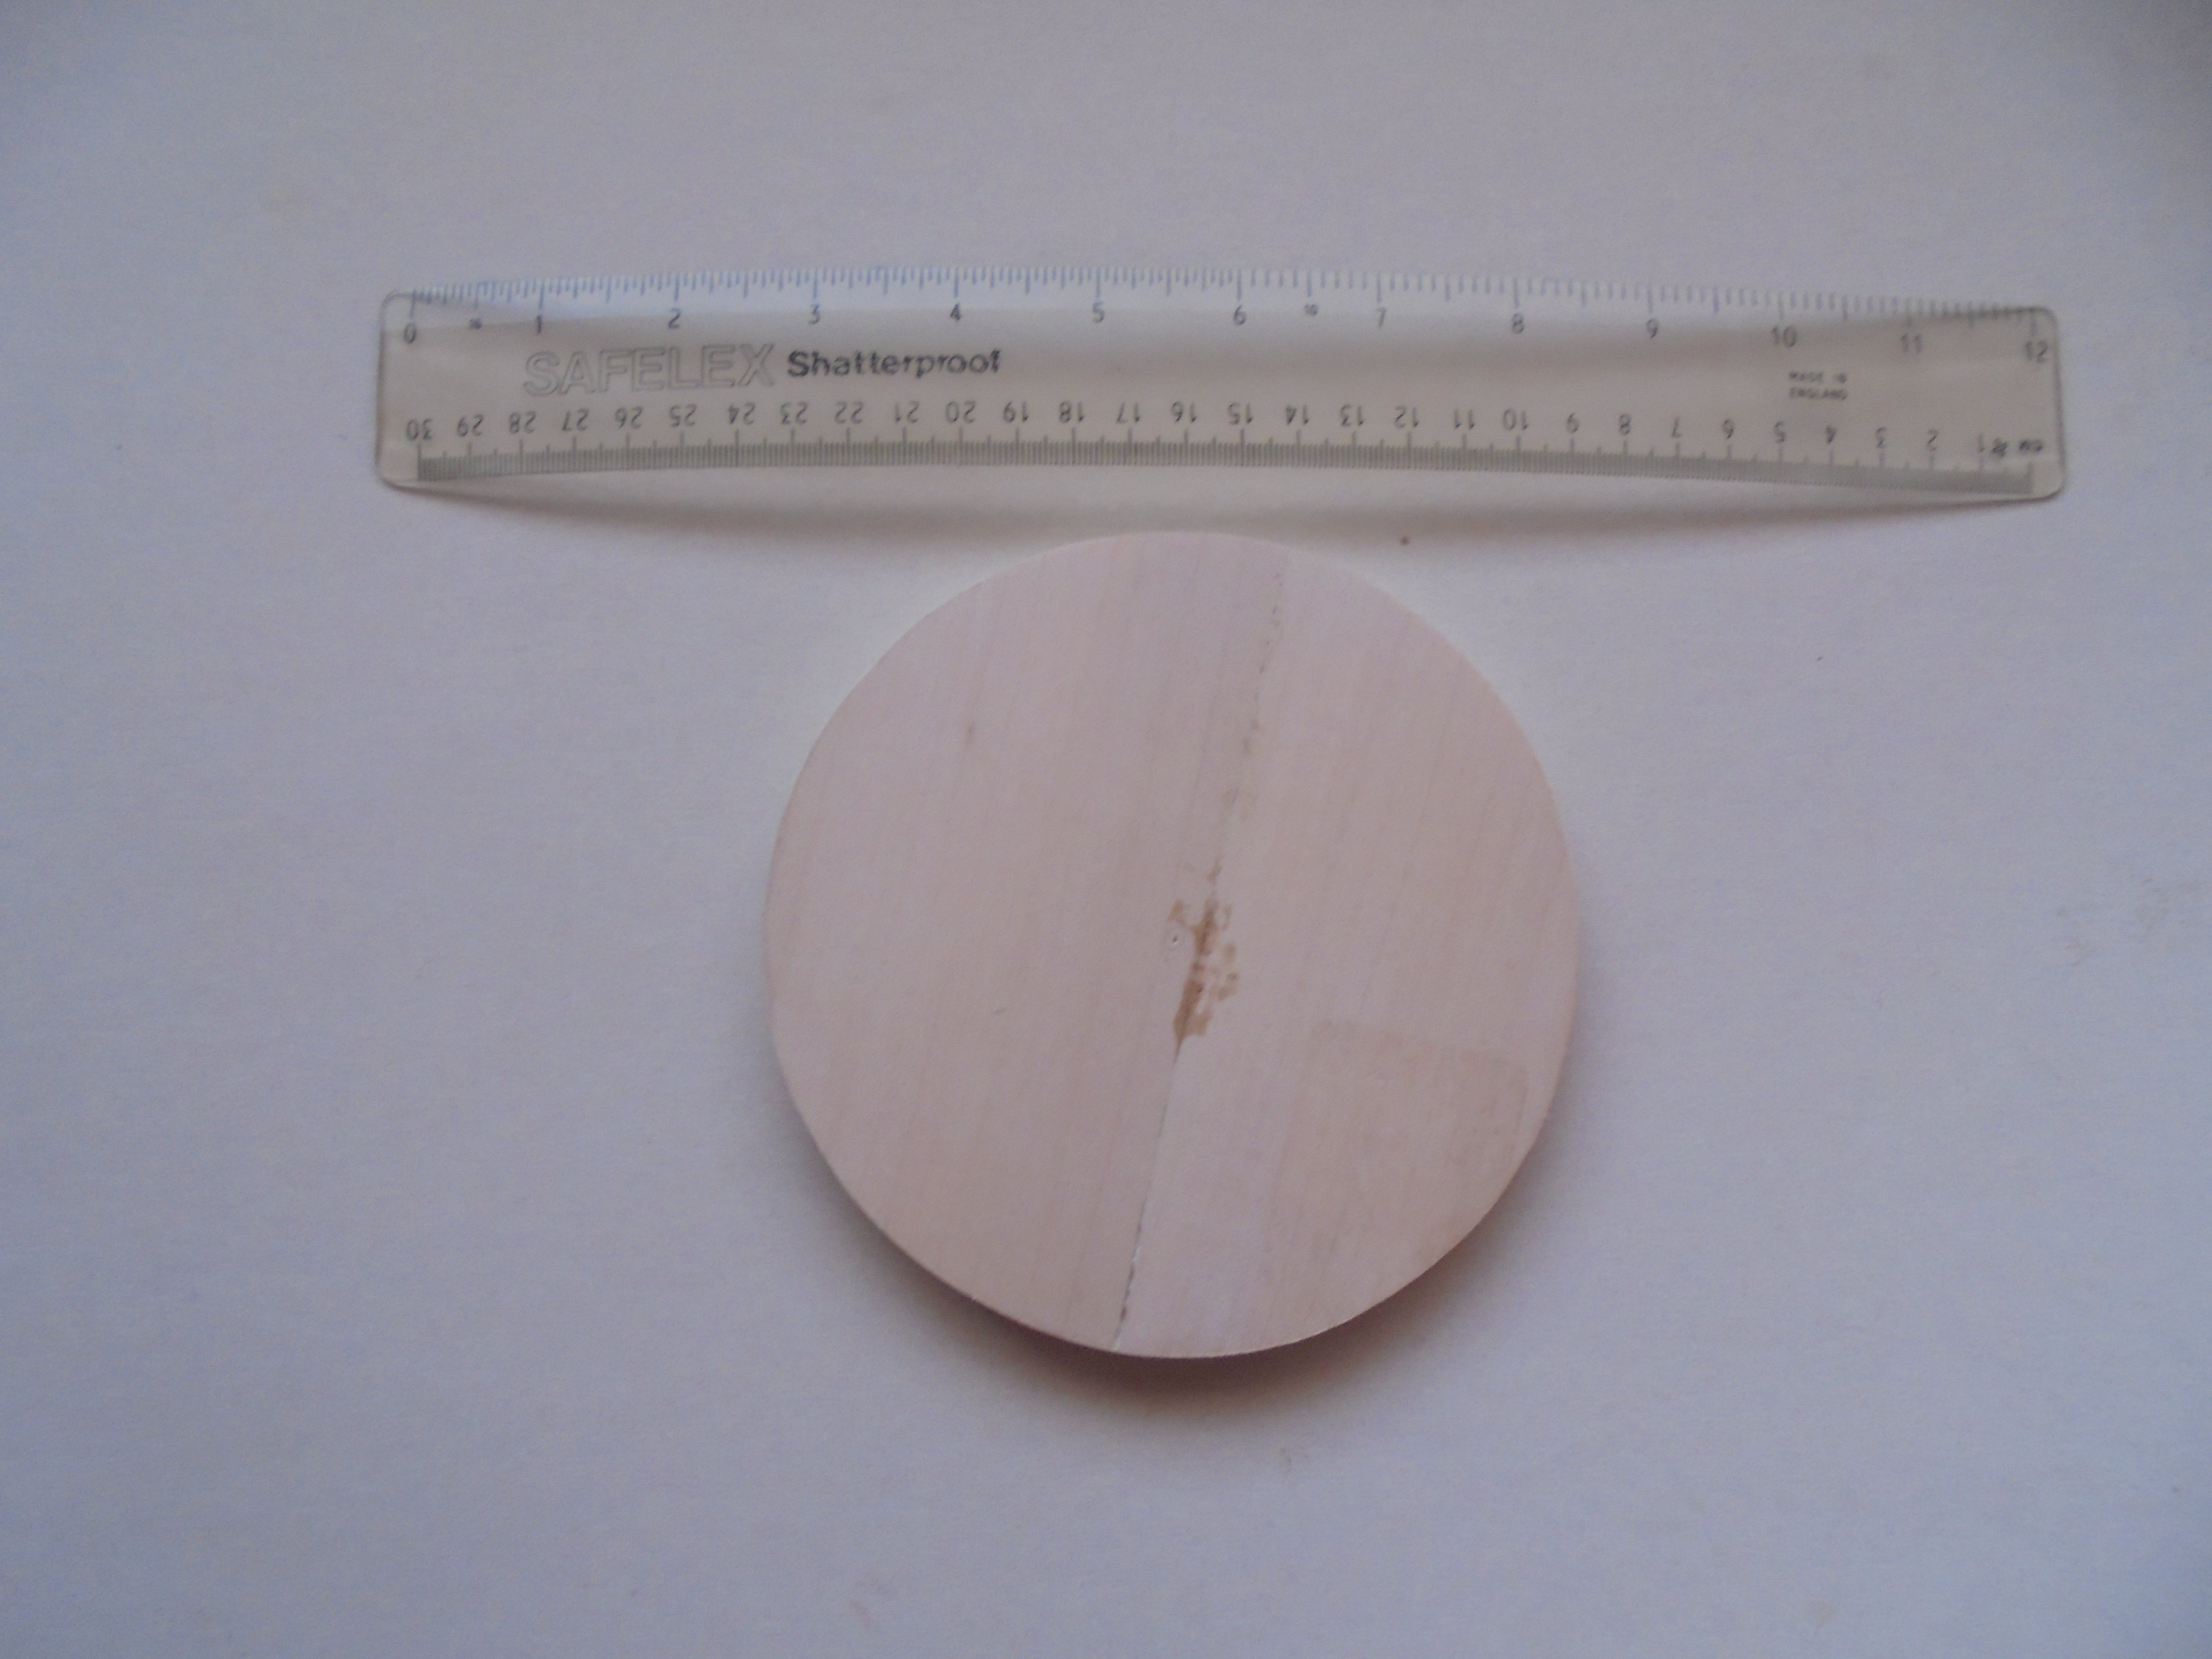
The circle and arc represent where the barbette and breakwater will be positioned later. The curved rear covered the 9.2 inch guns in the hull and will have 60th plastic sheet CA'd underneath to represent the armoured deck.The top of the deck will be covered with 1/8 inch (2mm) square pine strip to represent the wood planking on the real ships. The barbette was cut form 4 pieces of 1/4 inch (0.5mm) basswood sheet: 2 pieces were joined to form a square sheet and the two sheets glued so that the joints were at 90 degrees. When the glue had set I cut off the waste wood around the circle that I had drawn on one surface, and the final rounding was achieved with a wood file:

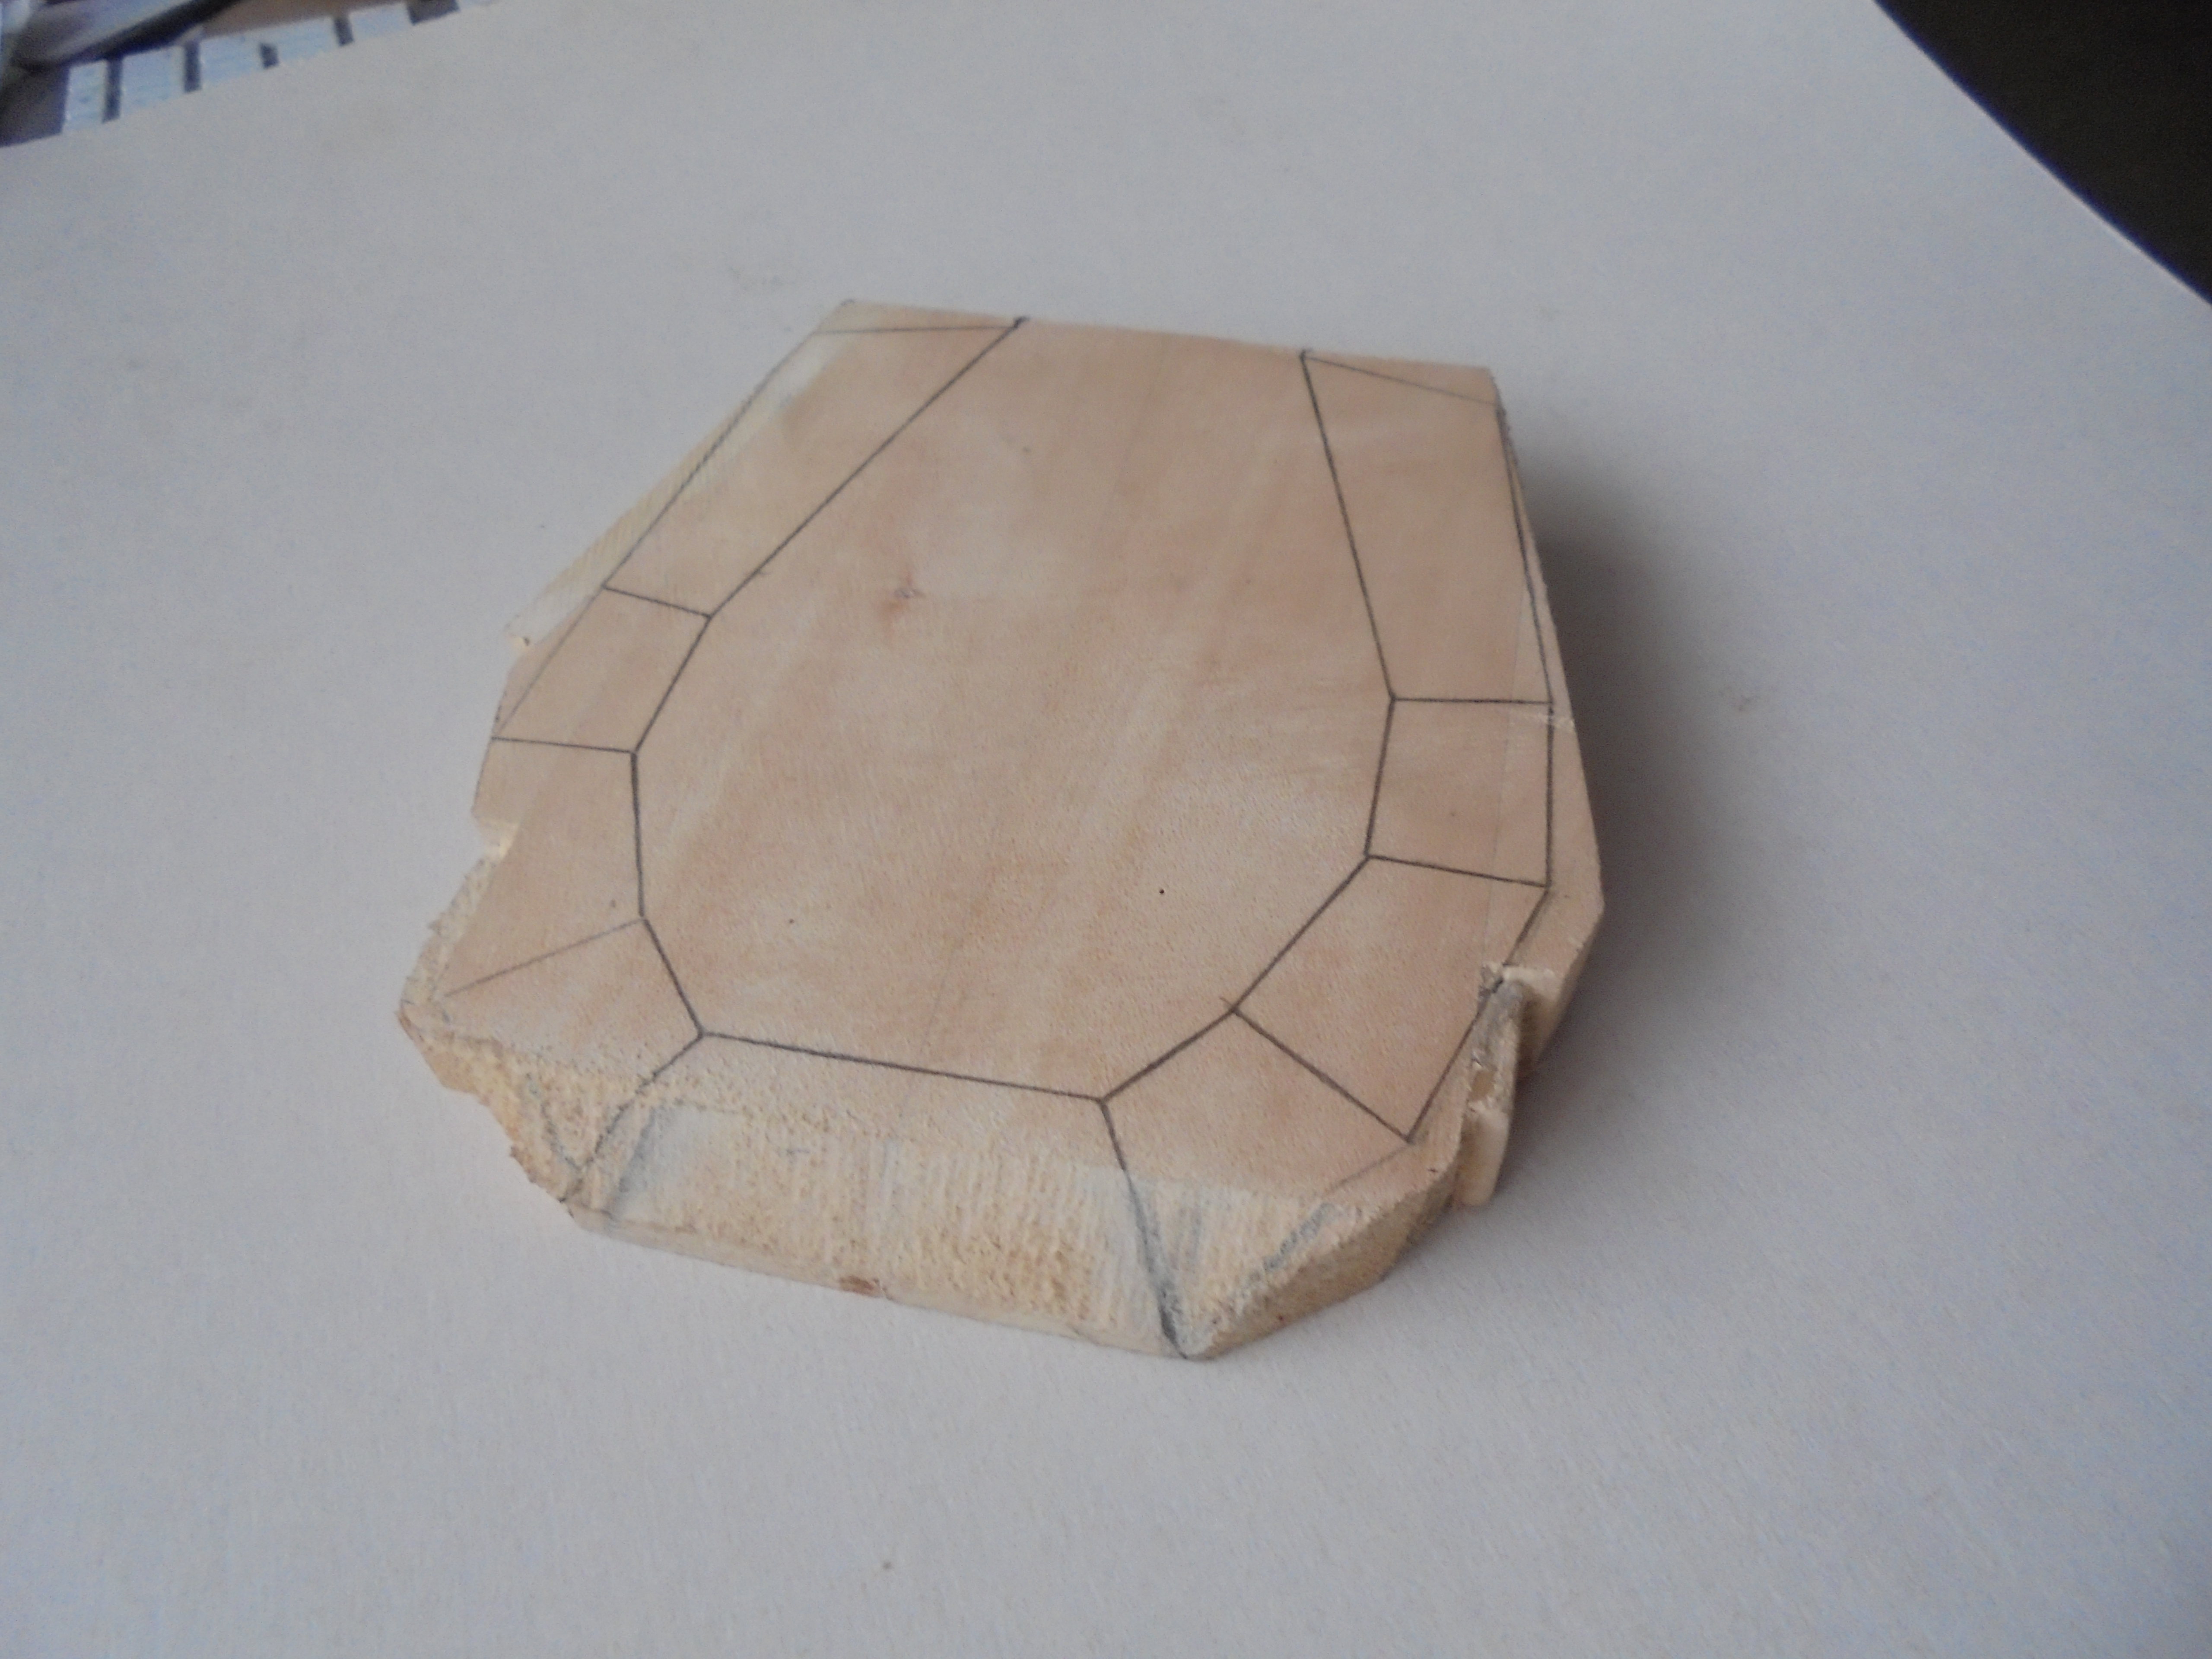
I made a block for the turret from 2 inch (5cm) square basswood: I cut a length of wood into two and glued the two pieces together and then added two more pieces of 1/4 inch sheet to the rear of the sides to allow for the wider rear of the turret. The top of the block was removed with a saw:


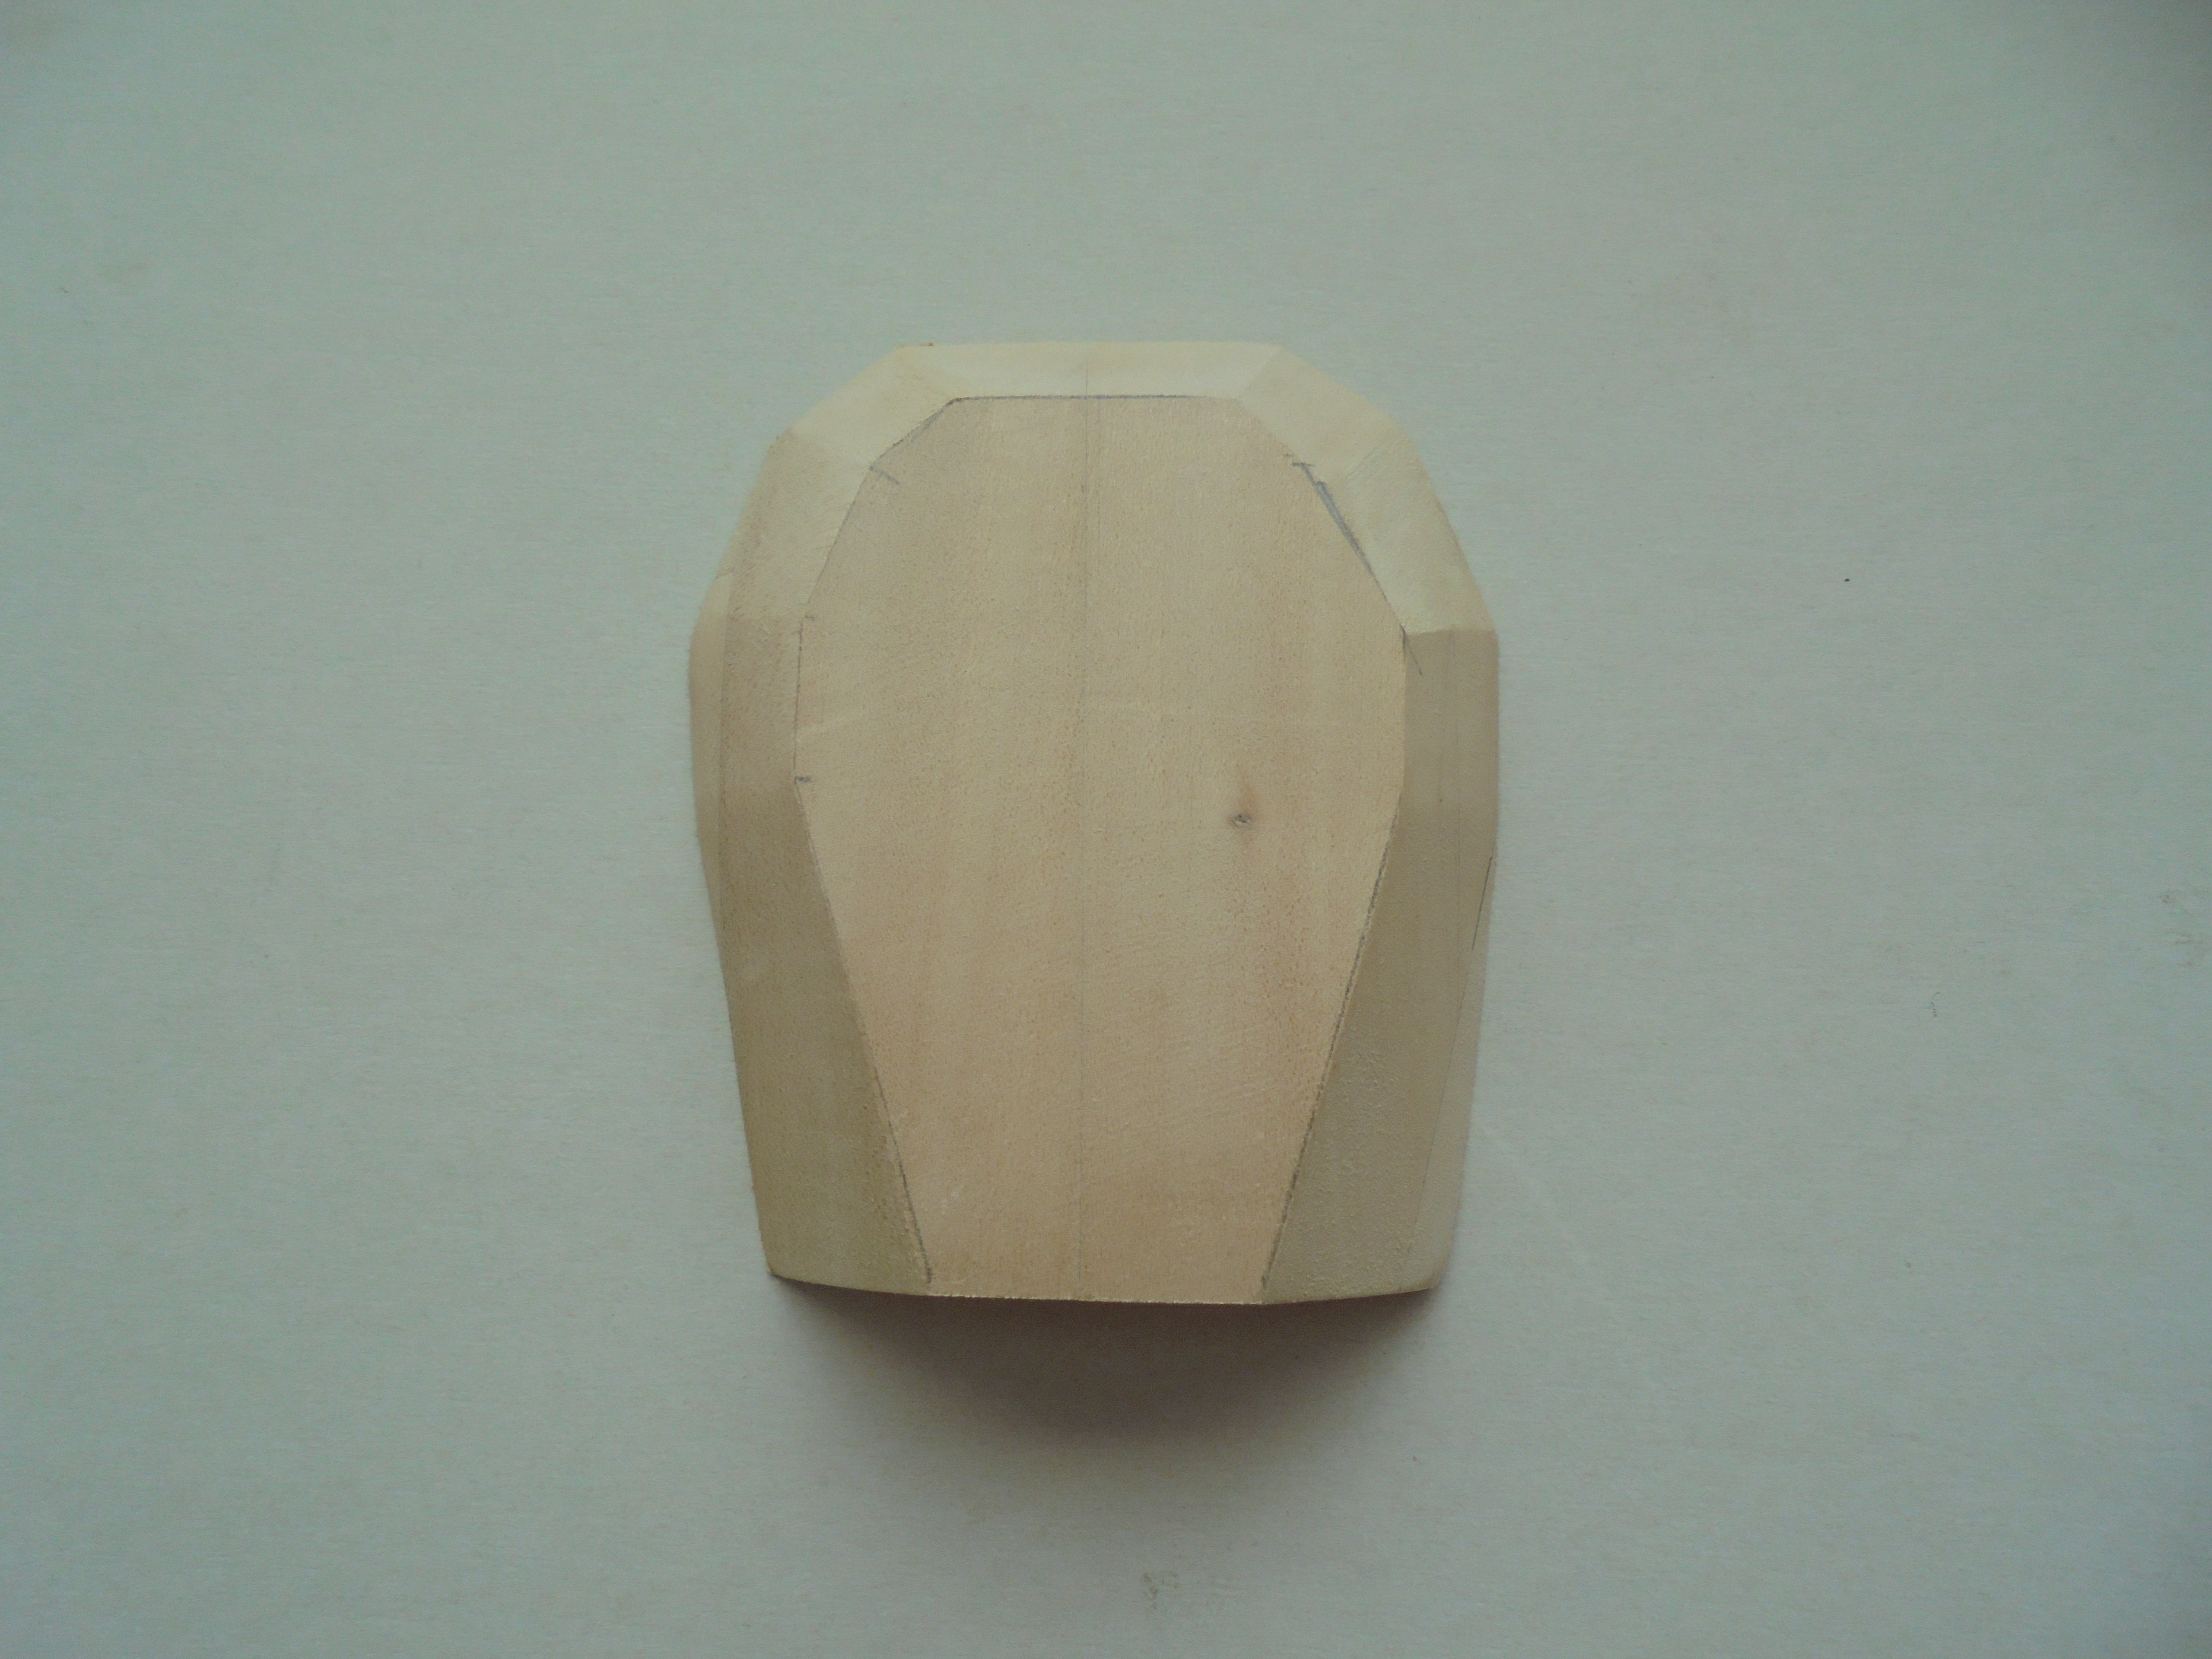
The front of the turret has also been trimmed to save filing the front face later. I filed/shaped the top of the turret first. I traced the upper and lower surfaces of the turret plan and the faces of the turret sides from the drawing and transferred these to the wood block and cut the sides of the block so that they were almost in alignment with the lower outline:

Starting at the rear I could now file the individual faces of one side of the turret using the lines as a guide:

The above operation was repeated for the other half of the turret and the front surface was also completed:
The rear of the turret had the recesses cut with a saw. I drilled two holes in the front of the turret to take the gun barrels. The barrels of the guns were made from pine dowel which had been turned in an electric drill and sanded to shape with coarse, and polished with fine, glasspaper. The ends were shaped to fit into the holes in the turret.

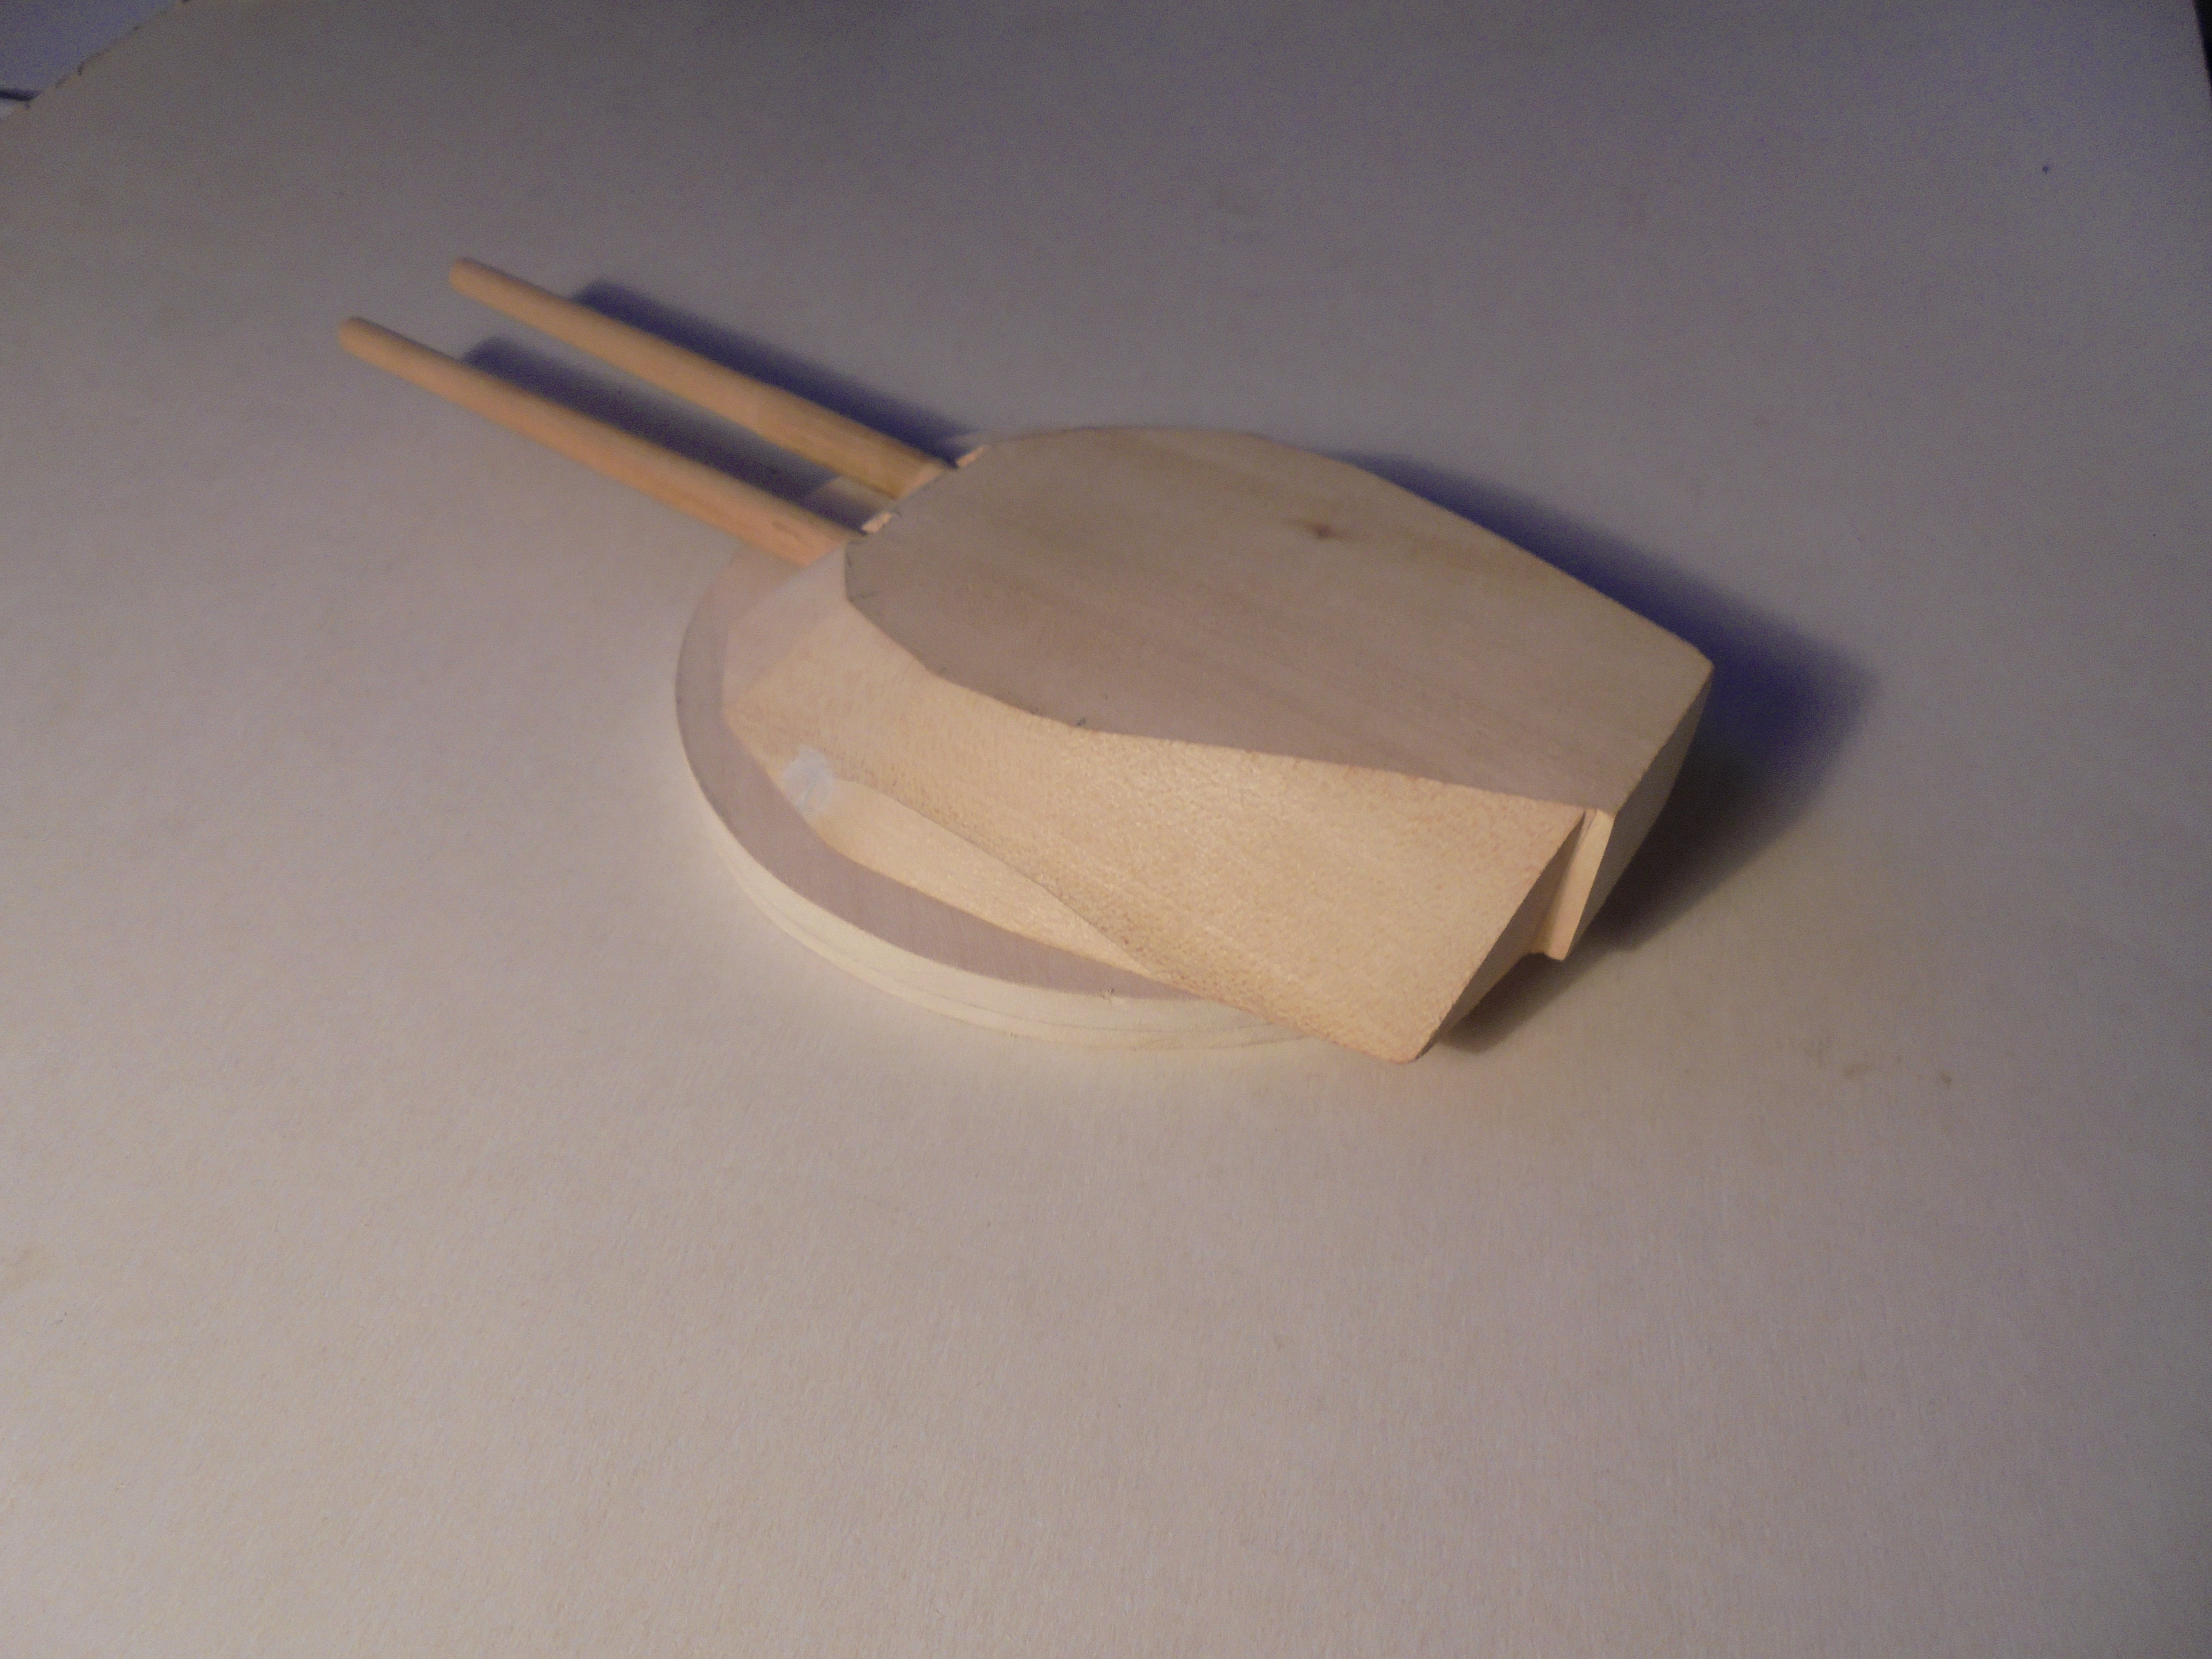
The turret, gun barrels and barbette were sealed with my go to wood sealant - talcum powder and dope mixture - and sanded smooth:
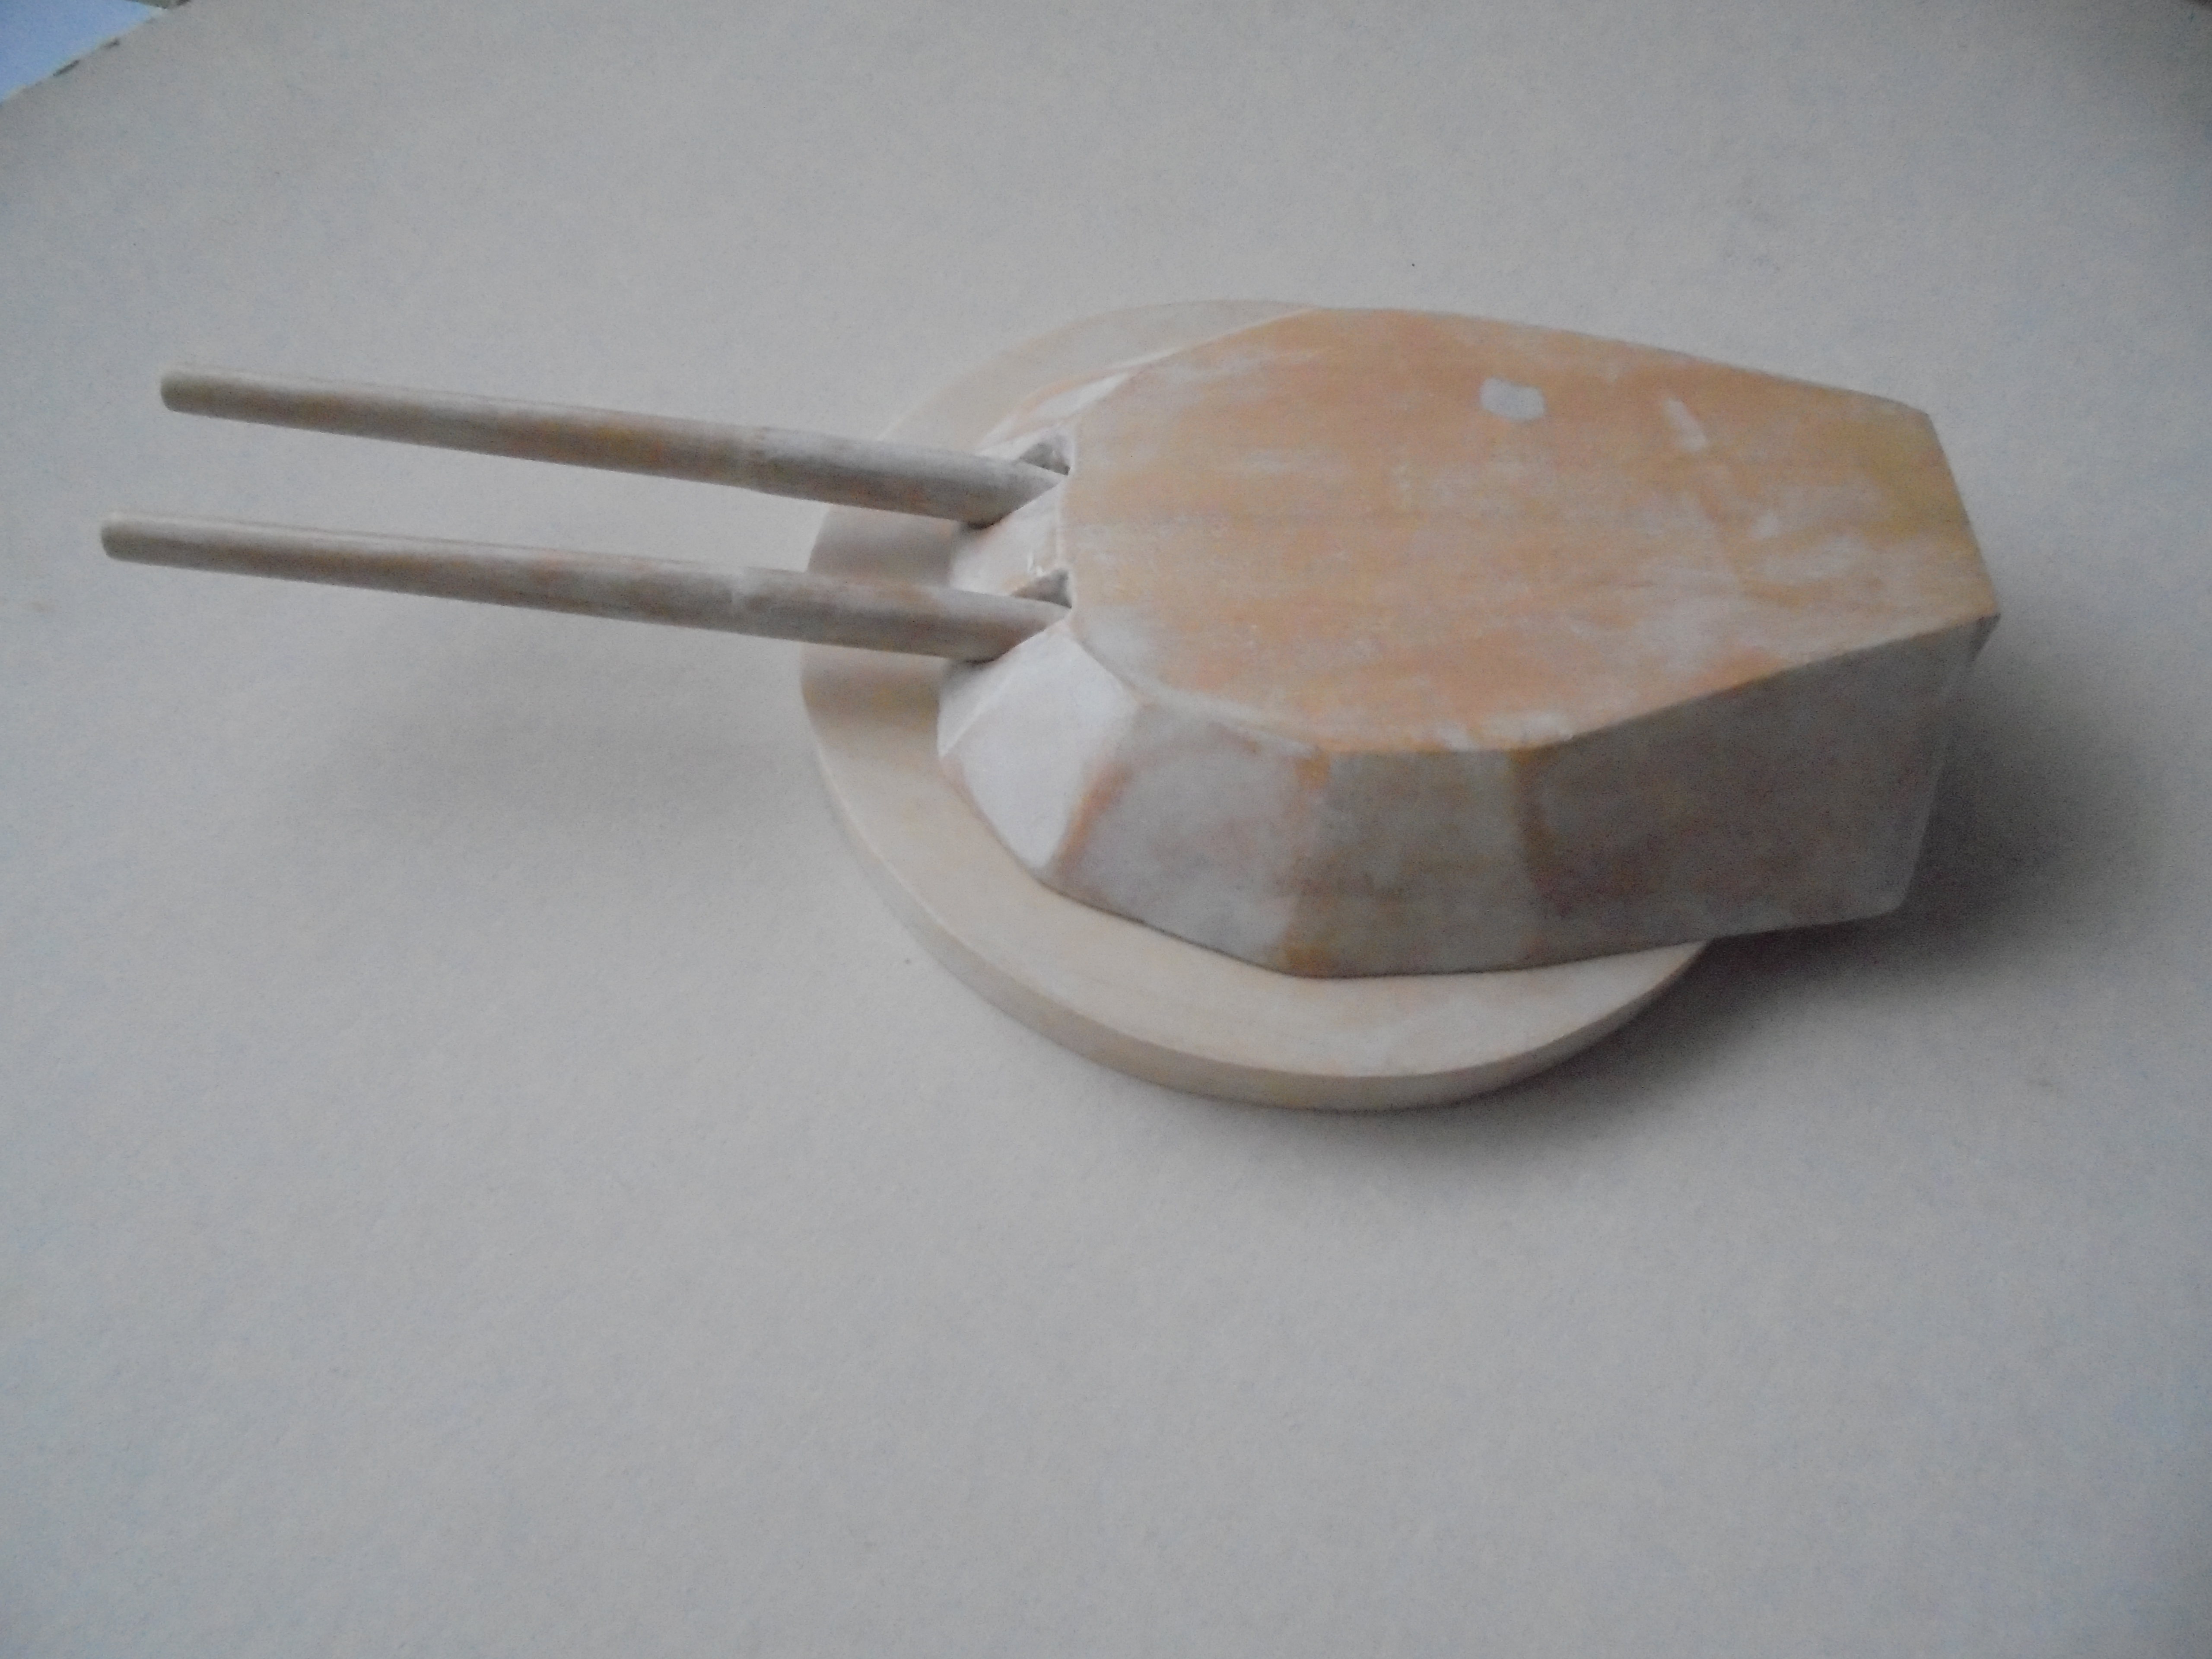
The gun barrels, turret and barbette have only been placed together for photos and checking fit and position. They will be permanently glued together later.

Thanks for looking.
Stephen.

