Hello again folks! I have actually been working on this quite a bit lately, but my wife absconded with, er, borrowed the camera for work, so I have not been able to take pix until today.
I agree with Quentin that the cockpits of the Nieuports are difficult to assemble. I see two reasons for this. First, there is not much there so very little extended positive contact points to firmly affix the bits. Second, the way the kits are engineered, you are instructed to affix the cockpit parts to one side of the fuselage and then close up by adding the other side. Without any structural support for the cockpit pieces, this can make for difficulty in accurately locating the pieces within the cockpit and fuselage. I think for my next Nieuport I will scrape off the molded on stringers inside the fuselage and build a cockpit cage from styrene strip, as I have seen others do in earlier build logs. That makes assembly of the cockpit components easier, and then the separate cockpit assembly can be fit right into the fuselage.
I had the same problem with the seat that Ernie had on the Academy Ni. 17. I think I got it resolved in a similar fashion.

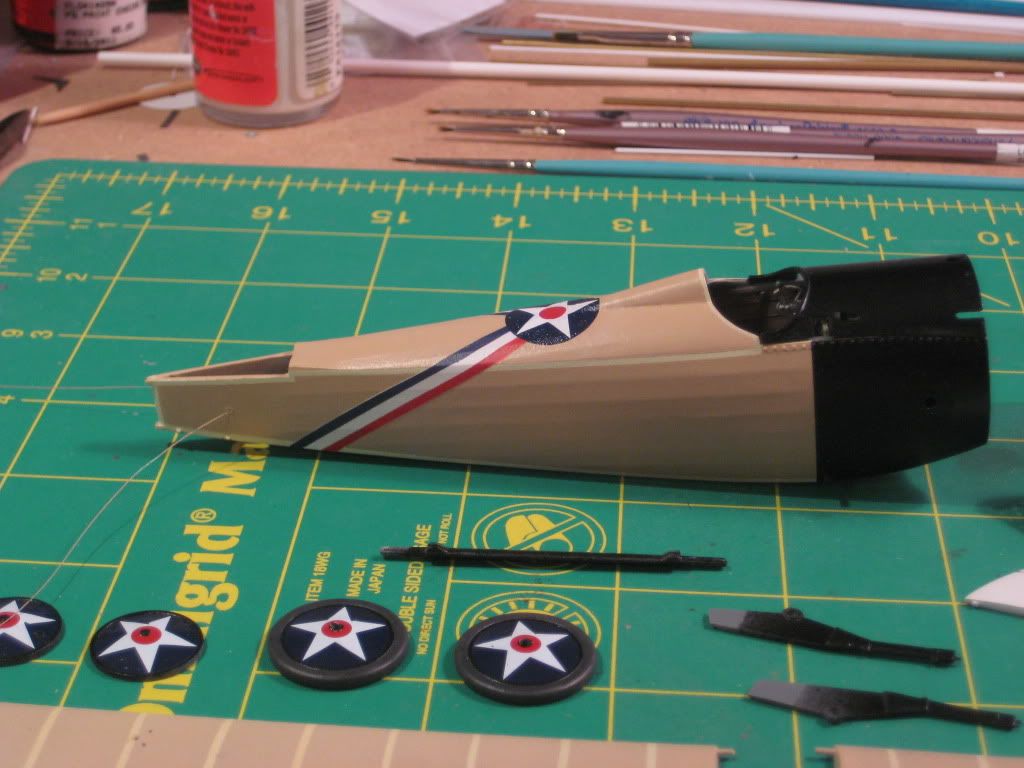
I ended up using a brass rod spar through the fuselage to secure the lower wings. Those little plastic nubs just didn't look strong enough! The rudder/fin and horizontal stabilizer/elevator were cut apart and linked with brass pins, since all the photos of this aircraft show the elevator down and the rudder slightly off center. I also drilled and pinned all of the struts, something I have learned really helps on Roden kits.
The last week has been spent painting and applying decals. Here is where things stand tonight:
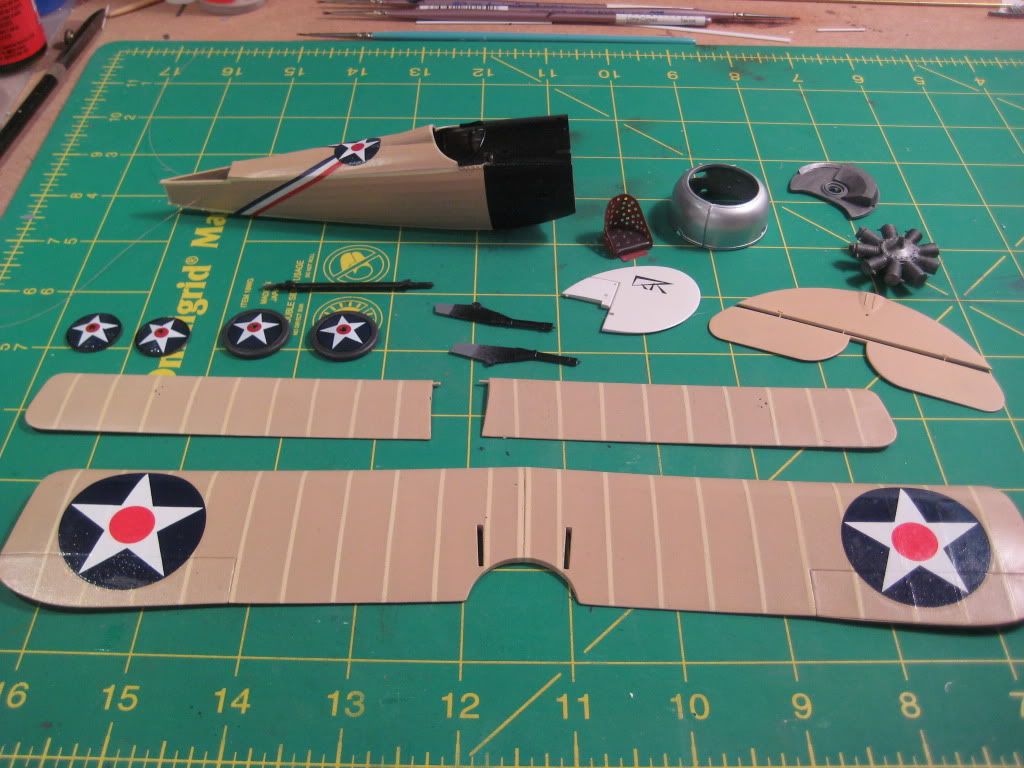
The color may be a little too tan, but we don't really know the actual shade, and it's close enough for me. The stripes on the fuselage were masked and painted. The U.S. national insignia are from a Techmod sheet. The stylized "QR" monogram on the white rudder was made by copyng the color profile on the office copier, reducing it to appropriate size, and copying it onto blank decal stock. The cowling was airbrushed with Mr. Metal Aluminum and buffed berfore sealing with Future.
These are the white wing (there is one on each side) and the "American Shield" decals. The wings were sized on the office copier and then copied onto blank white decal stock. The shield required a trip to Office Max, where the staff took my flash drive jpg file and resized the digital image and then printed it onto blank white decal stock with a color laser printer.
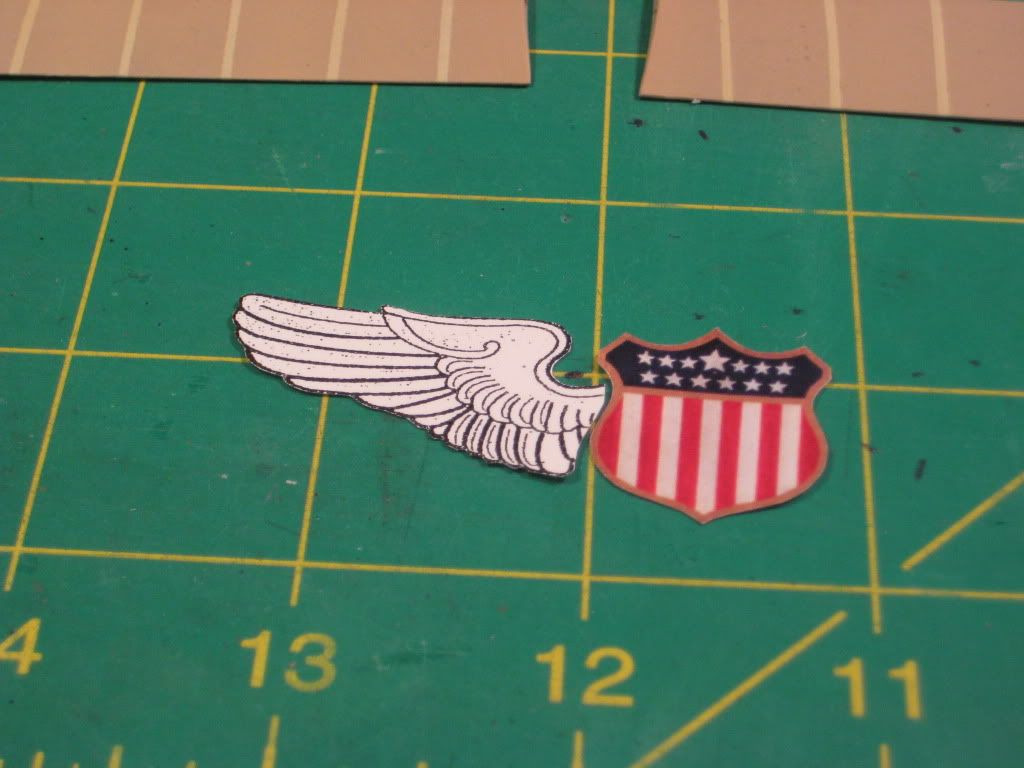
These will be applied to the top wng tomorrow. I still need to make the Old Doc Yak decals for the fuselage sides. Still thinking about that . . .
Cheers,
Bob

