Author Topic: WNW Pfalz DXII  (Read 17139 times)

Offline pepperman42

  • Hero Member
  • *****
  • Posts: 4503
  • Sergeant, my brown pants.......
Re: WNW Pfalz DXII
« Reply #15 on: January 29, 2013, 07:52:46 AM »
Sharp scheme youve picked. Looking forward to another informative build log. I havent heard of any "traps" on this one.

Steve

Offline mgunns

  • Hero Member
  • *****
  • Posts: 2255
Re: WNW Pfalz DXII
« Reply #16 on: February 02, 2013, 07:44:05 AM »
Okay folks:

I don't have any pictures yet, but; progress is being made.  I got the Data File #146 for reference purposes, albeit nothing really jumps out at me that WNW doesn't include in their comprehensive instruction sheet.  I did find an error in the instructions, I will post a pic later.  So far, waiting for oils to dry so I can proceed with the interior.  Presently working on engine.  As I am doing a later version with the larger vents I figured I would add spark plugs, so I am doing that.  Other than that, painting, and waiting. 
Stand by for more modeling mayhem.

Best

Mark
Mark

We few, we happy few.....

Offline mgunns

  • Hero Member
  • *****
  • Posts: 2255
Re: WNW Pfalz DXII
« Reply #17 on: February 03, 2013, 03:22:08 PM »
Okay folks:

Here we go with another segment of Modeling madness.

ON page 5 of the instructions WNW mis mark the part number:  Part #E27 is incorrectly marked it should be E37, a small change  but noted.

I did the engine.

and:

I spent an inordinate amoutn fo time on the seat. Basically a lather paint and following the instructions per the decal sheetWNW provides.
.Exepte for small detail items, this is  about it efor now.  Keep in touch, Best Mark.
Mark

We few, we happy few.....

Offline Des

  • Administrator
  • Hero Member
  • ******
  • Posts: 9325
    • ww1aircraftmodels.com
Re: WNW Pfalz DXII
« Reply #18 on: February 03, 2013, 03:46:27 PM »
Nice work on the engine Mark, looking forward to your next lot of progress photos.

Des.
Late Founder of ww1aircraftmodels.com and forum.ww1aircraftmodels.com

Offline michael

  • Sr. Member
  • ****
  • Posts: 464
Re: WNW Pfalz DXII
« Reply #19 on: February 03, 2013, 07:07:29 PM »
Great work on the engine Mark.

michael
“An ounce of action is worth a ton of theory.”

Offline Epeeman

  • Hero Member
  • *****
  • Posts: 1419
Re: WNW Pfalz DXII
« Reply #20 on: February 03, 2013, 11:04:09 PM »
Excellent start, Mark -

Are the spark plugs 'home made'?

Regards

Dave
As we say in fencing, what's the point?

Offline Chris Johnson

  • Hero Member
  • *****
  • Posts: 1959
Re: WNW Pfalz DXII
« Reply #21 on: February 04, 2013, 02:14:48 AM »
I have to say Mark that you and Bud are building machines! I sure wish I could maintain the pace you guys do in churning out top quality models. I'll be watching this thread with interest. It's not a type that grabs my attention, but like the Snipe, I can see how it might grow on me.

I just noticed now, so I don't know if this is your usual practice, but are you using twisted copper wire for your wiring harness? If so, can you tell me the advantages you find in using it?

Cheers,

Chris
You can have it good; You can have it fast; you can have it cheap. Pick any two, but all three are impossible.

Offline mgunns

  • Hero Member
  • *****
  • Posts: 2255
Re: WNW Pfalz DXII
« Reply #22 on: February 04, 2013, 04:13:59 AM »


I just noticed now, so I don't know if this is your usual practice, but are you using twisted copper wire for your wiring harness? If so, can you tell me the advantages you find in using it?

Cheers,

Chris

Hello Chris:  I am using twisted copper wire.  I use Bob's Buckles eyelets and tubes.  I use the tubes for the spark plug.  As these won't be seen except through a small cooling port, I didn't use the nuts.  I cut the tube about 3/4 of it's size, glue it to the plug opening on the engine and put a small piece of copper wire through the hole leaving about a 1/4 sticking out.  I then bend and slide one of the eyelets onto the copper wire.  Once in posistion, I cut the length of copper wire and viola!  A wired spark plug.  If the engine was going to be more exposed I would have spent more time with the small details and even wire the magneto's but since it won't be, I am happy with the result.  Looking at the photograph of the engine in the WNW instruction booklet you can see that the wires are braided so these are a natural and they seem to be in scale too.

Best

Mark
Mark

We few, we happy few.....

Offline mgunns

  • Hero Member
  • *****
  • Posts: 2255
Re: WNW Pfalz DXII
« Reply #23 on: February 05, 2013, 09:08:52 PM »
Okay folks:

Just to bring you up to date.  I have buttoned up the fuselage, but; here is what I did prior.
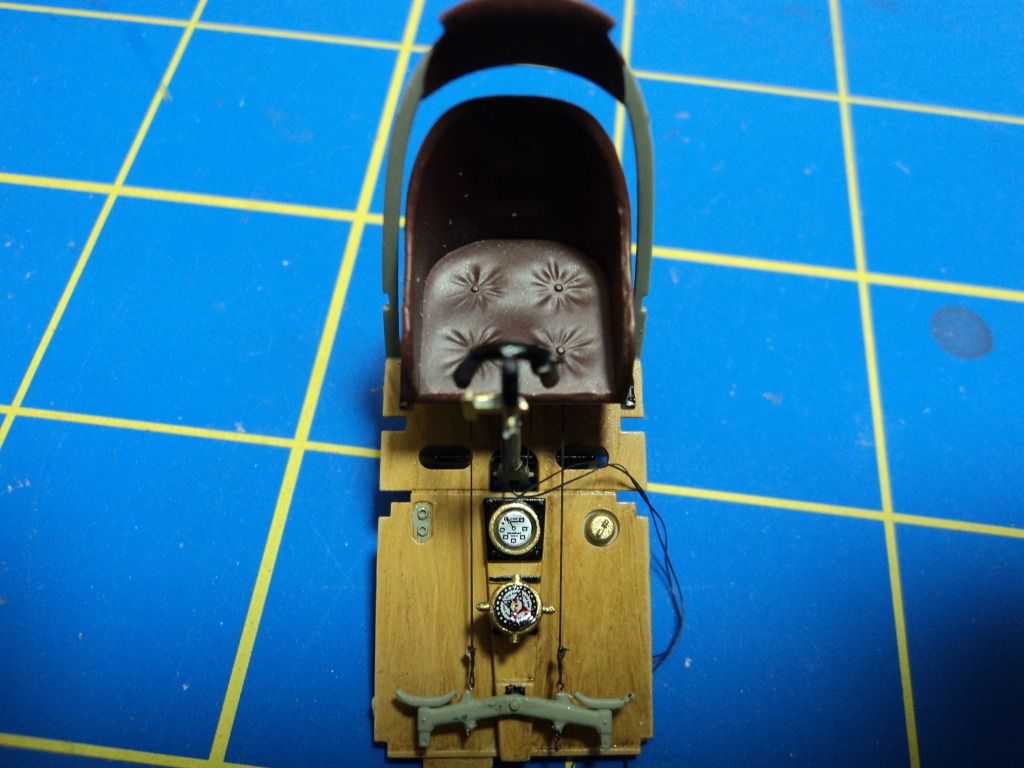
I drilled out the holes in the back of the seat mounting frame for rigging and ran the rigging from the back for attachment.  I used EZ line and CA glued it to the back.

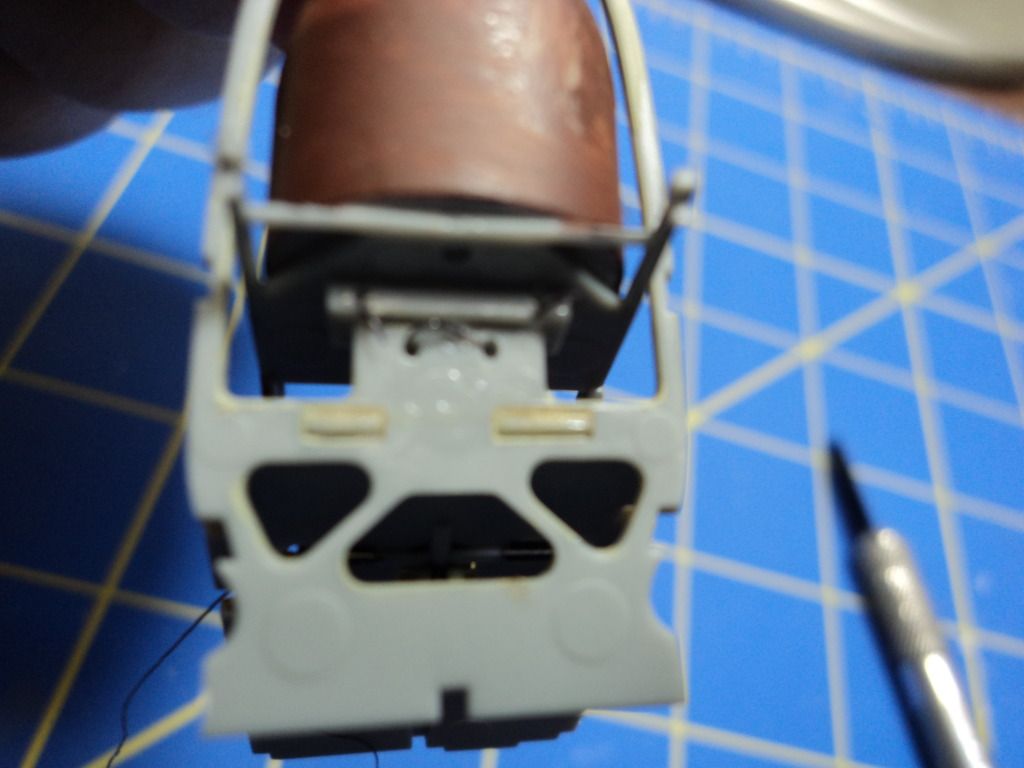
I then CA glued it to the rudder peddal and the control stick.

I went ahead and used the HGW "Fabric" seat belts.  I attached them to the seat belt springs on the frames, draped them over the seat and CA glued them in place.

I am not sure if they look any better than the painted PE ones.  They are a lot more fiddlly and I spent hours on them.  Not sure I will go that route again. 

Using EZ line I represented the lines coming off the control column.  I am not sure what they are, but they are seen in the data file and they were easy enough to do.  I have the fuselage buttoned up and am ready to move on to the next step.  Stay tuned for more modeling mayhem.

Thanks for stopping by

Mark
Mark

We few, we happy few.....

Offline bobs_buckles

  • Hero Member
  • *****
  • Posts: 3821
  • Freedom isn't free.
    • Bobs Buckles
Re: WNW Pfalz DXII
« Reply #24 on: February 05, 2013, 11:18:42 PM »
Thanks for the update, Mark - Looking great so far.
One question: Did you have to fiddle around to make the fuselage sections  butt up? Or did she fall together?
Cheers!

vB ;)


https://www.bobsbuckles.co.uk/

Last Minute Man Of Faith

Offline mgunns

  • Hero Member
  • *****
  • Posts: 2255
Re: WNW Pfalz DXII
« Reply #25 on: February 05, 2013, 11:35:14 PM »
Thanks for the update, Mark - Looking great so far.
One question: Did you have to fiddle around to make the fuselage sections  butt up? Or did she fall together?
Cheers!

vB ;)
Hello Bob:

I didn't have to fiddle around to make the fuselage section butt up, but; I had to test fit several times.  There are locating pins on each cockpit frame side that have to line up.  I trimmed those a bit, and I also ensured that the all bulkheads were flush.  It was tight, but it fit.  I like using your eyelets as spark plug leads.  They are the right scale and they have the "look".

Best

Mark
Mark

We few, we happy few.....

Offline bobs_buckles

  • Hero Member
  • *****
  • Posts: 3821
  • Freedom isn't free.
    • Bobs Buckles
Re: WNW Pfalz DXII
« Reply #26 on: February 05, 2013, 11:57:32 PM »
Hi Mark,
 Good to see the eyelets coming in handy  ;)
Thanks for the info on the Fuselage.

Cheers!
Vb


https://www.bobsbuckles.co.uk/

Last Minute Man Of Faith

Offline mgunns

  • Hero Member
  • *****
  • Posts: 2255
Re: WNW Pfalz DXII
« Reply #27 on: February 06, 2013, 12:48:25 AM »
Here is another shot of the interior before buttoning it up.  It shows the HGW belts to better effect.


One thing on the instructions one part is misnumbered.  When assembling the engine, on page 5 I think it is they have the air pump labeled as E 27, it is actually E 37.  Maybe it is on their errata sheet on the website.

But here it is if anyone is doing this.  Not a biggie.

On page 4, the cockpit painting guide they show the ammo box and fuel tank installed but it isn't called out until page 7.  I would recommend jumping ahead to page 7, assembling the fuel tank/ammo box assembly and install it while assembling parts A6 and A8 as the tabs fit into the ammo box/fuel tank assembly. 

Thanks for stopping by

Mark
Mark

We few, we happy few.....

Offline mgunns

  • Hero Member
  • *****
  • Posts: 2255
Re: WNW Pfalz DXII
« Reply #28 on: February 06, 2013, 12:54:48 AM »
Excellent start, Mark -

Are the spark plugs 'home made'?

Regards

Dave
Hello Dave:

Yes, the plugs are home made.  I use Bob's Buckles Piece of tube for Turnbuckles and cut it to about 3/4 of it's length, glue it in place, paint it white; then take a piece of copper wire about a 1/4 inch long and put it in the end.  Then I take a Bob's Buckles eyelet, bend it a bit to fit under the conduit, and slide it over the wire.  Once the CA glue has set, I nip off the excess.


Mark

We few, we happy few.....

Offline Todd Holaday

  • Jr. Member
  • **
  • Posts: 87
Re: WNW Pfalz DXII
« Reply #29 on: February 06, 2013, 02:48:26 AM »
I really like the look of the early squarish tail on this kit.  OOB there was only one scheme that used that tail so it was the one I built.  Great looking plane.