I will probably make the turnbuckles as decribed by Des. There are only two, so that shouldn't be much of a problem.
After all the cockpit work it became time to hide all beautiful details

I added the high pressure fuel line from behind the instrument panel to the two floater housings. Now I am a little bit at a loss here, because sometimes I miss the correct technical term in english. You may have seen other examples in this topic. But I don't really know the correct translation of the dutch word vlotter as a part of a carburator into english. Maybe it is a floater, but it may well be a very different word. It is the part were the liqued fuel is held at a certain level to avoid the carburator from 'drowning'.
But anyway it can only be seen now in the engine compartment and will recieve some paint. At this stage I am missing the parts from Taurusmodels, so I can't finish the engine. The controls can be scratchbuild and added to the model in such a way that the engine can still slide from the front into the frame.
But first I wanted to get rid of all the control cables. First I glued the right side of the fuselage to the frame and warned by Epeeman I took precaution to get it right.
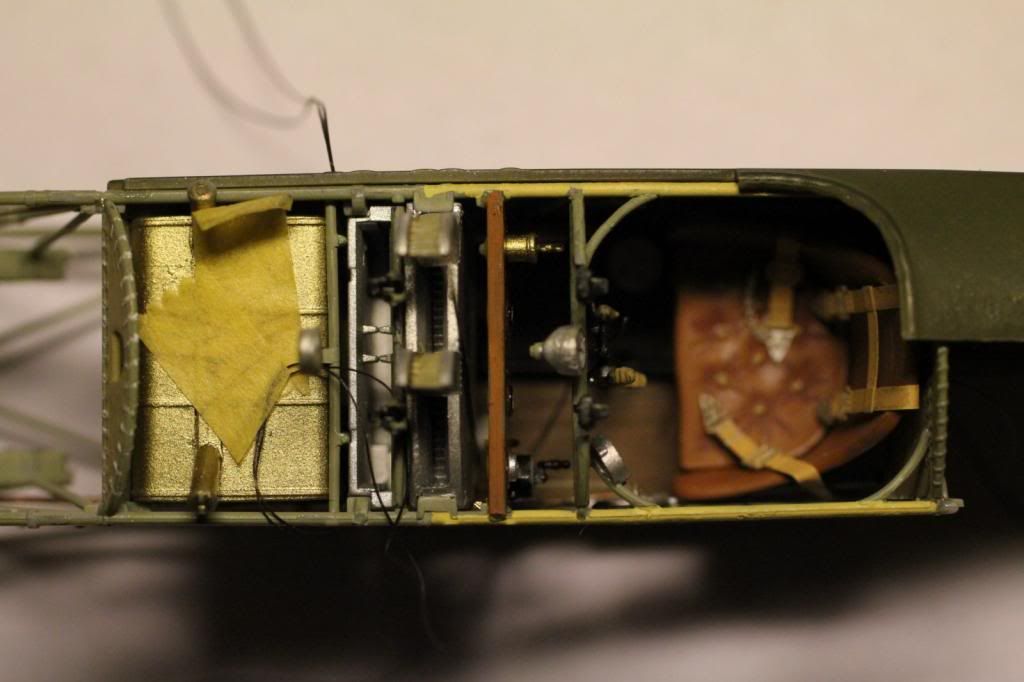
I guided the control cables of the right aileron through the side and then I glued behind de back panel and at the front beam the frame into the fuselage. This went without any problem and fitted ok.
Then I had to guide 3 control cables to the back of the fuselage, pulled them through and glued them from the inside. This is absolute nonsense, because nobody is ever going to see these anymore.
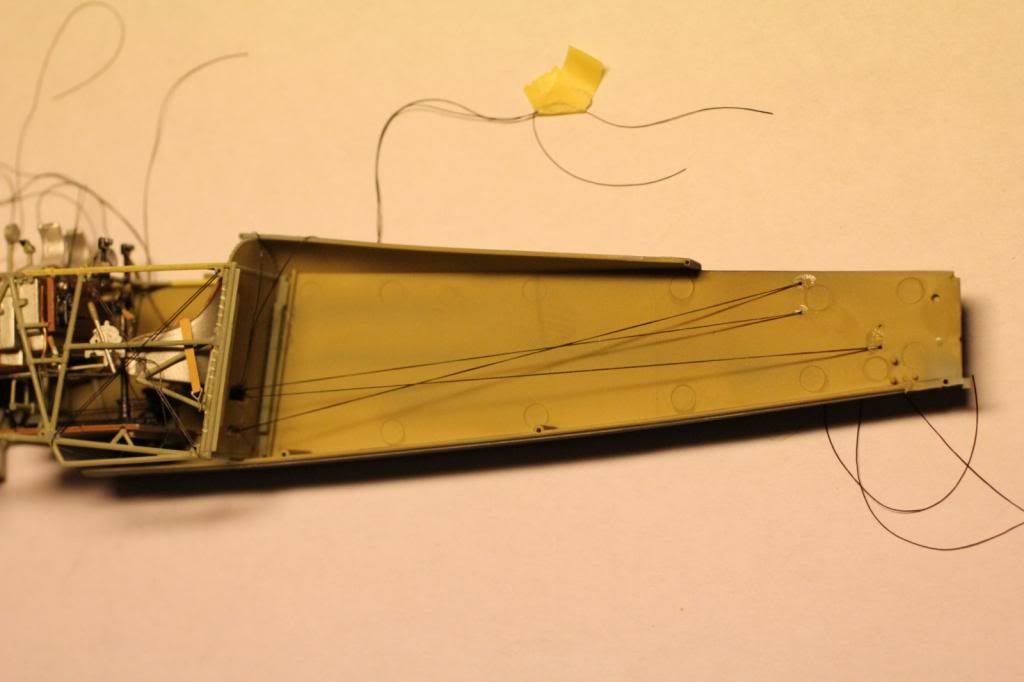
Then I laid the other fuselage halve, after dry fitting it to the frame turned above and guides all other control cables through their respective holes:
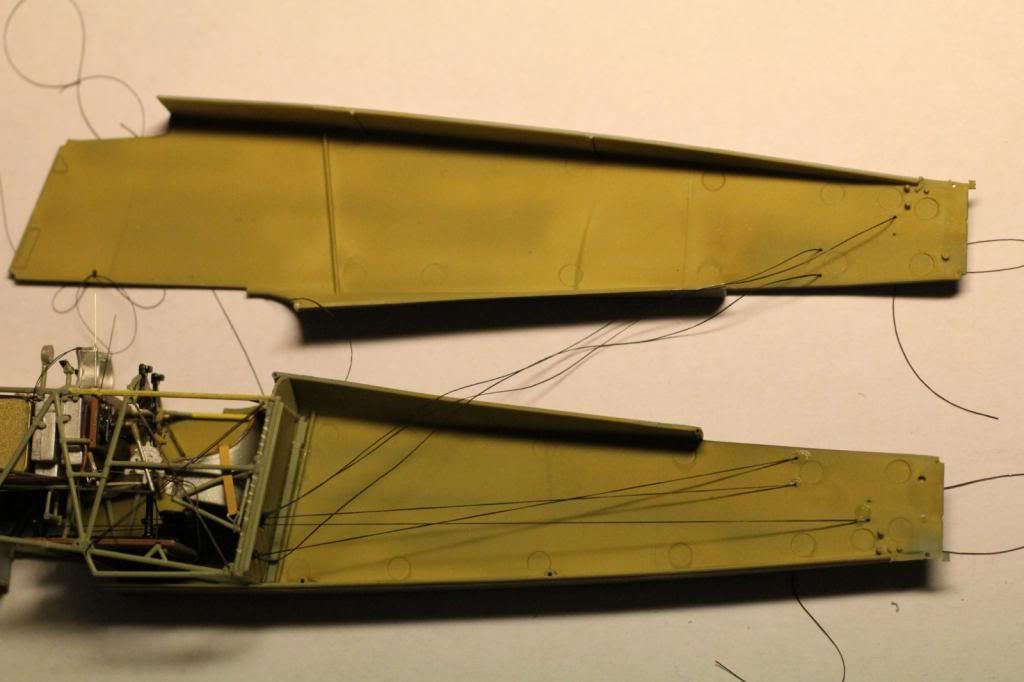
Then just add glue to the top first (and to the sides as well) as instructed in the manual and close the fuselage:
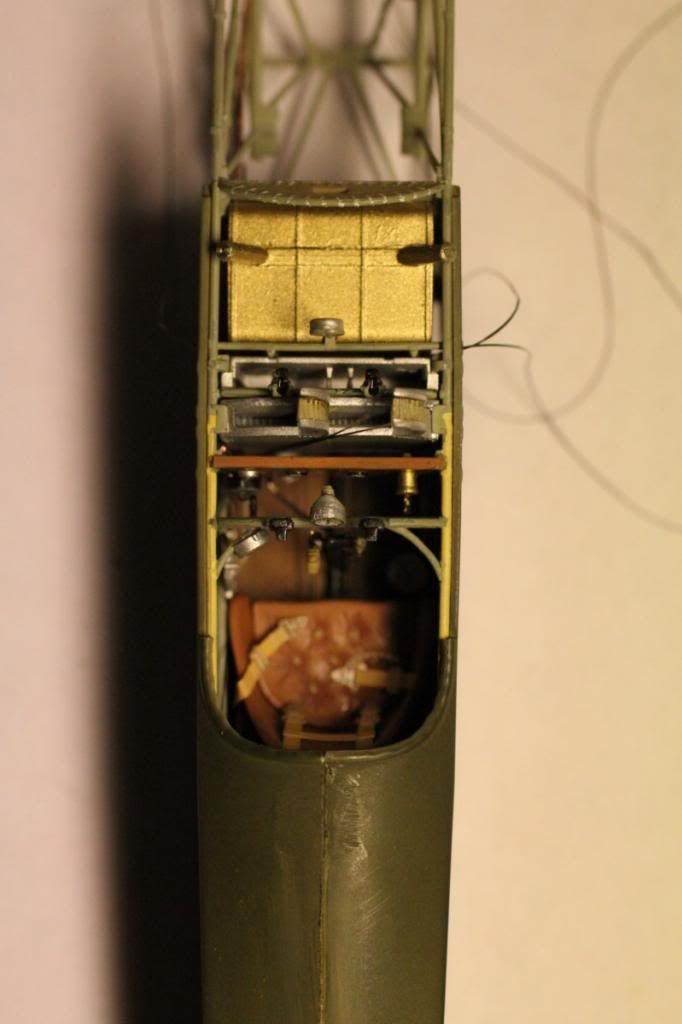
If you now look at the fuselage sides fitted to the frame, you see that mine fitted ok. I did find the 2 locator pins on the back rather small and lost them during dry fitting. The 2 in the bottom are fine and the one in the back too and thus the halves sit snugly together. I will apply some filler and start sanding it down, because I want a perfect backside. It was one wooden piece. I have the impression that WNW gave us only a model of a wooden fuselage. The LVA Fokkers had all steel frame covered with linen fuselages with ofcourse the wooden top. Apart from the completely flat fuselage I also notice this because the WNW paint instructions suggest painting the inside area behind the cockpit in light wood color.
Just dry fitting of other parts:
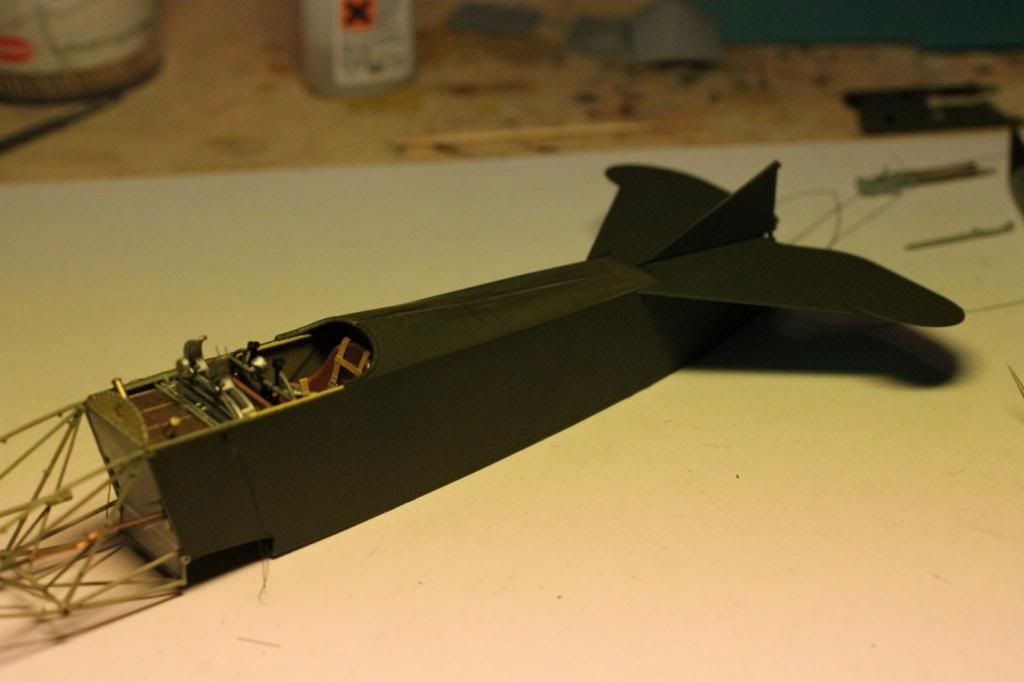
After the top had set I fixed the bottom too:

Next step is giving the fuselage a final coat of paint (LVA blue en LVA khaki) before proceeding. As all other panels are separate pieces I like to finish this before adding other parts. Now it is all easy to mask and you can reach everything.
Perhaps the next step is making the spark plugs as today the Vectorcut nuts arrived from NY. I also ordered parts from Taurusmodels, but they will be still trying to find me by mail.
regards,
Ivo