Thanks for all the great comments, everyone. It's been a while since I last posted due in part to lack of bench time, but I have made some progress with the prop, which is the subject of this posting.
I have made a prop from paper note book covers and manila folders. I made this one with 7 layers, but I think one I made with 9 layers a few years ago looks better. I have made 5 or 6 props this way over the years. This is only the second one with light and dark wood layers in it and found it's difficult to get the layers perfectly symmetrical.
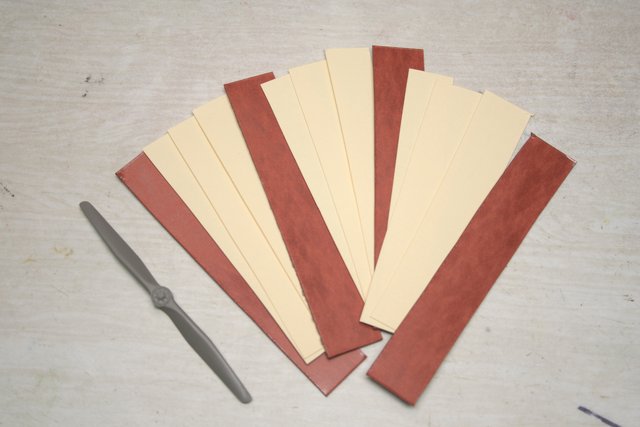
Anyway, here's a pic of the paper I used. The brown notebook cover has red-brown outer layers and gray looking interior layers, but after saturating with thin CA glue, it looks red-brown. The manila folder is just a common office supply type.

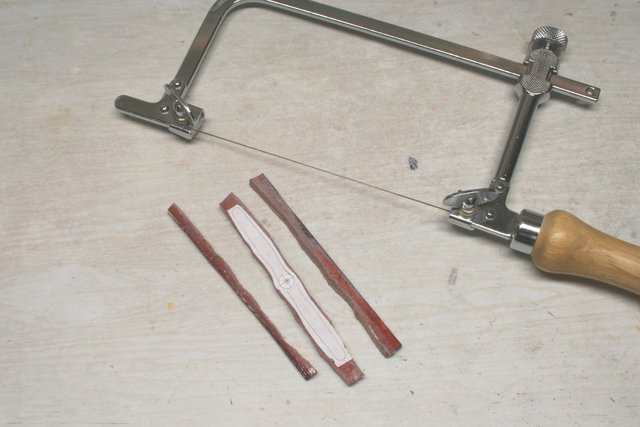
Here are the strips cut for the layers of the prop. The kit prop really doesn't look like an Axial prop.
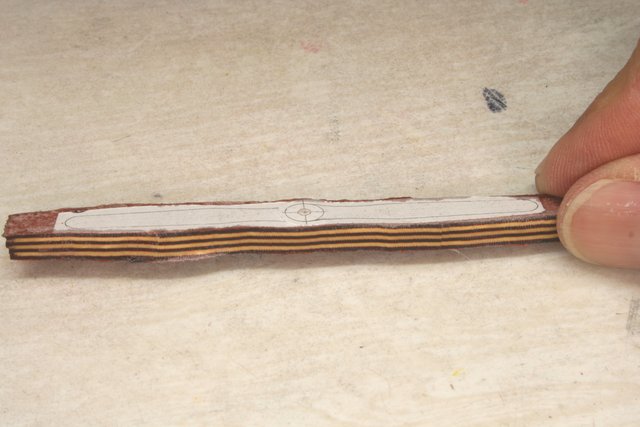
The entire prop needs to be 0.172" thick based on the kit prop thickness. I have a drawing of an Axial prop and it shows 7 layers, with dark wood on the outside layers, so each layer needs to be about 0.025" thick. I used calipers to measure the thickness of each paper layer and then stacked up the layers to get close to the required thickness. Then stacked all the layers together and found the total thickness was not enough, so I added another strip of the light paper to each of those layers. This gave me the right overall thickness. I ended up with 3 strips of light paper for each light colored layer and 1 strip of brown paper for each of those layers.
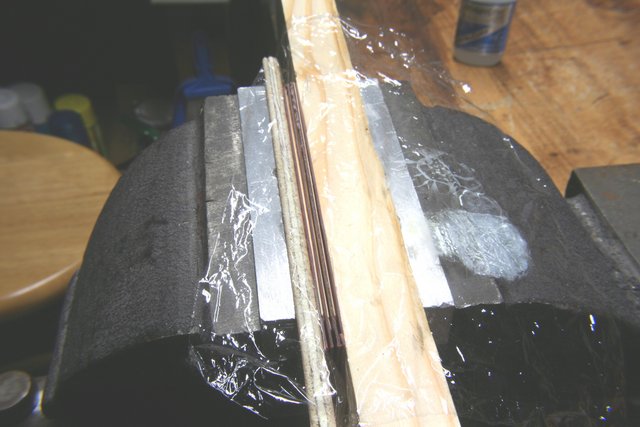
I put the stacked layers in a vice, with plastic around it so the CA glue wouldn't stick everything to the vice jaws. I first used a thin plastic food wrap, but it was hard to handle, so I found a plastic ziploc bag (polyethylene) worked better. I could put the stacked paper strips into the bottom of the ziploc bag and then clamp it loosely in the vice.
Then saturated the layers with thin CA glue and closed the vice more firmly for curing. The intention is to thoroughly saturate all the layers of paper so they all stick together completely. I have not been able to get CA glue completely covering everything, so I apply CA later when needed.
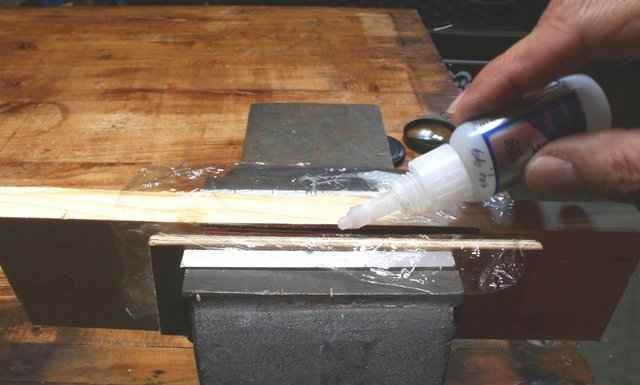
I usually leave it in the vice overnight.

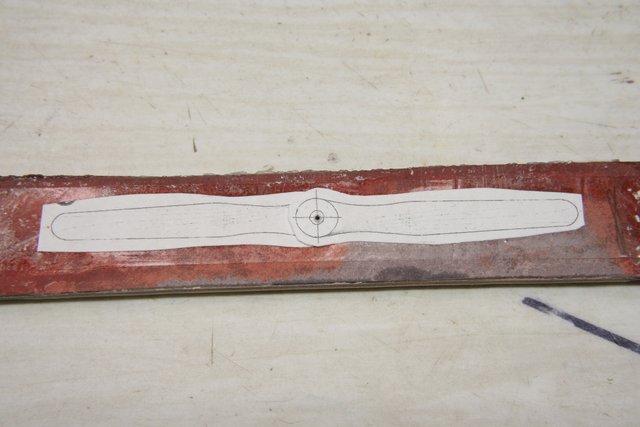
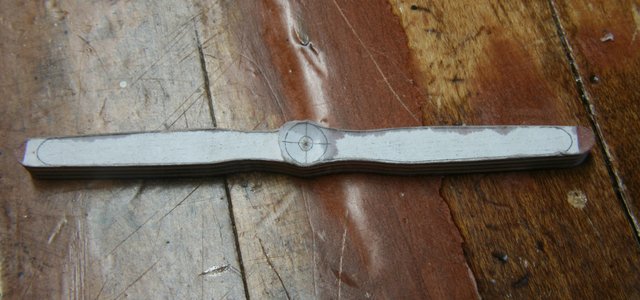
Next, I taped a drawing to the stack using double sided tape. I reduced the drawing to the correct size in a copier machine. The drawing I have is apparently for a shorter version of the Axial prop for the lower power engines (UR.ii). The Albatros has a more powerful MB engine, so the prop is longer. I didn't have a drawing of the longer prop, so I just went on artistic license.
I used a jeweller's saw to cut out the stack closer to the prop outline.
I started sanding next. The CA saturated paper is very hard - harder than wood, so I use a power belt and disc sander for most of the initial shaping.
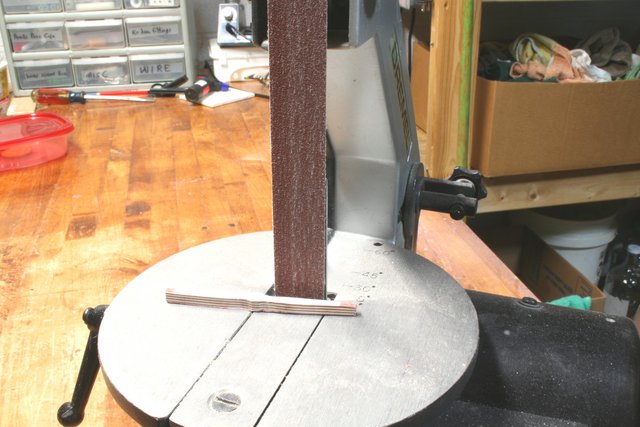
After about 10 minutes, I was getting close to the overall outline needed. Then I worked more carefully and slowly. One mistake with the sander and you'll be starting over.
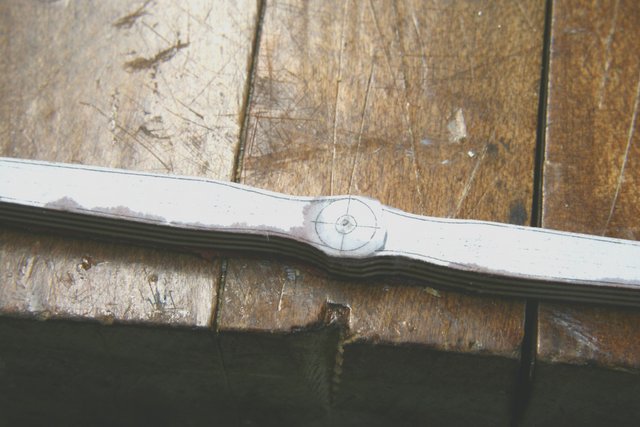
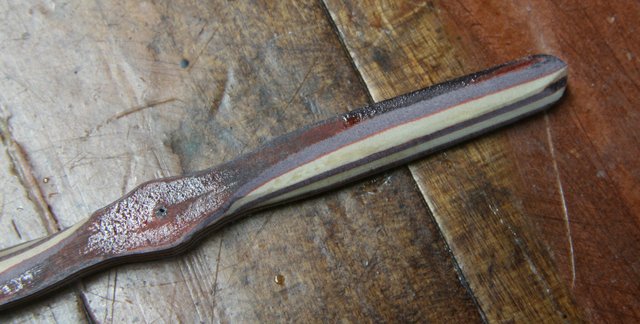
Here, one can see the brown outer layer has peeled off, showing the gray interior color. Again, when coated with CA, it turned red-brown color. When sanding, if any spots look fuzzy, I re-coat with CA to keep a hard surface, which is easier to control how much material gets removed by the sander.

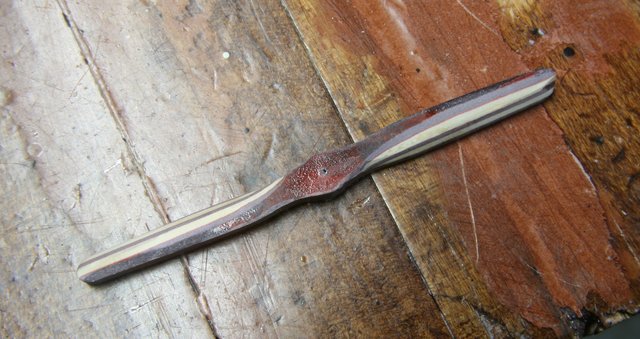
Now the real fun begins - shaping the airfoil shape. There's no easy and fast way to do this. Just work slowly and shape a little at a time. I use the power sander to take off large amounts of material and use files and sandpaper when I get close to the final shape.
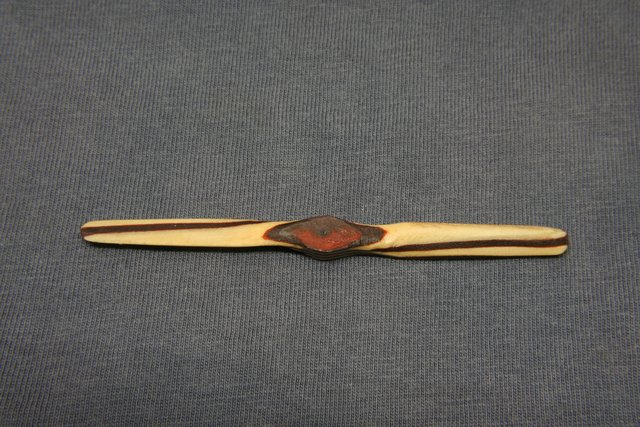
Here's the finished part. I didn't have to work the center completely because it will be under the spinner. It's not perfect, but it looks okay.
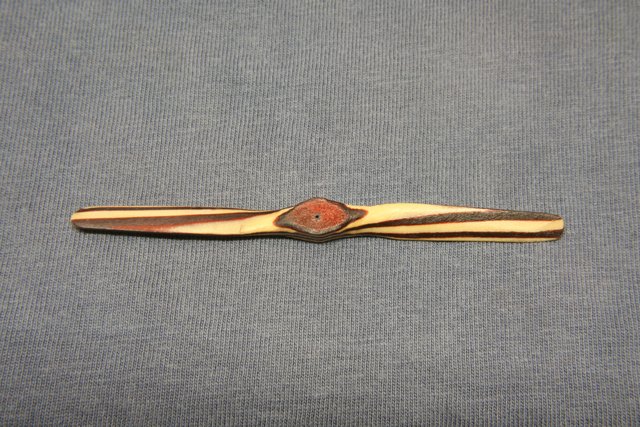

Here's the backside.
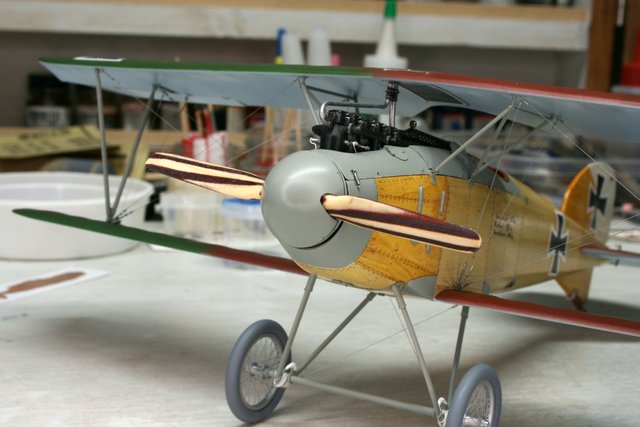
Time for test fitting.

Hope this was informative and interesting. The power sander makes this go much quicker with the hard CA saturated paper material, but it's not very forgiving to work with and you need to watch your fingers!
Thanks for looking in and comments are welcome.

