Evening All
Thanks Riche, Dave and Zac for dropping by - your kind comments are much appreciated.
I wanted to drill the upper fuselage decking so that I could insert the cabane struts later, but when I started to work on the wood it split.... It had dried out since I steamed it to shape (see earlier post), and I was unsure what to do. I tried twice to cut and start to shape a new piece of wood but they split as well, so I decided to do what I had intended to do after I had originally made the piece - I put in a piece of 10 thou clear acetate and glued the two halves together. I was then able to drill the holes for the struts using a new drill bit and a fine round file. I also reduced the size of the struts where they entered the holes to keep the holes as small as possible. Two very narrow strips of wood were CA'd to the top of the fuselage frame and the decking CA'd to the wood strips and frame.


And then I realised that I had not put in the instrument board......aaaaarrrrrggggghhhh! After a lot of filing and fiddling I managed to get the board into place under the decking: it cannot be seen very clearly which is just as well as it is not quite in the correct place, but as they say in scratch building, close enough is good enough, (especially when it is partially obscured!)

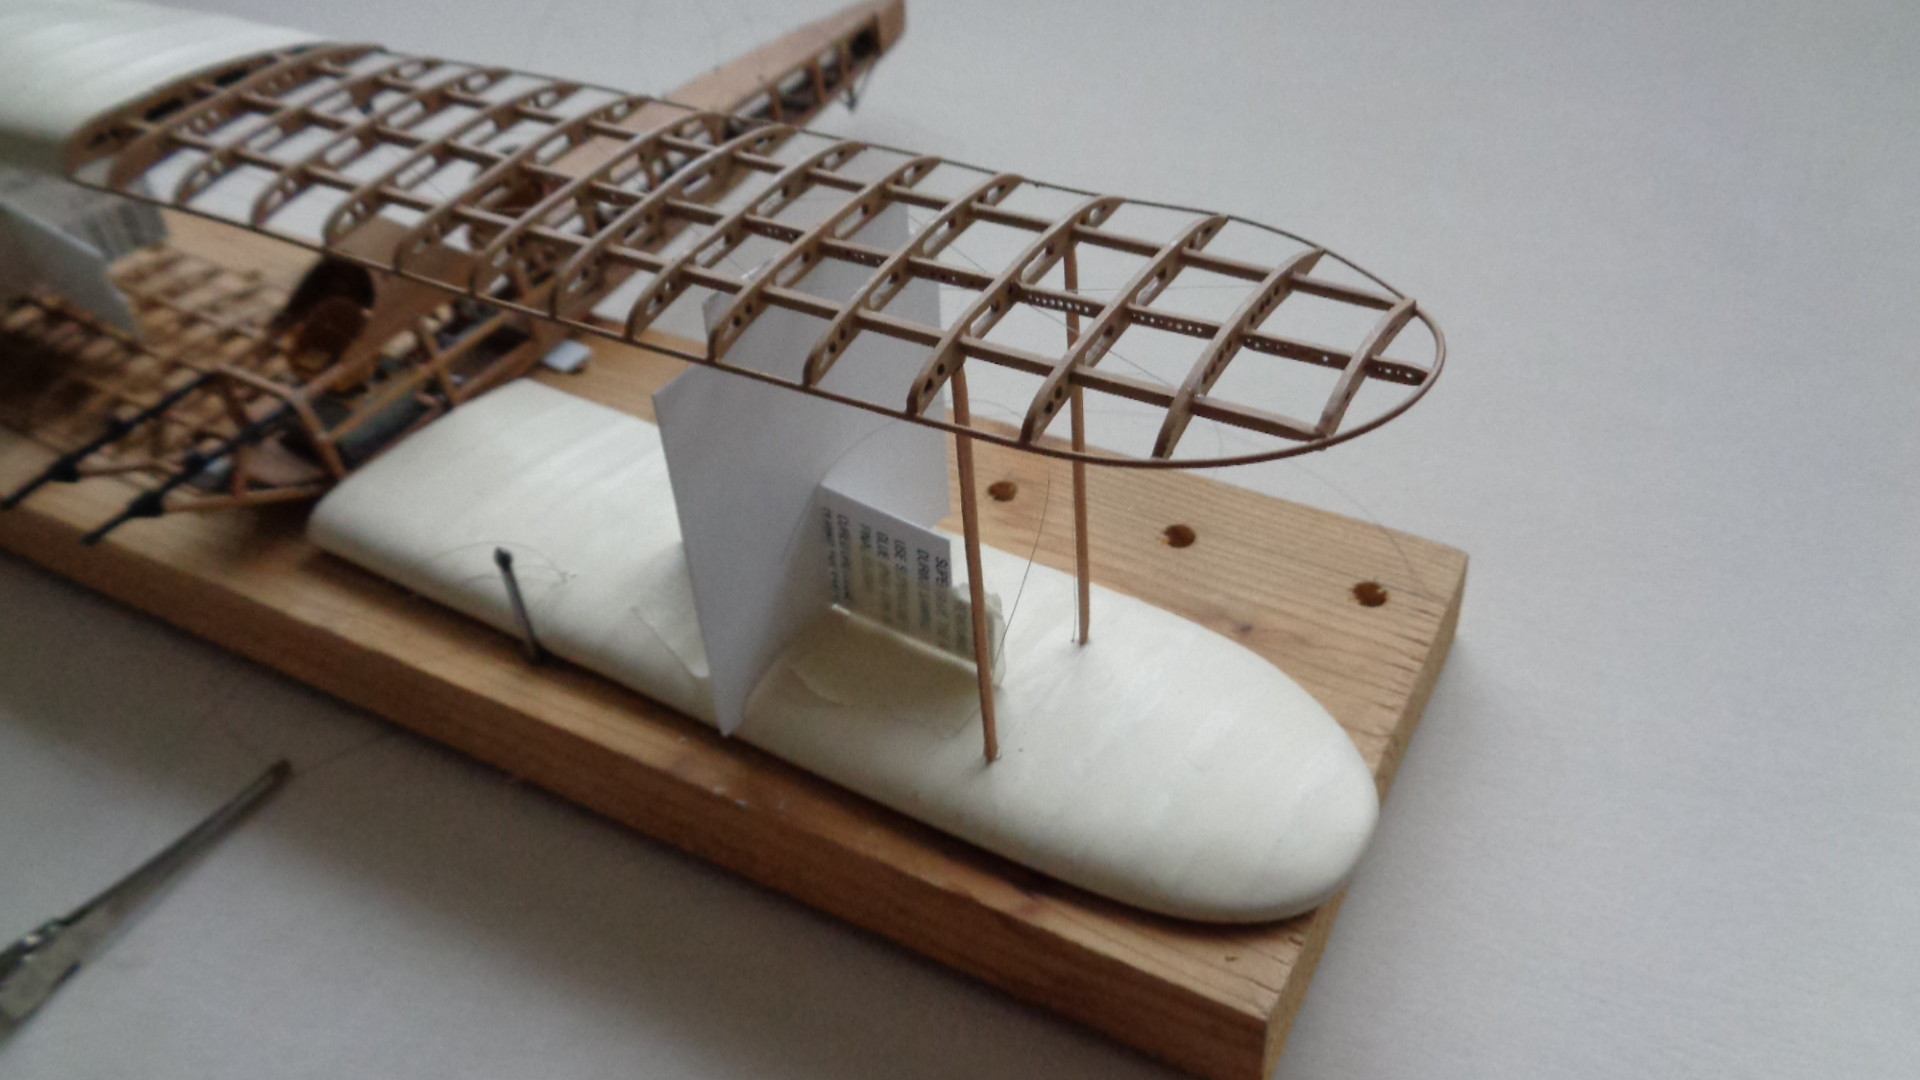
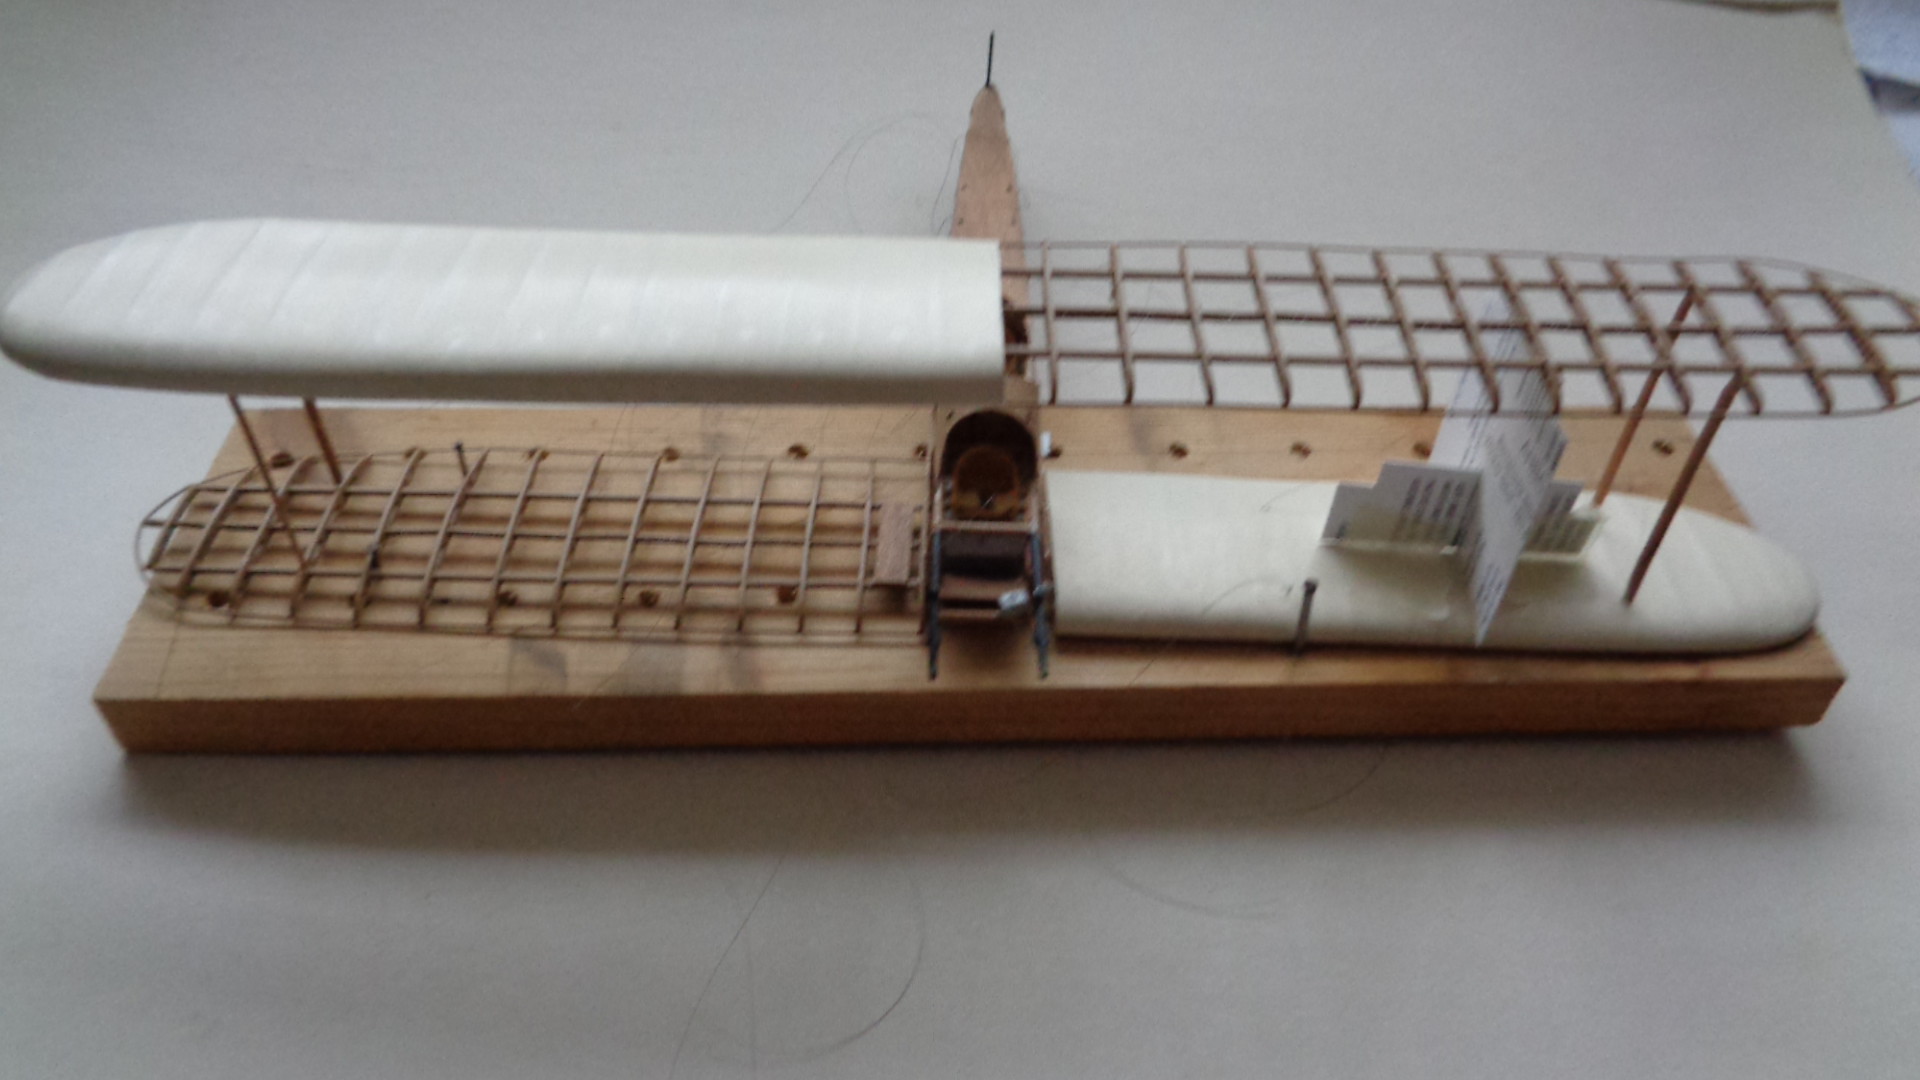
Adding the top wing is probably the most trying part of building biplanes in any scale, and with a model as large as this one, jigs are necessary. The model also needs to be stable while fitting struts and wings, so I dug out my old jig which I had used previously for my Gunbus and D. H. 1A: a board with three nails in it. The spar on the exposed lower wing can be slotted over the nails and a third nail used to lock the leading edge of the covered wing: the model was then rigid and stable. Two card jigs were cut to support the upper wing while struts were put into place. The struts were made from two laminated sheets of marquetry wood: individual struts were cut as strips and then shaped with a file and glass paper:

I am using the same sheet of wood for all of the wood parts on this model which is why I was concerned about the upper decking on the fuselage: I have a relatively limited supply left and I still have to cut the fuselage frame pieces behind the pilot's cockpit.
One end of the struts was drilled so that I could insert a thin wire to fit into holes drilled in the solid parts of the wings: the other end was CA'd straight on to the exposed ribs. I put the four outer struts in first to create a stable structure:


The inner wing struts made the structure stronger and more stable, and finally the cabanes were fixed to complete the strut work:

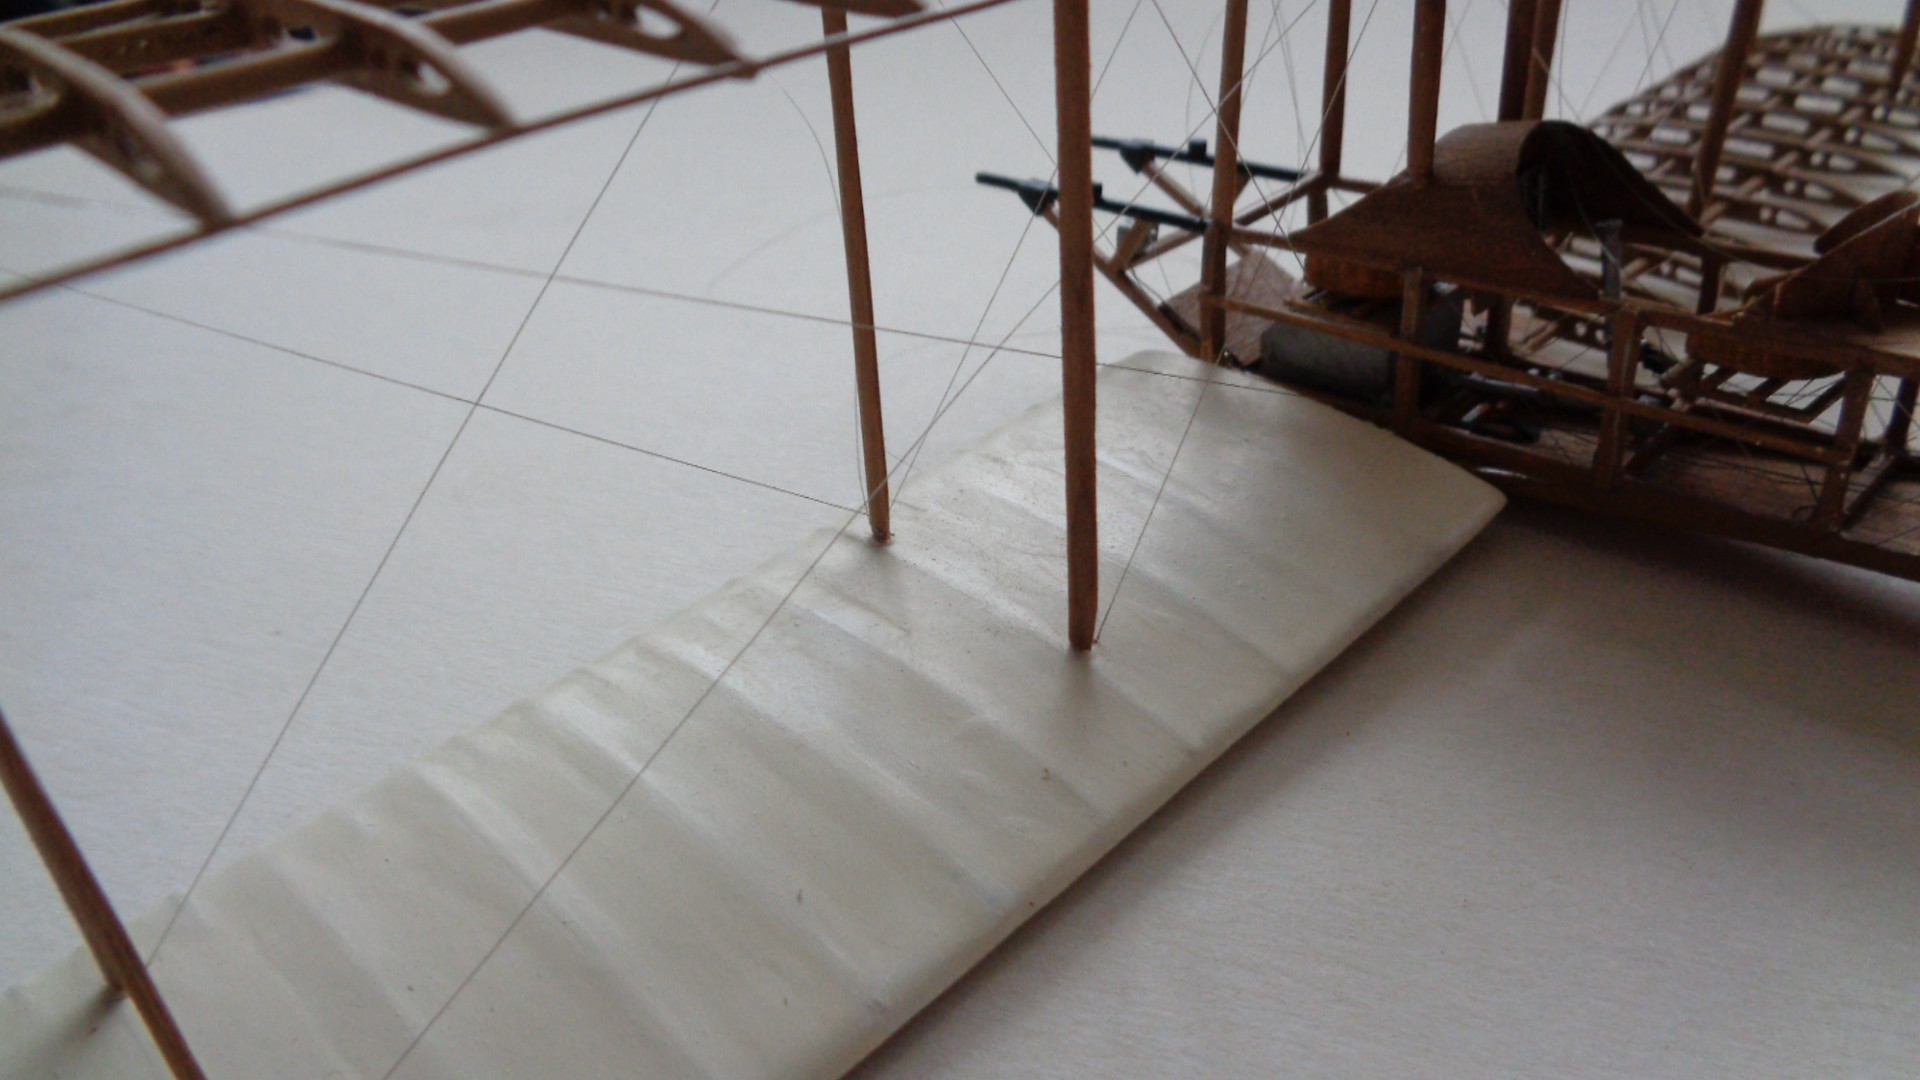
There were lots of threads sticking/hanging from the wings so these were sorted out and the wing rigging and warping wires put into place and the ends trimmed. I had made life a bit easier by wherever possible attaching one end into the covered wing sections - it meant that those ends were firmly anchored and all I had to do was attach the opposite end to the relevant part of the exposed wing. The pulleys for the warping wires had already been put into place. (This aircraft, like many early types, did not have ailerons but used a technique called wing warping. The outer trailing edges of the main planes were distorted using wires attached to the control column. This meant that there was no fore-aft bracing between the wing struts and no lateral bracing in the rear outer strut bays). Having fixed the strut and control threads there still remain many drag wires hanging from the wings...but at least there are fewer loose ends than previously.


The horizontal tail stabilizer and bracing struts were added to the rear fuselage. This was a simple exercise in applying CA and holding in place while it set, followed by two pieces of 25 thou rod to represent the underside bracing:


The next stage will involve fixing the engine and exhaust pipes and the undercarriage.
Thanks for looking.
Stephen.