Evening All,
Thanks for your encouraging comment Richie - you will be pleased to read that after a long absence I am able to post some more on this build. In fact I have done more than I realised until I came to post this material!
The BE 2 was a two seat reconnaissance machine, so two wicker seats were needed. I have tried scratch building them but decided that life is too short when there is a high quality option available: step in Barracuda with their resin seats. Some may argue that the Baraccuda pattern is wrong, (wicker seats varied considerably), but photos do not show the real things in any detail so I have gone with these:

The seats were mounted on frames and the frames held with wires which were fixed to corners of the fuselage frame. I made the wood frames for the seats with 10 x 20 thou plastic strip and the lap belts from paper. The belts are based on photos of originals which were posted on Britmodeller some years ago.
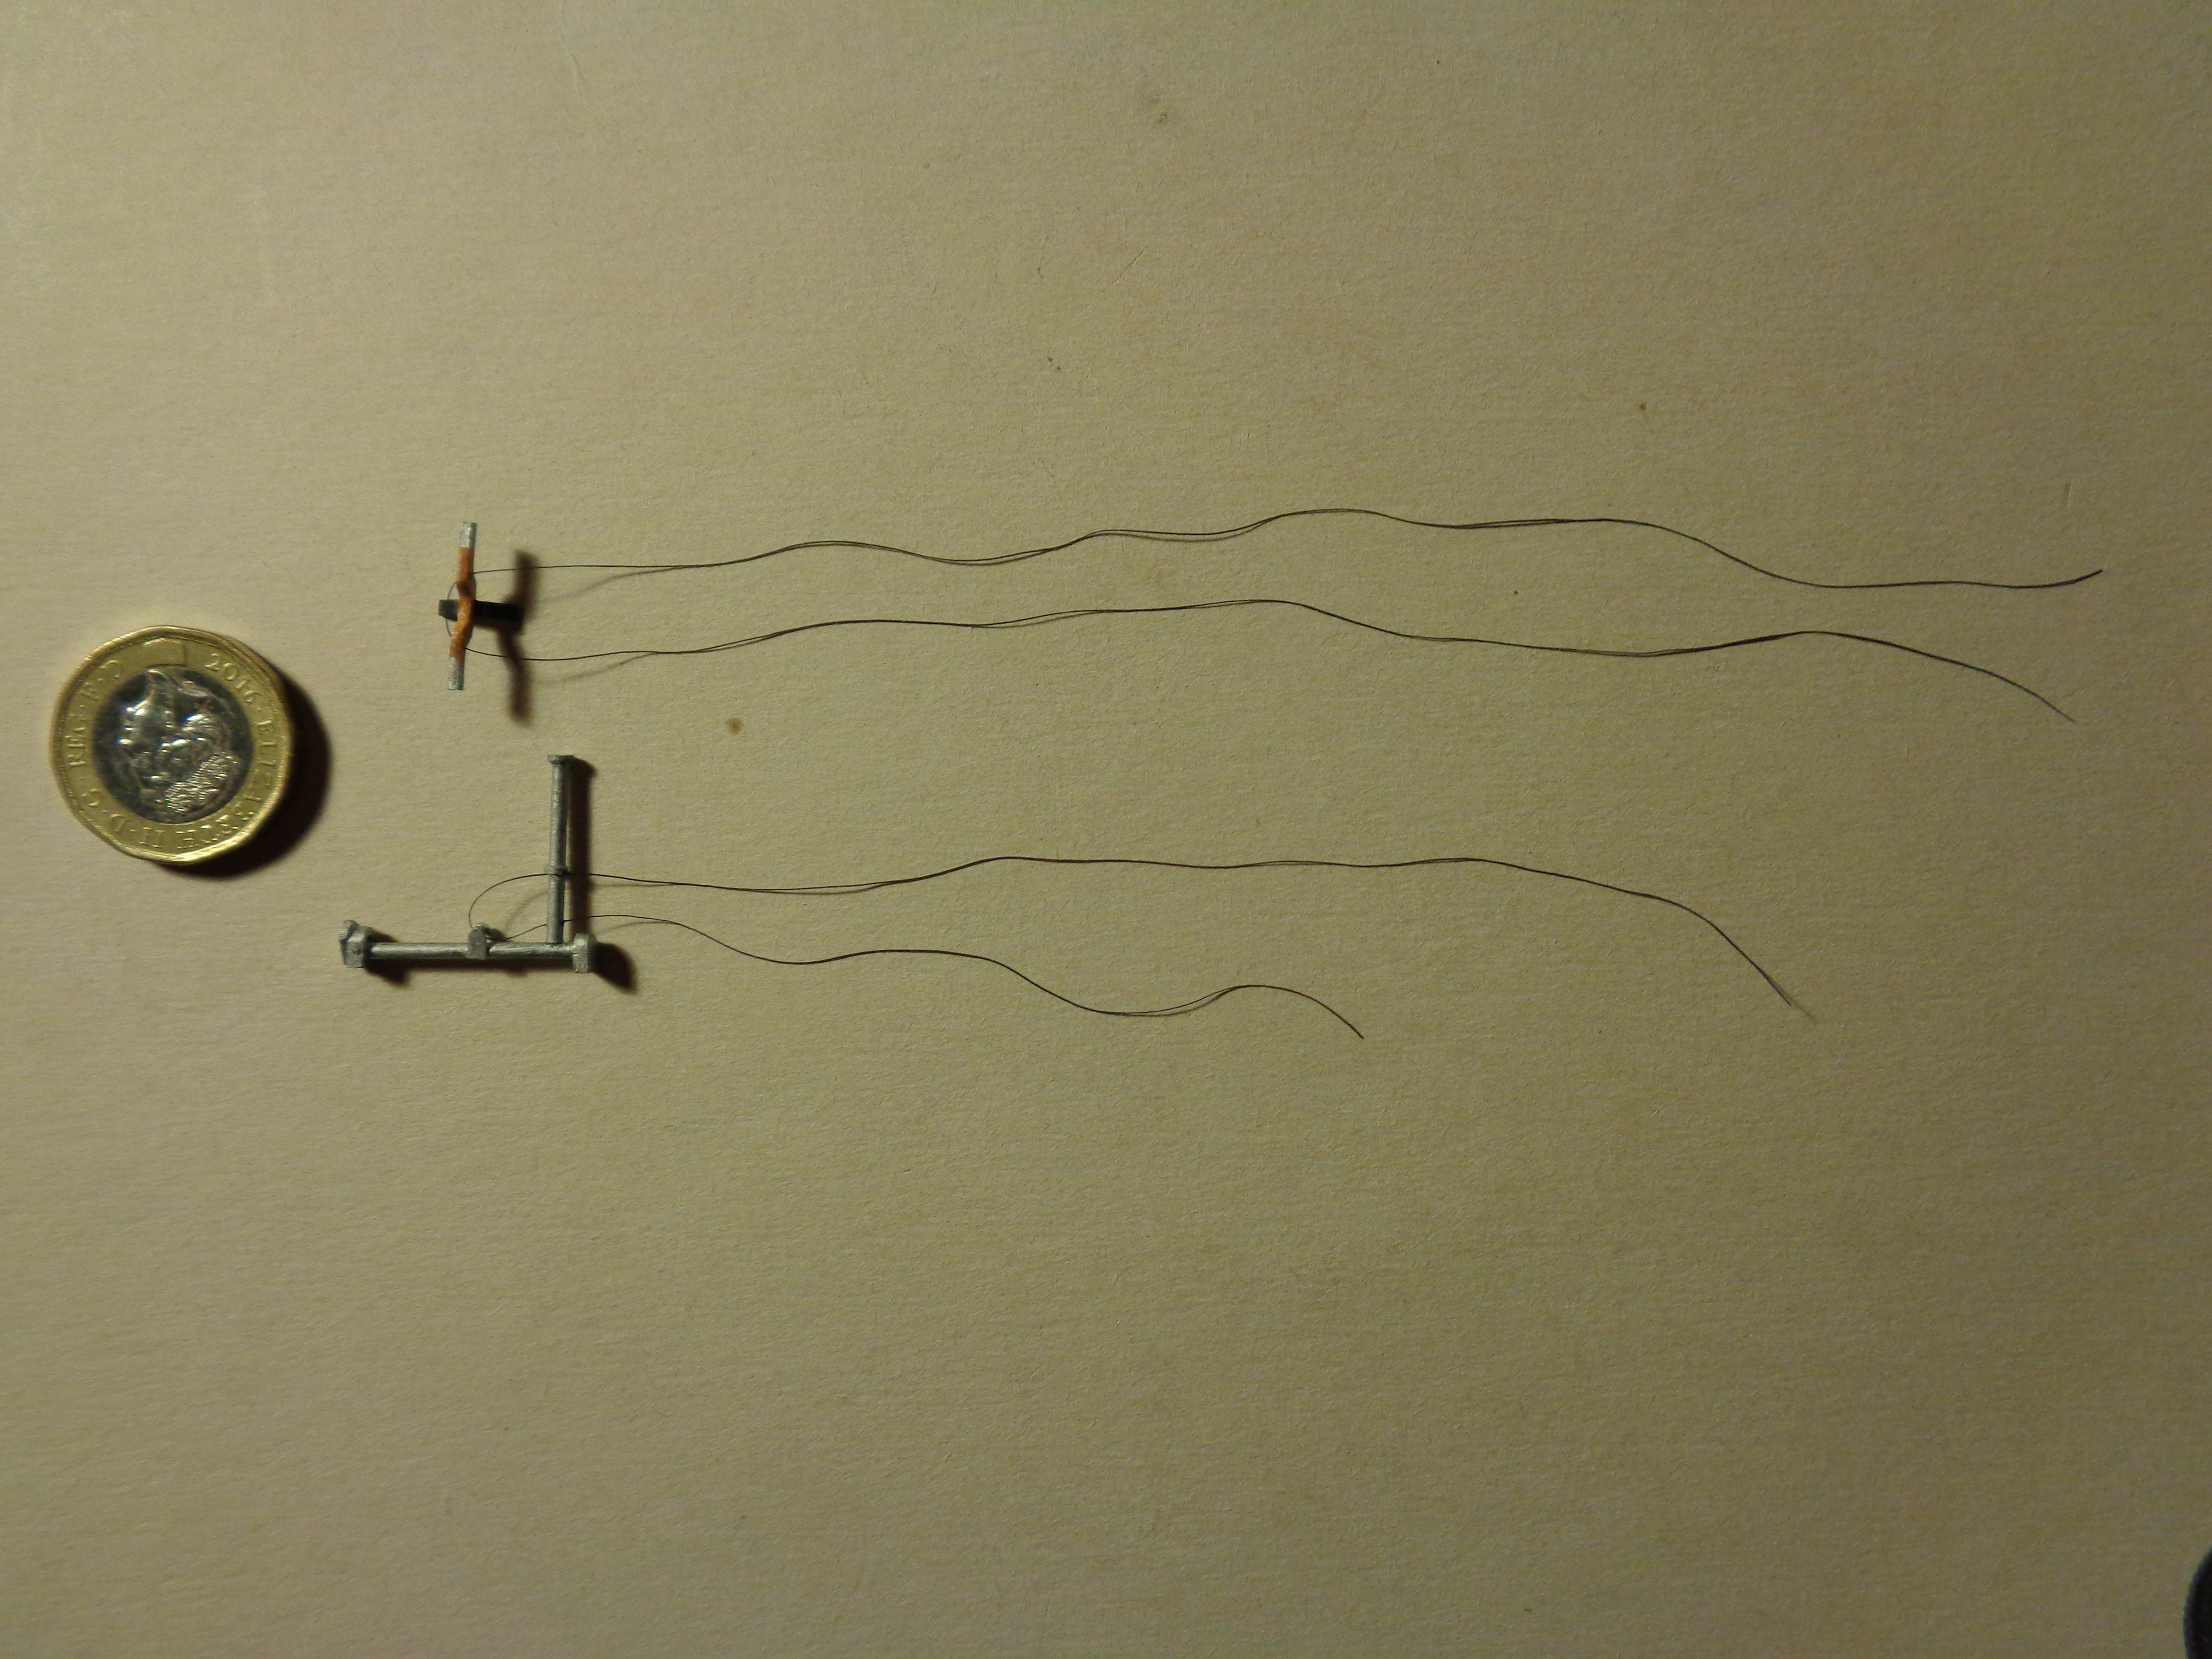
Other interior details include the control column and rudder bar. The former was made from plastic rod, the latter from scrap plastic. Both have been rigged with EZ line to represent the control wires which will extend to the rudder and elevators later:
The lower wing which has the structure exposed has had the centre spar added. This was made up from 40 x 60 thou Evergreen strip with small holes made at the points were they join the ribs and where a rigging wire will pass later:

This is still not ready for paint because I still need to add the leading and trailing edge parts and the leading edge strengthening ribs, but I am avoiding them at the moment as they will only get damaged while I handle the model to add other parts.
I have at last got the top wing sandwich sorted out. I moulded the upper and lower parts successfully, drilled the lower half and added the rigging wires, and joined the two parts:
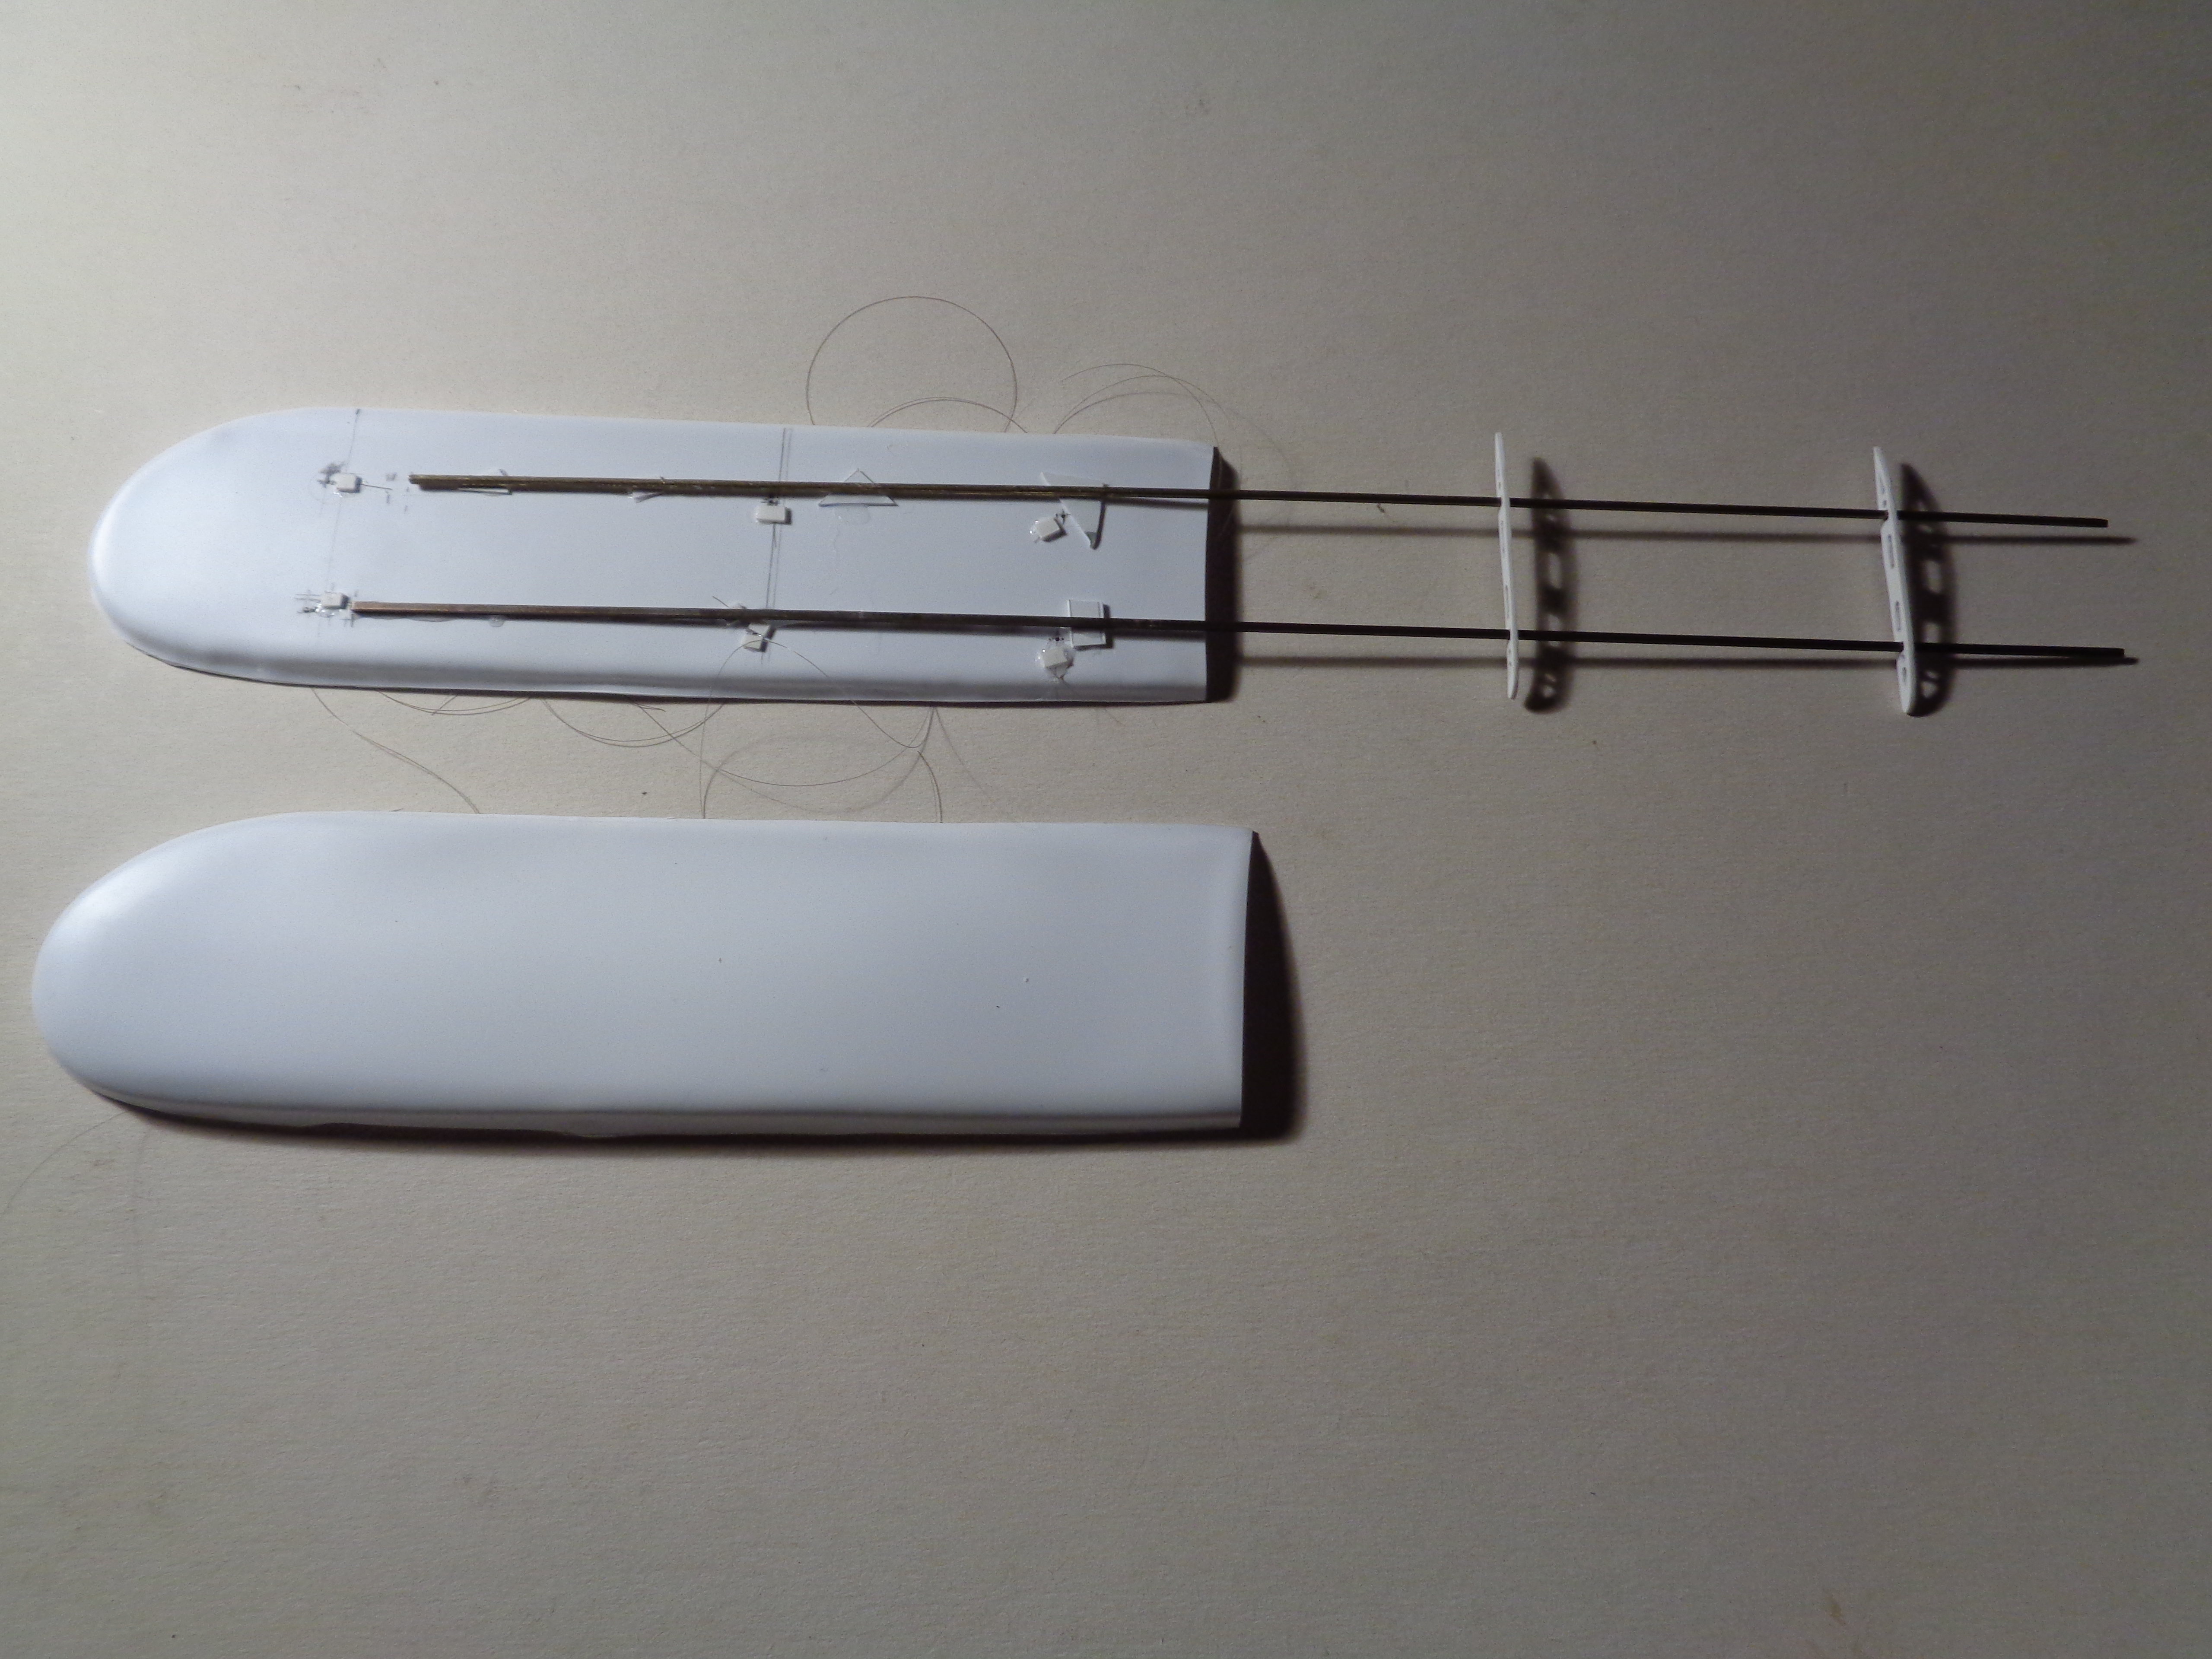

Note the advanced clamps used to hold things while they dried out. The joint was as usual best described as an ugly mess, but filing and sanding and the use of card filler and putty soon sorted out those problems on the underside.
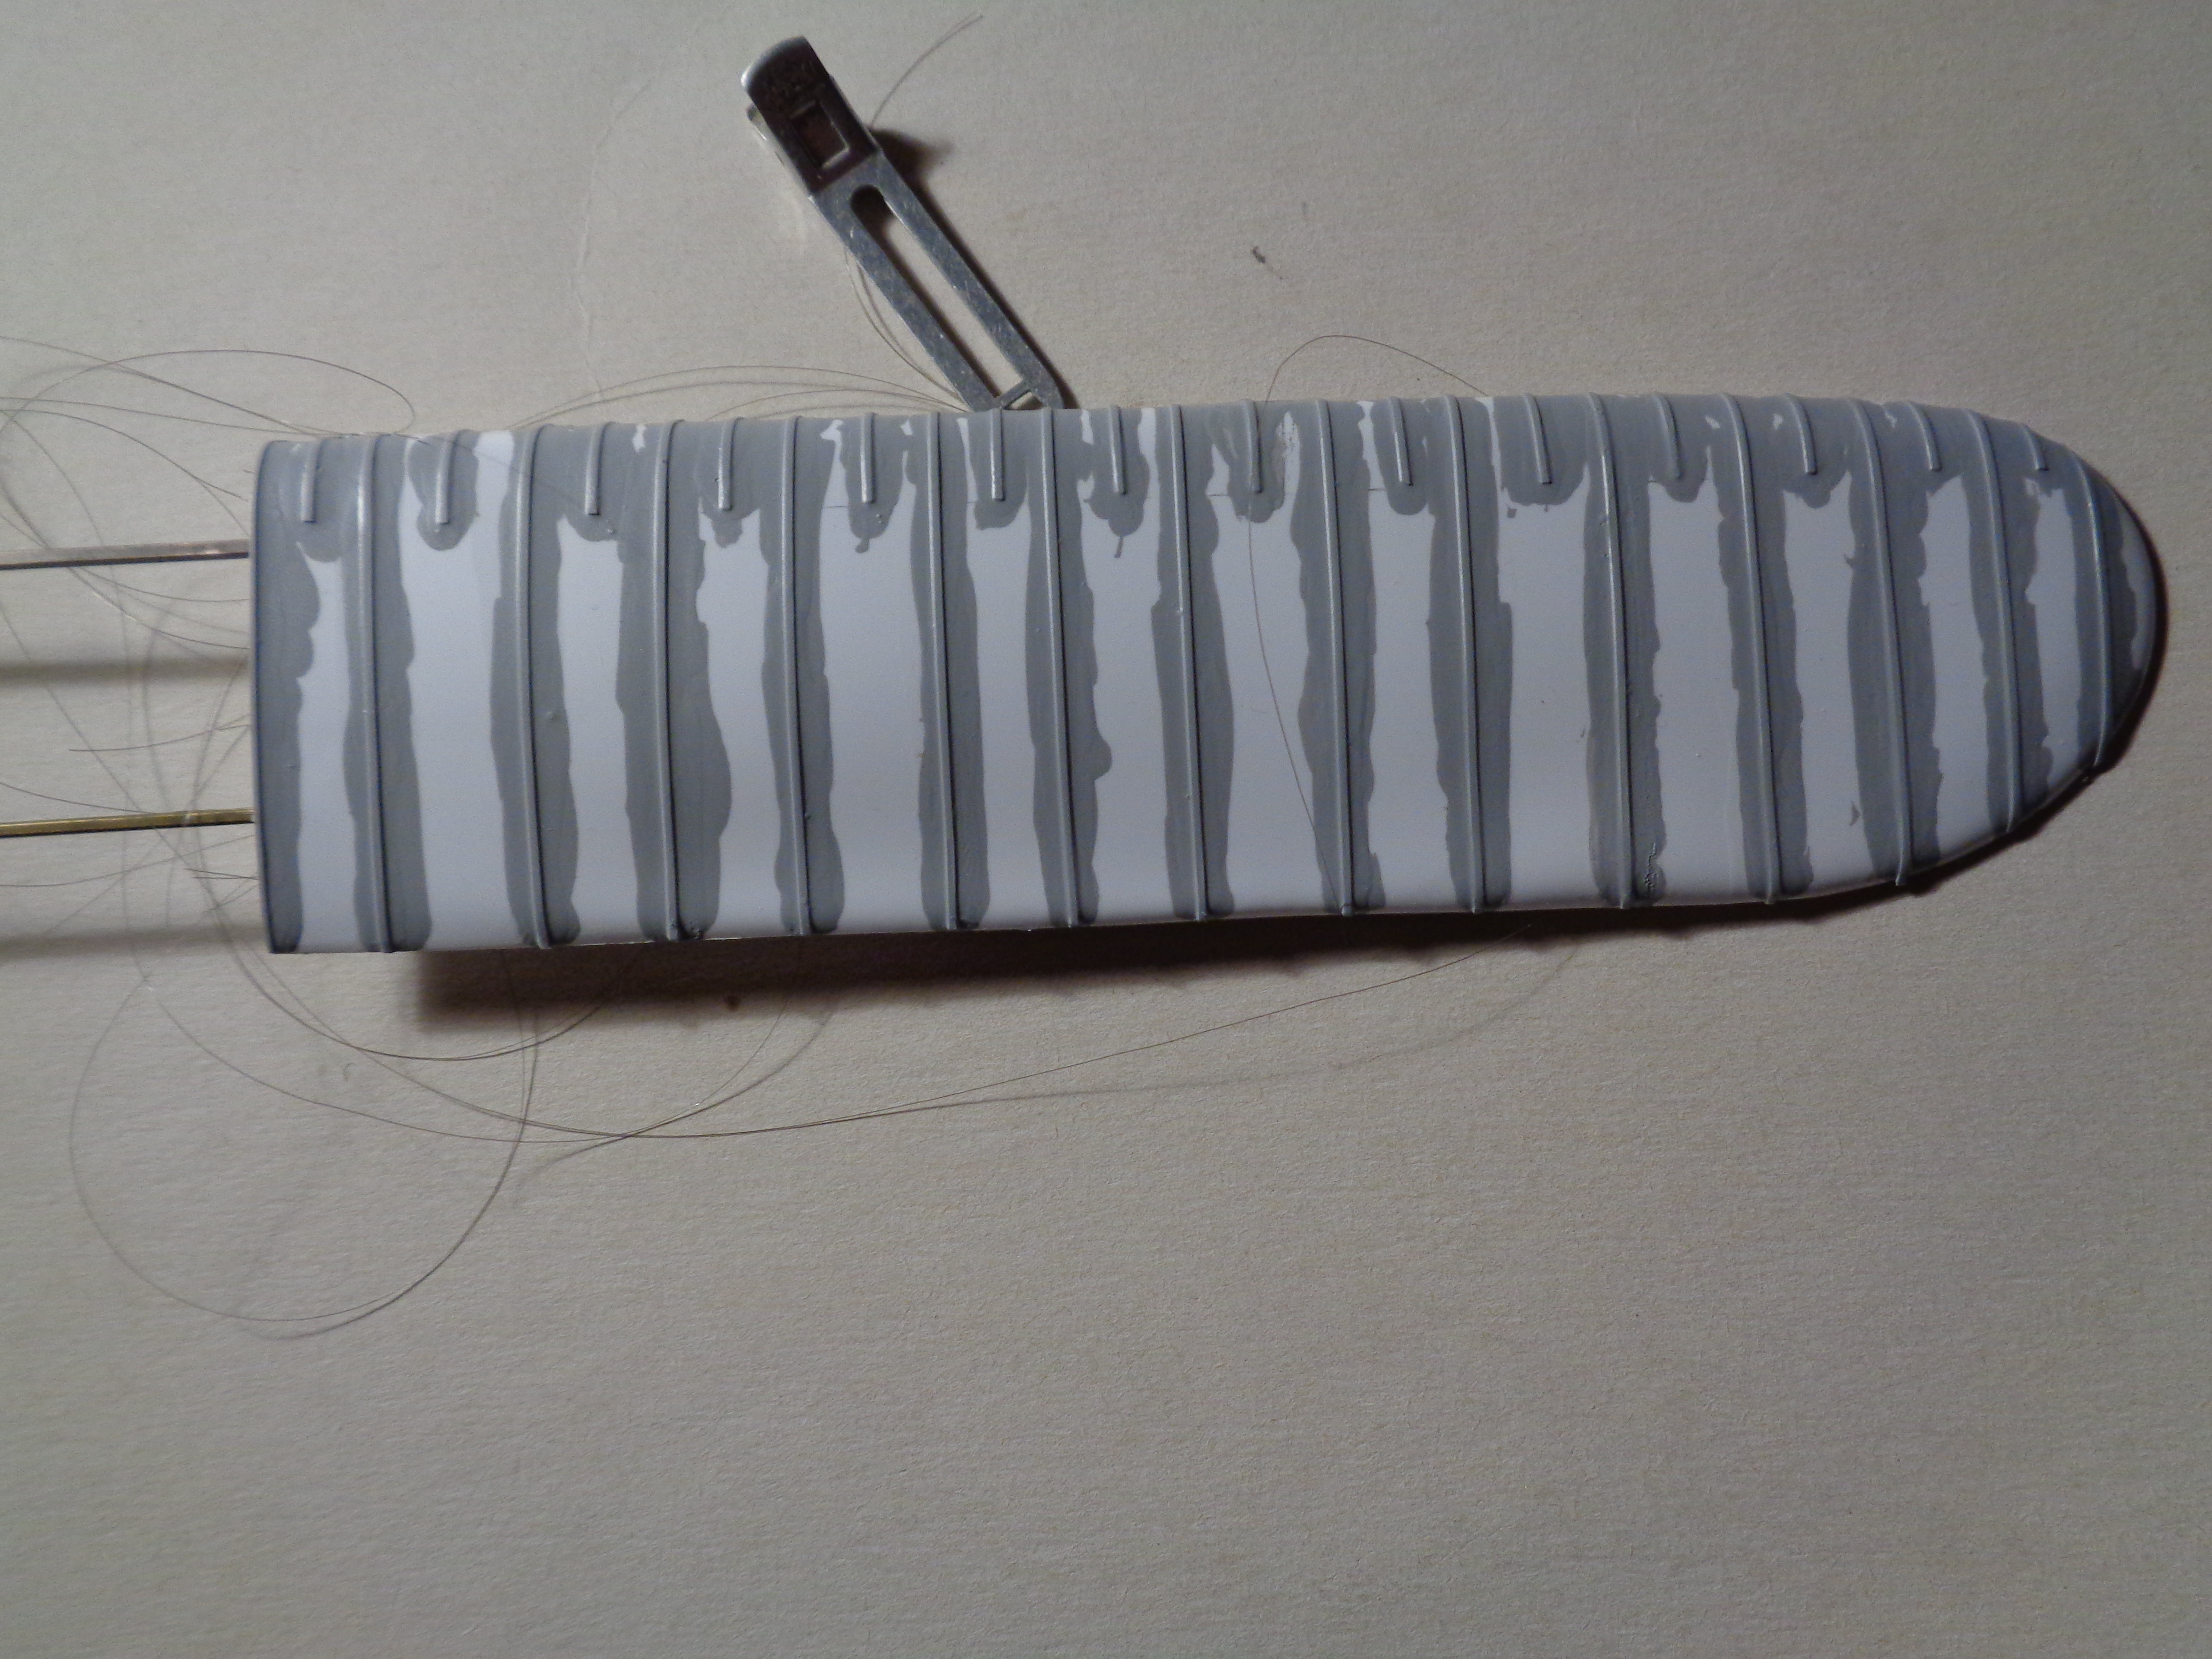
The ribs are 10 x 30 thou Evergreen strip with a liberal coating of Surfacer 500. I have not sanded the ribs down yet - probably two or three sessions will be needed with an application of Surfacer between each coat, followed by a Surfacer 1000 to finish them off. At least this part is now well on the way to completion at last. (The clip is holding rigging wires):
I have decided to make the wooden parts of the fuselage from wood for two reasons: first I am a hopeless artist and painting plastic to look like wood is not at all easy for me. Secondly the most realistic wood effect is obtained by using real wood. I have already shown the lower fuselage surface in place: I cut a second piece for the upper decking. The cockpit curvature was cut out with a craft knife and finshed with a round file and glasspaper wrapped around a piece of dowel. The fuselage immediately behind the pilot was raised and consisted of a piece of curved wood which was supported by small triangular braces. I cut the vertical face from the same marquetry wood as the fuselage panels, and shaped the top with a craft knife and sanded it smooth. I carefully curved it to fit the shape of the cockpit opening: this was a delicate operation as the wood is so thin it would easily break, so I superglued one end of the curve to the top of the fuselage panel. When this had set I glued a short length to the panel, gently bending the wood as I did so, and held it in place while the glue set. I repeated this operation several times until I had worked my way around the rear of the cockpit opening. Finally I cut the three triangular braces and superglued them into place. The image shows the finished part - the panel is resting on the fuselage frame at the moment as I still have to add the controls and other internal details:


The other part which I have made from wood was the decking between the pilot and observer's cockpits. On the original this was made from plywood which had been steamed and bent to shape, and has a marked forward slope. The curve of the decking was such that I could not bend the marquetry wood unaided, so I resorted to steaming it too. I have never used the steam bending method before, but a quick search on the net provided me with useful tutorial videos and I worked out a method. I made a mould from basswood in the same way as i would have done to make a part from plastic. This had a sufficiently large curve to allow the wood to be bent over it without breaking. A piece of wood which was larger than the final piece was cut and bent over the mould and held in place with a simple clamp and wood buffers:
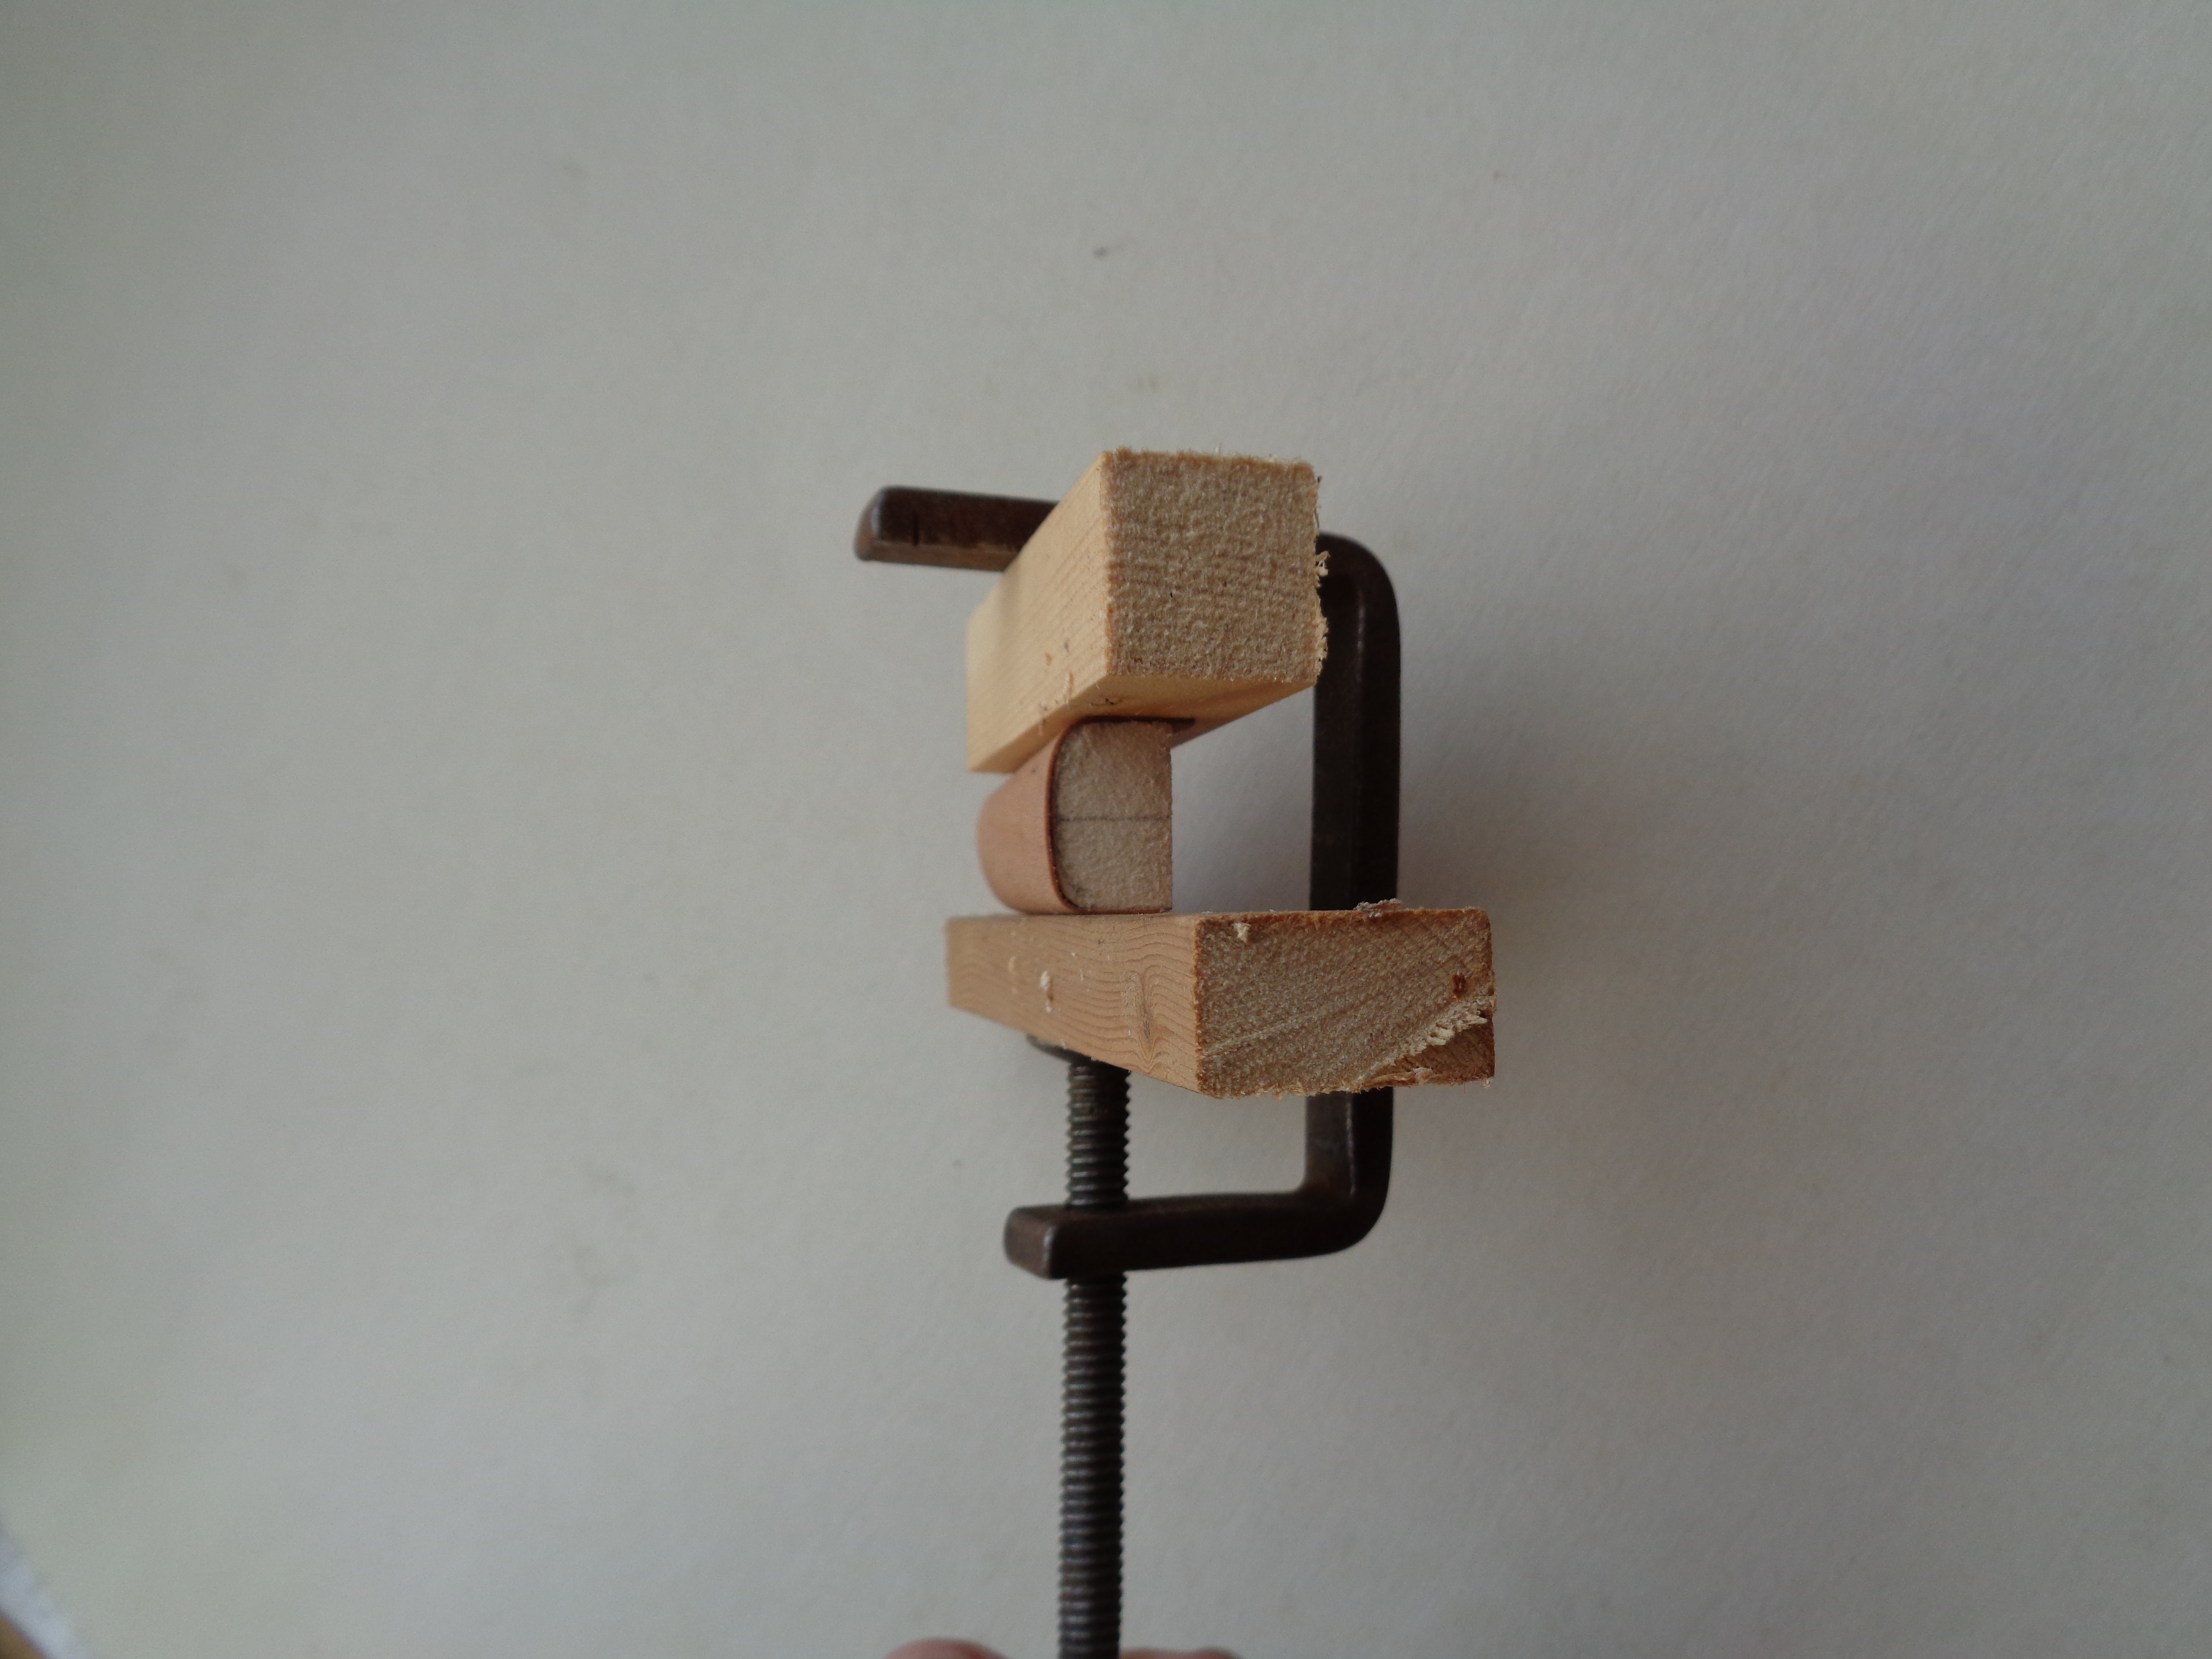
[
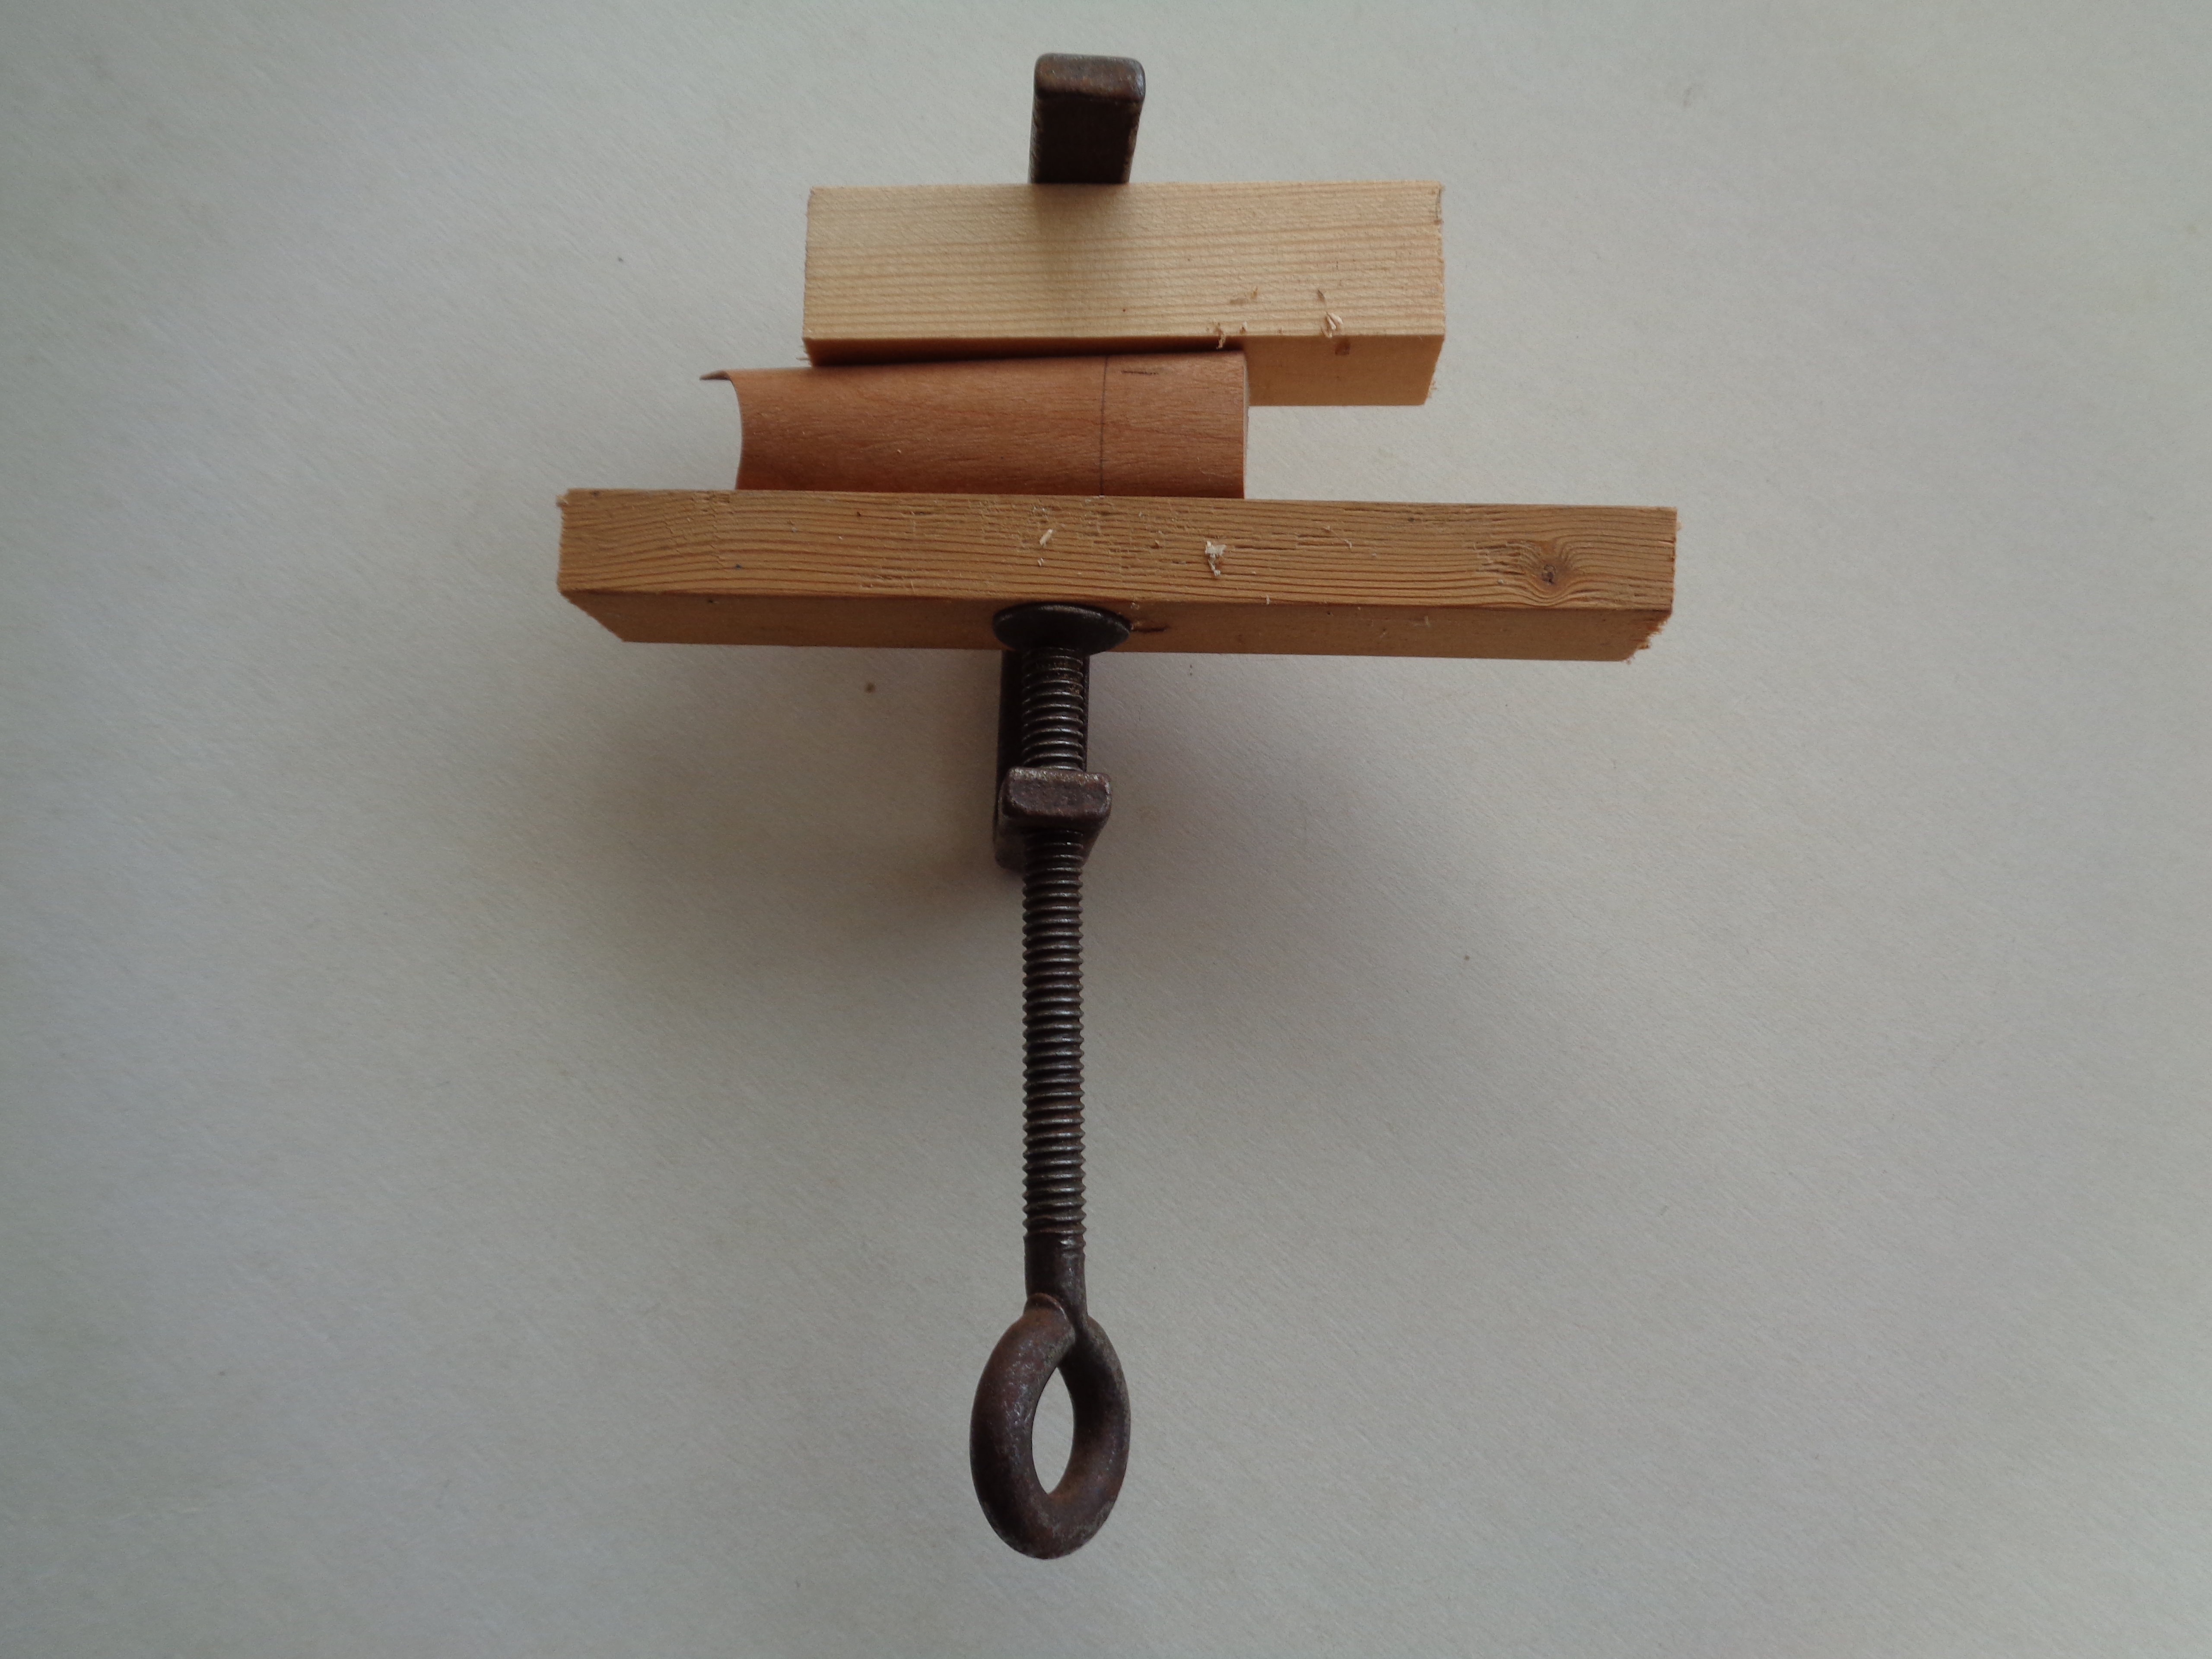
Steaming the wood was achieved by holding the sample over the mouth of a steaming kettle and the kettle kept boiling for about 15 seconds. The sample was allowed to cool and released to produce a nicely shaped piece of wood:

from which I was able to cut the required size and shape for the model:
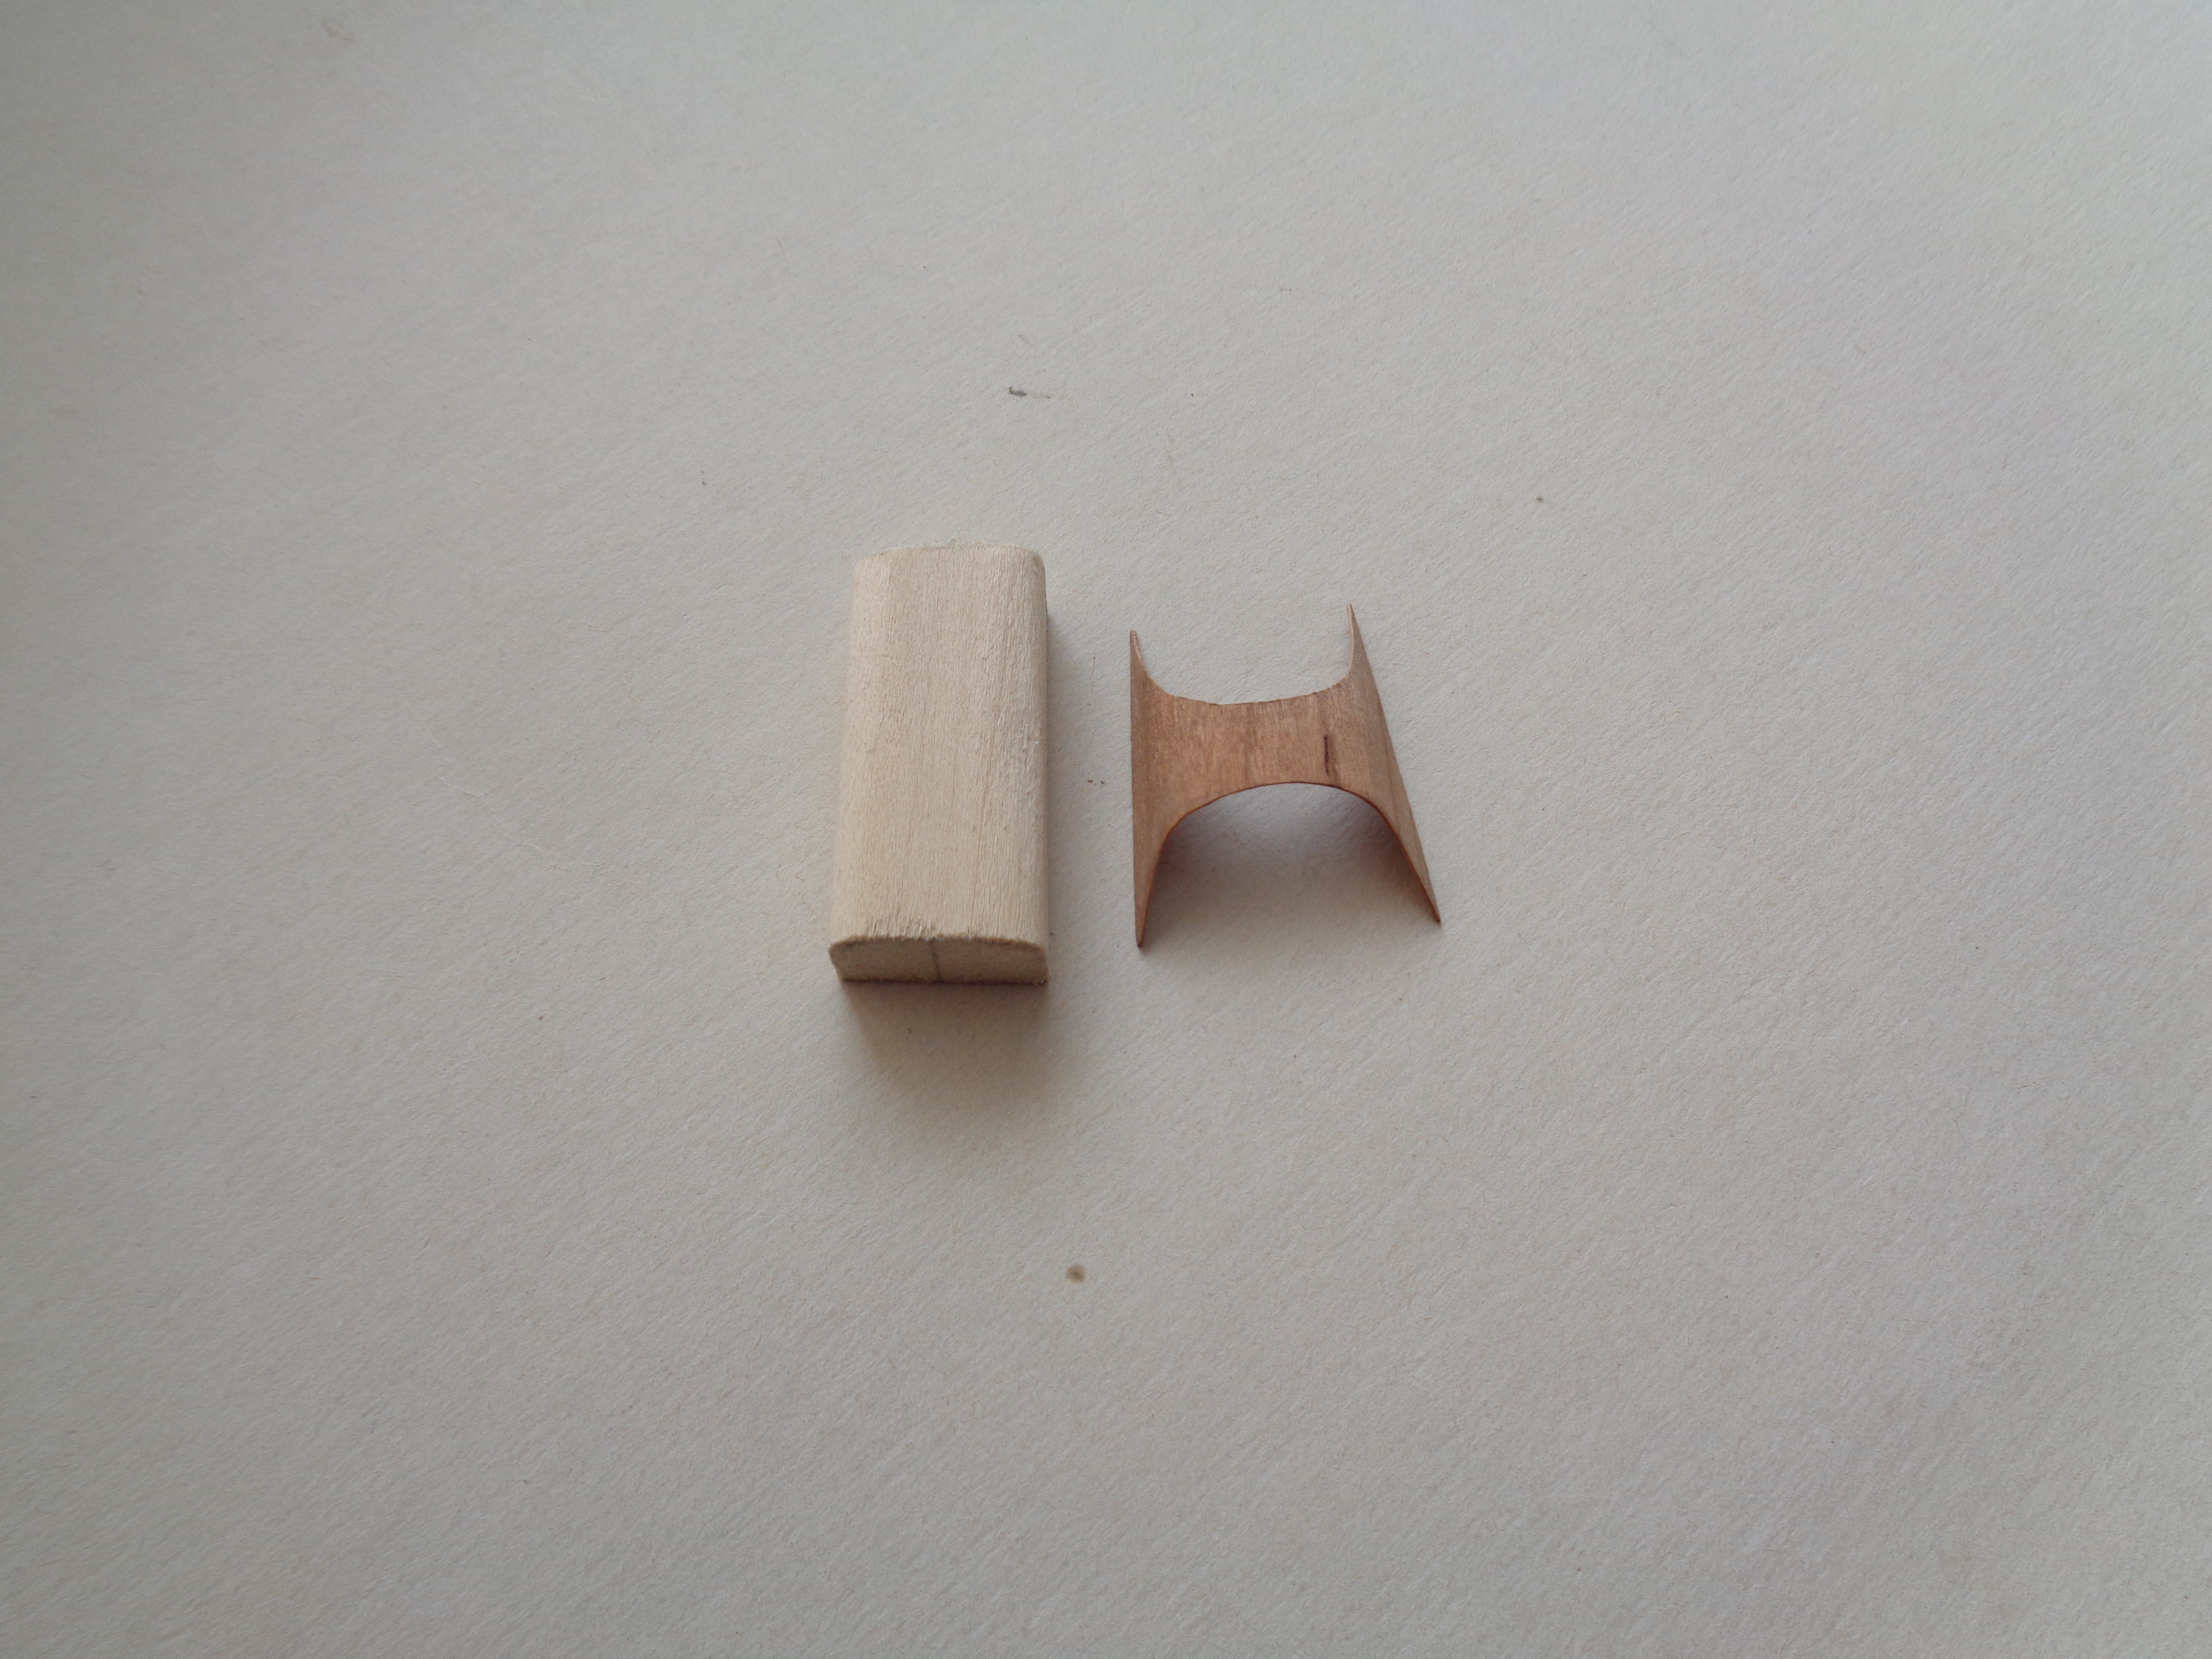
The instrument board will fit inside the wood panel and help to strengthen it when it is fixed to the fuselage frame.
The next step will be to finish the upper wing including adding the ribs and centre spar. After that I need to have a long think about what to do next as the model is going to become rather delicate to handle.
Thanks for looking.
Stephen.