AluminiumNow the promised update - please fasten your seatbelts!
I started to prepare the outer struts, made from squeezed 1.4mm brass tube and 0.5mm brass pins.

But then I noticed I should work on the remaining alu parts for the front first!
I made an aluminium plate (a little thicker this time) which fits into the cowling. So this will be the firewall to the engine and it can carry the cowling.

The firewall is glued in place! Very careful work was needed due to tight fit, but with engine and cowling in place (not fixed yet) it is able to rotate.

Next the "ears".
The resin ones are 0.7mm thick, I wanted thinner ones made from aluminium of course to be able to polish them too. My grill tray aluminium was to thin, the thicker one not strong enough for polishing and other work steps.
Solution: turned again 0.3mm thin on the lathe, in same outer diameter as the cowling, and used segments of it.

But how to mount?
Only on the upper edge is a connection to the fuselage (open on lower side and on the back), glue to the cowling will not work as aluminium is hard to glue.
Solution: I drill a little hole and inserted a bow of a small nickel-silver stripe in. Also on the original pictures in high-res you can see something like that.

This will give the ear a solid mount later.

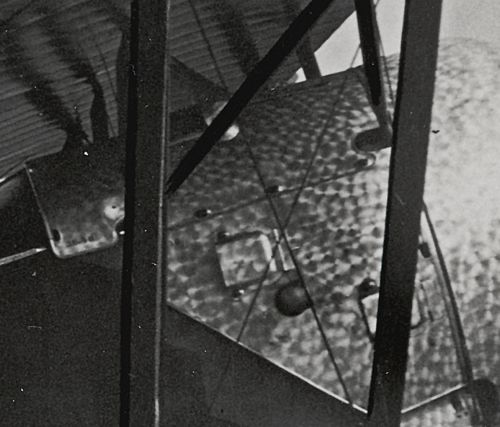
This bird has some strange maintenance lids - they are cooling vents at the same time, open at the back.
So I experimented a bit to create such lids.

The other side needs even two!

Here a original picture from rcuniverse.com:
Both sides are done.
As CA do not hold aluminium very tight, I added the quick locks made from 0.3mm brass rod. I used the holes to glue the lids with CA from the back.

I glued polished aluminium triangles to the fuselage sides. On top is the ear, still without glue.
I should have removed the little frame on the fuselage, now it's too late for that.

That was a lot of experimenting and work with metal, but I like the look now.
Cheers,
Frank

