Thank you!
Next part was the part was the propeller. Since I became so much positive feedback for showing detailed steps, I would like to show, how I did the propeller. There seem to be a lot of possibilities for painting it. So this is only an example, which works good for me.
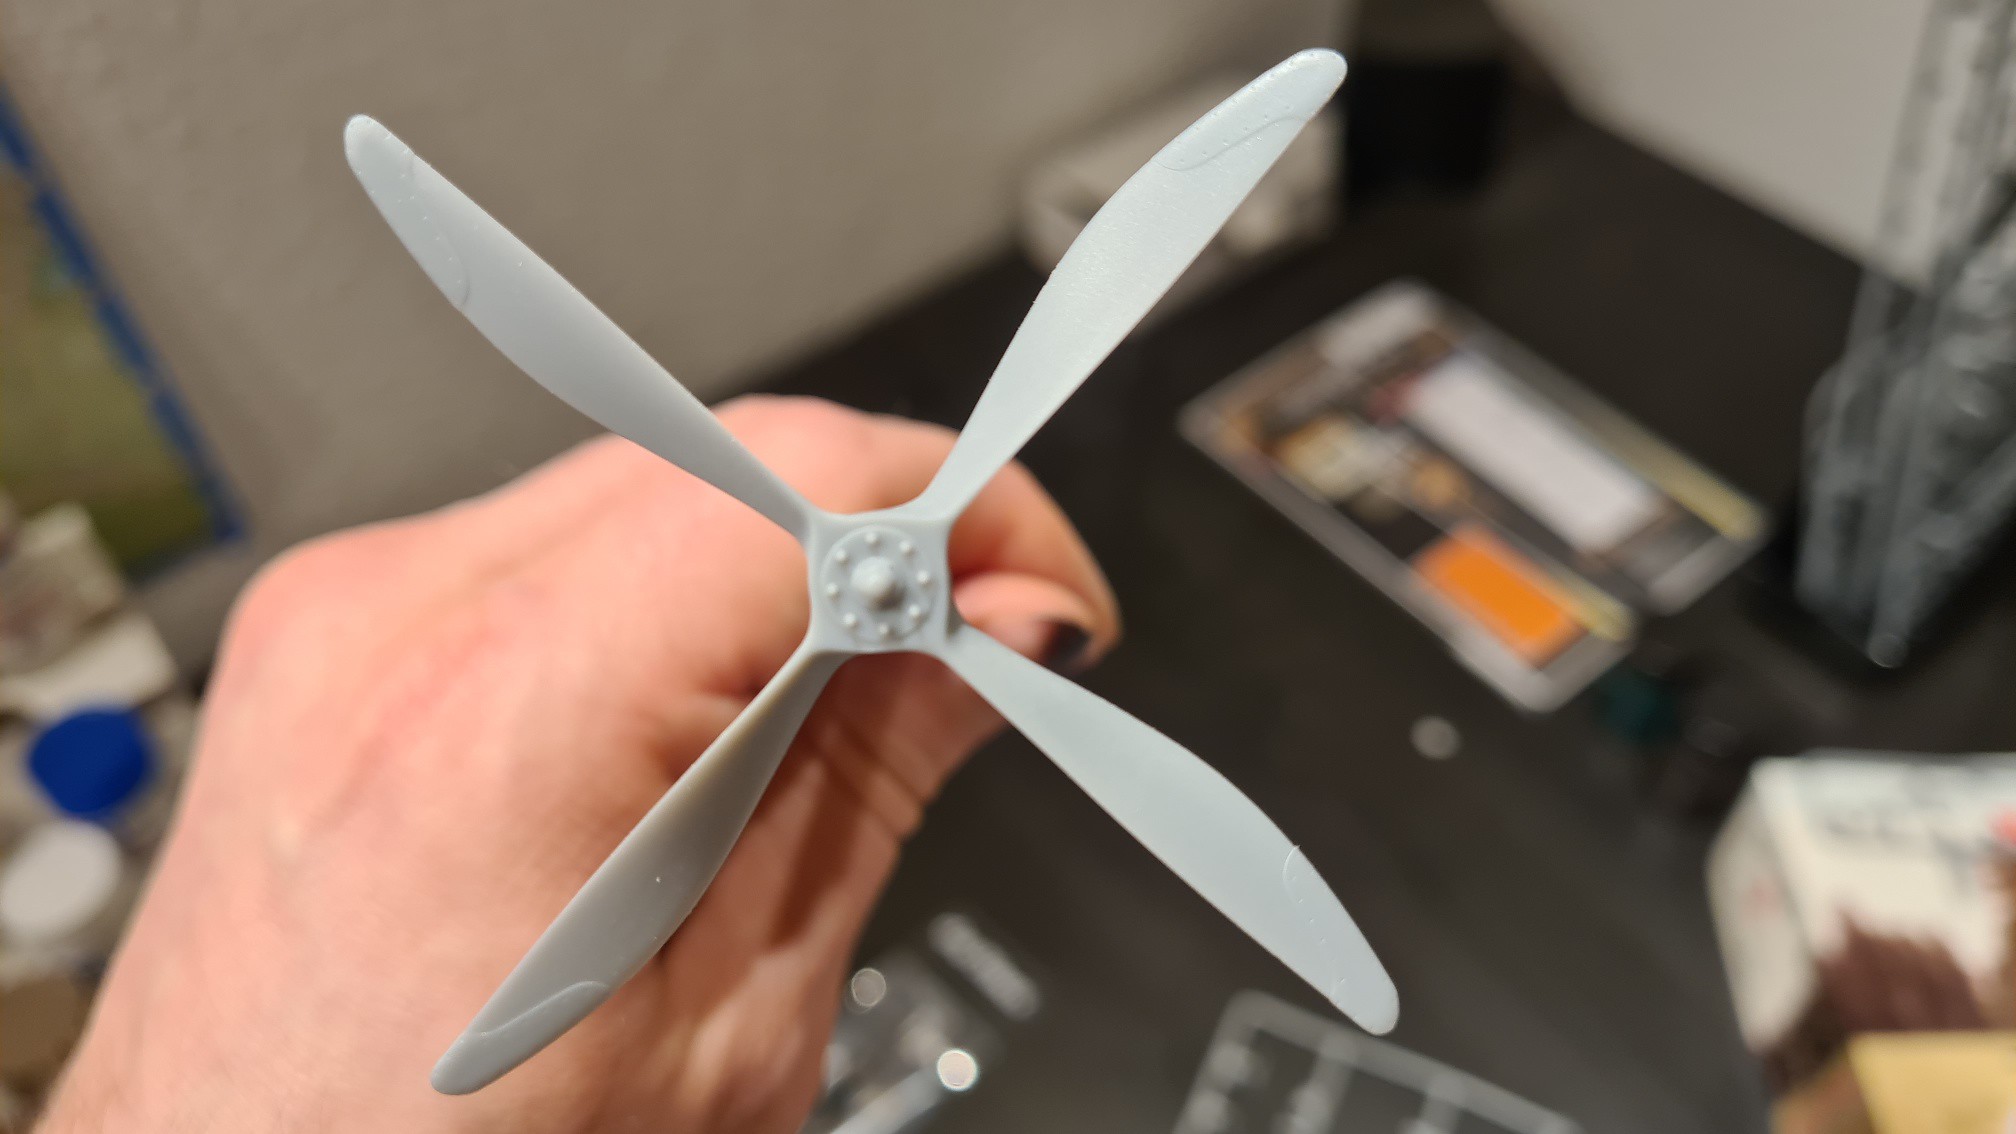
The propeller of my AMC variant is 4-bladed. This makes the work more difficult, because you have to generate similar wood layers not only for 2 but for 4 blades. Blade tips are to be covered with some kind of brass shield.
Let's start with the naked part. Lovely details:
 20210109_153856_resized
 by
Rafael Berlin, auf Flickr
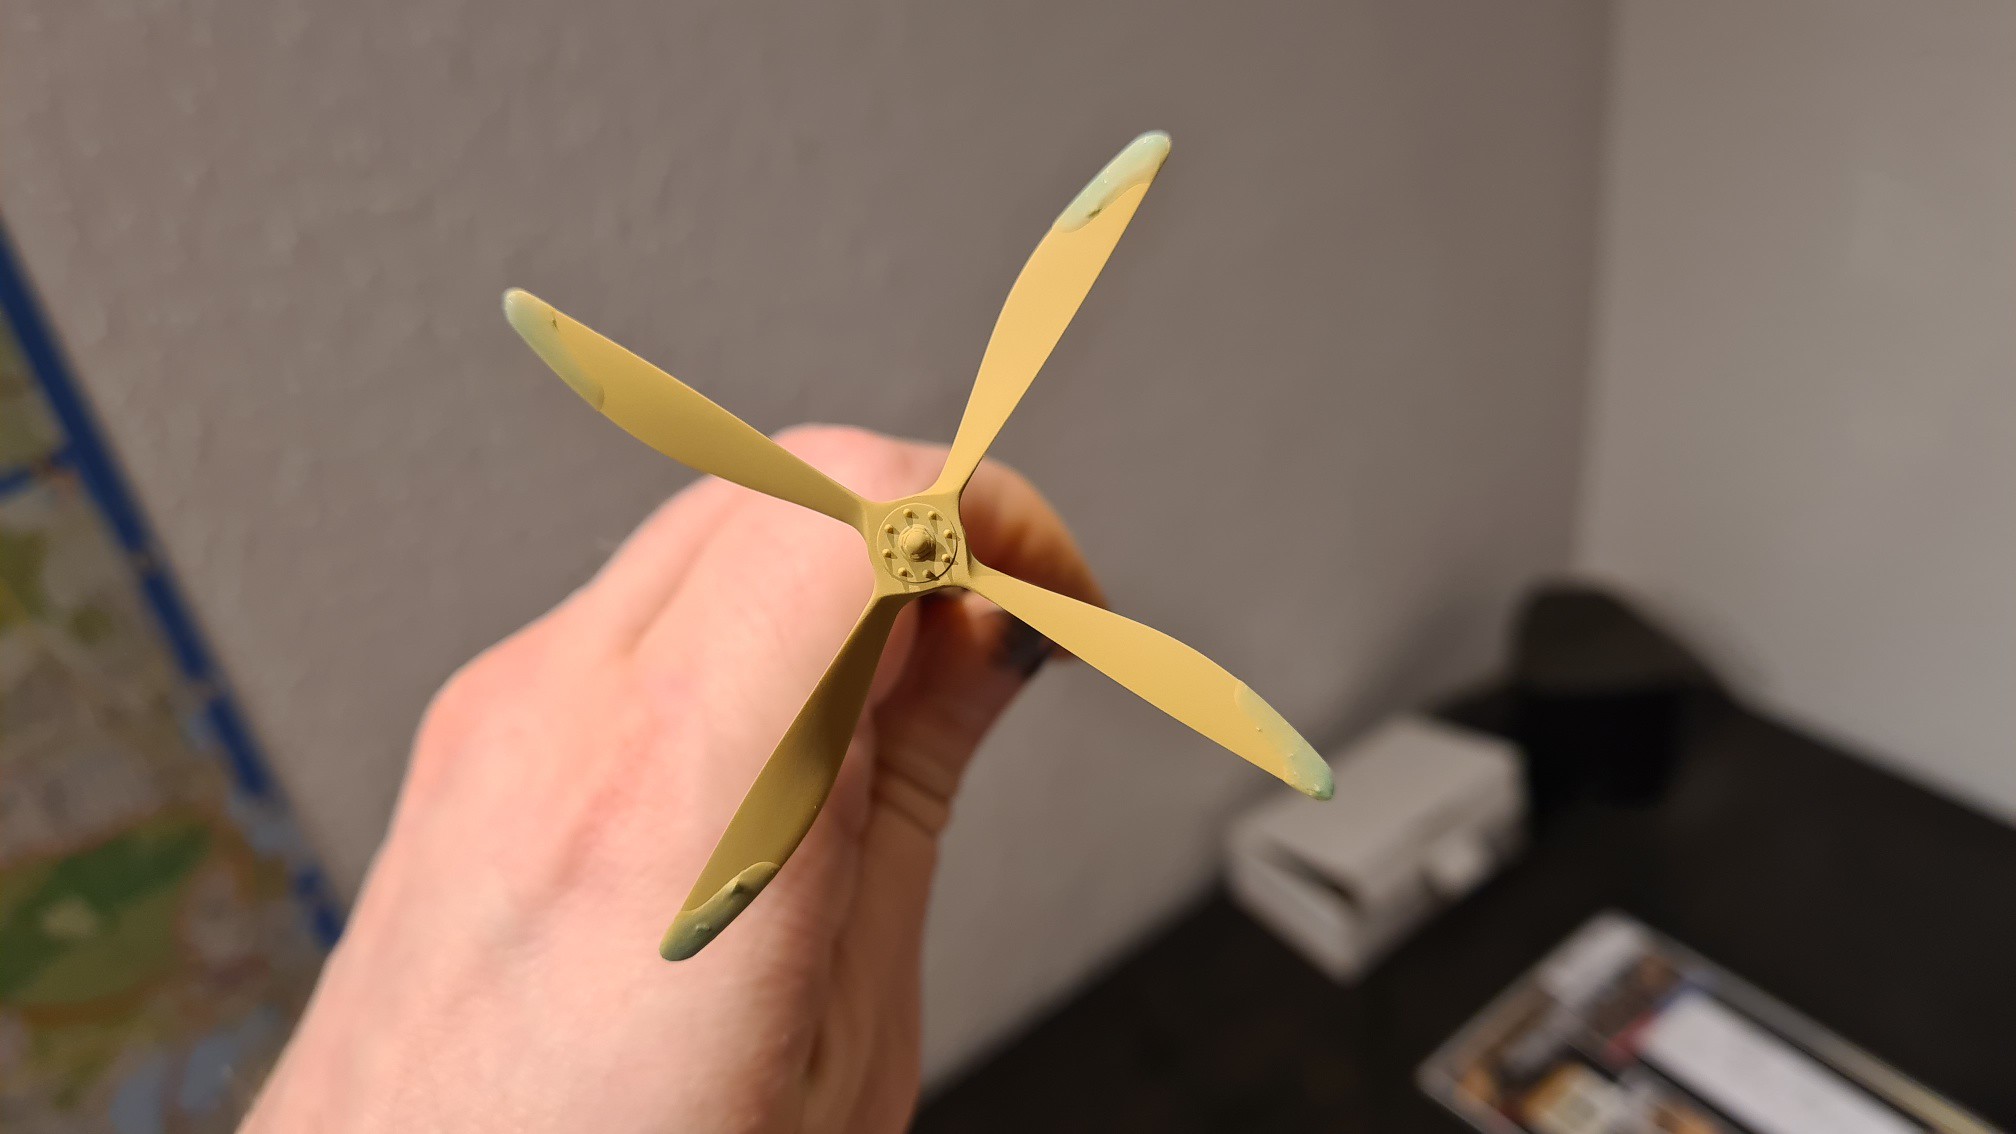
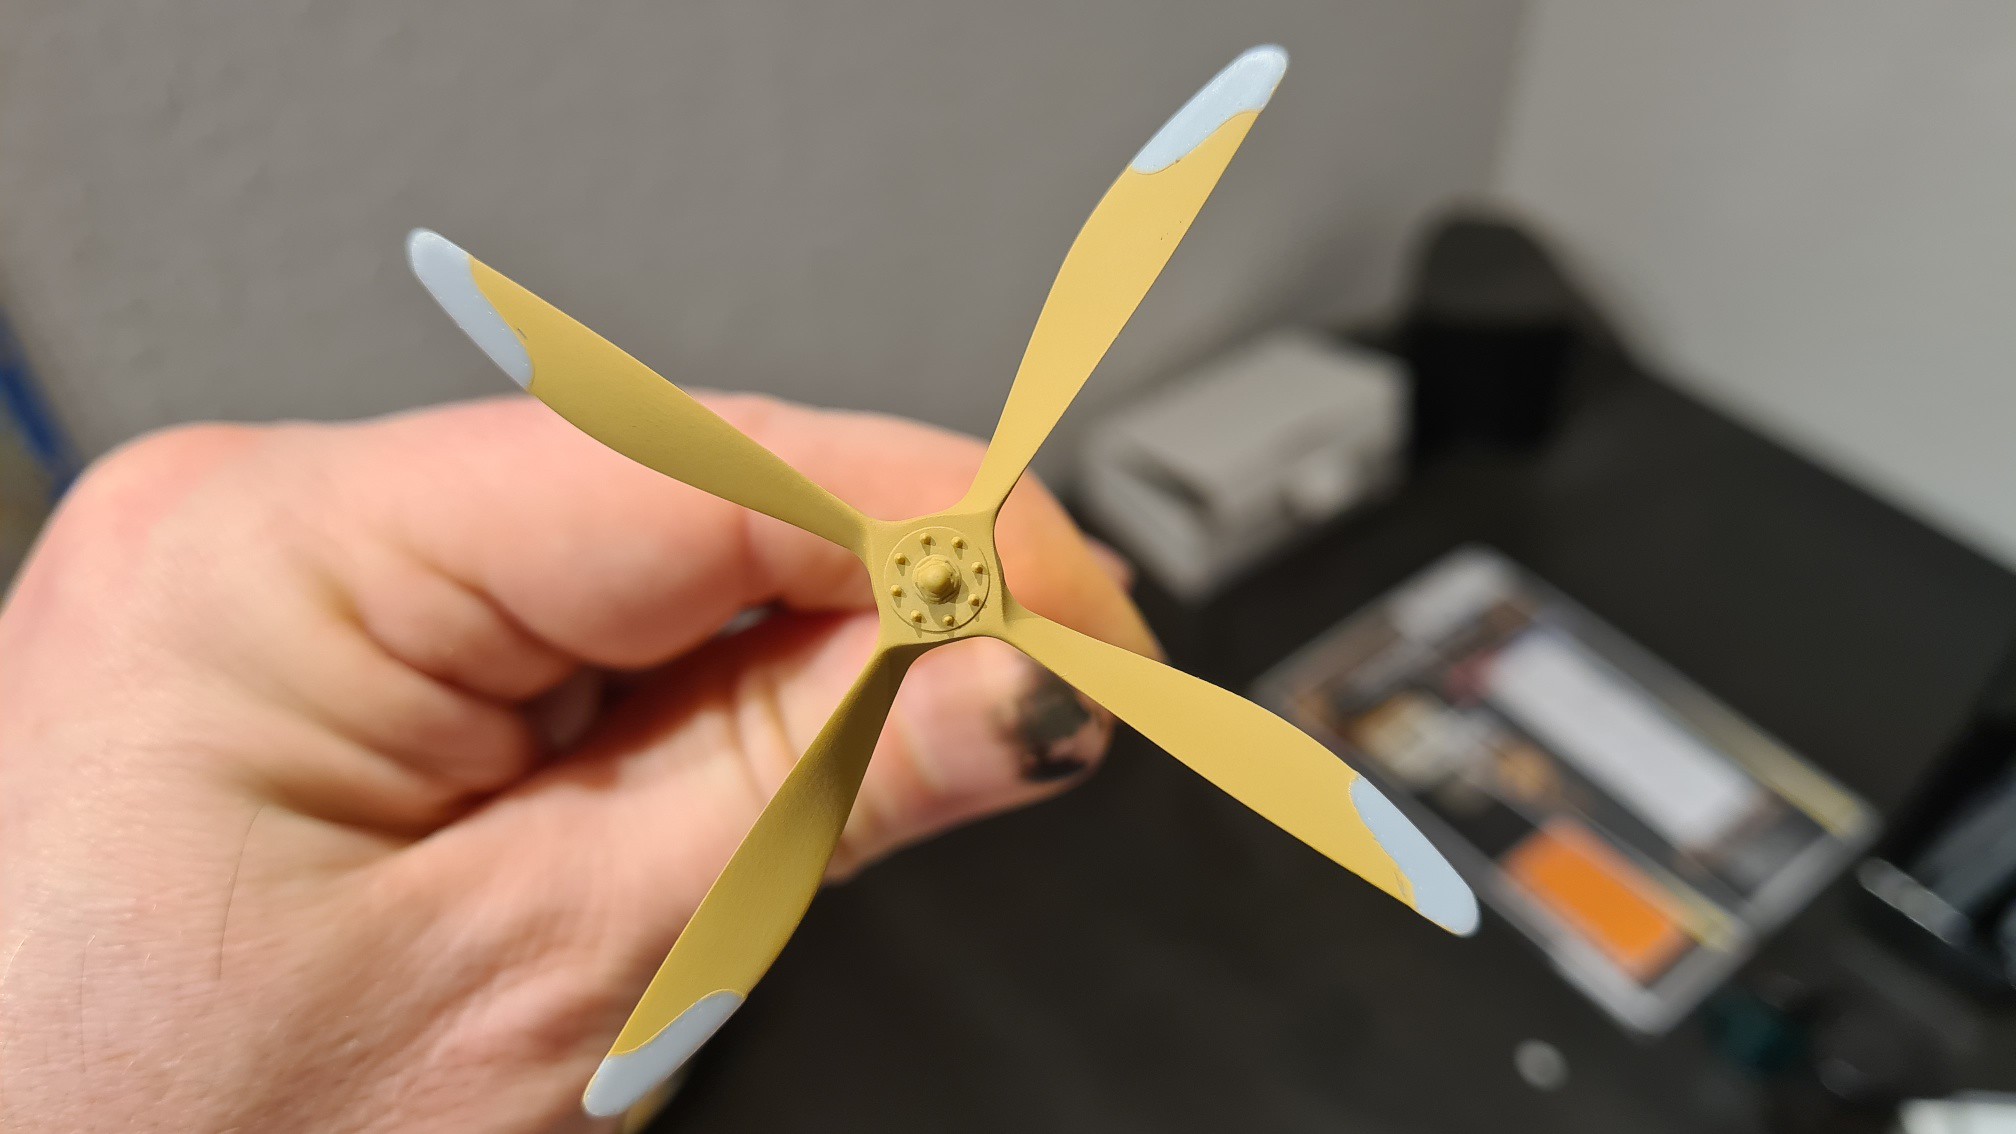
The tips were covered with liquid mask (I used Vallejo liquid mask). The main part was sprayed with Tamiya XF-59 Desert Yellow.
 20210109_161445_resized
 by
Rafael Berlin, auf Flickr
The liquid mask was removed directly after spraying. For the main color: let it completely dry over night. This is important for the next step.
 20210109_162421_resized
 by
Rafael Berlin, auf Flickr
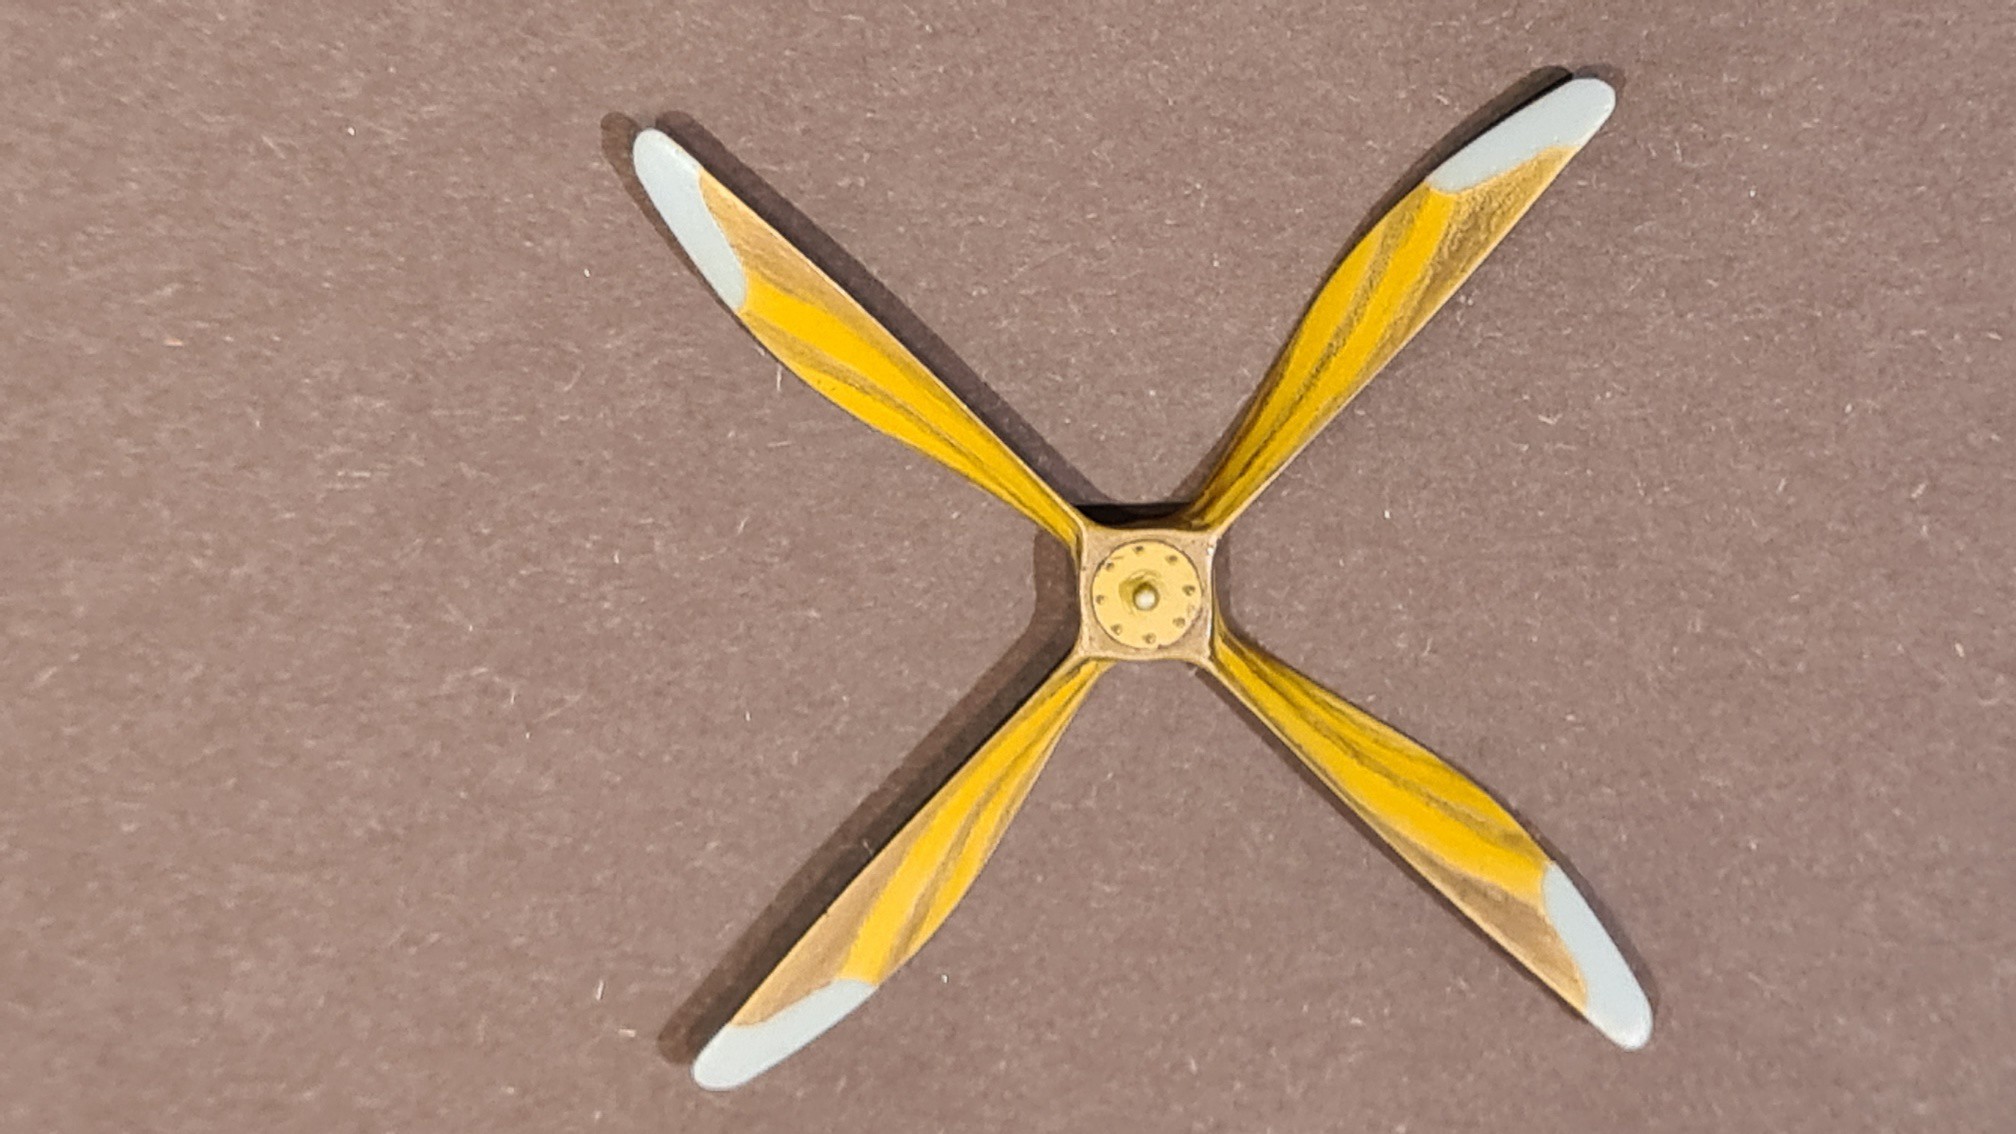
For the wood layers I use watercolor pencils. I'm using pencils from Faber Castell,
https://www.faber-castell.com/products/AlbrechtD%c3%bcrerwatercolourpencilpalegeraniumlake/117621. At least in Germany you can buy single colors in hobby shops. In this case I used Light Yellow Ochre and Van-Dyck Brown.
Now you have to paint the wood layers on the prepared propeller. Even if the water pencils are sharpened, the tips are quite soft. Nevertheless, don't press to much. If the Tamiya layer was dry, you have the chance to even correct some mistakes with a rubber eraser. Additional benefit of the watercolor pencils is the good coverage. You can cover brown with ochre.
Unfortunately you still have to paint the layers free-hand. In my case I made 7 wood layers. You always have to make sure, that a dark layer on the front side is stil a dark layer on the backside. It will take you some time.
I suggest to first paint the layers near the hub. There you don't have any deformation. Afterwards proceed with one blade up to the tip. Always take a look from the side, check if the layer's thickness is correct for the entire blade. After you have found a good solution for e.g. the front side, you have to do the same with the backside of that blade. The colors at the edges help you to transfer the pattern from front side to the backside of that blade. Having finished one blade you can copy the pattern to the remaining blades.
 20210110_162759_resized
 by
Rafael Berlin, auf Flickr
 20210110_162638_resized
 by
Rafael Berlin, auf Flickr
 20210110_162659_resized
 by
Rafael Berlin, auf Flickr
In the next step you have to cover the propeller with clear varnish. If I remeber correct, I used the Alclad 2 gloss clear. After drying i put on brown oil color. Brush it in the direction of the wood grain.
 20210111_172946_resized
 by
Rafael Berlin, auf Flickr
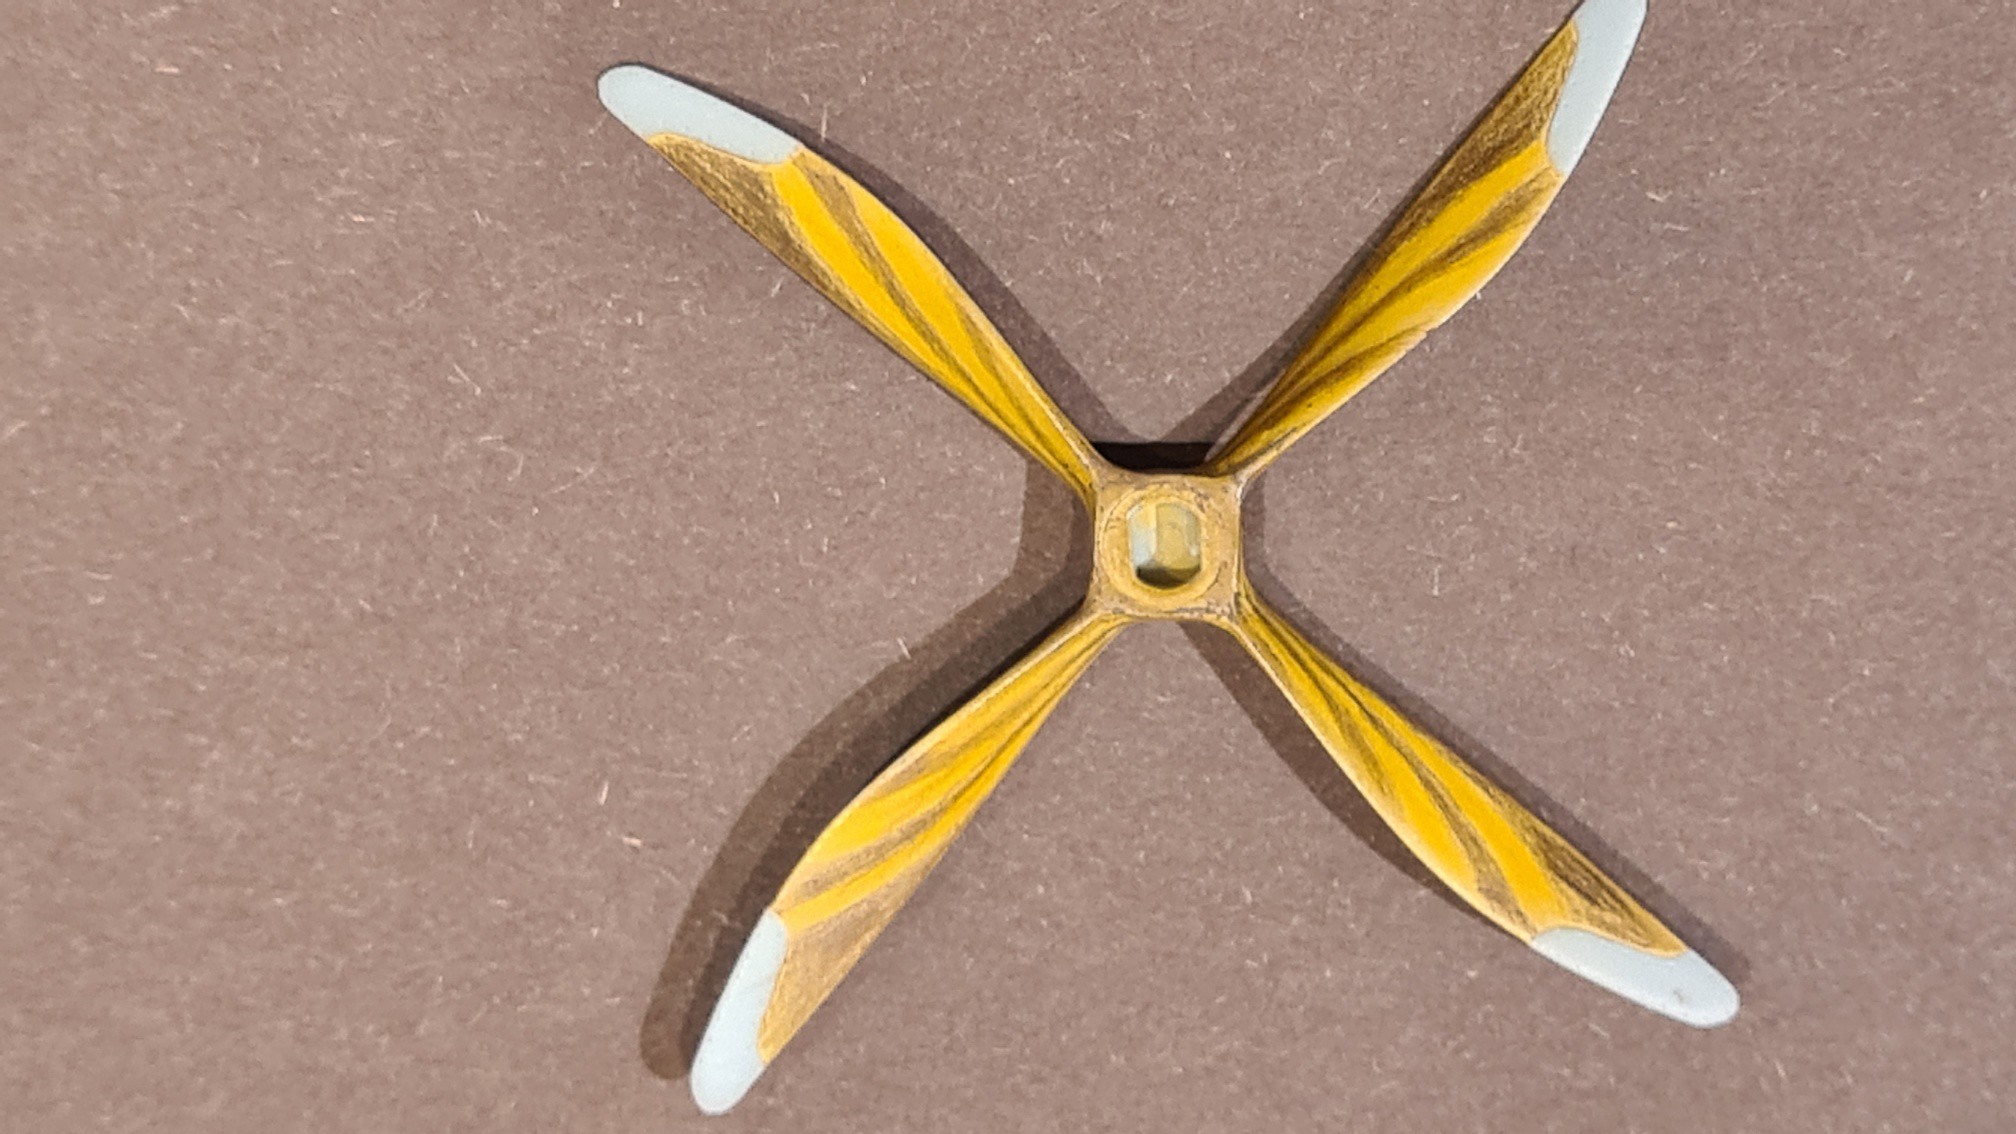
With white spirit and a small paint brush you can remove the color from propeller tips. And whith white spirit you should remove some of the brown oil color from the light wood layers. This improves the contrast. In this step you still have the chance to coat some smaller errors you made before.
The follwing picture shows the propeller with partially removed oil color from the light wood layer. The left blade is still covered with oil color.
 20210111_183055_resized
 by
Rafael Berlin, auf Flickr
Having finished this step, let the propeller dry for a week.
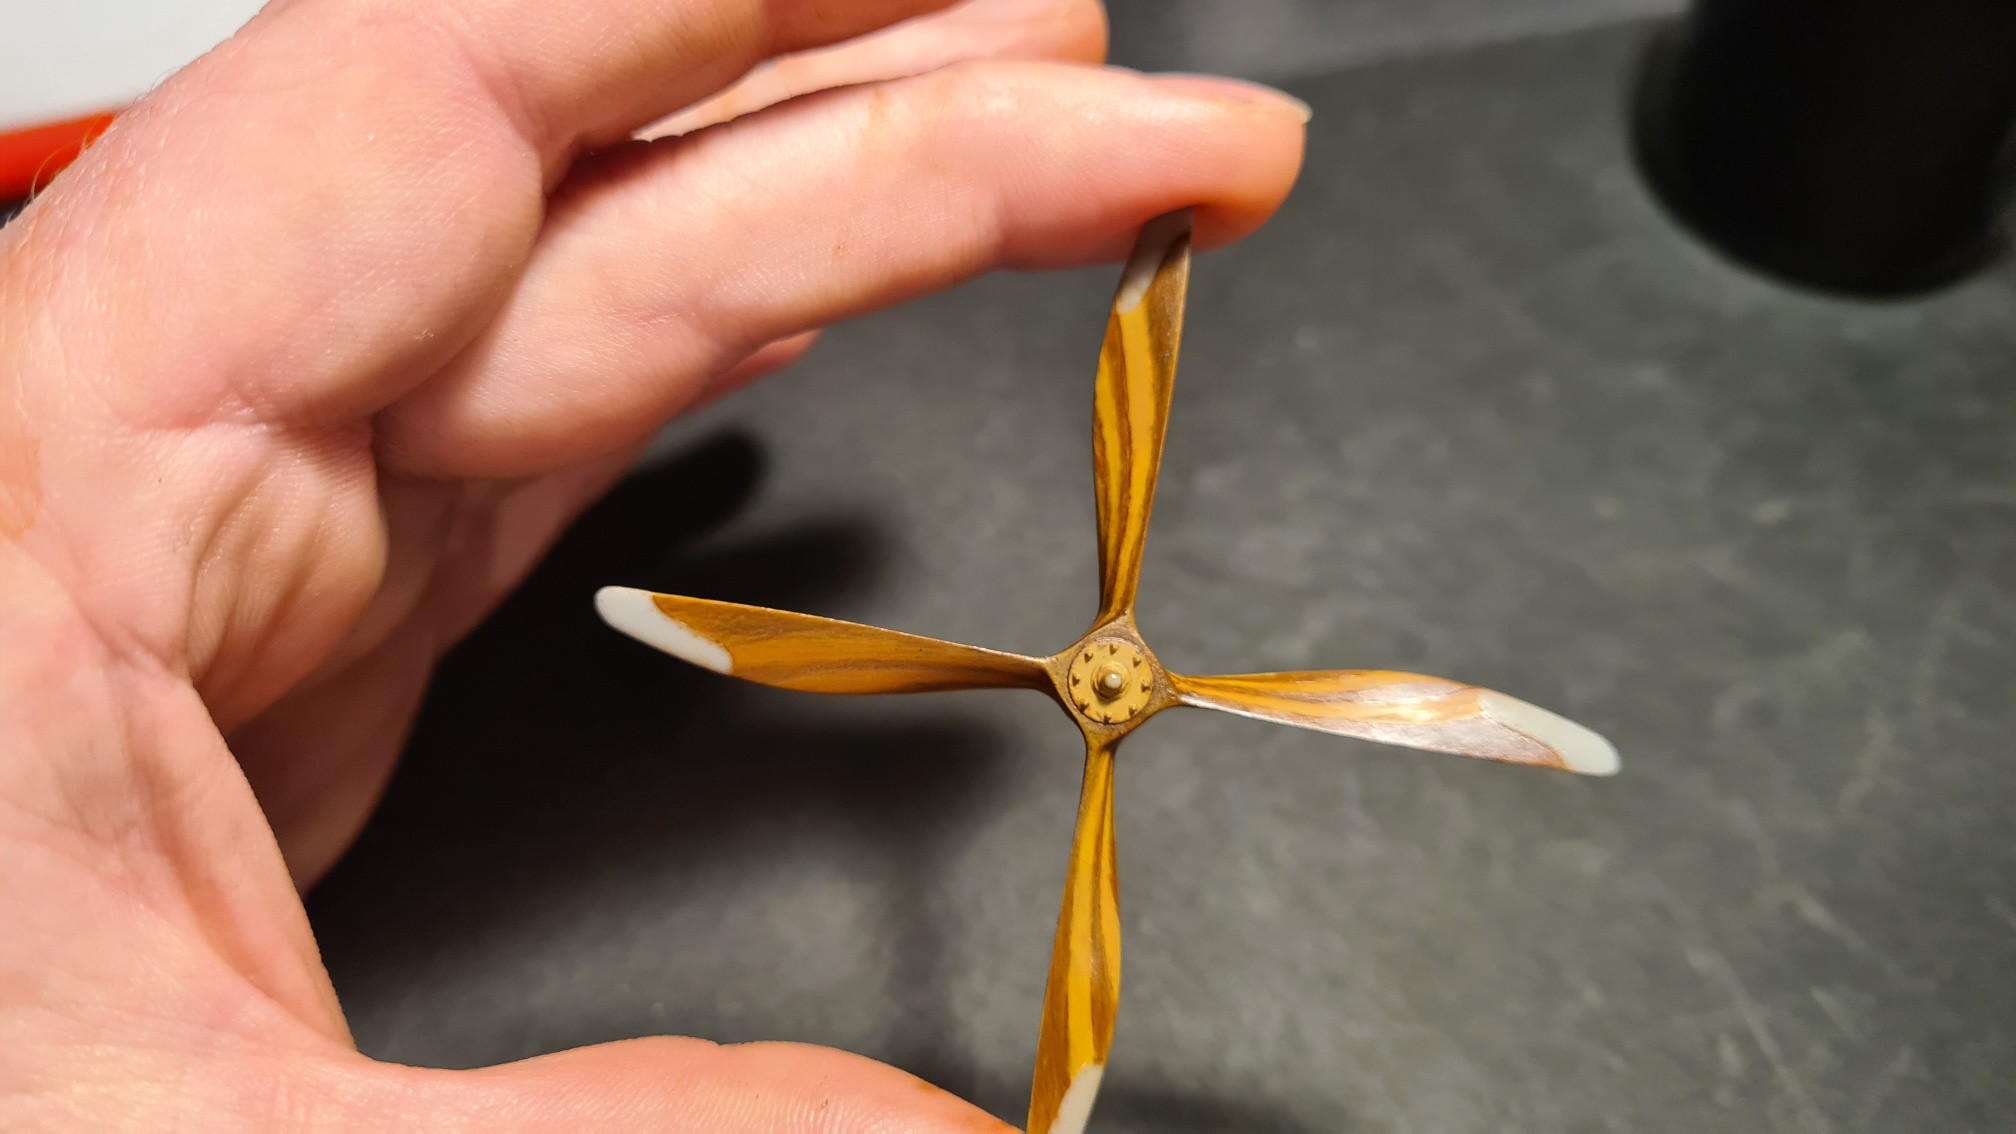
Afterwards I gave the propeller a coat of Tamiya X-26 clrear orange. In the following picture it looks like yellow, but in fact it was orange

 20210117_165132_resized
 by
Rafael Berlin, auf Flickr
Next steps are the hub and the blade tips. I sprayed them black (I think, I used Valleyo Air Color). With the HGW super detail set you also get some perfectly shaped masks. The are fine, but
----------------------------------------------------------------------
DO NOT USE THE ADHESIVE SIDE ON THE PROPELLER!!!
----------------------------------------------------------------------
The adhesion is far too strong and would damage your work. Better way: For the hub just flip the mask to the non-adhesive side, hold it against the propeller and carefully spray with a fine liner nozzle.
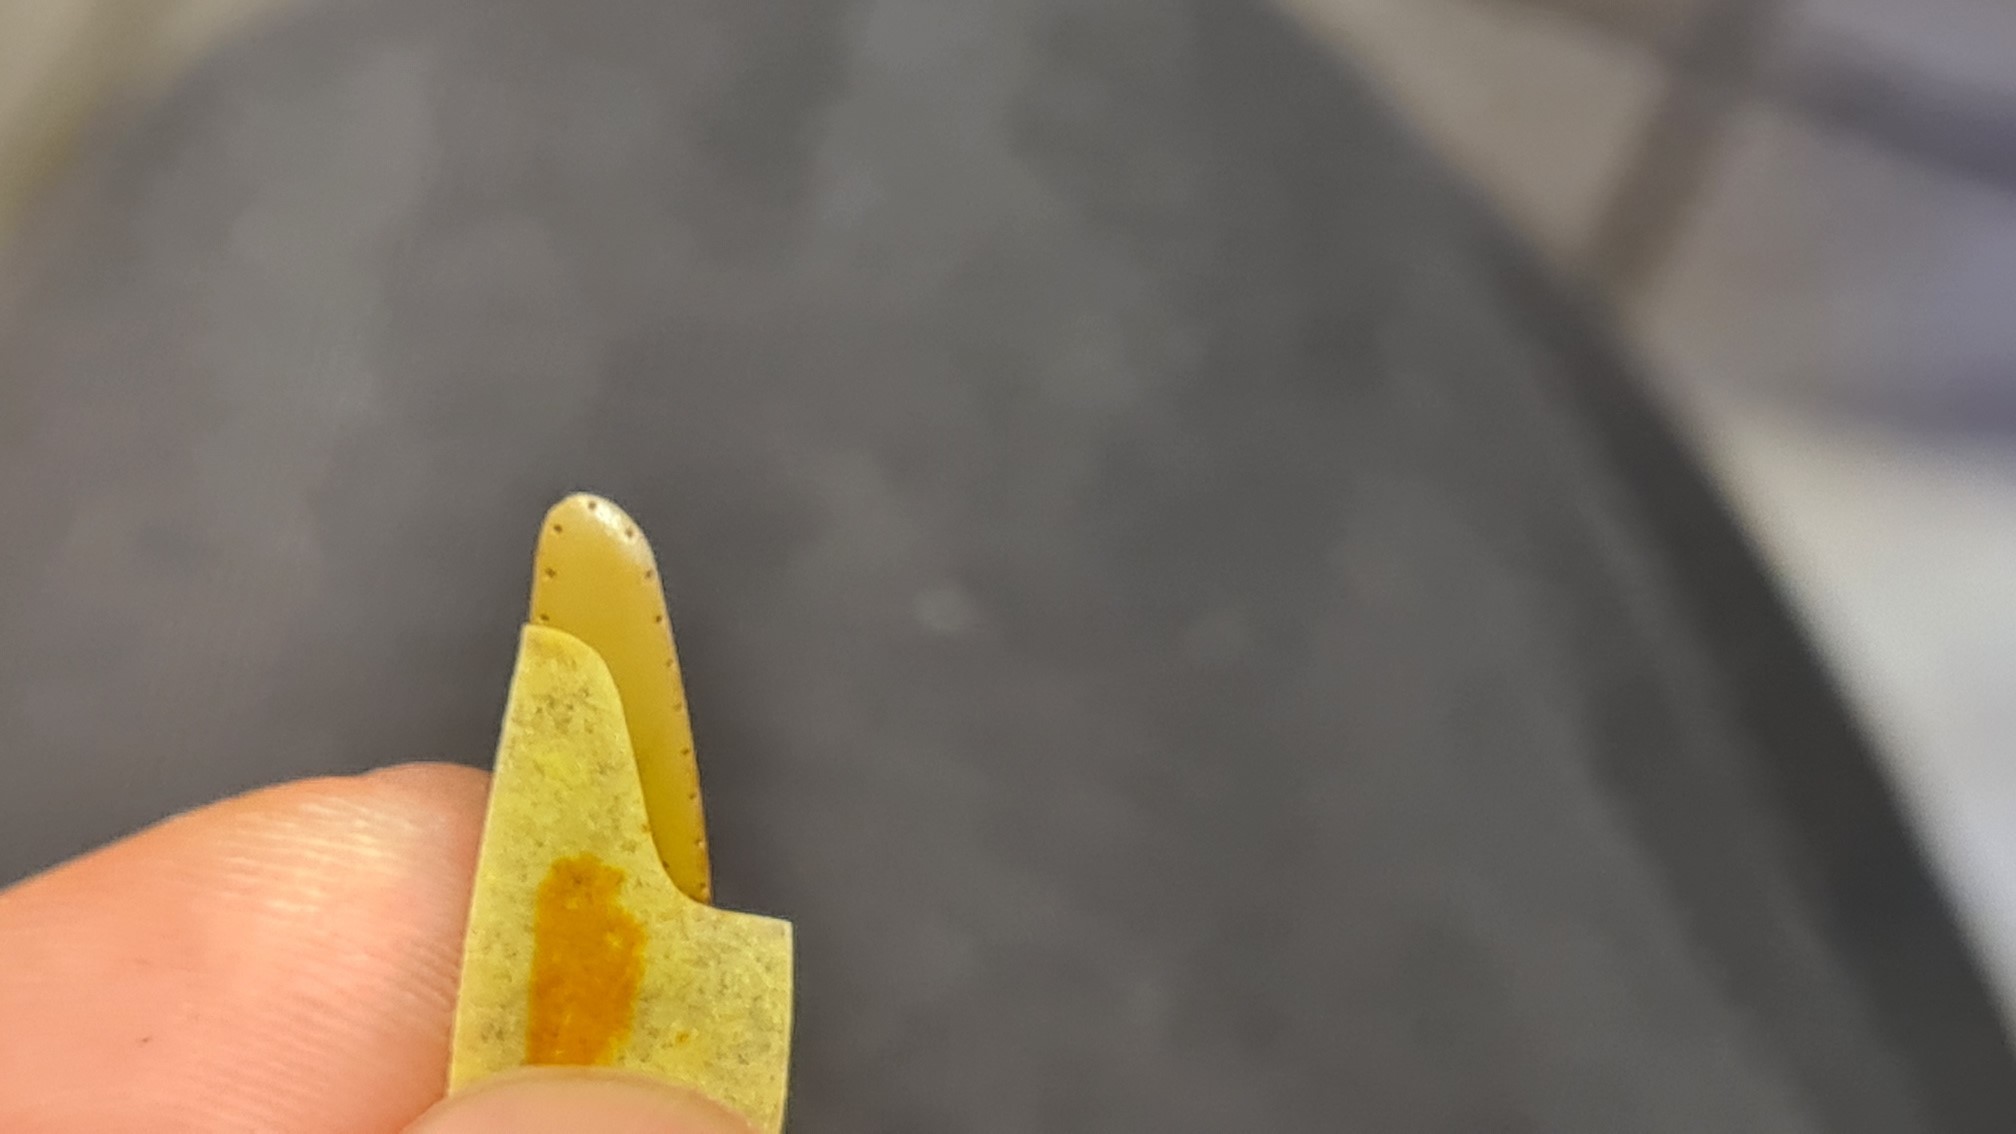
Now for the masks for the edges. Actually they were designed for covering the edges. I used them to cover the propeller, letting the edges bare. Just take the mask from the rear side, flip it around in a way that the adhesive side wouldn't stick to the propeller and use it for the front side of the propeller. And vice versa.
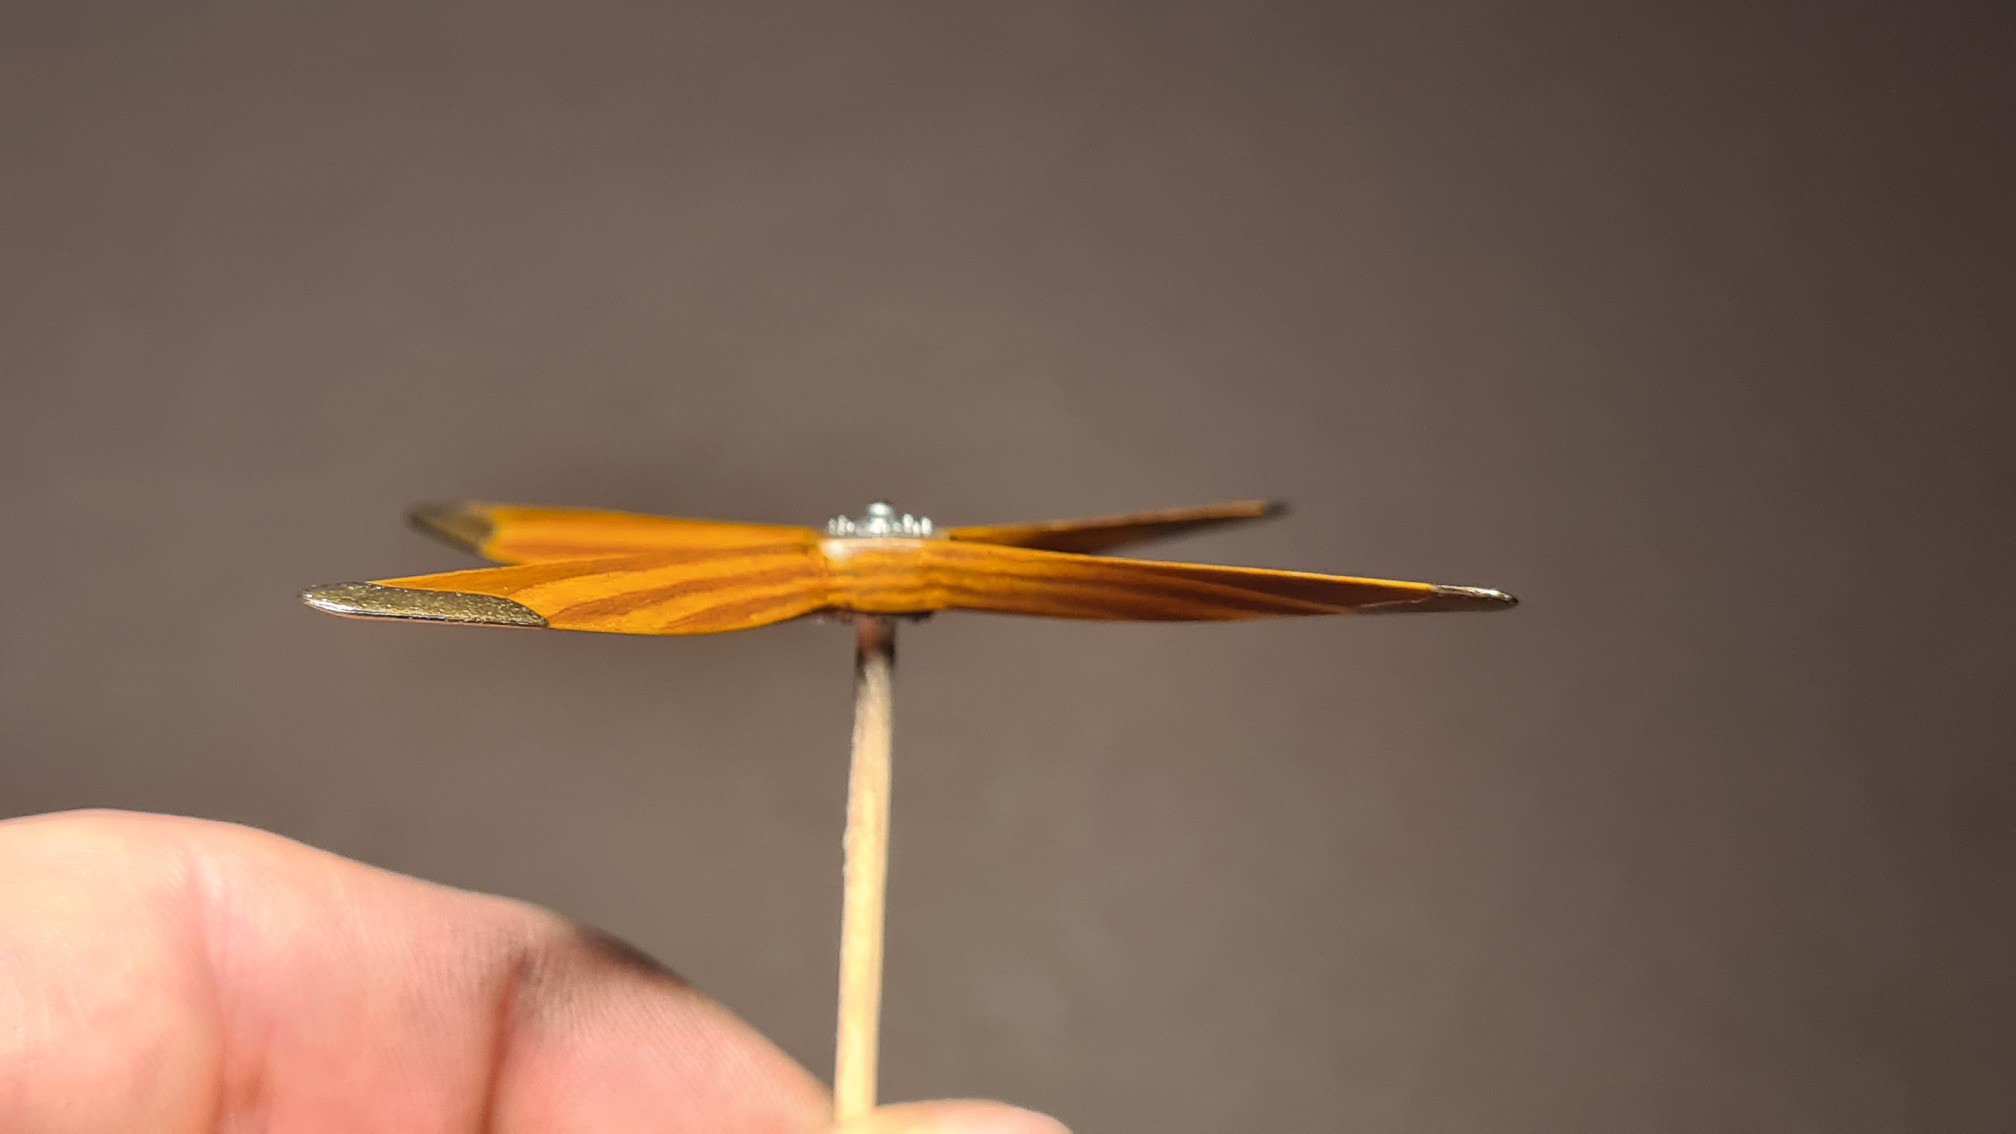
The following pic hopefully shows what I mean. The mask sticks to my thumb, not to the propeller. Just use the fine liner nozzle with quite low pressure to do the paint.
 20210118_133139_resized
 by
Rafael Berlin, auf Flickr
Result
 20210118_133626_resized
 by
Rafael Berlin, auf Flickr
 20210118_141126_resized
 by
Rafael Berlin, auf Flickr
In the next step the entire propeller was sprayed with Vallejo satin varnish.
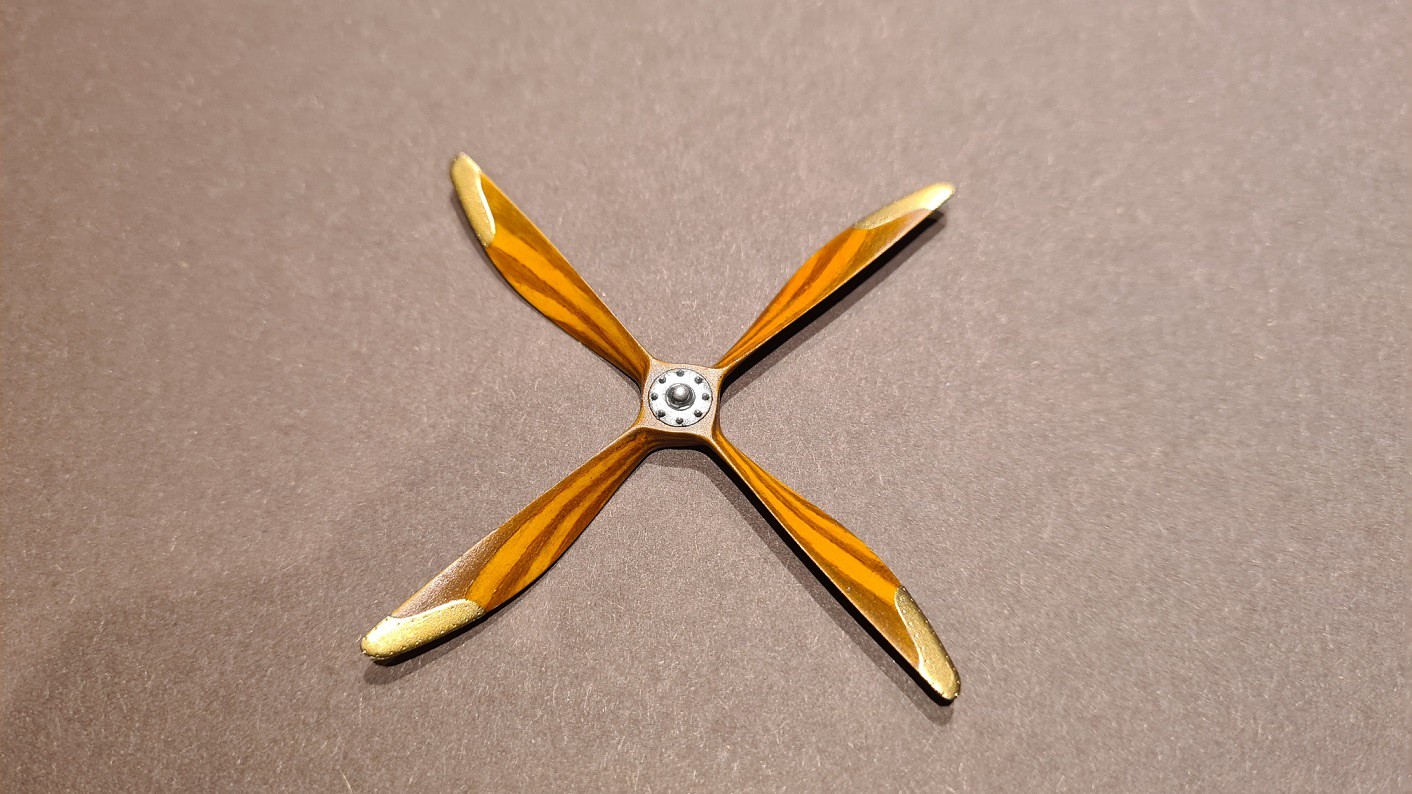
In the last step the hub was dry brushed with some silver clolor (I don't remember which one). The brass edges were sprayed with Alclad II brass with the already explained masking technique.
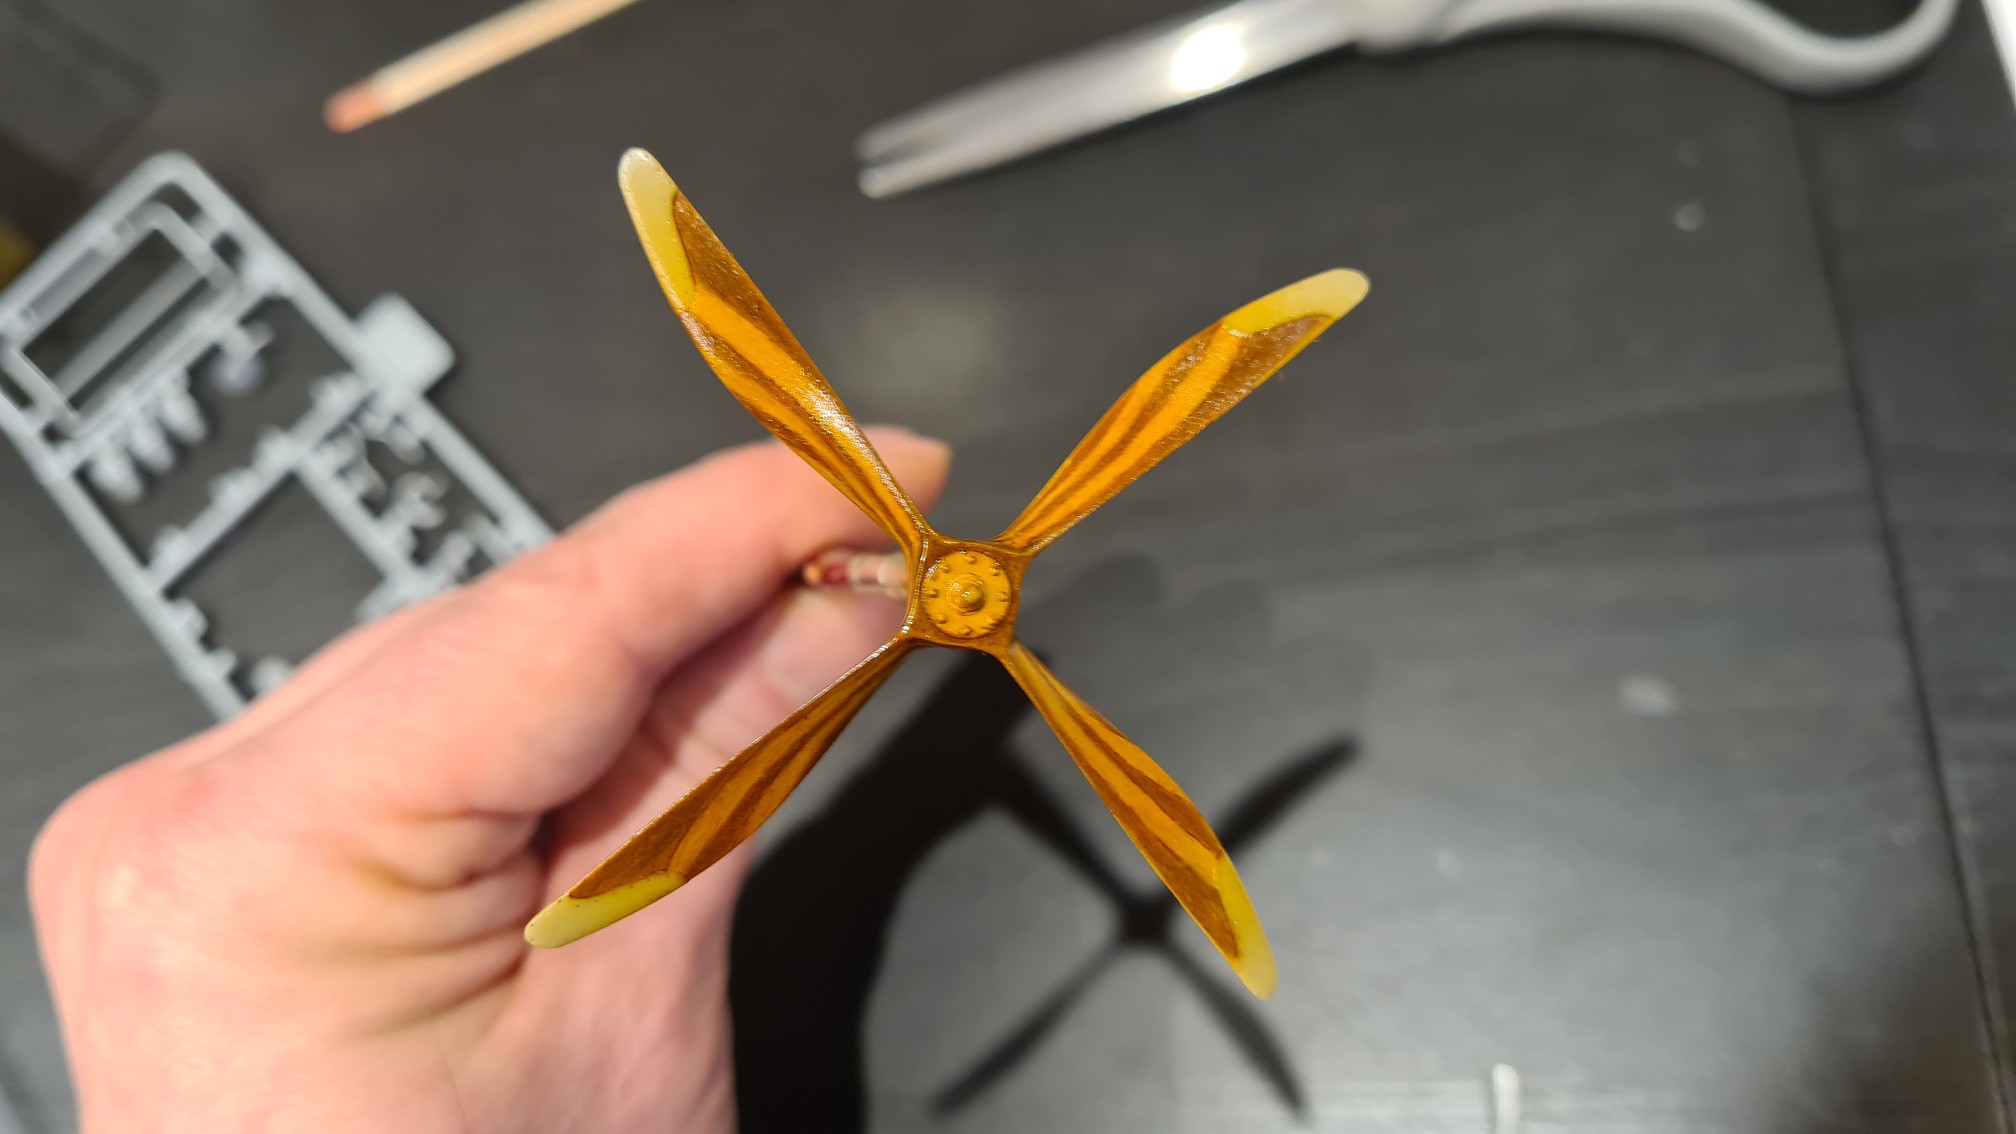
Here the finished part:
 20210118_175606_resized
 by
Rafael Berlin, auf Flickr
 20210118_175553_resized
 by
Rafael Berlin, auf Flickr
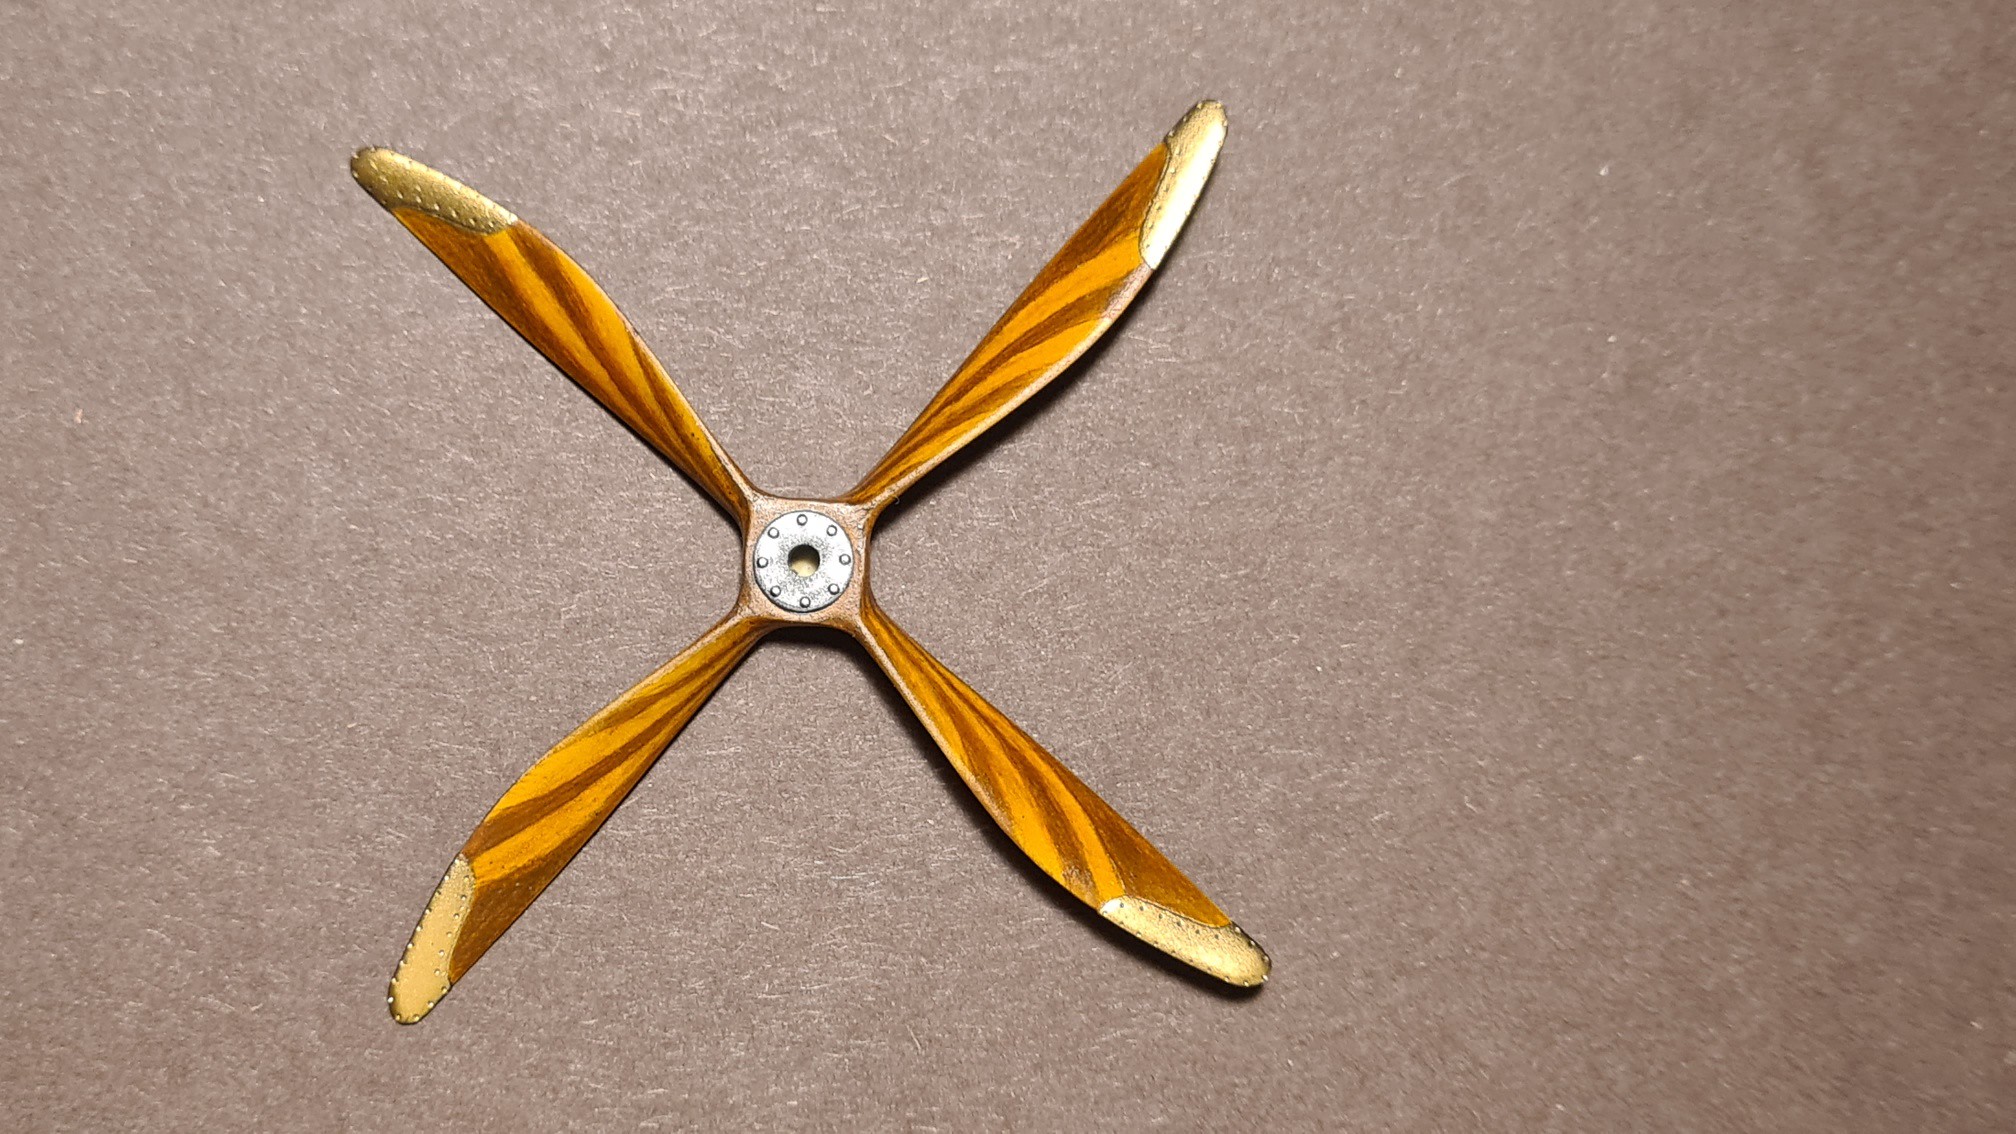
Front side
 20210118_173624_resized
 by
Rafael Berlin, auf Flickr
Back side
 20210118_175416_resized
 by
Rafael Berlin, auf Flickr
Thanks for watching
Rafael

