Thank You all for the replies! Gary, that praise is undeserved! But thank You. Stephen, it felt just like working on a WNW kit, good fun! Richie, it is a really, really nice kit! I can recommend it thoroughly, and it builds up beautifully, the only problems are the warped wings and the small piece that breaks off the middle wings - all very easy to fix due to the good advice on this site! I haven't decided on a colour scheme, I now have about 5 options, including the Richthofen mount decals in the WNW Albatross kit! I am tempted... Thank you for the compliment Alexis, fortunately there are very few parts not used for the Roden kit so no chance of doing a hybrid model! (Like Rick's!) Hi Rick, your encouragement is really appreciated, and I agree these colours are not set in stone - - there is simply not enough original info for us to be sure.. Mark, thank you for checking in and the compliments, my modelling time is limited and precious, so I want to always work on something I enjoy. So models take time, and I do stop and start at will! I suppose we are all different... Ferry, Thank You for checking in and you should treat yourself and get one... I see the price isn't bad at all now!
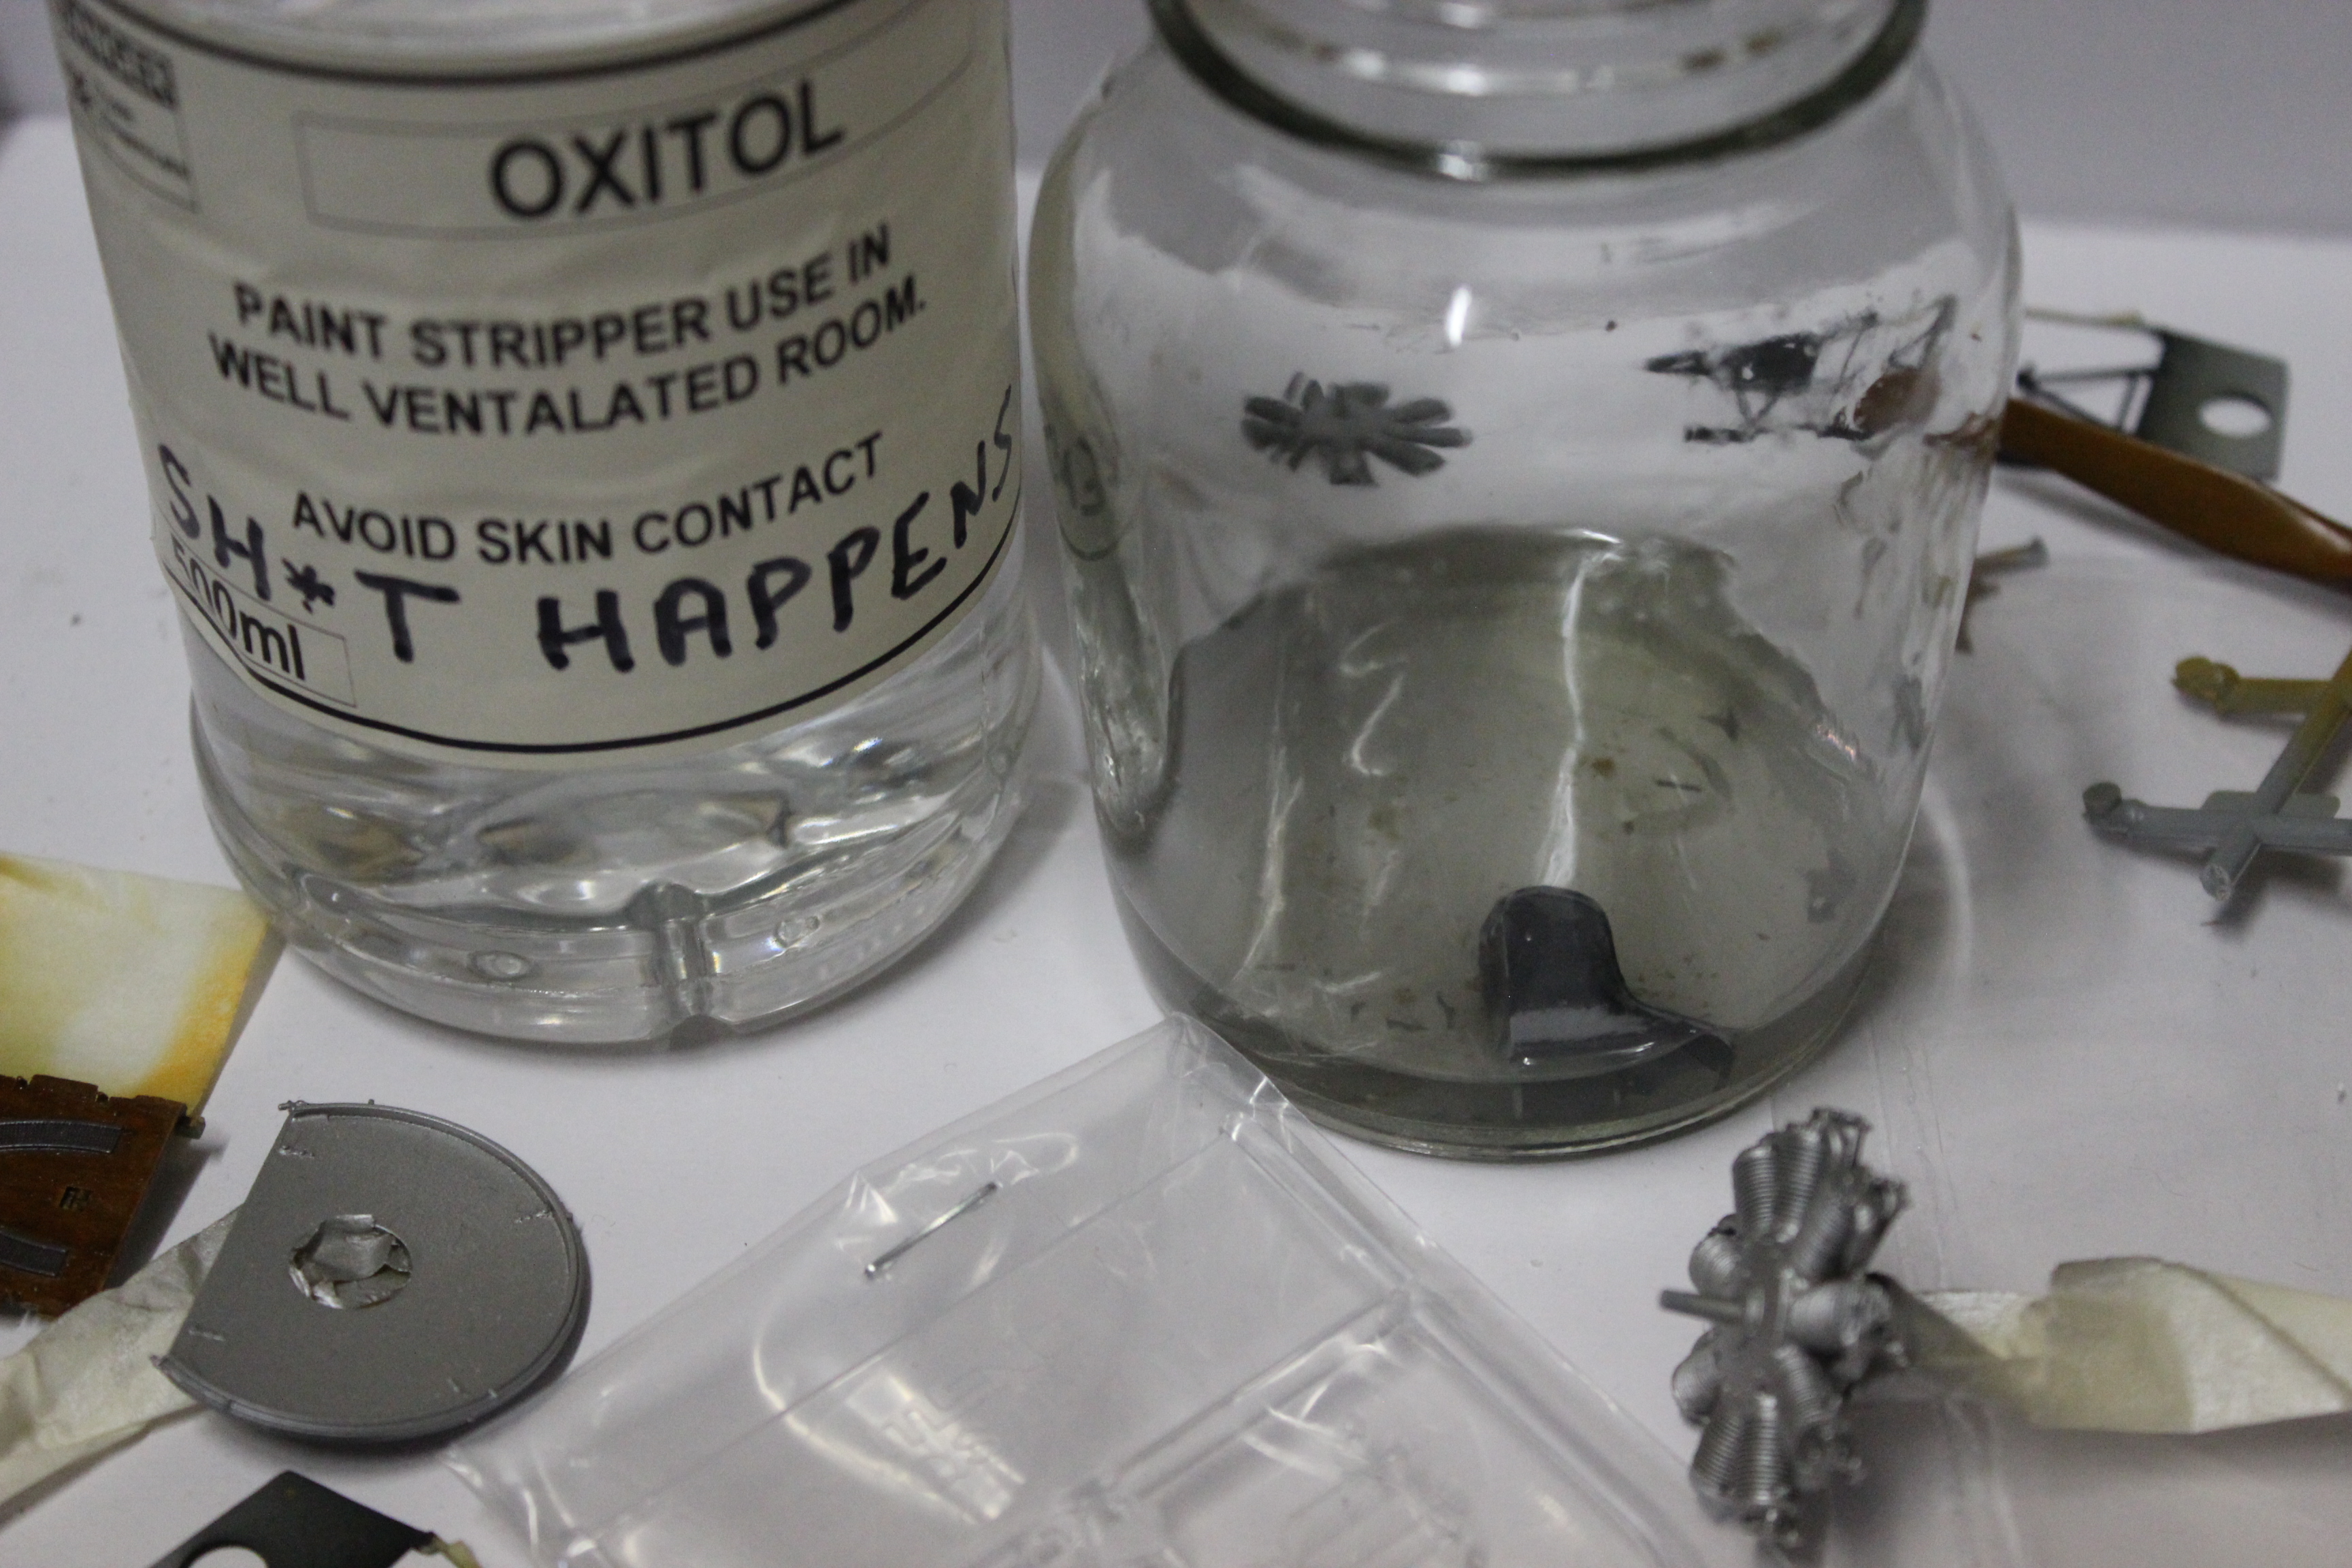
Well, the seat from the Meng kit was so badly painted it took a bath in paint stripper, this one is a commercial one, quite toxic I'm sure, but I discard it appropriately after use and take care... it works quickly and thoroughly on any type of paint and doesn't harm the plastic...
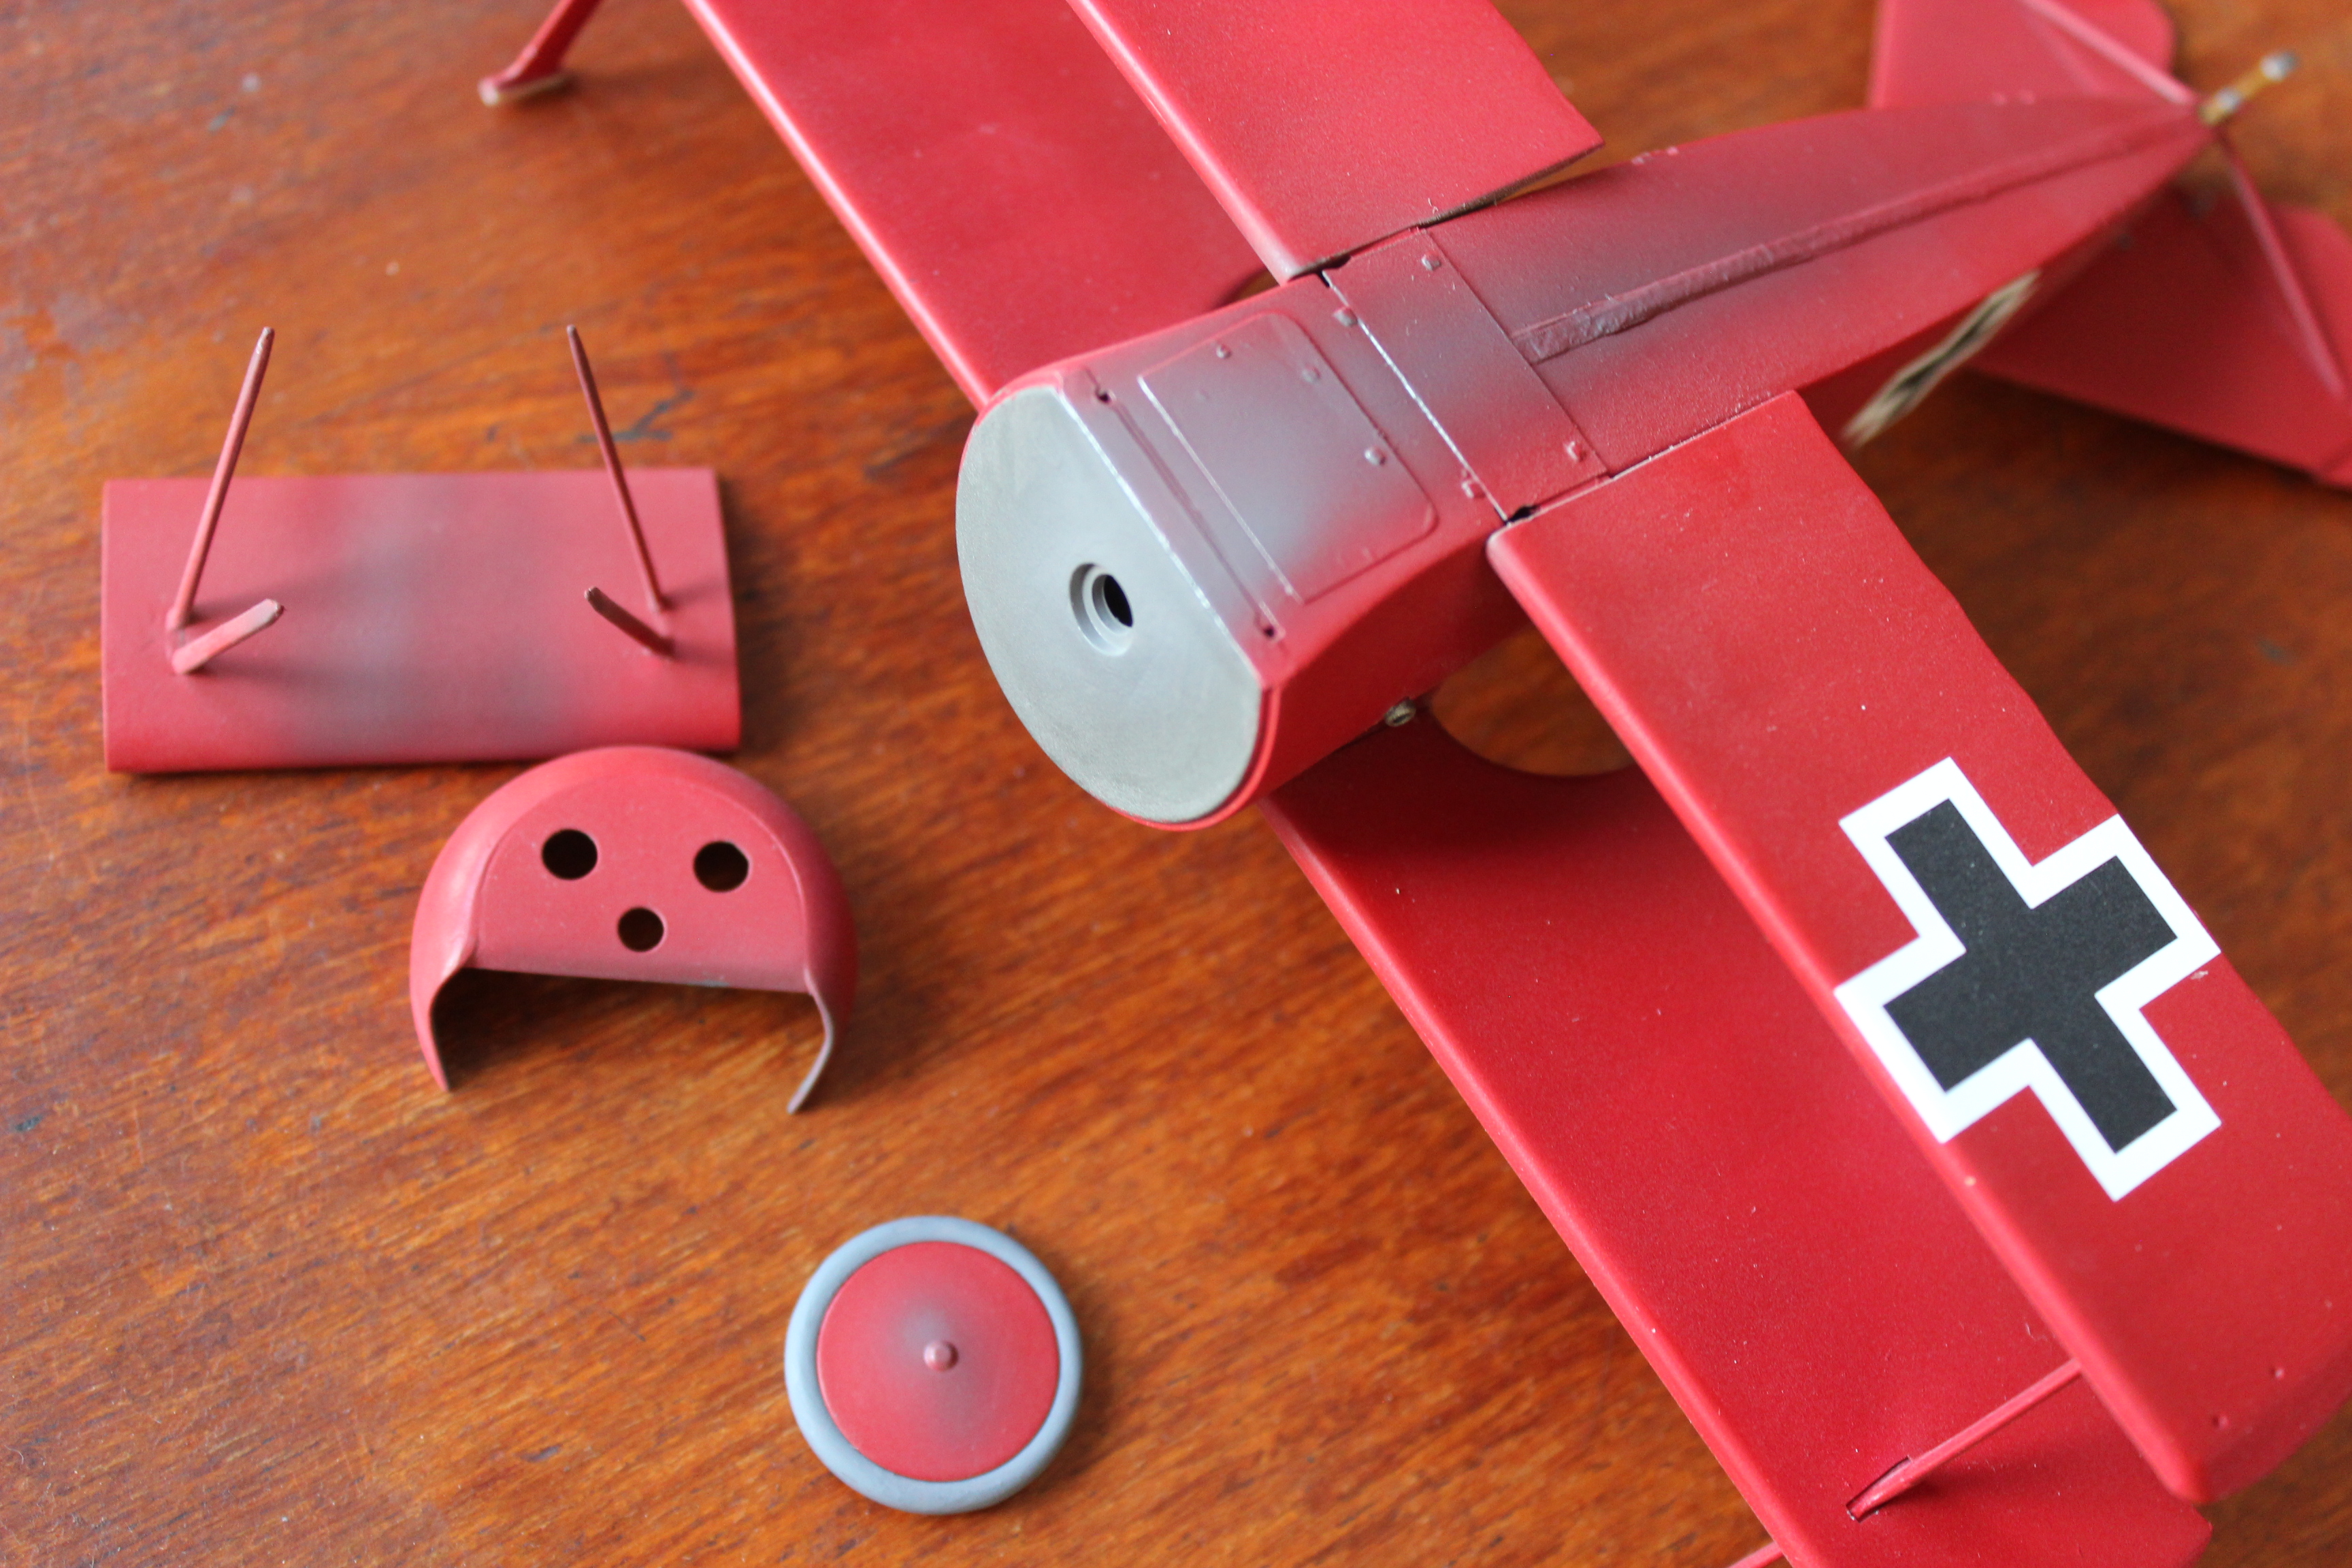
So with this minor hiccup, back to the Roden kit. I did some typical rotary engine-type weathering before putting things together, the under-surface of the fuselage needs some and I steer clear of black or very dark colours, the total loss oil lubricating system sends a fine spray out, more light grey or light brown. Also the upper surface of the undercarriage wing gets a lot - worth while adding some here and very visible in photographs.
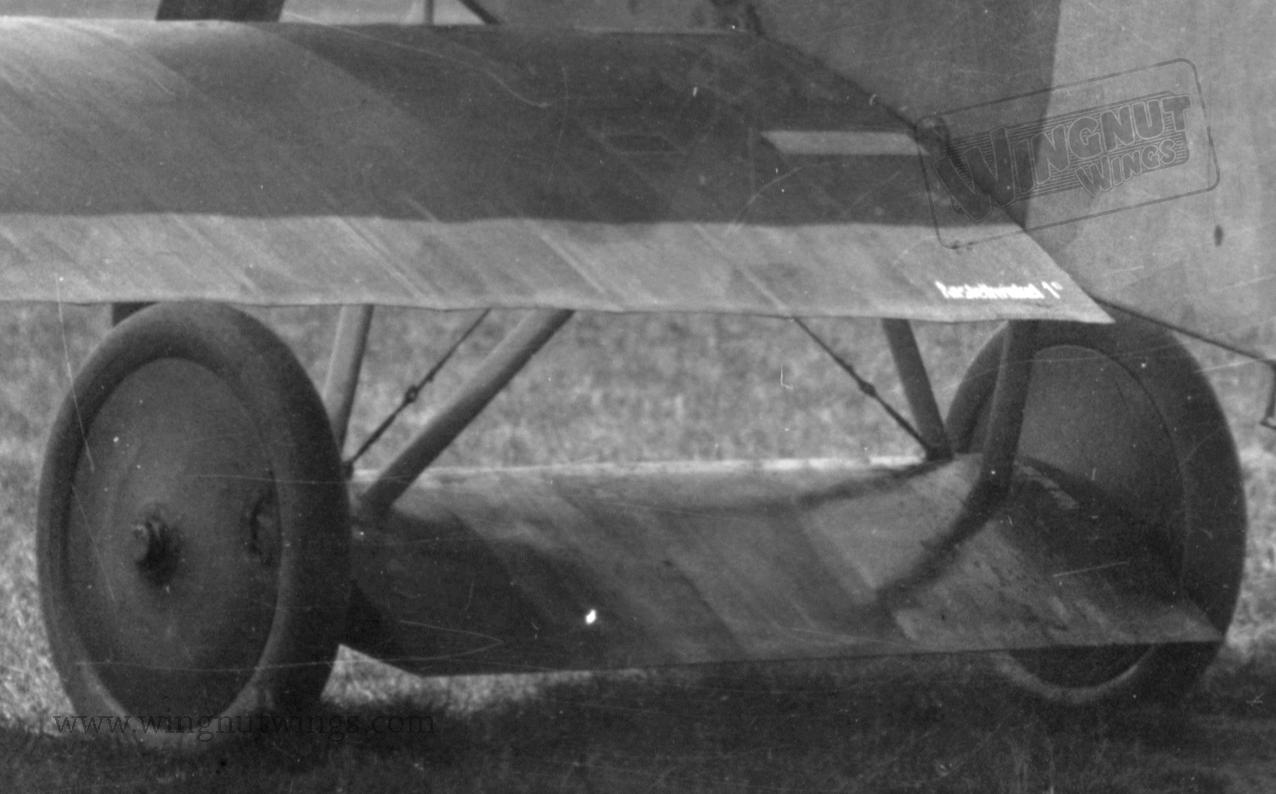
This photo from WNW (research purposes only) show this effect well, I saw one modeller use this photo to surmise this wing was fabric covered with rib detail! It's just dirt...
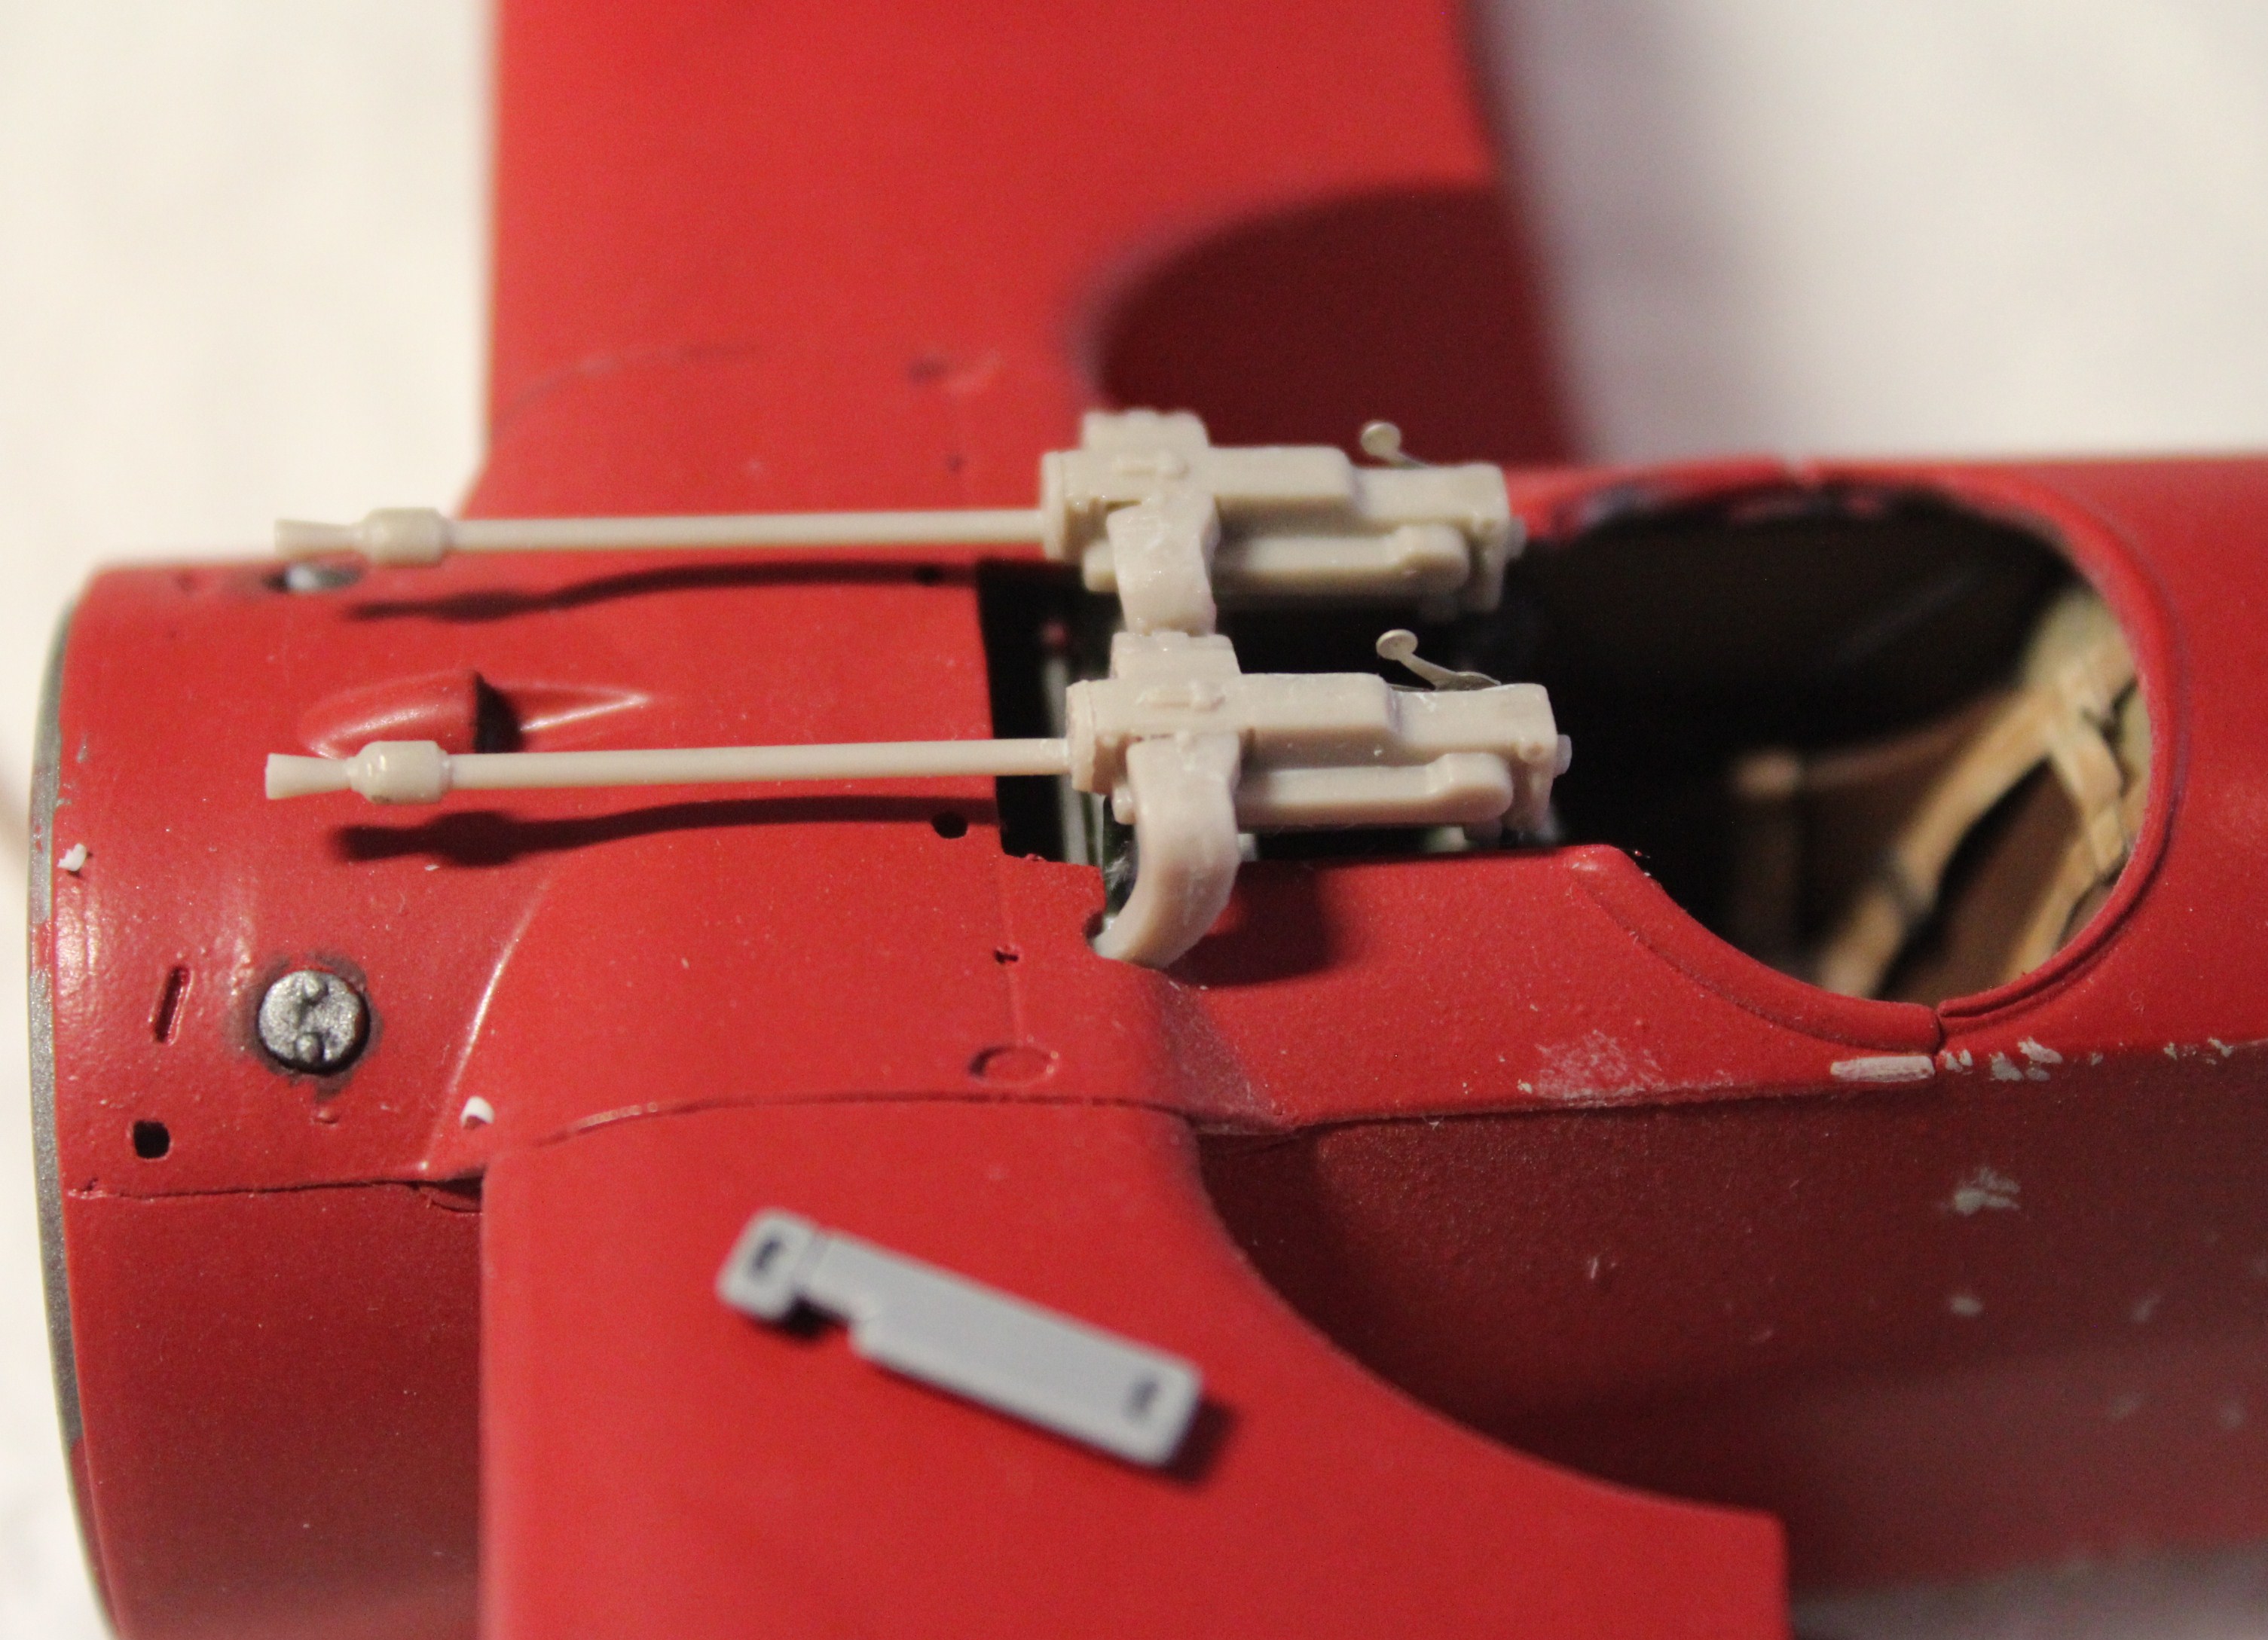
And I'm making some progress on the Spandau's... I decided the add the ammo shutes and shell ejection chutes first and then try them for fit first, I'm so glad I did this as quite a lot of trimming and sanding was needed to get them in place, and then I saw they touched in the middle so I just glued them together and lined them up parallel and here they are drying - next I'll add the butt pad that will firm up this assembly - instant gun-pack! Only after all this fiddling and filing will I add the PE jackets to lessen the chance of squidging them...
That's it for now, enjoy your modelling!
Regards,
Marc

