Author Topic: Airfix Roland CII/DI Project  (Read 5097 times)

Offline Old Man

  • Hero Member
  • *****
  • Posts: 600
Airfix Roland CII/DI Project
« on: July 31, 2020, 06:24:53 AM »
Looking through the shelves after finishing the Junkers, I happened on this:


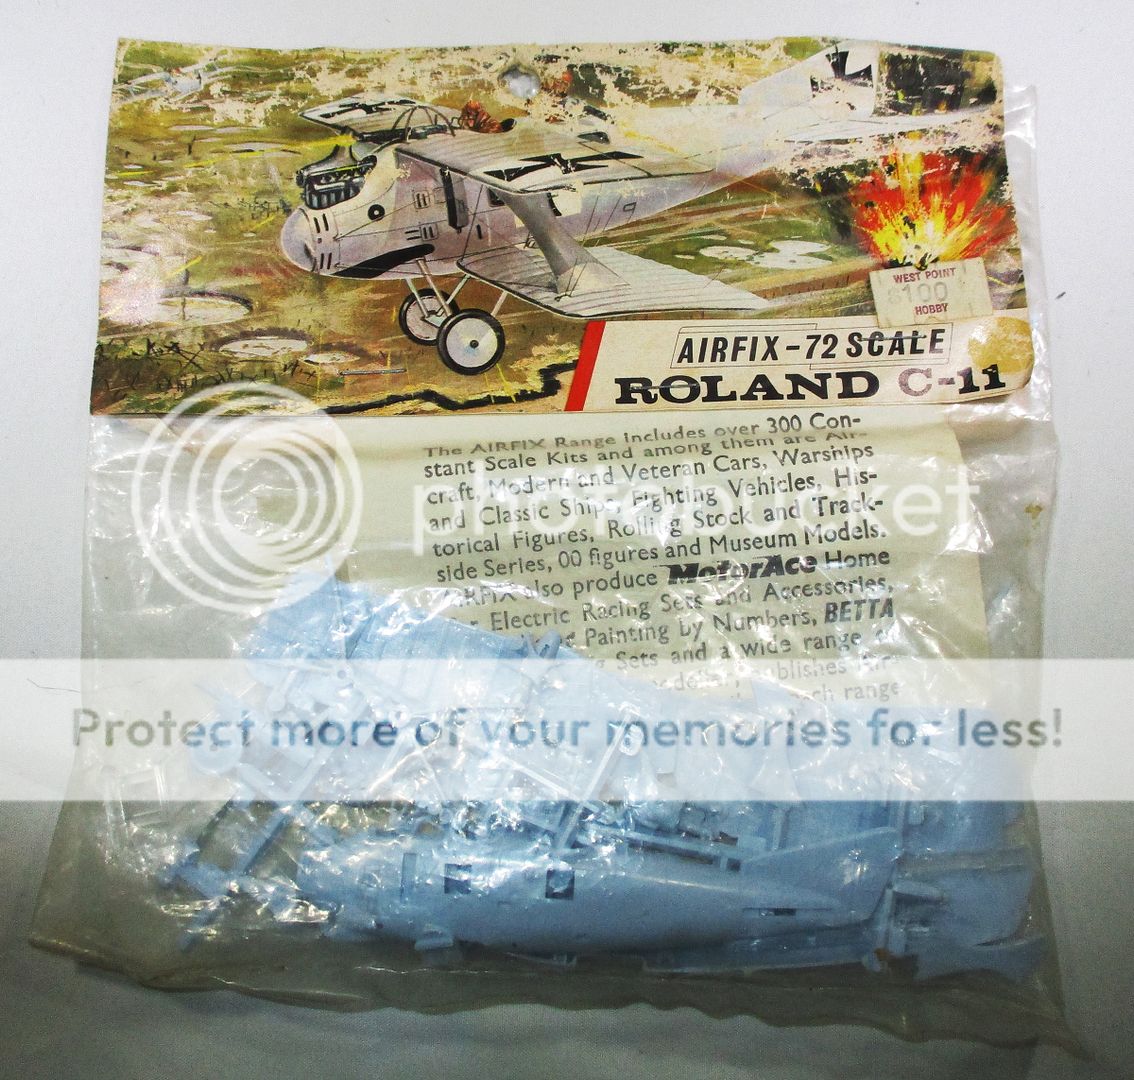
I thought it would be nice to build it, after it had waited so long. I toyed with the idea of doing it as a sort of 'retro build', matched to the Harleyford drawings that were current when this kit came out, but since I did want to do an early example at Verdun, and found the case made for a yellowed linen appearance in an older thread preserved over at the Aerodrome convincing, I decided that since such a finish would go against familiar grain, it would be only right to follow in the footsteps of our IanB and bring the old thing up to scratch.

https://www.theaerodrome.com/forum/showthread.php?t=2230

https://forum.ww1aircraftmodels.com/index.php?topic=6965.msg127967#msg127967

However, in looking through the Windsock, I looked closely at the revised drafting for the Roland D.I at its closing, and was struck by how various portions of the C.II fuselage pieces matched up to portions of the D.I profile.

Since I had in hand a second Airfix C.II kit, of much more recent vintage:


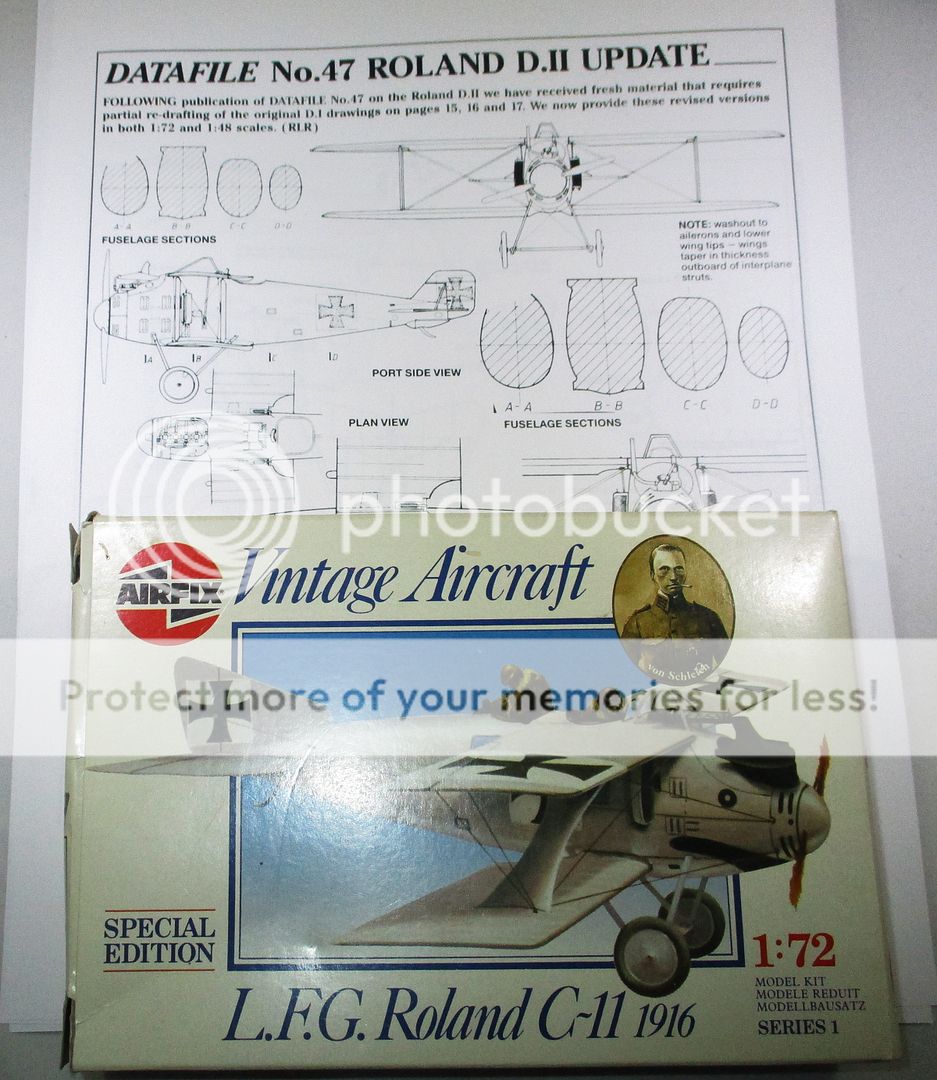
I decided it would be possible to make a D.I fuselage out of its C.II fuselage. Whatever difficulties presented themselves would fall short of those presented by crafting such a rounded fuselage from sheet. I felt like setting to some major plastic surgery, and pitched right in to this.


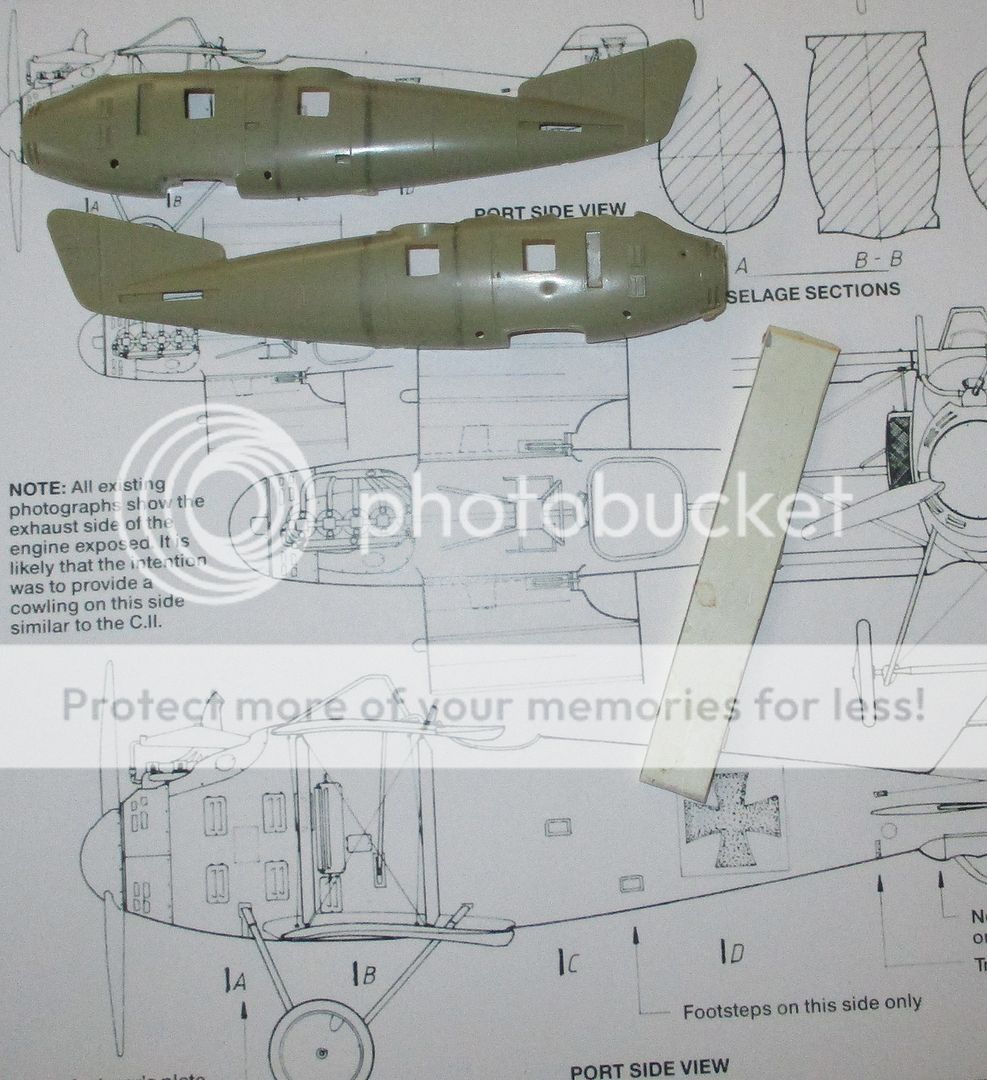
With the aid of a fortuitously sized strip come on amid a box of scrap, the first step was to get everything plugged:
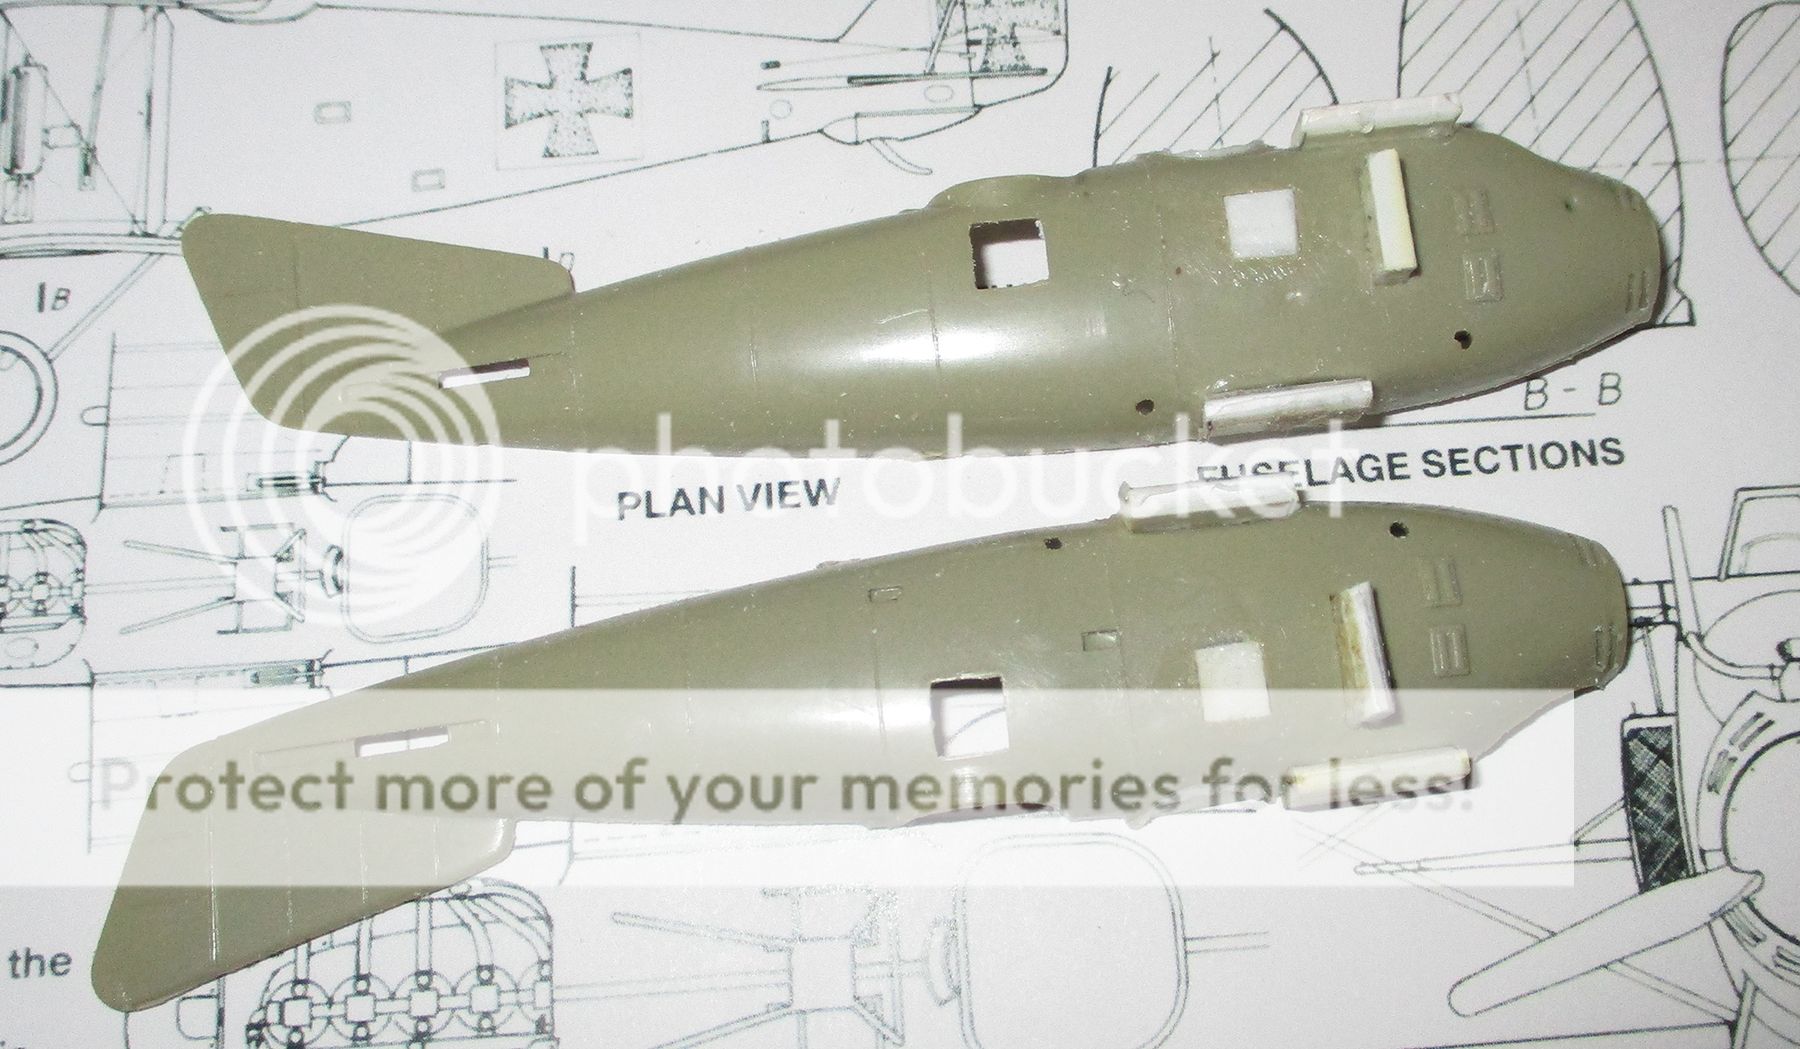


Then smoothed down:


The observer's hatch is not filled in because the observer's cockpit is to be sawn out.


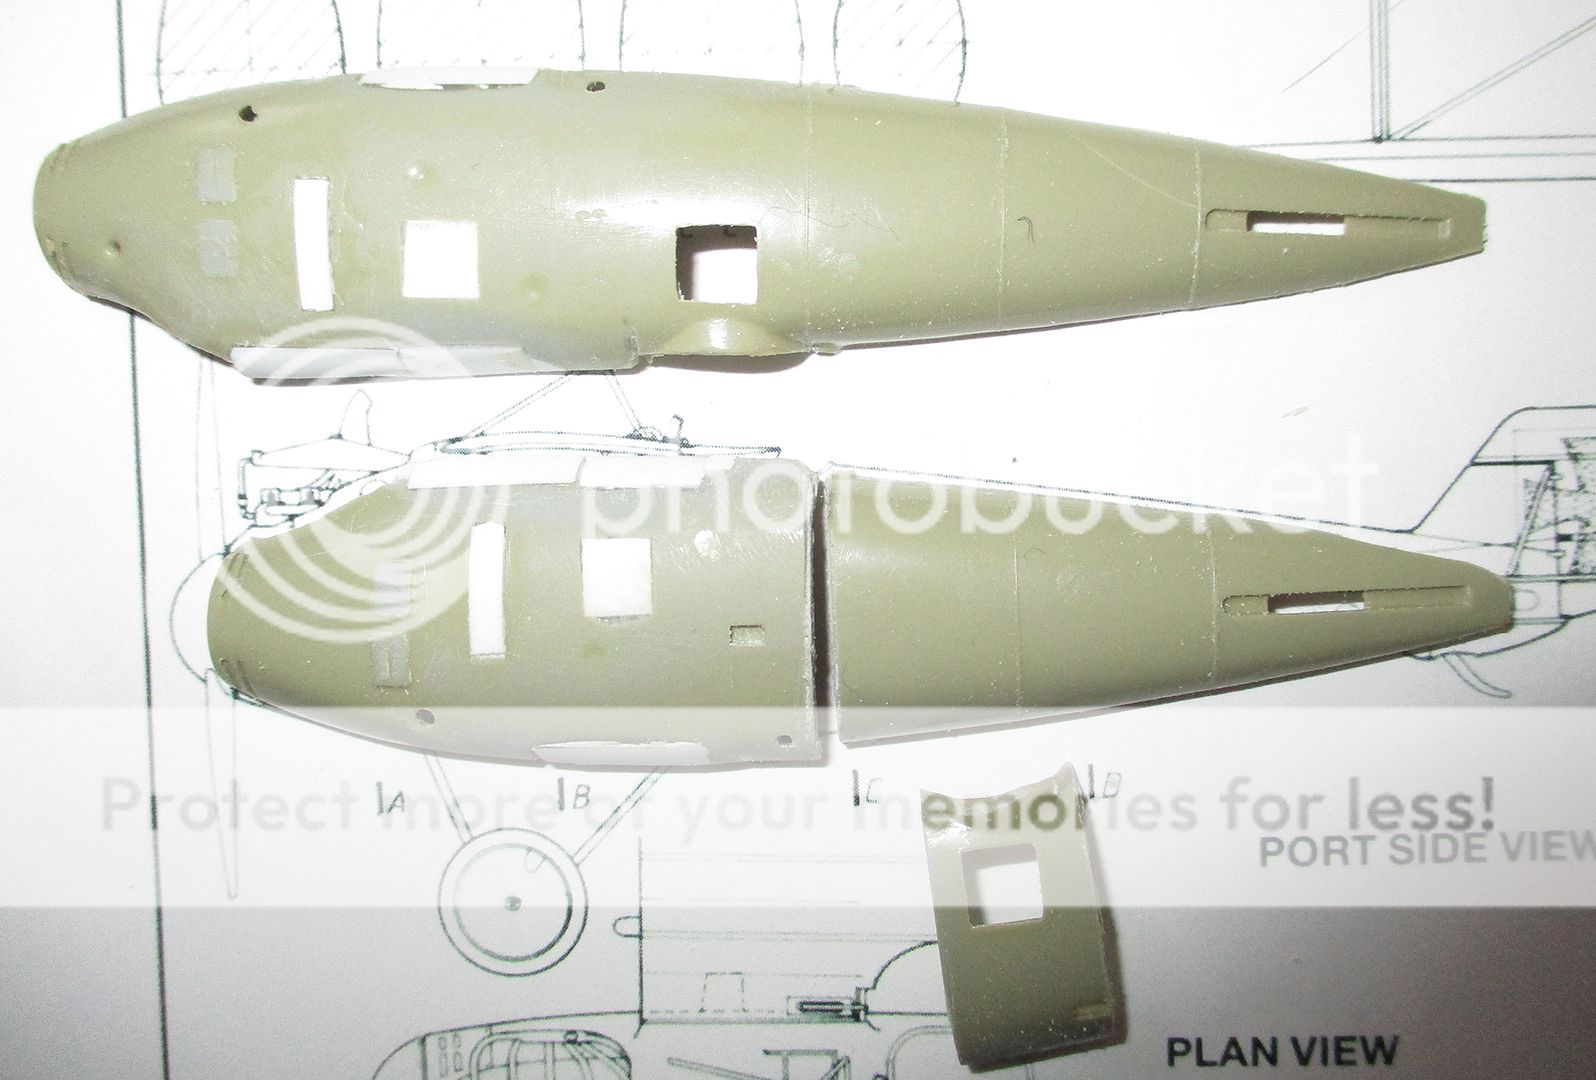
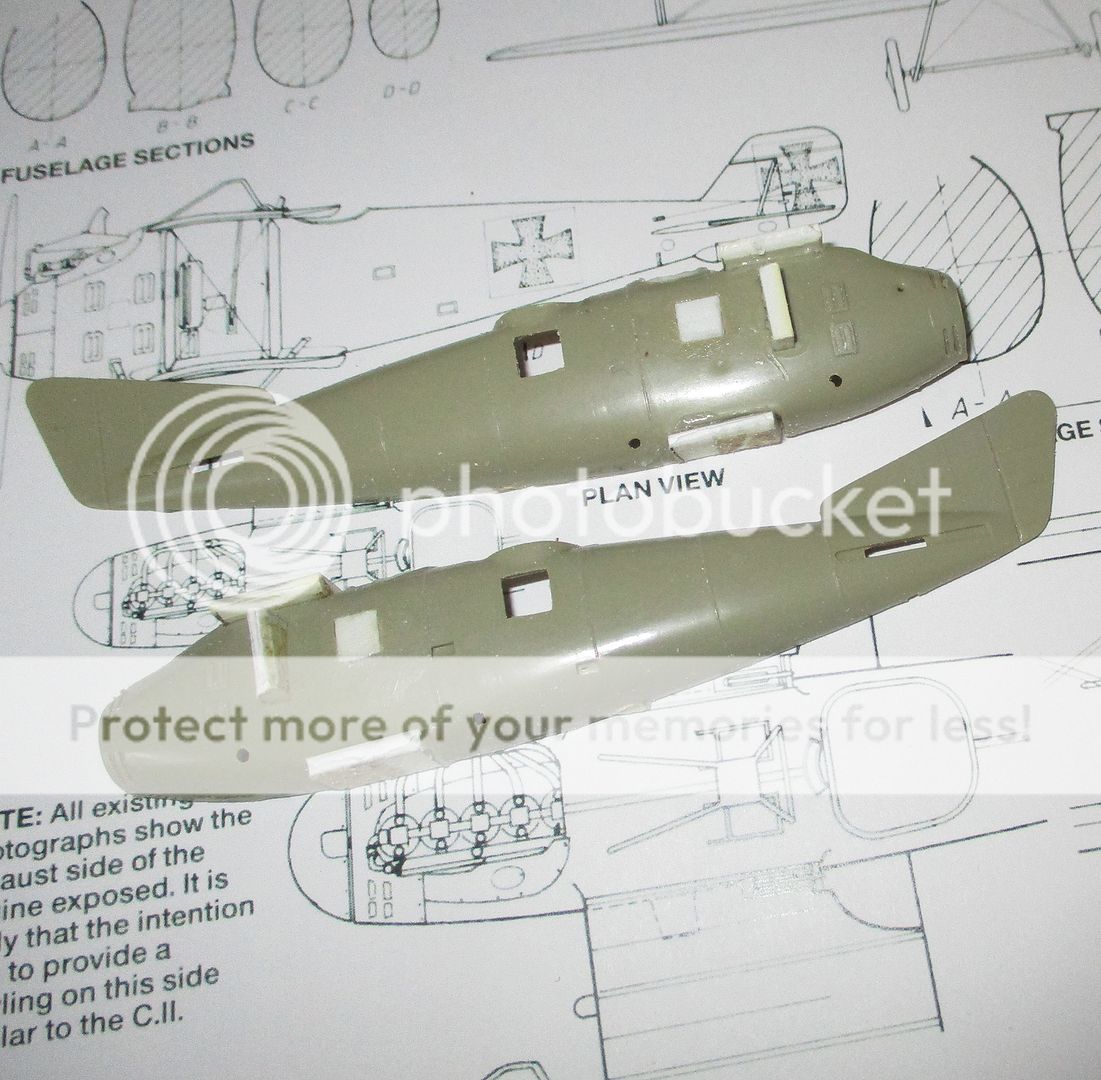
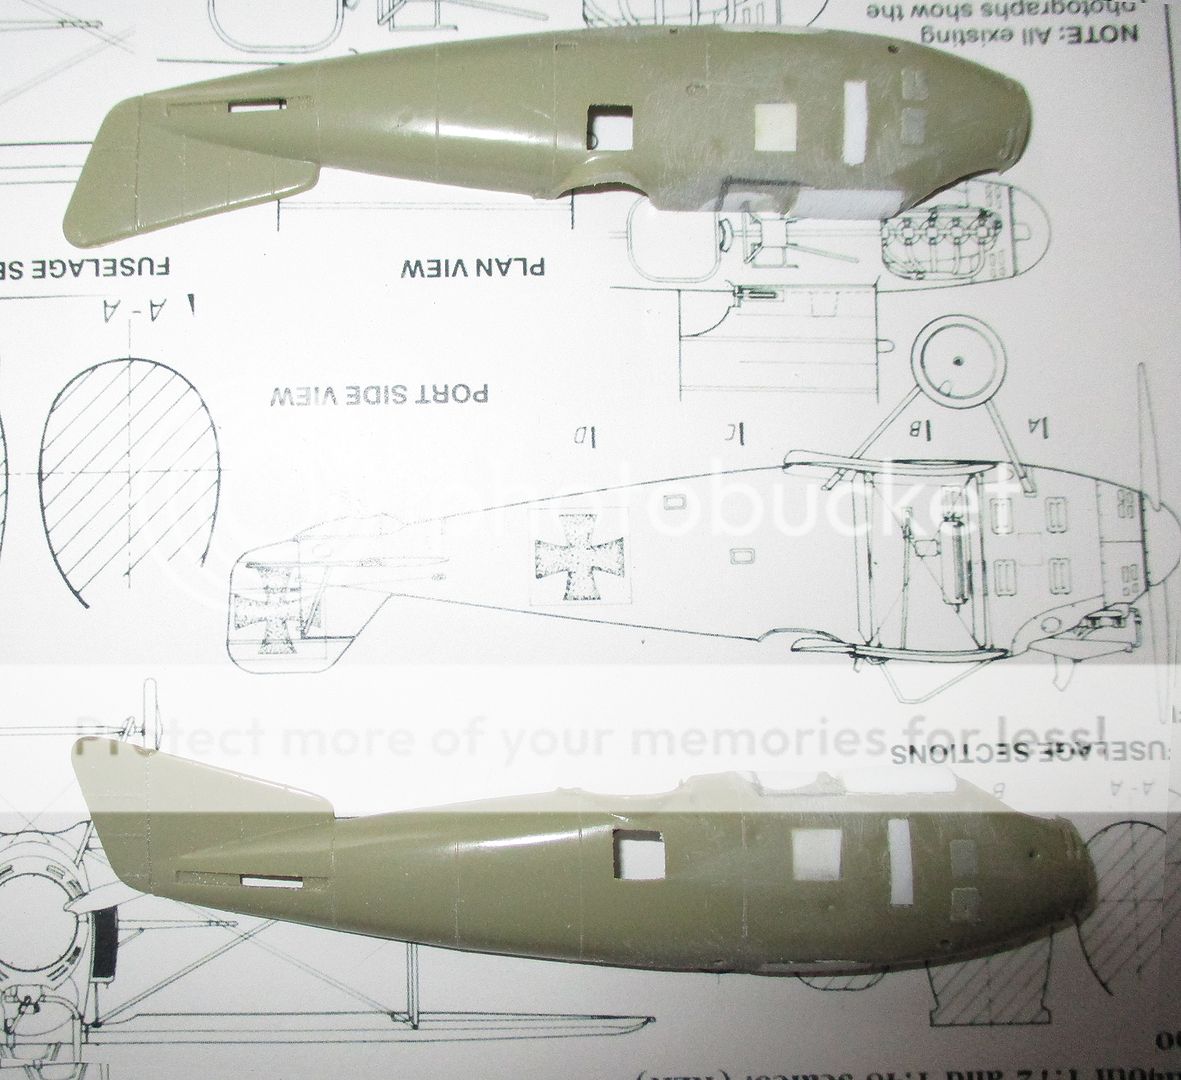
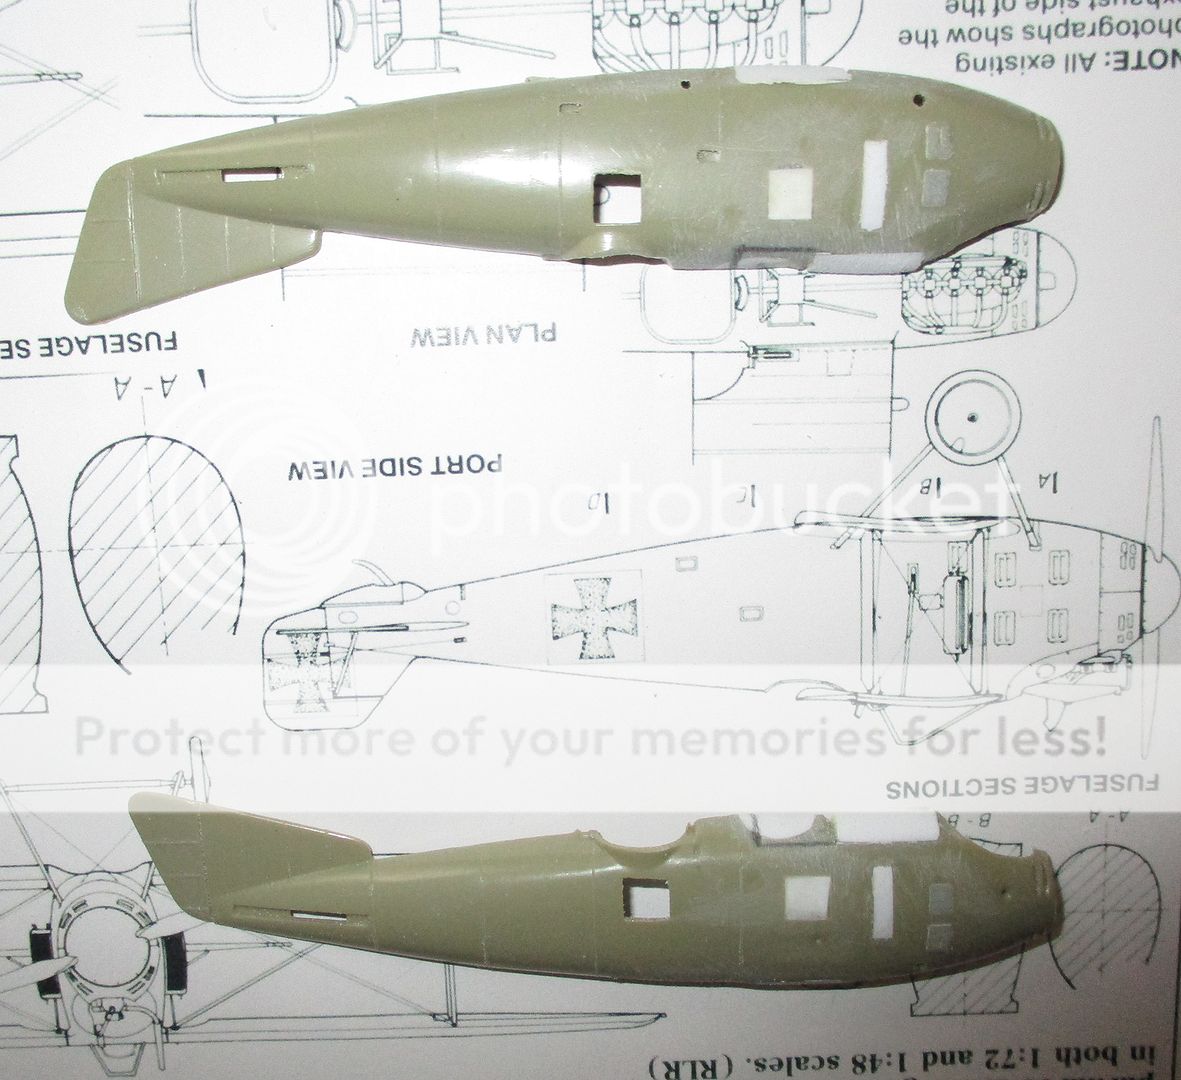
Taking out the observer's cockpit opens a gap of eleven or twelve millimeters, and the fuselage should by the drawings only be shortened by some 8mm. The difference is made up with strips of 1mm sheet, again plucked from the scrap.


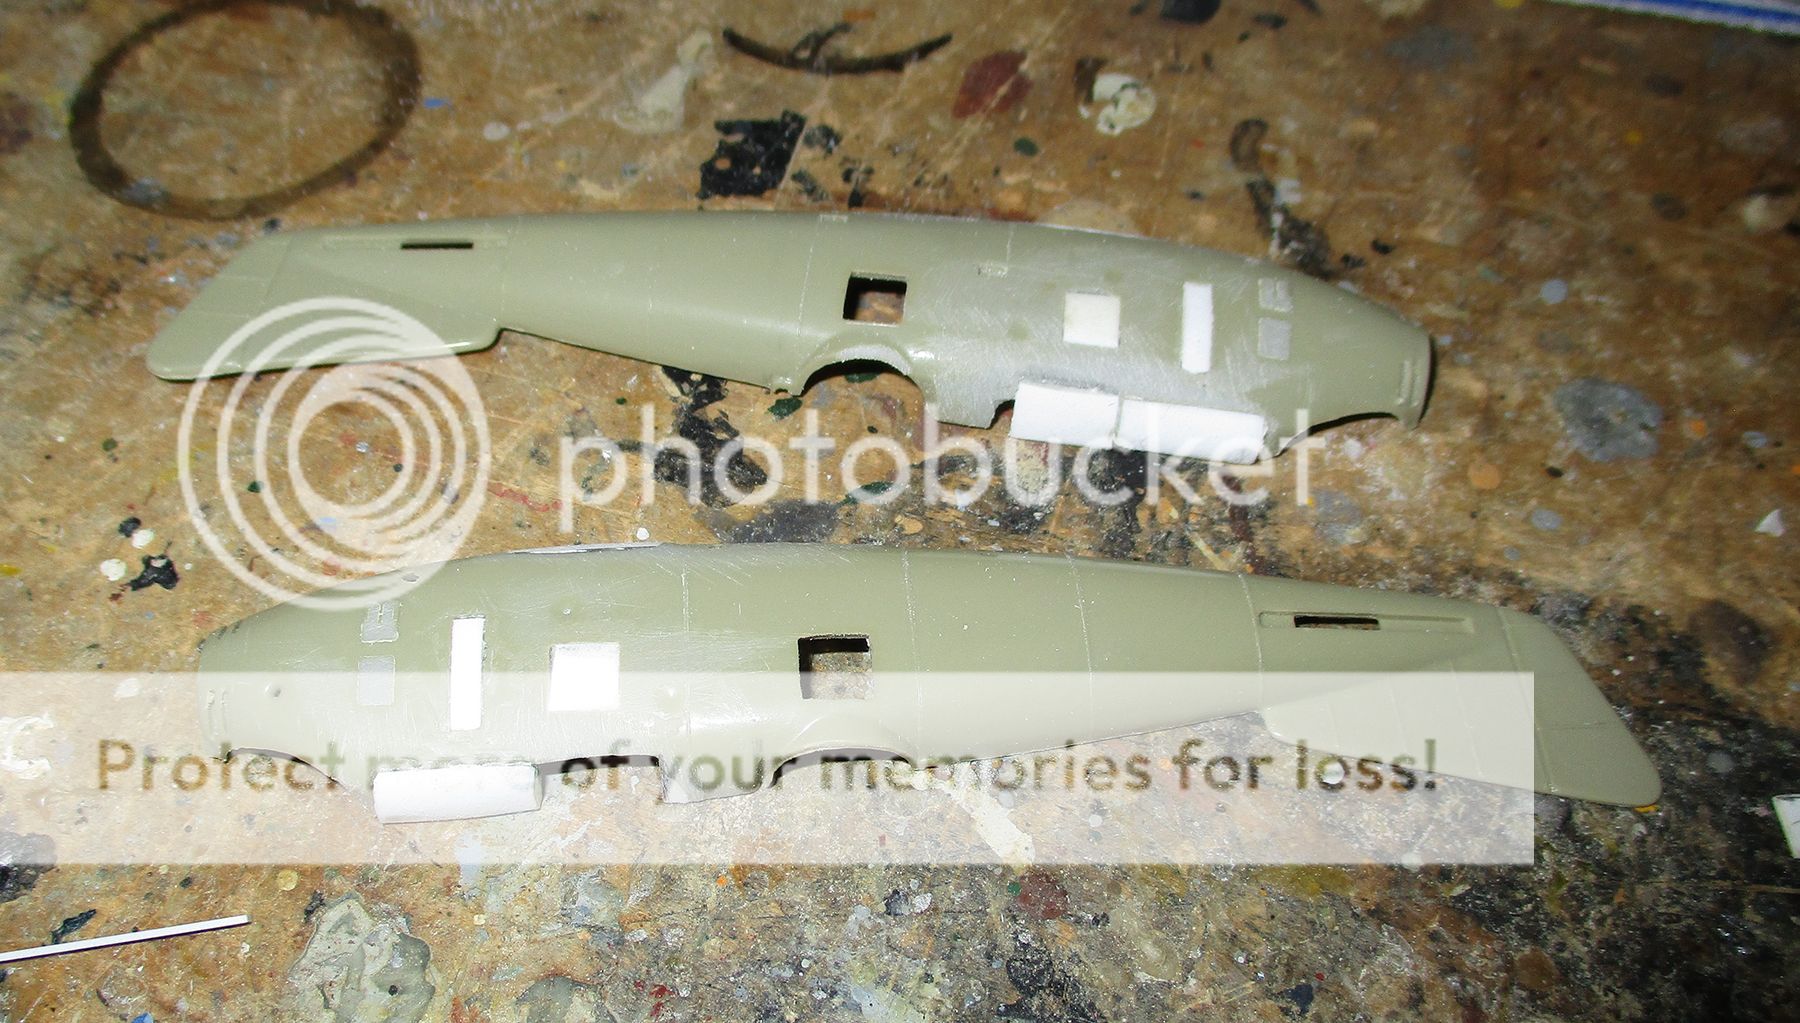
Here the halves are tacked together for mutual shaping by 'salon sticks':


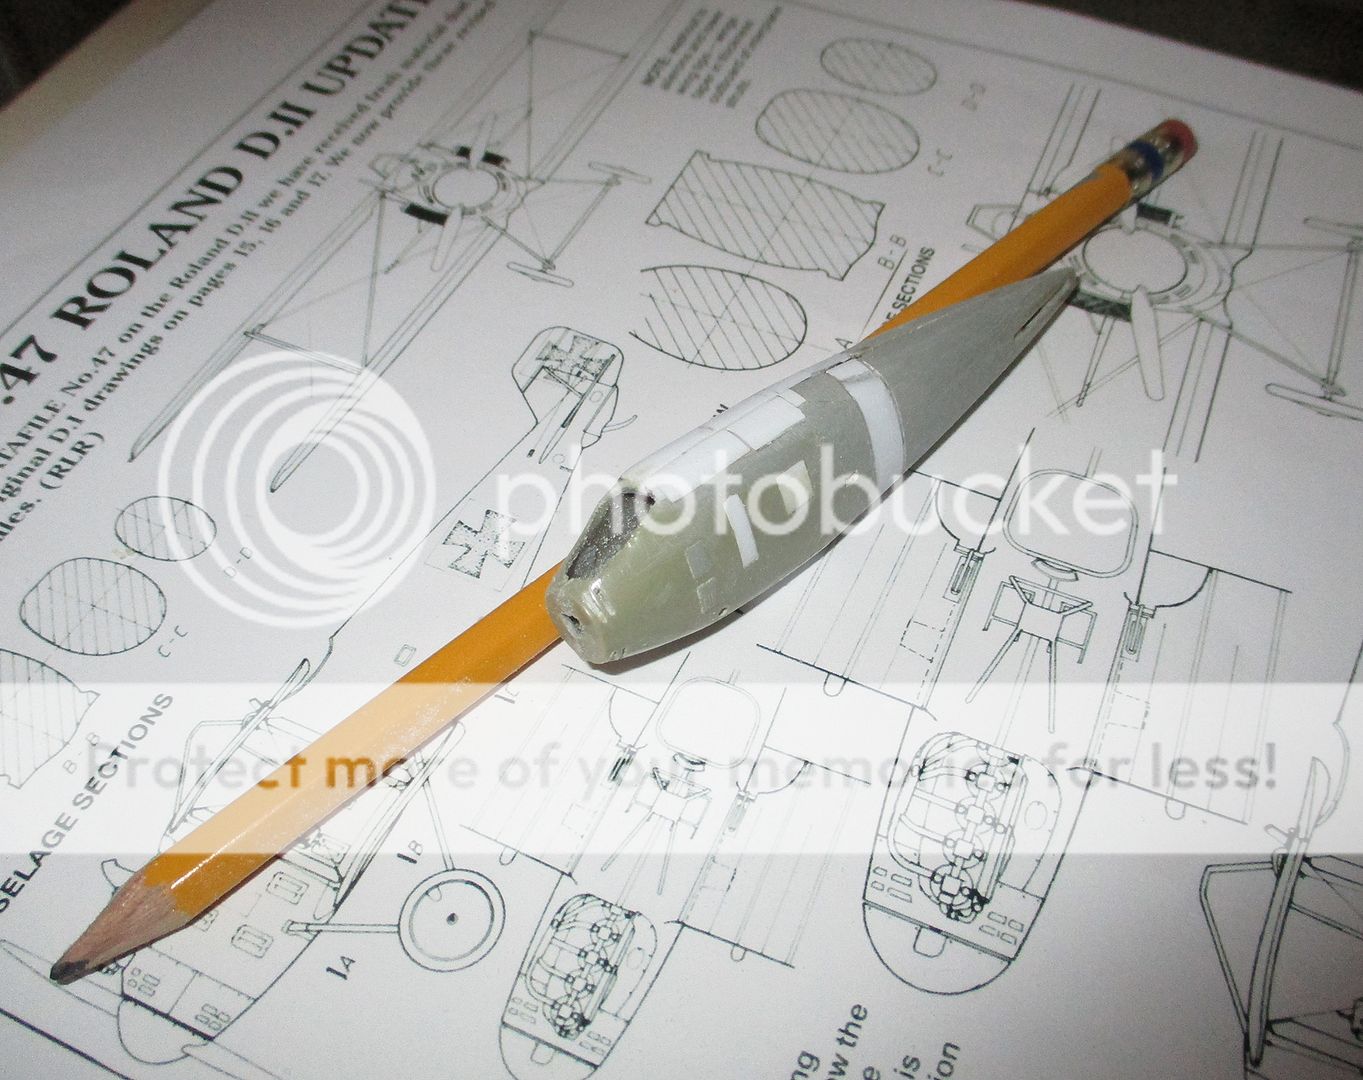
Penciled mark indicates likely location of the pilot's cockpit.

Not only will this have to be opened, but arrangements for attaching the wings prepared. The upper wing's location is pretty close to where the C.II's attaches, but the lower wing is directly below it, not staggered back. At this point the nose is a whole separate animacule, that can be dealt with at leisure.


Online RAGIII

  • Hero Member
  • *****
  • Posts: 18860
Re: Airfix Roland CII/DI Project
« Reply #1 on: July 31, 2020, 08:41:02 AM »
An outstanding start to an ambitious project! Makes me wish I had a WNW CII to follow your ideas  ;D
RAGIII
"A man has to know his limitations": Harry Callahan

"Don't slop it on" Lynda Geisler

Offline Brad Cancian

  • Administrator
  • Hero Member
  • ******
  • Posts: 1083
  • "This time I've got you, Red Baron!"
    • Brad's Models
Re: Airfix Roland CII/DI Project
« Reply #2 on: July 31, 2020, 12:32:57 PM »
Great work Old Man! I am looking forward to seeing how you tackle this one - I have the 1/48 Eduard Roland C.II and 1/48 Hi Tech Roland D.II in my stash for just such a conversion, once I get brave enough :)

Cheers,

BC

Offline lcarroll

  • Administrator
  • Hero Member
  • ******
  • Posts: 8558
Re: Airfix Roland CII/DI Project
« Reply #3 on: July 31, 2020, 12:44:32 PM »
   Something completely different and some "real modelling" to add to the excitement! I'll enjoy following this one OM, I hope you enjoy it as much as I know we all will!
Cheers,
Lance

Offline IanB

  • Hero Member
  • *****
  • Posts: 2441
Re: Airfix Roland CII/DI Project
« Reply #4 on: July 31, 2020, 03:45:31 PM »
Excellent project, and not a little scary that you post this now as only yesterday I had my Merlin Roland D.II kit out and was strongly considering making it my next build!
It's actually a very nice little kit, despite the fact it's Merlin. Definitely one of their best!

Ian

Offline Alexis

  • Hero Member
  • *****
  • Posts: 7947
  • Love the self
Re: Airfix Roland CII/DI Project
« Reply #5 on: August 01, 2020, 10:35:55 PM »
Off to a great start on the conversion , not a subject often modelled so will be following along as you progress with the build  :)


Terri
Hurra ! , Ich Leben Noch
Body and life is a vessel we use to travel the planet . Femininity is the gift , The miracle comes from what we do with it .

Offline lone modeller

  • Hero Member
  • *****
  • Posts: 5322
Re: Airfix Roland CII/DI Project
« Reply #6 on: August 02, 2020, 03:38:32 AM »
Good to see a conversion in progress. I startedmy deviation from and eventual abandonment of kits via the conversion route. They offer so many possibilities that I could easily return to the genre.

Stephen.

Offline RichieW

  • Hero Member
  • *****
  • Posts: 1966
Re: Airfix Roland CII/DI Project
« Reply #7 on: August 02, 2020, 04:46:56 AM »
I love these old poly bagged Airfix kits. Especially when they are given such skillful treatment. Very much looking forward to seeing this unfold.

Richie

Offline Old Man

  • Hero Member
  • *****
  • Posts: 600
Re: Airfix Roland CII/DI Project
« Reply #8 on: August 08, 2020, 01:41:53 AM »
Thank you all for your kind comments and interest in this project. It will be still a week or two before I can get back to the bench (no problem, nothing dire) but I am certainly looking forward to it

Great work Old Man! I am looking forward to seeing how you tackle this one - I have the 1/48 Eduard Roland C.II and 1/48 Hi Tech Roland D.II in my stash for just such a conversion, once I get brave enough :)

Cheers,

BC

Sounds quite do-able, Sir. Hope to see you manage it. If I were doing this again, which I doubt I will, I expect I would not 'plug' the notch for the upper wing, but rather extend it a bit back on the fuselage pieces. I will have to re-open such a notch, as a centerpiece is needed for the upper wing particularly. Angle its edges right, and the wing panels from the kit can be attached. Their chord is close enough, by the drawings, and correcting the tips and adjusting span won't be much work. The lower would still need filling, as the D.I had unstaggered wings.

Excellent project, and not a little scary that you post this now as only yesterday I had my Merlin Roland D.II kit out and was strongly considering making it my next build!
It's actually a very nice little kit, despite the fact it's Merlin. Definitely one of their best!

Ian

Hope you proceed with it, Sir. That is a particularly interesting machine. I have not been able to figure out how to blend that 'keel' cabane into any fuselage yet. Converting to a D.I is something I sort of stumbled into from looking at the drawings. I have never actually held one of the legendary Merlins, but I do have a VeeDay Flycatcher somewhere on the shelves.

Off to a great start on the conversion , not a subject often modelled so will be following along as you progress with the build  :)


Terri

I do like the odd ducks, Ma'am. The competitors of the Albatros have long intrigued me, one early scartch-build I never completed quite was a Fokker D.I. This Roland D.I is sort of an also-ran that never really was. They might have got a bit better notice if production hadn't been delayed by the Roland factory catching fire while the first batch was being assembled, but it was a flawed design. A few made it to the front, however, and photographs of two with Jasta 5 at the start of 1917 are in the Windsock D.II number. In a nose-down posture these often assumed on landing, spinners in the snow....

Good to see a conversion in progress. I startedmy deviation from and eventual abandonment of kits via the conversion route. They offer so many possibilities that I could easily return to the genre.

Stephen.

I recall some of the extreme conversion you made, Sir. Most impressive. The 'El Sonora' build is enough scratchbuilding for me just now. That is so delicate I have a yen for something solid and some serious hack and hew. This build certainly has that in abundance. I have a few other conversion in mind, most reasonably simple (an Avro 504C from an Airfix 504K, for example, or a Fokker E.I from an Eduard E.III), but others fairly extreme, such as using an E.III fuselage as a step up towards a Fokker D.II. That would need scratch-built wings, of course....

Offline Alexis

  • Hero Member
  • *****
  • Posts: 7947
  • Love the self
Re: Airfix Roland CII/DI Project
« Reply #9 on: August 27, 2020, 11:47:10 AM »
How's the progress coming along ?


Terri
Hurra ! , Ich Leben Noch
Body and life is a vessel we use to travel the planet . Femininity is the gift , The miracle comes from what we do with it .

Offline gbrivio

  • Hero Member
  • *****
  • Posts: 1682
Re: Airfix Roland CII/DI Project
« Reply #10 on: September 01, 2020, 06:11:23 AM »
Pure "old days modeling": excellent start. Looking forward to updates.
Ciao
Giuseppe

Offline Old Man

  • Hero Member
  • *****
  • Posts: 600
Re: Airfix Roland CII/DI Project
« Reply #11 on: September 02, 2020, 05:18:50 AM »
How's the progress coming along ?


Terri
Pure "old days modeling": excellent start. Looking forward to updates.
Ciao
Giuseppe

Thank you for your interest. I have been back at this, and will be posting up progress shortly.

Offline Old Man

  • Hero Member
  • *****
  • Posts: 600
Re: Airfix Roland CII/DI Project
« Reply #12 on: September 02, 2020, 05:47:41 AM »
Starting to grapple with getting wings on.

This is going to require a center section, with an airfoil curve on its upper surface, and flat on the bottom. If I recall the dimensions correctly, the piece is 18mm long, and should be 12mm wide. The blank is at present 14mm wide, as I like to have a little extra when beginning. It is made from a reasonably sized piece of 2mm sheet out of one of my scrap boxes, and the extra bits left can be seen in the pictures.

To fit it, I have had to sand down all my patchings on the upper forward fuselage. I had a cockpit opening in, but the front of it had to go. If I had thought at the start about how best to fit the wings, I would have skipped all my patching, and putting in a cockpit opening, and simply sanded the area down, but sometimes it is best to just pile in and get going. I don't consider the original work a waste: I enjoyed doing it a good deal, and learned how brittle the plastic in this kit is.

What you see below is not assembled, but simply tacked together with tiny dabs of CA. It holds well enough for test-fit and study, but can be popped apart easily.


Here are a couple more shots, showing the upper wing piece corrected at the tips, to proper rake and straight trailing edge ailerons. Note the center section piece is concave on its interior face --- this may need to be made more pronounced at the front and rear. The plan is to cut the outer panels off the kit wing, and join these to the center section piece, a la Roden Albatros upper wing arrangements. The shortened span will let me make the cut outside the cut-out of the kit's piece. There will need to be a slight angle at the root end of the panels, as the wings of the Roland D.I have a slight sweepback. Taking down the over-done scalloping on the trailing edge will get me the right chord.


Next I am going to figure just where the center panel needs to go, which will require 'sighting in' with the motor (from a Roden spare). Four cylinders should be visible in plan view (as opposed to five for the C.II). It may be necessary to move the cockpit opening forward a tad.

When I get to doing ribs for this, the C.II will be begun as well.

Offline lone modeller

  • Hero Member
  • *****
  • Posts: 5322
Re: Airfix Roland CII/DI Project
« Reply #13 on: September 03, 2020, 01:45:33 AM »
Excellent and very helpful description of your methods and problems overcome - really useful for anyone else who wants to attempt this. Two conversions running simultaneously should be even more interesting.

Stephen.

Online RAGIII

  • Hero Member
  • *****
  • Posts: 18860
Re: Airfix Roland CII/DI Project
« Reply #14 on: September 03, 2020, 07:11:47 AM »
All I can say is your work is looking Awesome! Nice idea for the wing mounting section!
RAGIII
"A man has to know his limitations": Harry Callahan

"Don't slop it on" Lynda Geisler