Hi all.
Back from our little sojourn, we had an absolute blast and I enjoyed having my brother here for a week - his 3rd visit in the nearly 5 years I've been here. Qasr al Sarab (it translates as Palace of the Mirage)
is a fantastic place to unwind, if a tab expensive. However it is unique in being in the desert - the last 12 km is a road which leads only to the resort, here's a little video to show the terrain.
 20230203_124544
 by
Ian B63, on Flickr
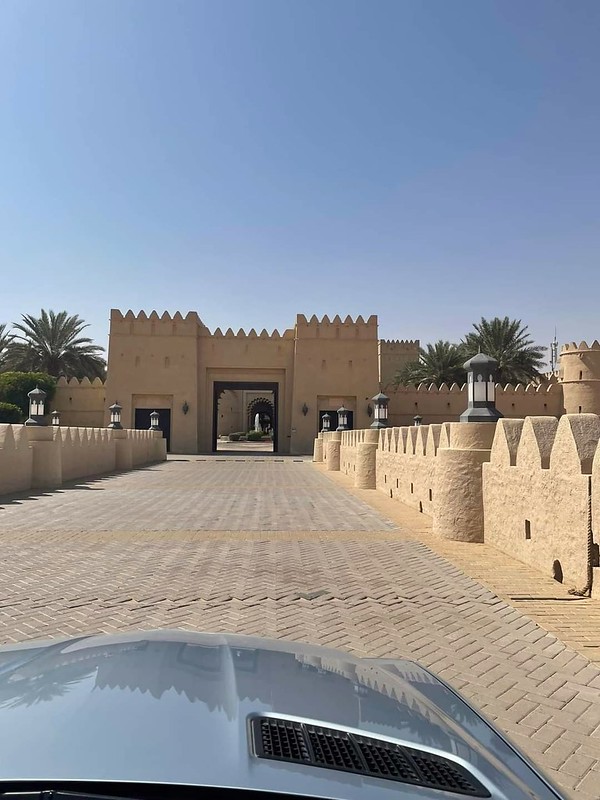
and here's the entrance
sunset from our room

Saturday was a busy day, starting with a massage! Archery in the afternoon - both my brother and I competed as kids and both won our local club's under 12 competition. This was our first time since then, it's amazing how quickly it all comes back.
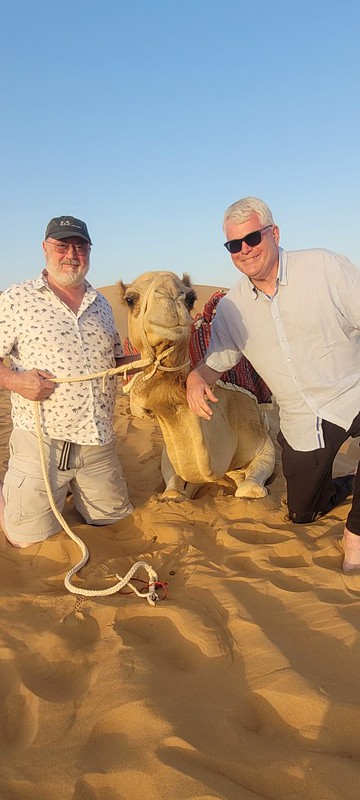
Lastly an evening camel ride up the dunes. Not the most comfortable mode of transport I've ever experienced - especially when the camel stands up which it does rear end first. If you're not ready, it'll throw you off forwards!

Then chilling out by the pool with a few drinks. All in all a great couple of nights.
Anyway, I digress.
I got back on the Taube yesterday and basically didn't achieve anything!
Here is why I've been having issues

I'm not sure if you can see from the pic but the underside of the fuselage is not flat. It slopes upwards towards the join, which of course it shouldn't! It also means that it's extremely difficult to hold everything in position accurately for test fitting. I finally did what I should have done in the first place and added plastic strip tabs as locators. I have also cut the front of the nose off as it's too short. I'll deal with that later.

With those added I could see that the engine was too low, so I removed and raised the strips I'd added to mount it on. In the process of trying to test fit the engine I managed to knock off some of the Mr Liquid Putty I'd added to alter the cockpit shape, so that has also been replaced.
That is all now drying.
Here is the engine as it now stands. The cylinders are a sacrificial print to get the fitting right. I will remove them and add a new set once all the adjusting is done so I don't break off all the valve rockers. I've also removed the carbs and will add new ones from plastic rod once the final cylinders are in place.

That's about it for now, almost time for a beer or two!
Thanks for looking in,
Ian

