Thanks for your kind comment, MC65!

Another update, I've made a bit of progress in the bit of time available between Spring yard clean up and the normal real life interruptions.
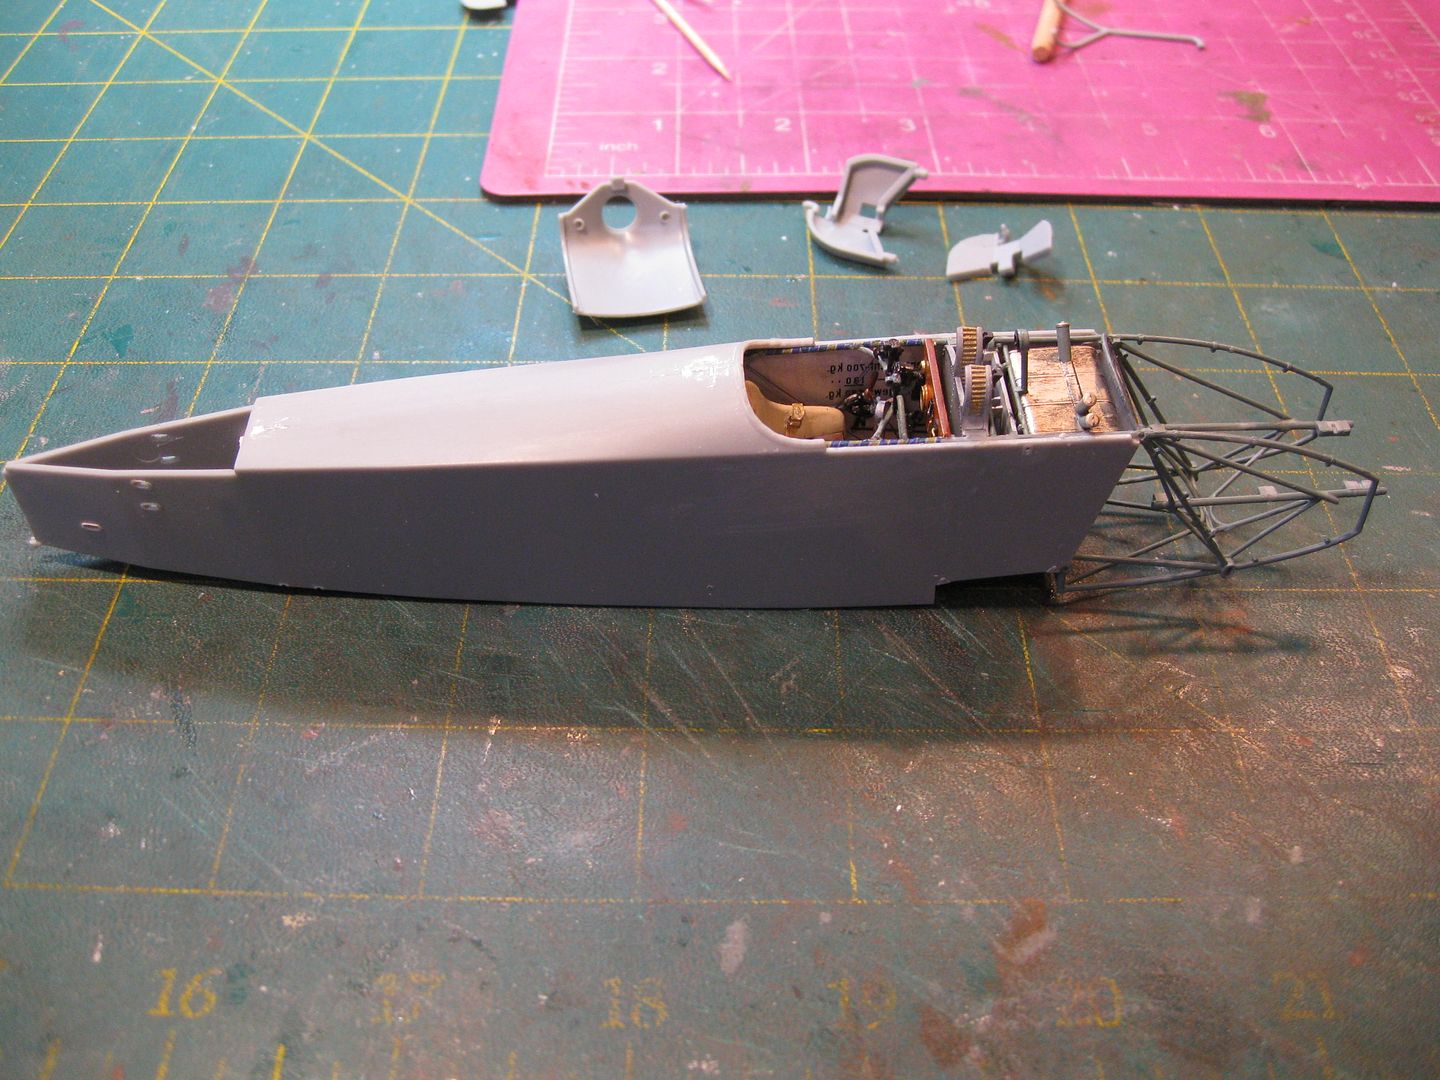
Here's some quick work bench photos from this morning; I hope to get back to some work on this later today. I started the completion of the fuselage by installing the three cables from the control stick (throttle and two gun cables) but didn't get a photo before closing her up. The last task completed was to taper and enlarge the rudder and elevator control wire fairleads on the rear fuselage.

The fuselage was then closed up; only minor filling was required as the fit was very good.
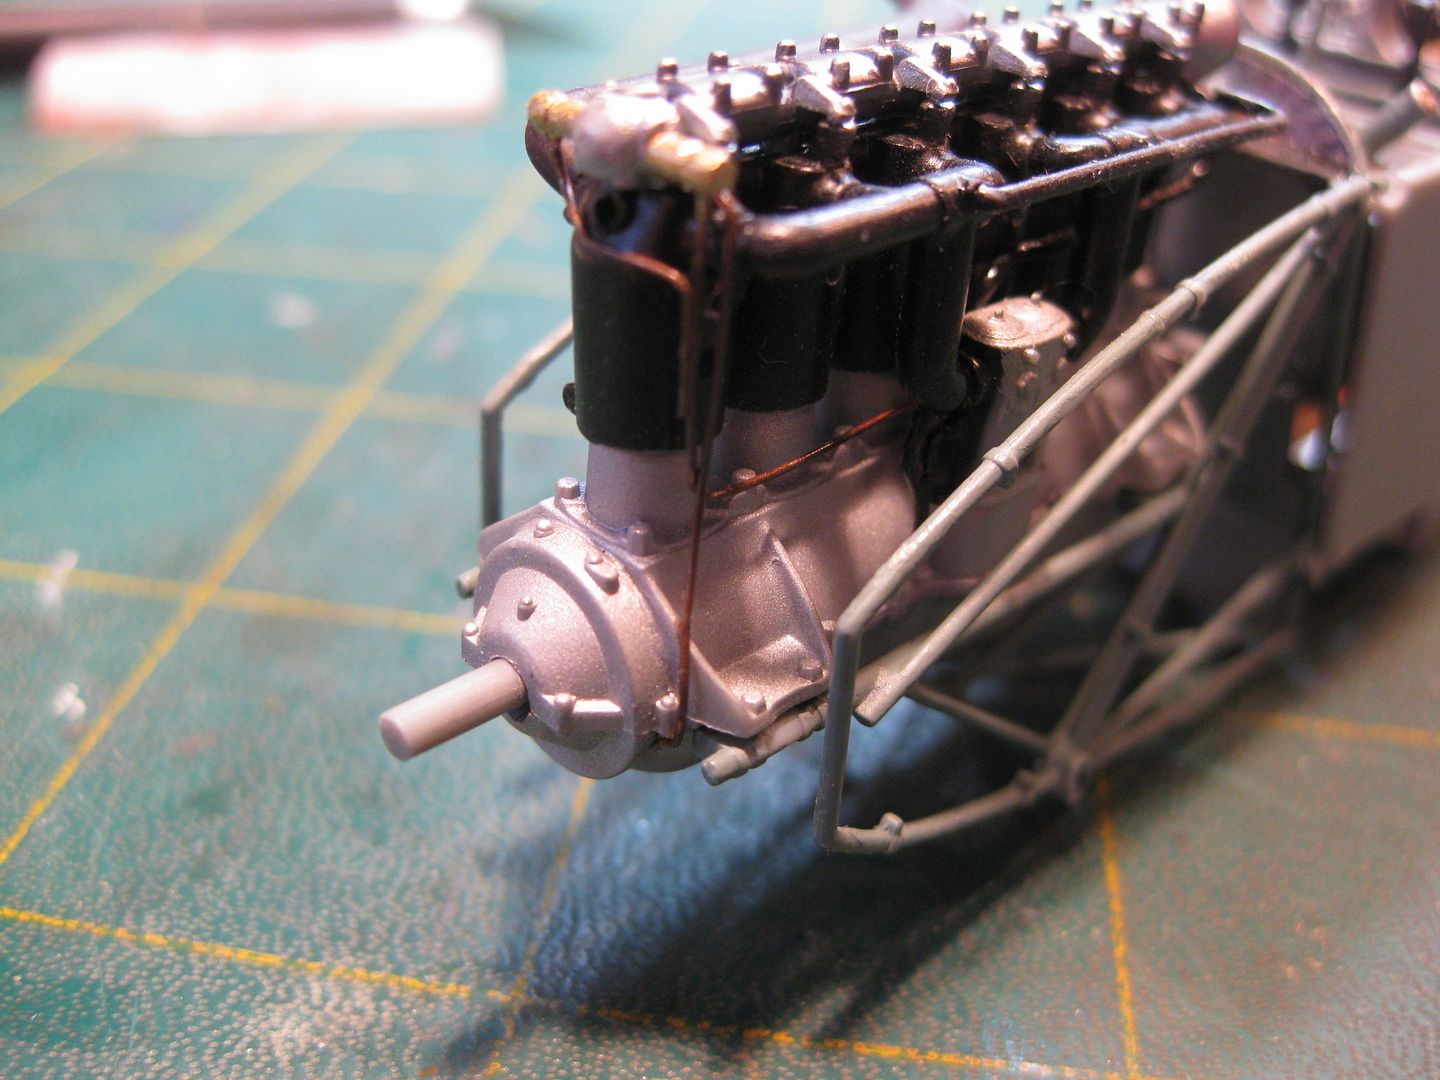
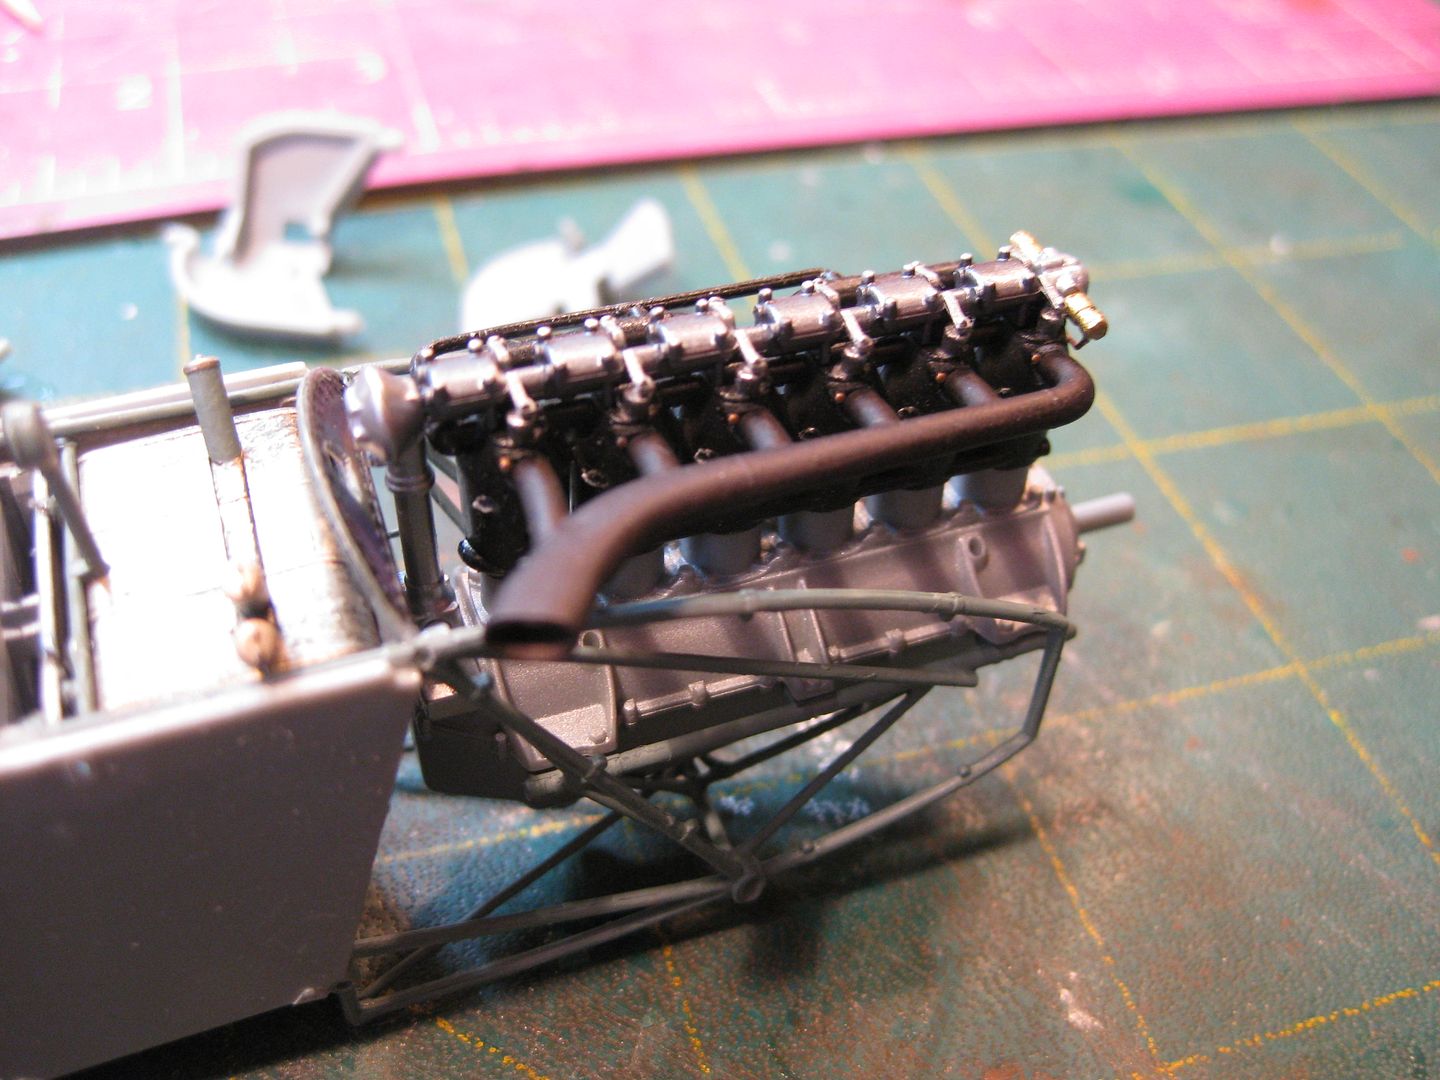
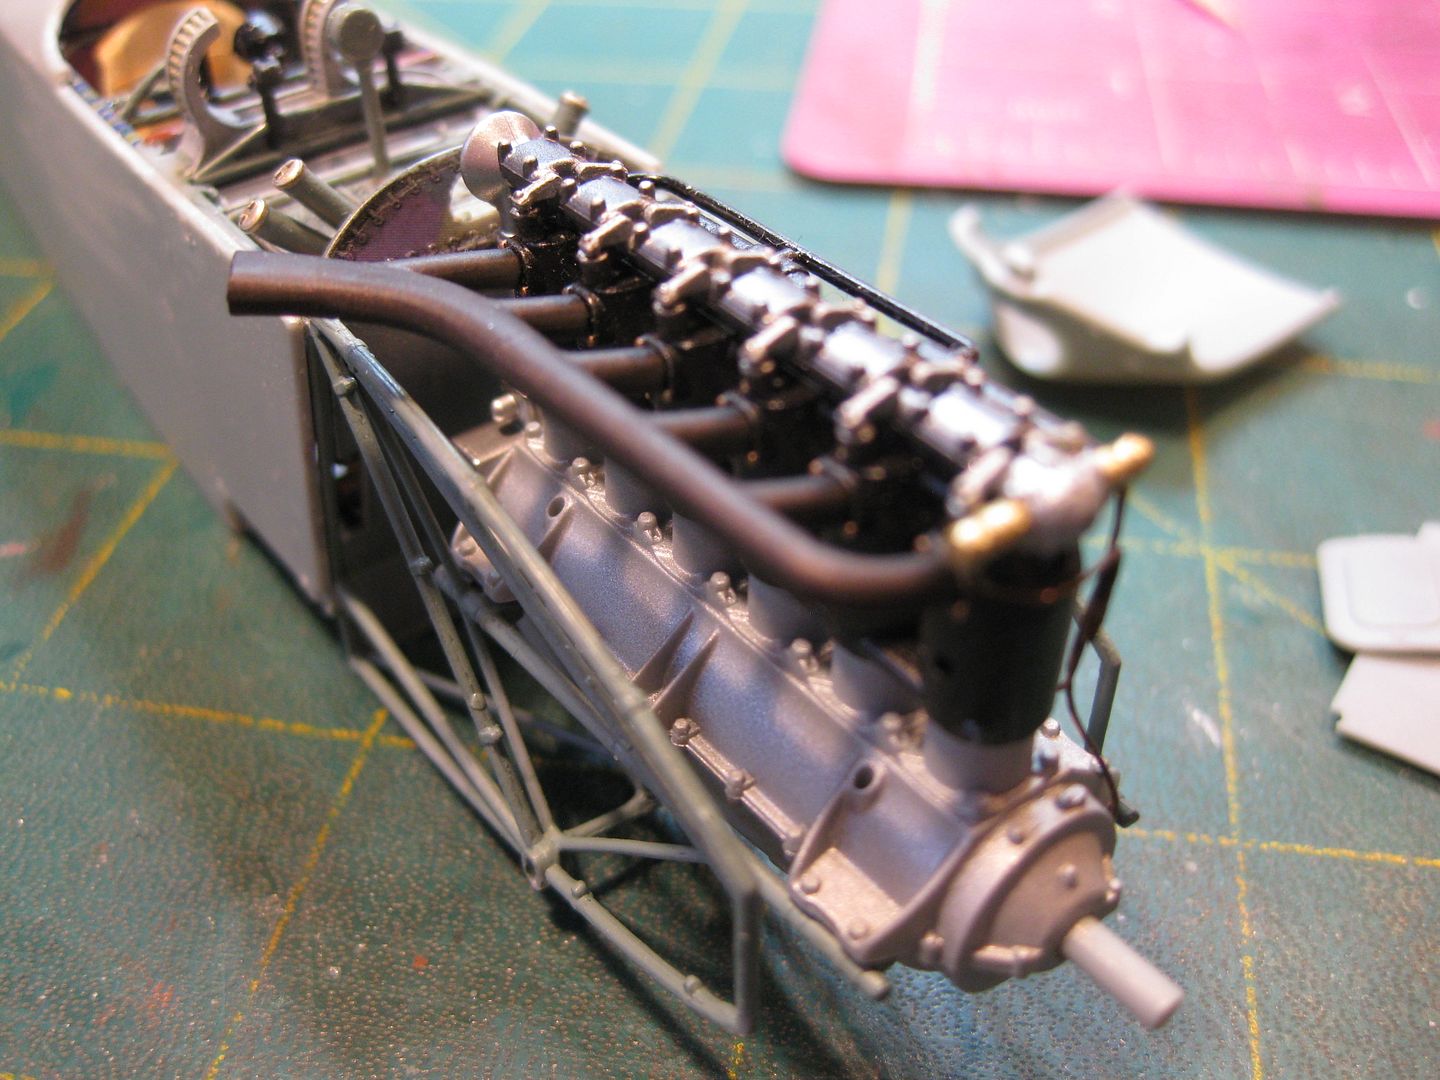
Next done was the engine, the 200 HP DIII au version. I elected to do only the top part as most of it will be fully enclosed by the cowlings and further covered by the Spandau's flash guards. The exhaust was done with Alclad II "Exhaust Manifold".
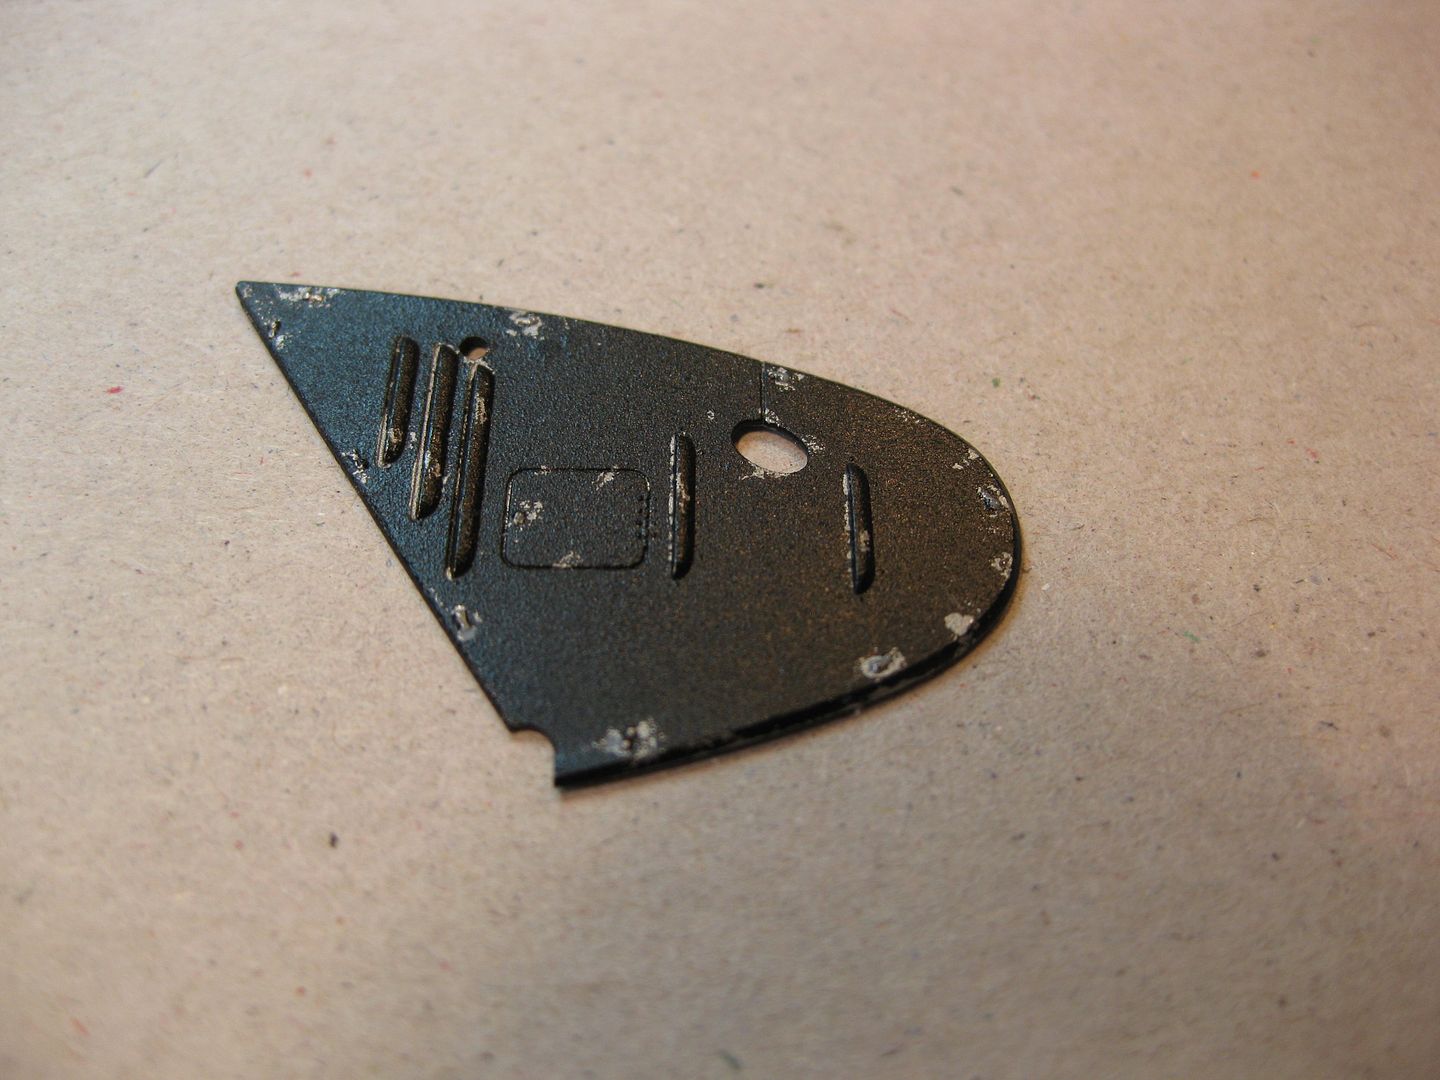
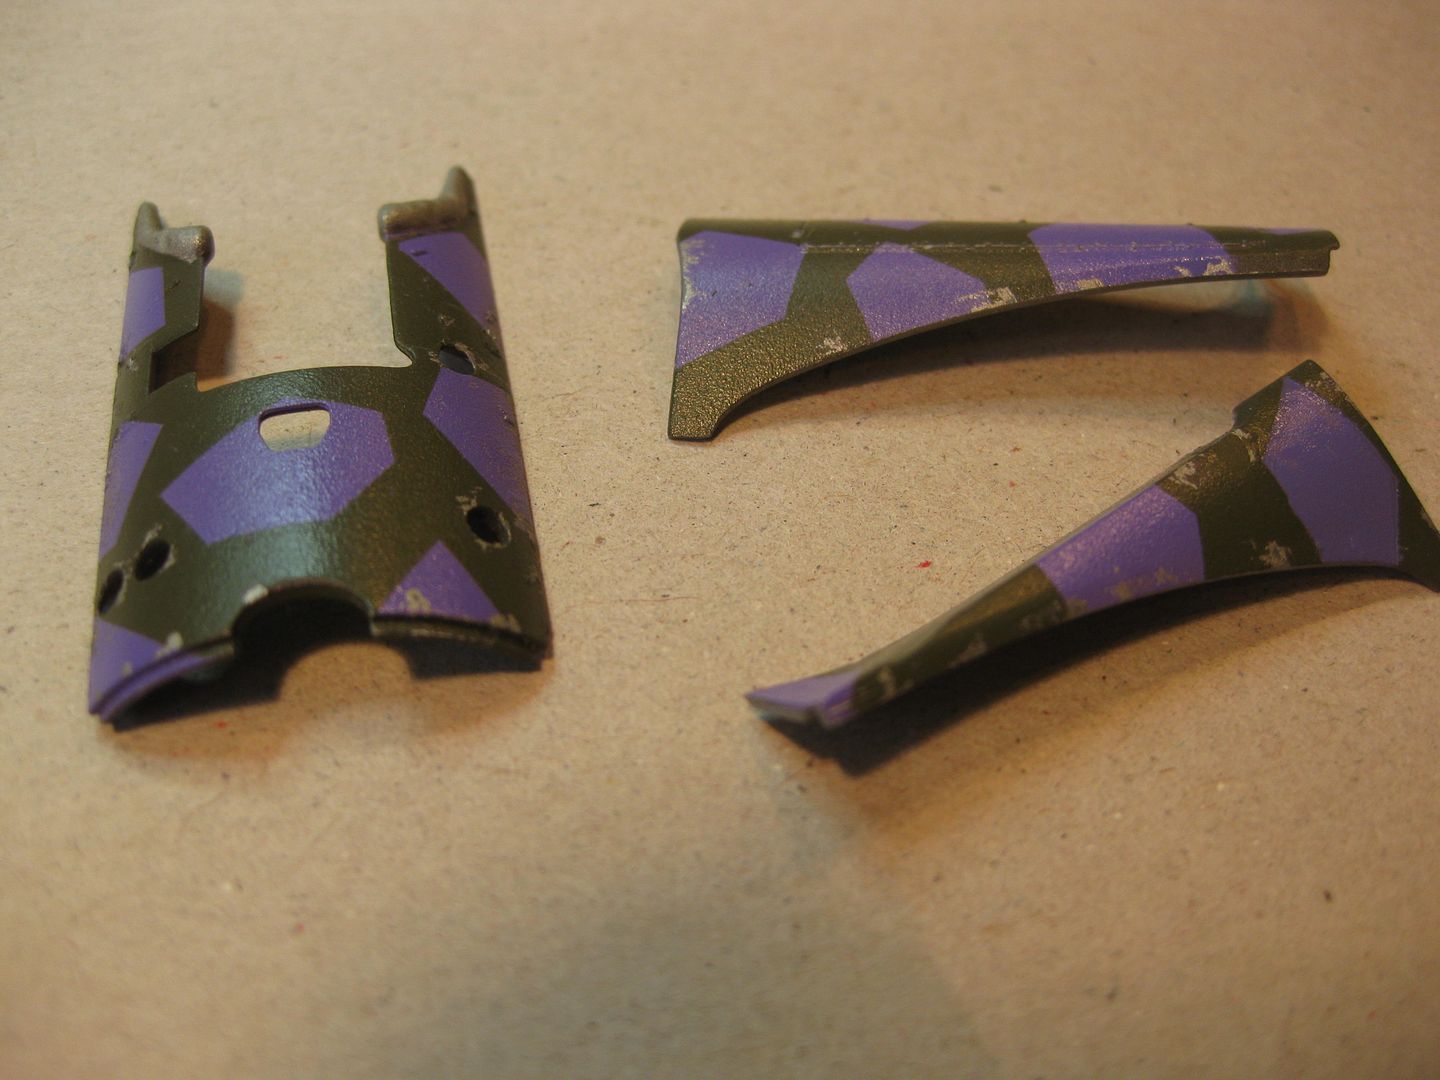
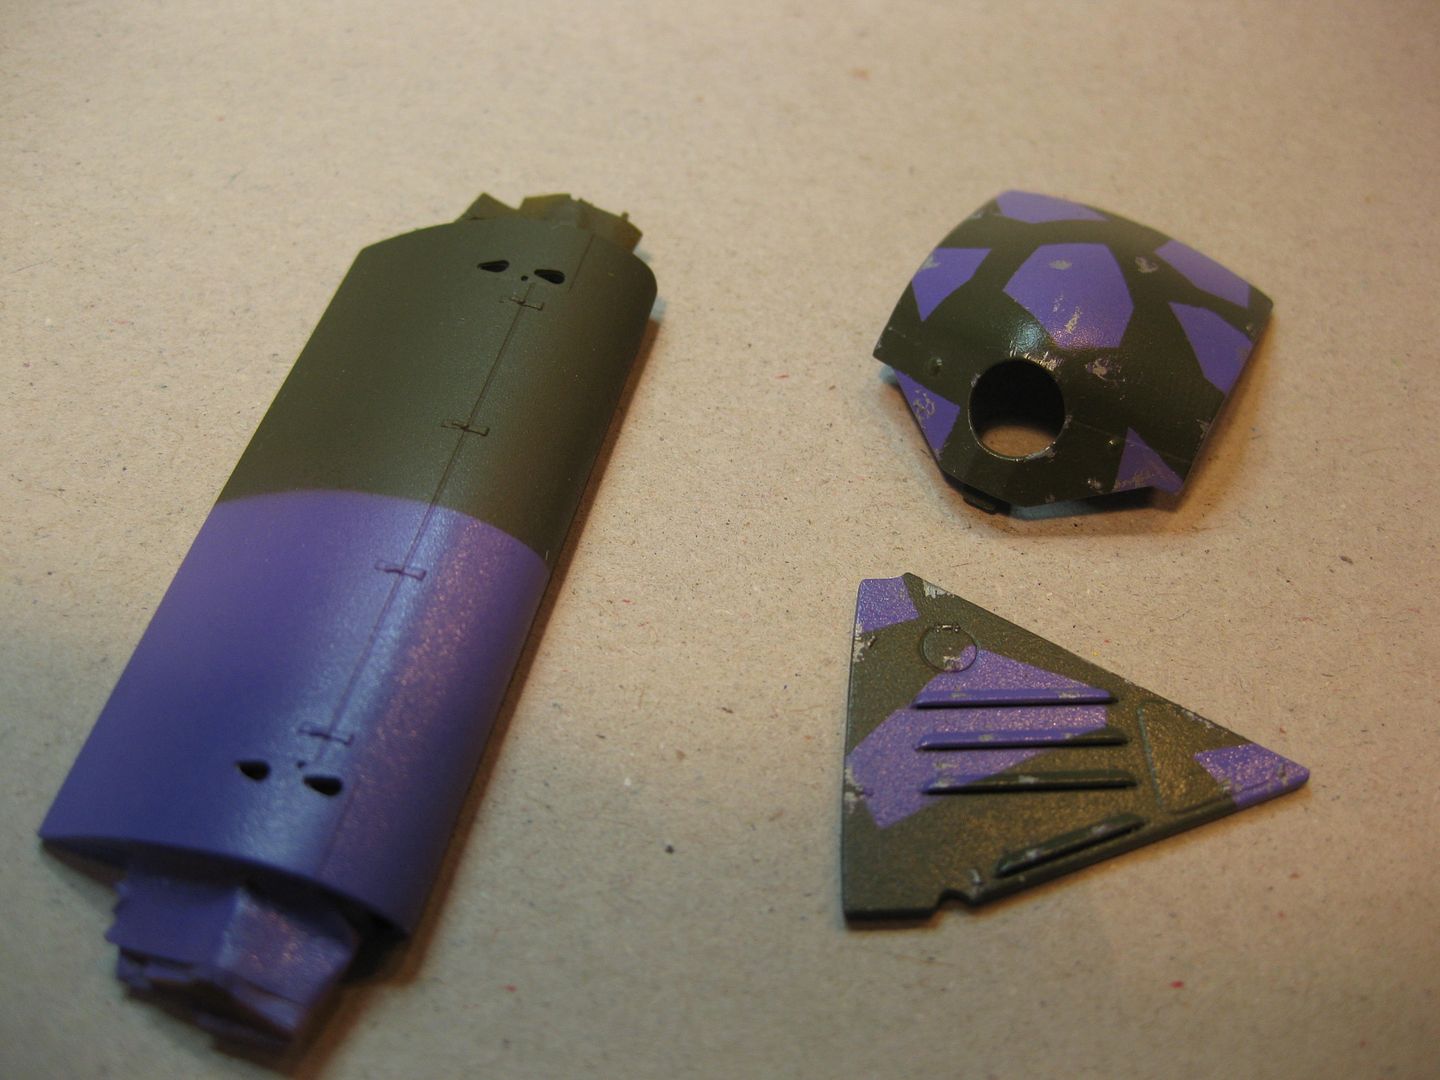
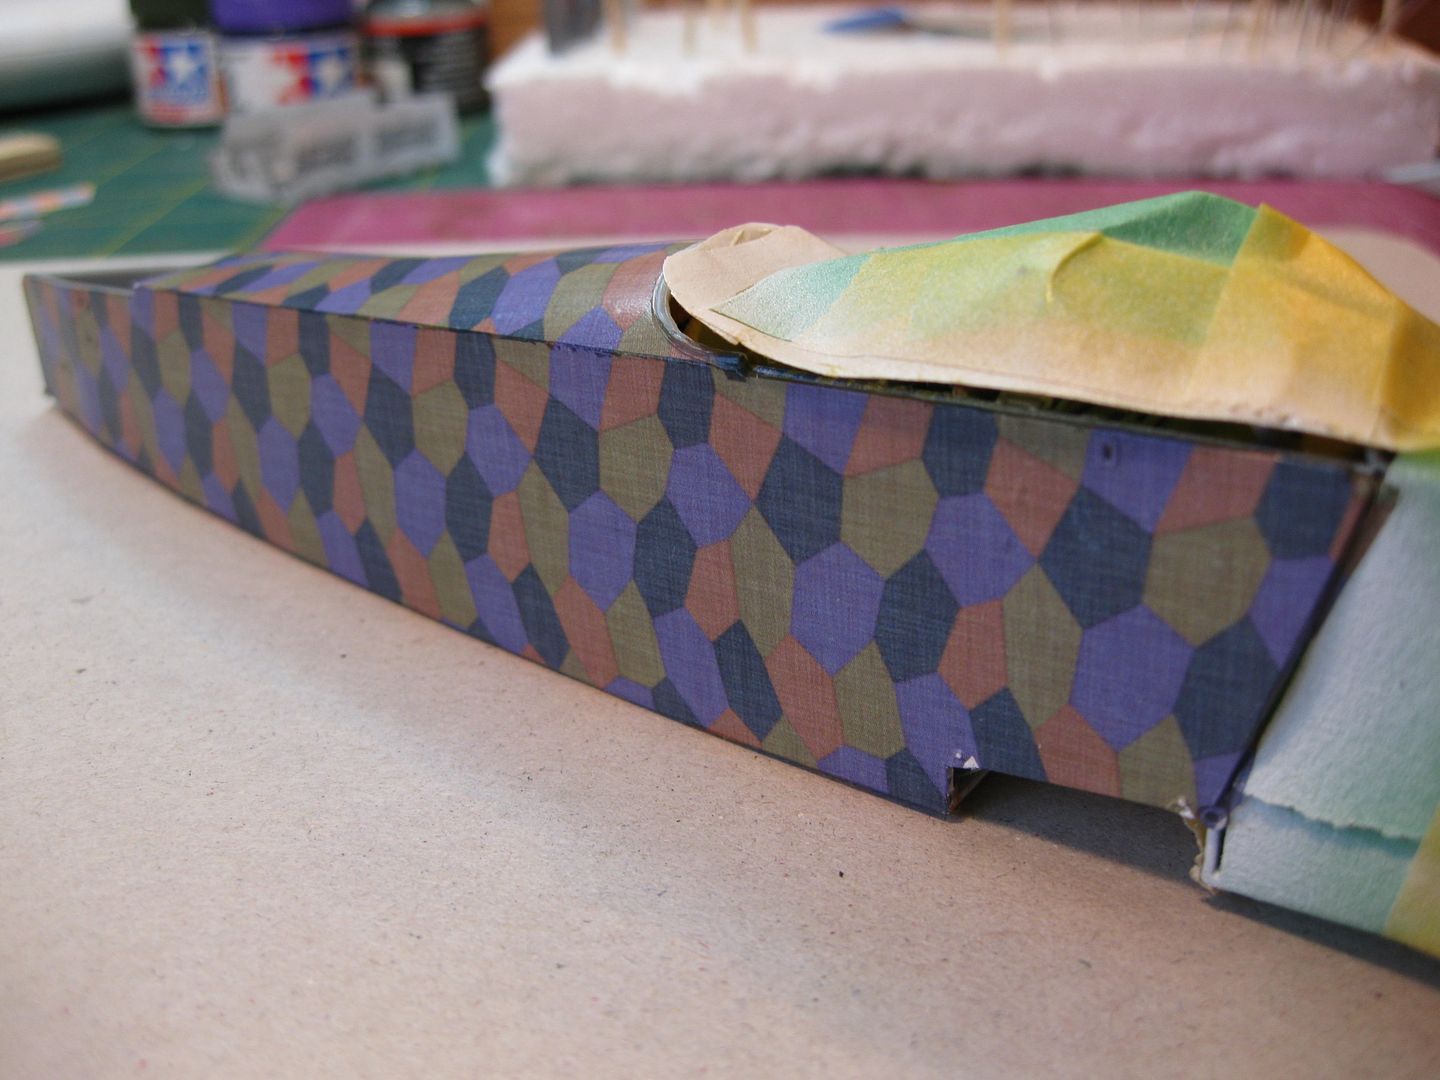
Next completed were the various engine cowlings with the standard OAW lilac and olive green pattern. (with the exception of the "Cheek" panels which were black on this aircraft) The cowlings were given a coat of Alclad II Dull Aluminum, two coats of hairspray, sprayed with a lightened version of Tamiya X16 Purple, and then with the pattern masked with Tamiya Tape filled in with Tamiya XF81 Dark Green. Only two of the many masked sections required some minor touch up from the base purple coat lifting. I haven't much experience with acrylics and got a very slight pebbled effect. (Note to self, more thinner and less air pressure in future!) Both colors were thinned with Tamiya Lacquer Thinner. All the panels were then "chipped" with the usual hairspray technique.
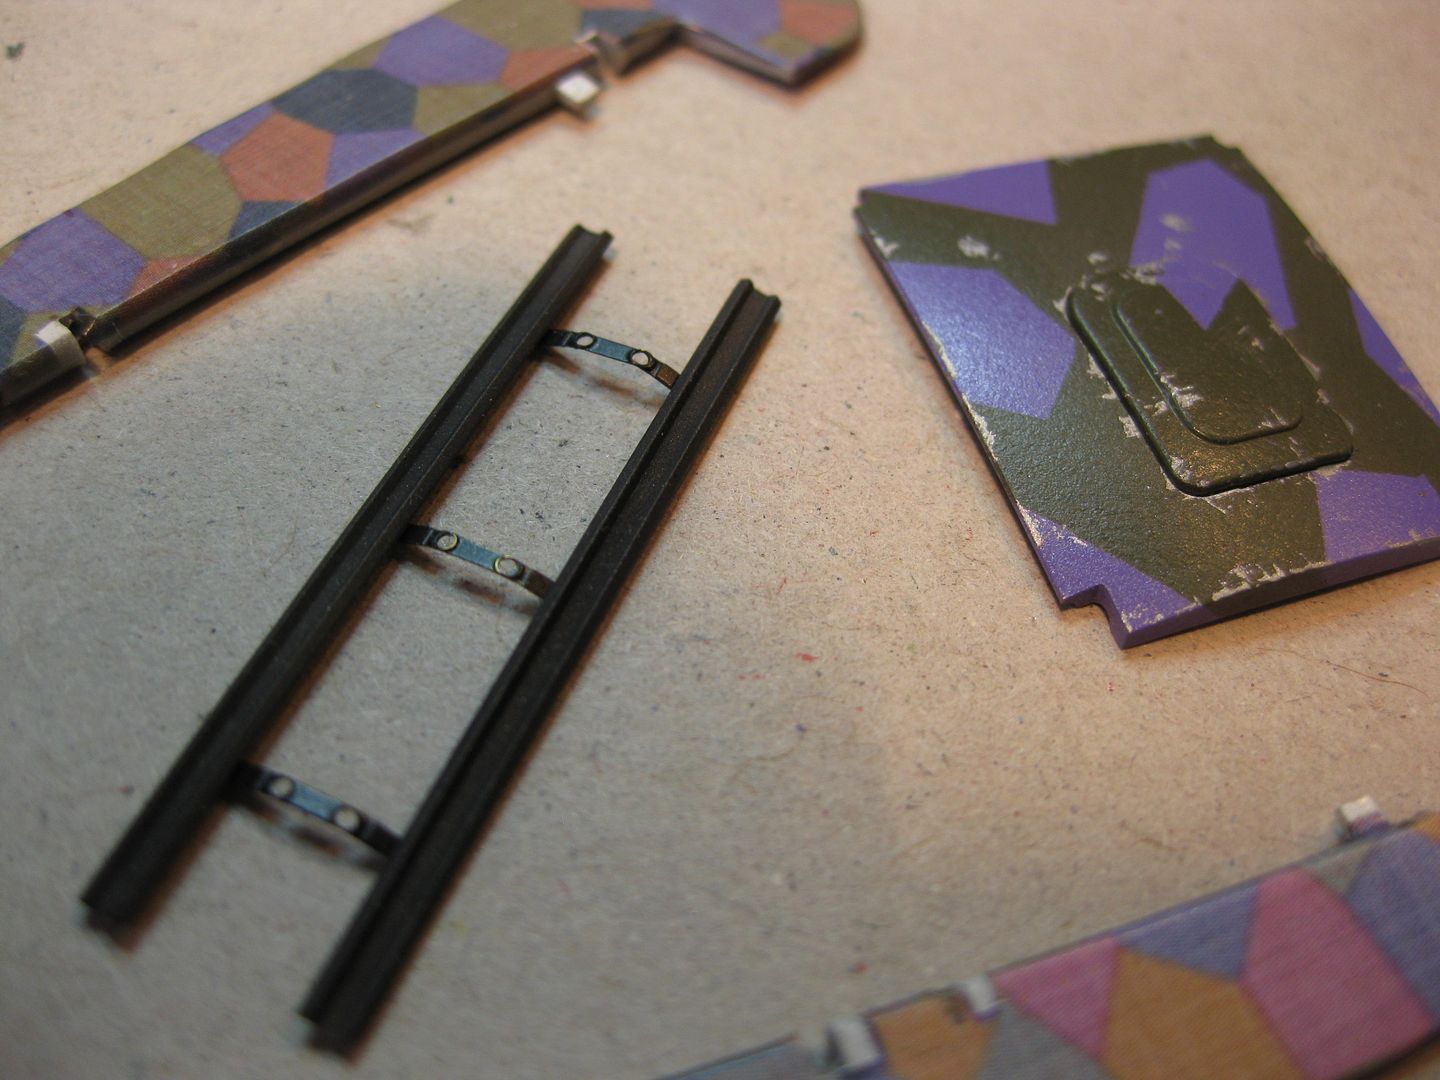
I also included the flash guards using Alclad II Burnt Metal and a touch of Exhaust manifold. In between I also got the lozenge on the ailerons; unlike the larger flying and control surfaces the fit was not great, the decals being somewhat over sized so a little touch up will be required here as well.
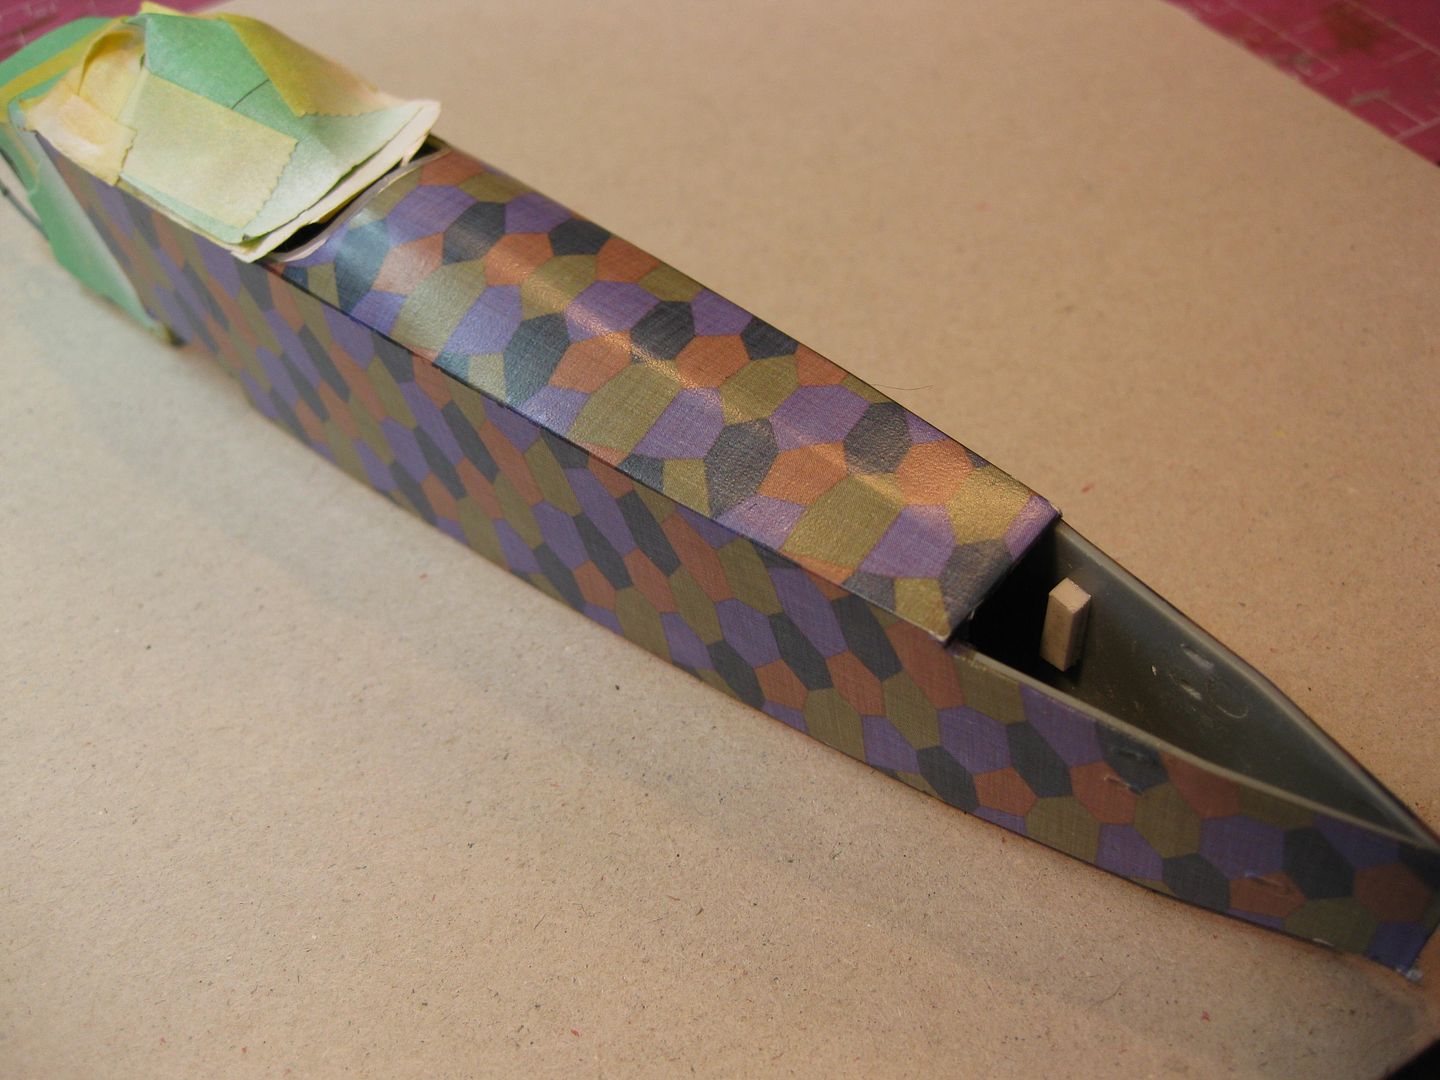
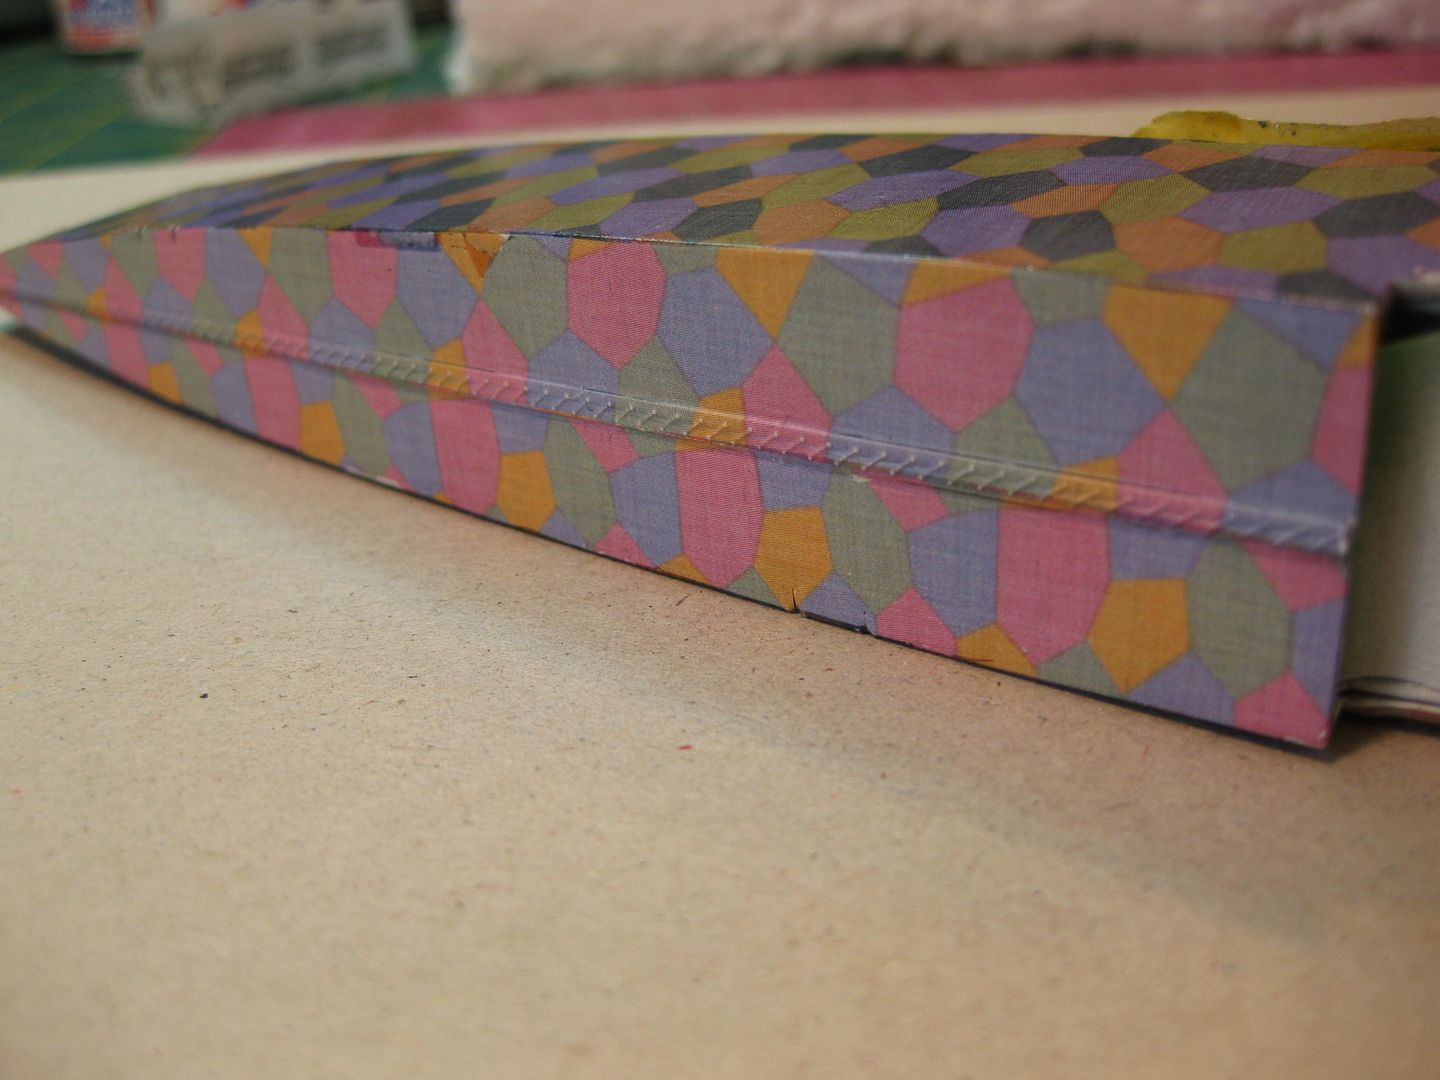
Next and last completed was the Aviattic Lozenge on the fuselage. The fuselage was first given two coats of Model Master Gloss white which I left to dry for 3 days. I used the kit lozenge decals as templates and cut Aviattics' Faded 4 Colour top and bottom sheets to match the Cookie Cutter Wings and Flight Control Decals done earlier. Not a "cake walk" by any means; careful sizing/trimming was required to ensure no overlap occurred as it comes off very dark as can be seen on the small repair areas on the underside. I found the "old fashioned razor blade" suggested by someone earlier made the trimming of the decals much easier however I "nicked' the white undercoat in a few places and have some minor touch ups and repairs to do...........
Once the fuselage lozenge is touched up I"ll be giving everything a good coat of Future in preparation for the markings. The next construction steps are the Guns and the usual hand carved wooden prop. Thus far a great Kit however the framework around the engine takes a lot of care and I have the prospect of fitting the cowlings and rad yet to rear their ugly little heads! Since I have the Fokker and Albatros Kit versions I hope to have mastered this little devil by the time I complete those...........
I believe it will progress quickly from here as long as the weather stays crappy and I can justify leaving the outside work until later.....life is good!

Cheers,
Lance

