Recent Posts

Pages: [1] 2 3 ... 10
1
Wow looks great! Lovely work  ;D
2
I have made a lot of progress in the last two days. The oils dried so a clear coat was applied to seal them in. The green backgrounds for the crosses were masked and sprayed, then the lower surface blue was applied. Having No reason not to, I assembled the wings to the fuselage. This is a great fit and the strut fit is so tight one almost doesn't need glue! Upper wing cross decals have been applied. Next is Masking and painting the personal markings.

RAGIII


3
Paper and Card models / Re: Phonix DI
« Last post by NinetythirdLiberator on Today at 12:05:58 PM »
Looking great!  I'm glad you can post pics now. 

Dan
4
Completed models / Re: Encore SE5a 56 Squadron McCudden
« Last post by RAGIII on Today at 10:16:19 AM »
Nice Rick, hope you are satisfied with the results considering the effort.

Thanks, and Yes!
RAGIII
5
Completed models / Re: Encore SE5a 56 Squadron McCudden
« Last post by Allan31 on Today at 09:06:40 AM »
Nice Rick, hope you are satisfied with the results considering the effort.
6
The Nostalgia Board / Re: (Gotha) Dreams Really Do Come True...
« Last post by Allan31 on Today at 06:59:08 AM »
Thanks Dutch,
My cunning plan is to use Aviattics 4 color night lozenge in 1/32 scale (printed too dark), 2 sets of Albatros DV decals fit perfect for the crosses. I did get his 1/48 Gotha set printed for the later gotha kits. It almost might work on this Aurora. Mostly OOB, but will sprues up the cockpit areas.
I'm armed with "Gotha!" by Grosz and an article in a '95 Fine Scale Modeler by Carl Park.
7
The Nostalgia Board / Re: My "Nostalgia Builds" to date......
« Last post by Allan31 on Today at 06:05:13 AM »
Thank you both.
Dave, I tried to respond to your PM but the messaging aspect of this forum is not functioning at the moment. Brad and Zack are on it but will take some time to get up and running again.
Yes, I know Storm well, we are good racing buddies. I live 20 minutes south of Lime Rock in Warren Ct, he lives 20 minutes north.
What are the hobby shops you visit ? I can't find anything around and have been having to order Vallejo paints from amazon.....
8
Evening All,

Many thanks for the kind comments and suggestions for figures - they are all much appreciated.

I have completed the S38 part of the Africa/Hibernia project: the S 38 will be set on the launch ramp over the turret when that part of the project is finished. Here is how the last parts of the aircraft were put together and then the remaining rigging finished. I started by fitting the front elevator to the front booms and added the control horns to the sides:


I fixed the pilot's seat and the small platform which extended in front of the pilot, plus the rudder bar and control stick, to the leading edge of the lower wing. The undercarriage was next. This consisted of two horizontal skids held by two legs on each side of the centre line, with a single axle and two wheels mounted inside the skids. I expected this to be weak, (which is why I had been putting it off for a long time), as the undercarriage legs are only set in very shallow pits on the underside of the wing. However once the axle and wheels were in place the structure seemed to gain strength so provided that I handle the model carefully, it seems to hold up well. I rigged this part of the model straight away as it was easily accessible at this stage:


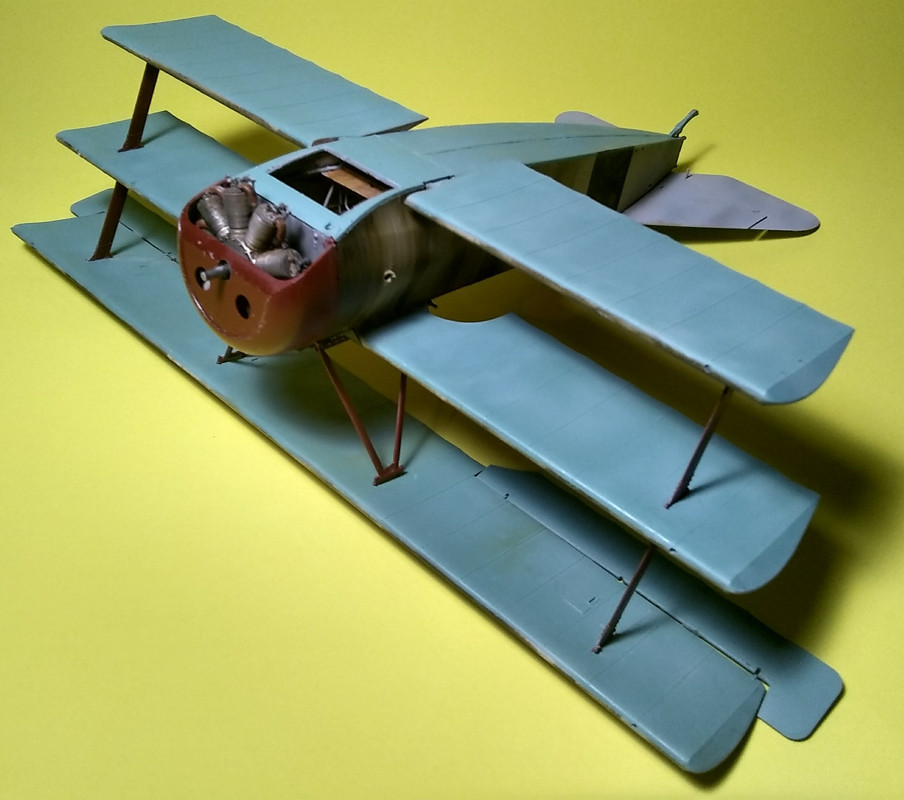
The engine and propellor followed: before I could fit the engine I had to add the push rods. Those supplied in the kit were just too thin for me to handle, and in addition some of the locating holes in the crank case had become filled with paint, so I made some alternatives from stretched sprue instead. I did not bother with the spark plugs: they are so small that they are impossible for me to handle and nobody would ever see them anyway. With the engine in place the wood propellor was added to finish that part of the model. Rigging of the lower boom arms followed so that I could fit the rear float. That sat on two arms suspended between the tail skids. The arms were made from 20 thou styrene rod and the skids from thin strip. I also fitted the horizontal tail surfaces and ailerons which completed almost all of the sub-assemblies except the floats and rudders:


I superglued two pieces of stripwood to the main undercarraige struts - they form the attachment points for the forward floats when they were fitted later. Final rigging now took place - I used rolled 40 SWG copper wire held with superglue to finish the booms and add the control wires to the elevator and rudders. Before I could fit the rudders to the rudder post the bracing had to be attached first - 6 wires per side on two rudders:


With the rudders attached and rigging complete it only needed the fixing of the undercarriage floats to complete the aircraft.

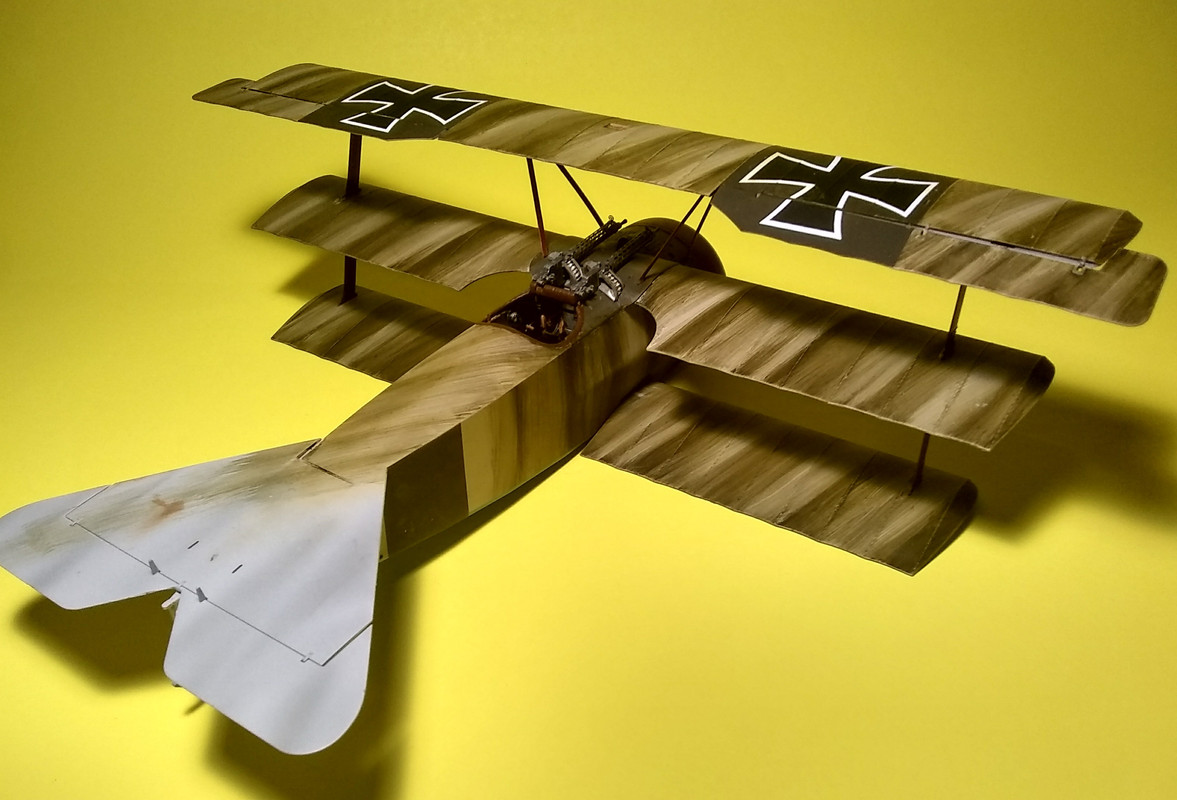
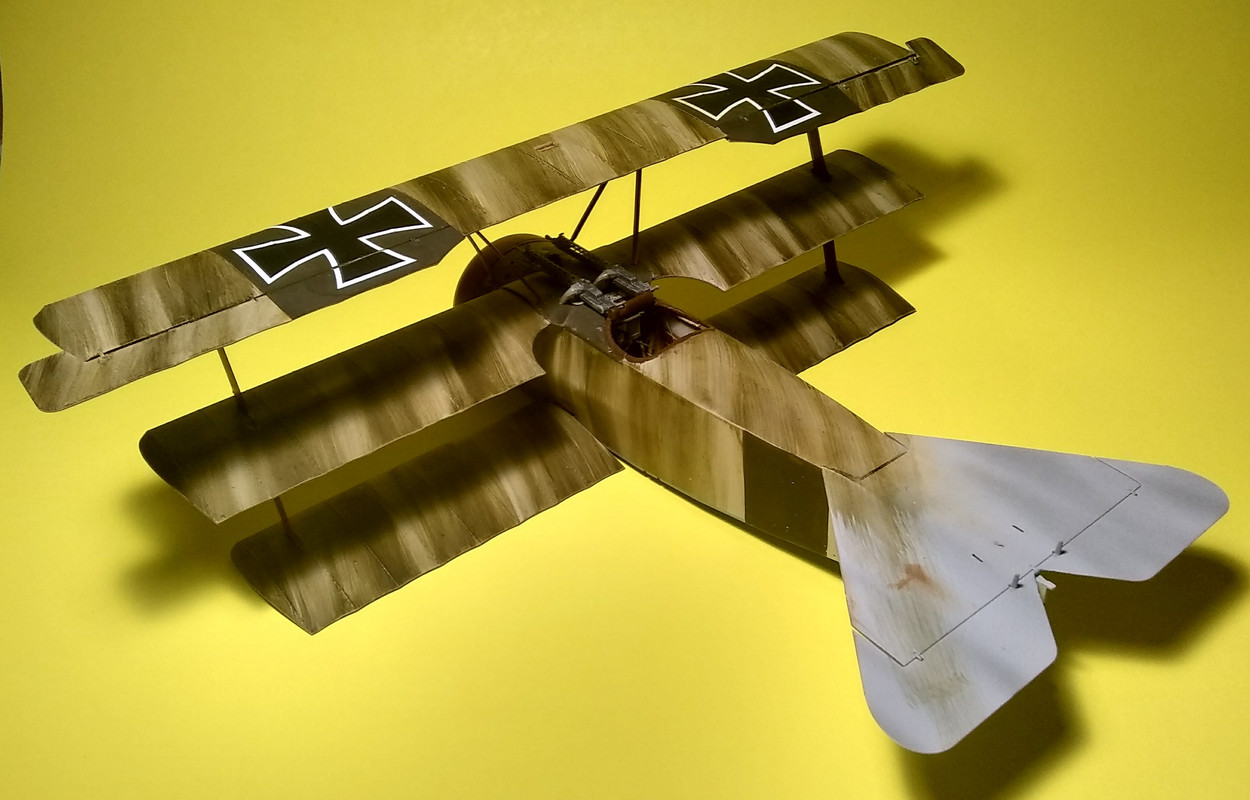
I will show more photographs of the completed S38 when I have finished the whole project and can put the aeroplane permanently on to the platform. However that will not be for a few days so in the meantime here is a teaser shot of the S38:


Thanks for looking.

Stephen.
9
The Nostalgia Board / Re: (Gotha) Dreams Really Do Come True...
« Last post by Davos522 on Today at 05:22:30 AM »
Hi Allan, I actually made a comment on your other nostalgia thread before seeing that you'd commented here, wonderful stuff! I believe I have the article Harry Woodman did on improving the Aurora Gotha if you don't, but you're probably going to build it OOB anyway. I would, if I were ever to build mine! (although I don't know about those molded-in markings...)

Dutch
10
Paper and Card models / Re: Phonix DI
« Last post by DMPopa on Today at 05:17:54 AM »
I added an additional piece under the engine support to the instrument panel bulkhead as the kit design is two weak at this location.


I test fit the side pieces to the forward structure and I cut the notches at the bulkhead a little higher to ensure that the side pieces will fit correctly.    As originally made up the side pieces would hang down too low.


At the rearward fuselage structure, I sanded the top joint using a sanding stick wo ensure that the fuselage covering to follow will be smooth at this location.


Pages: [1] 2 3 ... 10