Another update on this one, progress has been steady the last two weeks.
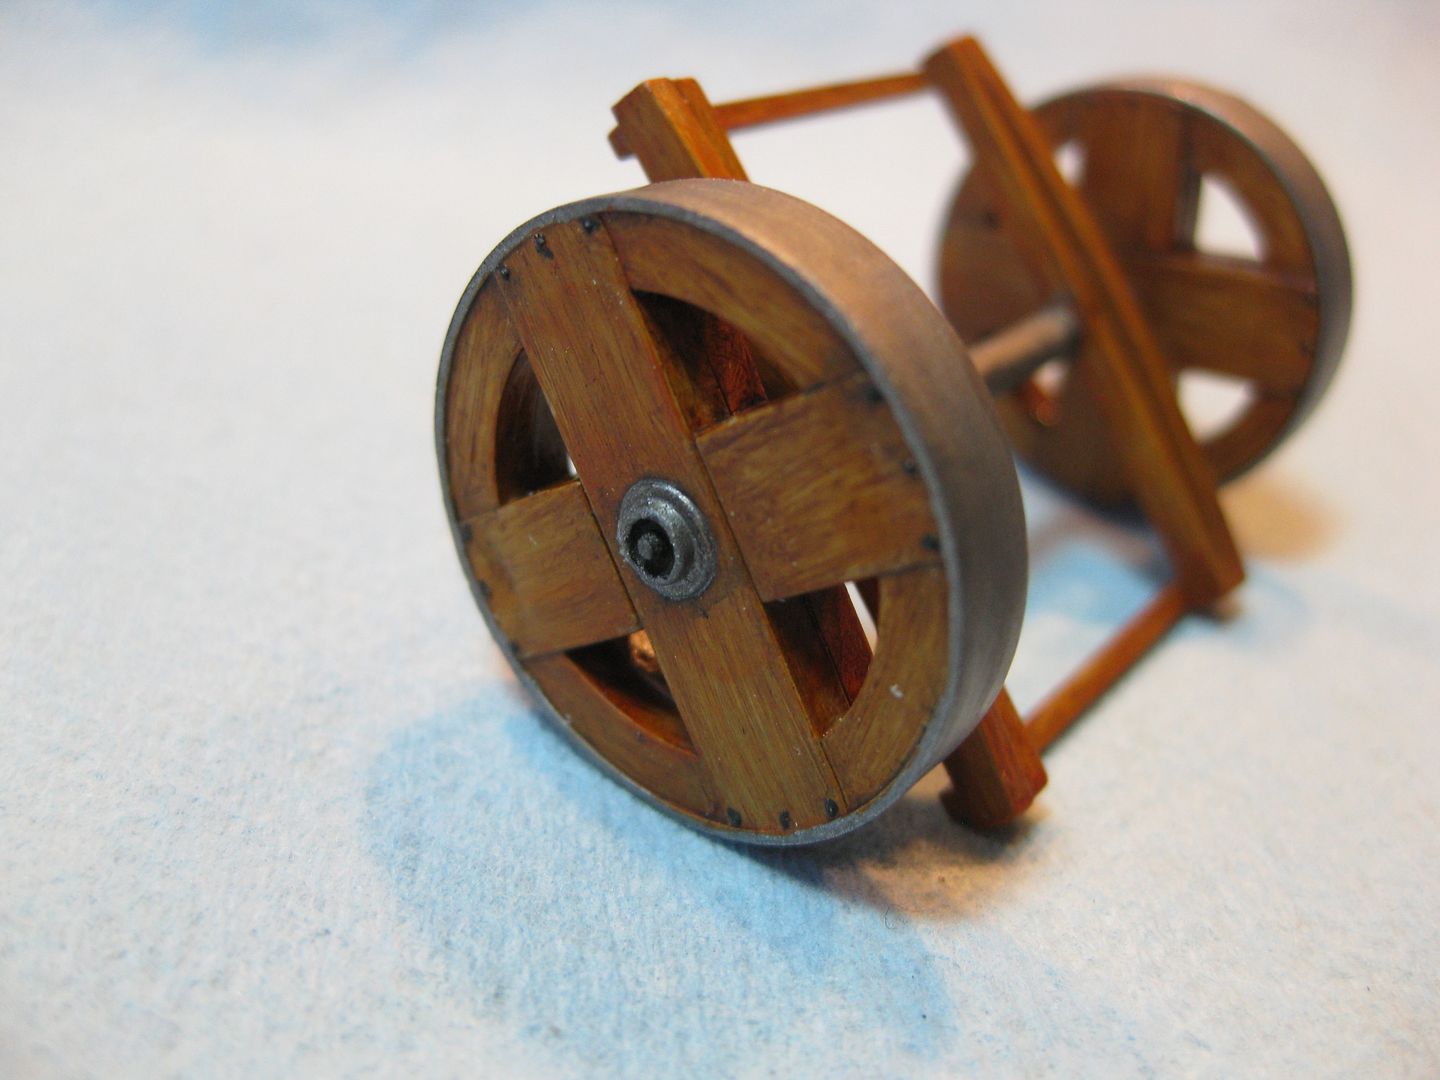
I've completed the Ground Handling and Maintenance components that will all be part of the Diorama Style Base including the Kit Beaching Dollies and support stands and the Aviattic Refuelling Tank.
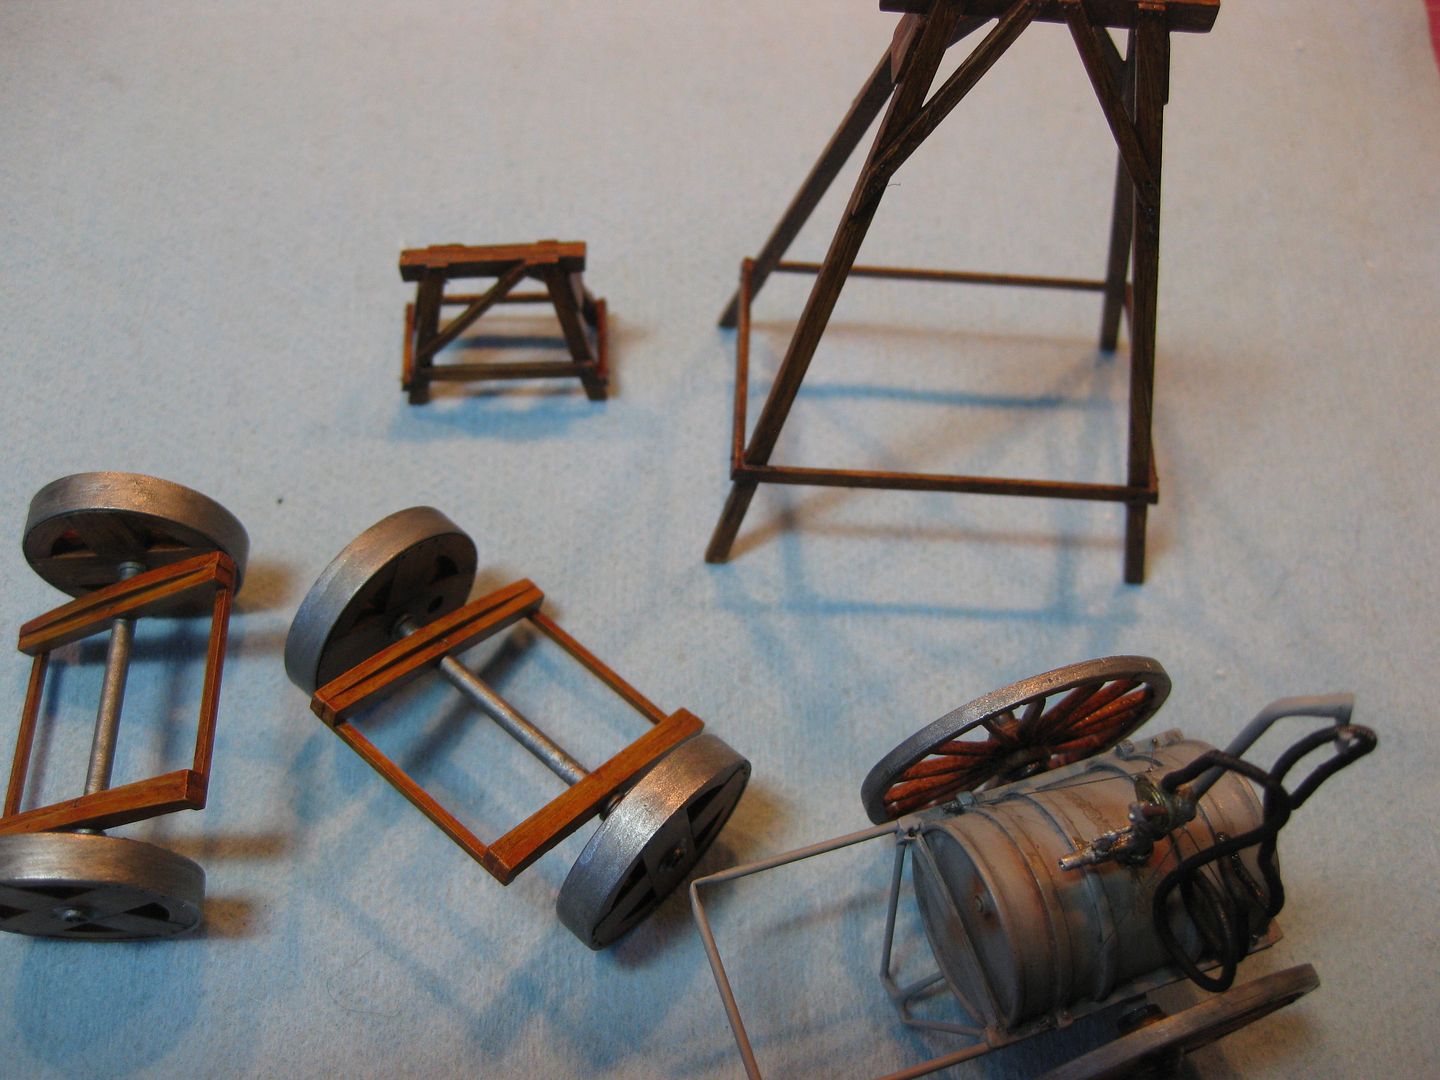
I struggled a bit with the Fuel Cart, breaking just about every piece at one time or other in the building process. Resin is a new medium to me and it showed! The wood was done with the standard acrylic Wood Base and then oil streaking followed by Tamiya Transparent Orange. The Handling and support frame was re-done with brass tubing.

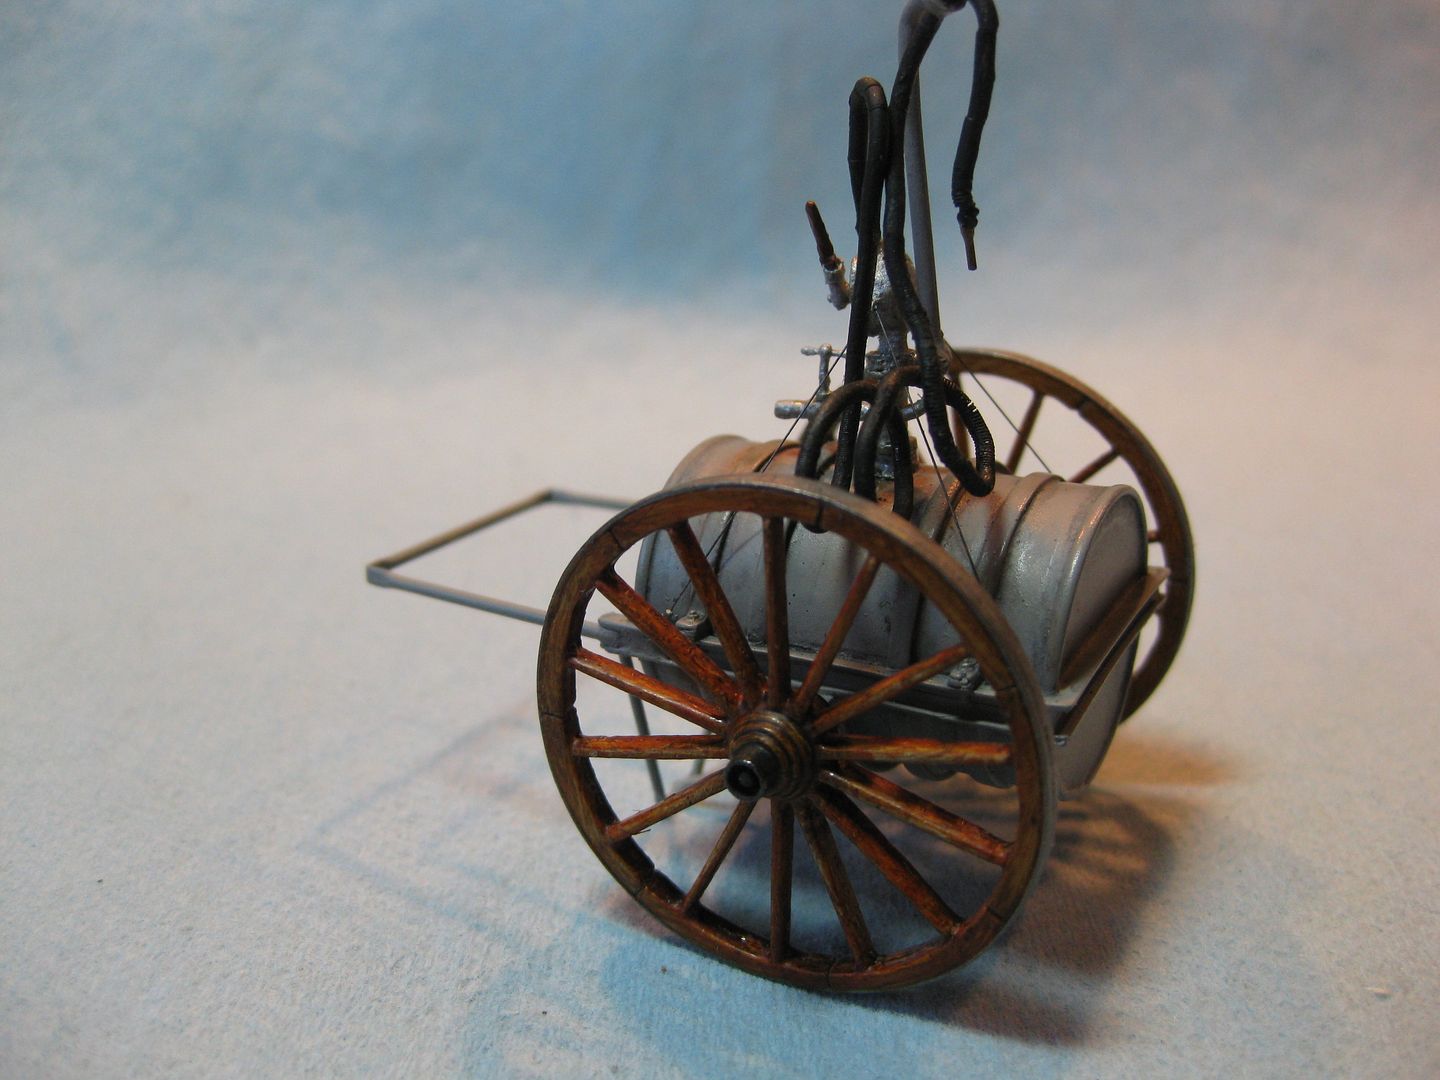
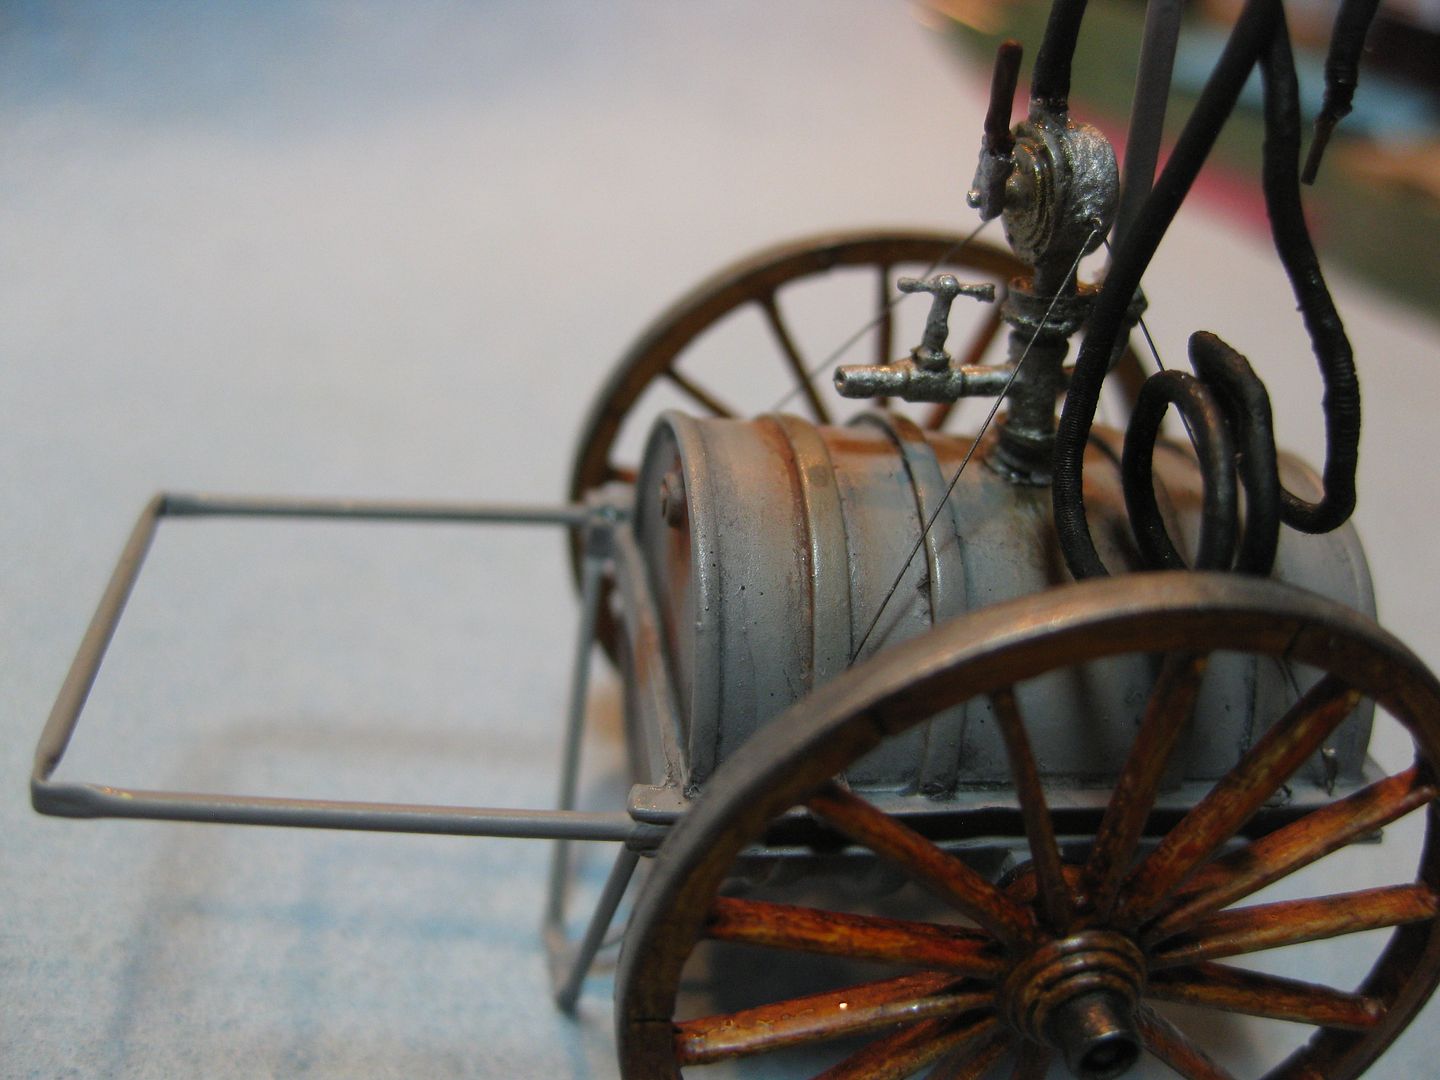
The metal wheel rims were done with Mr. Metal Colour "Stainless".

I'll be adding a few more Scratch Built items to the scene, to be covered later.
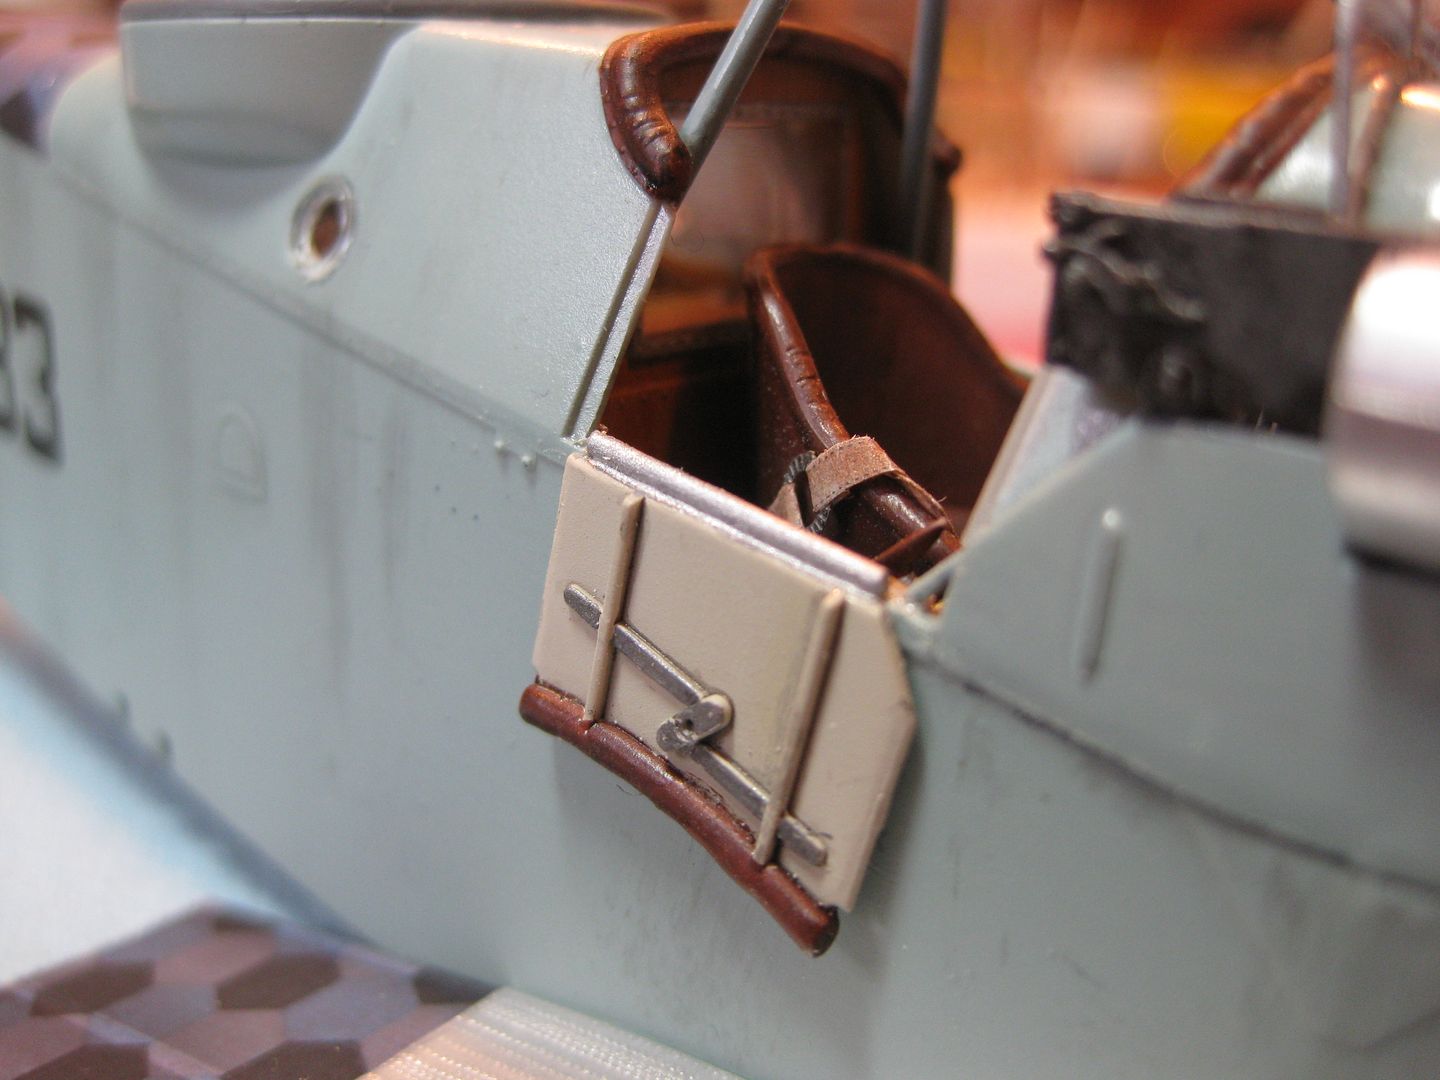
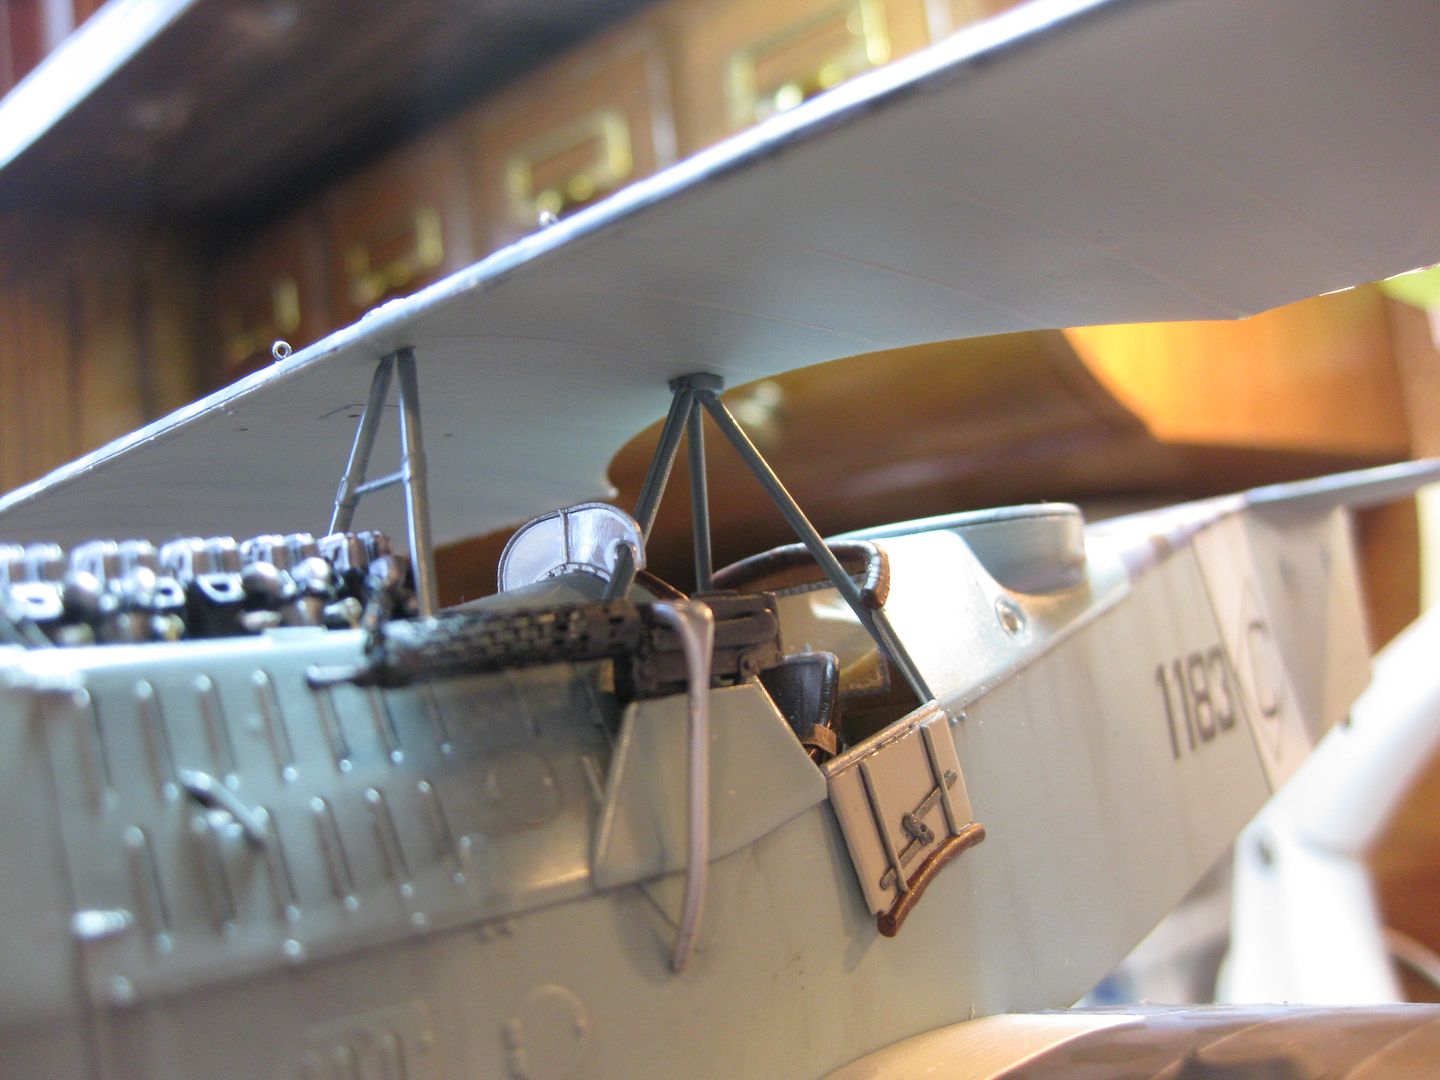
At this point I added a lot of the "flimsy bits" prior to tackling the upper wing installation, first the cockpit side doors;
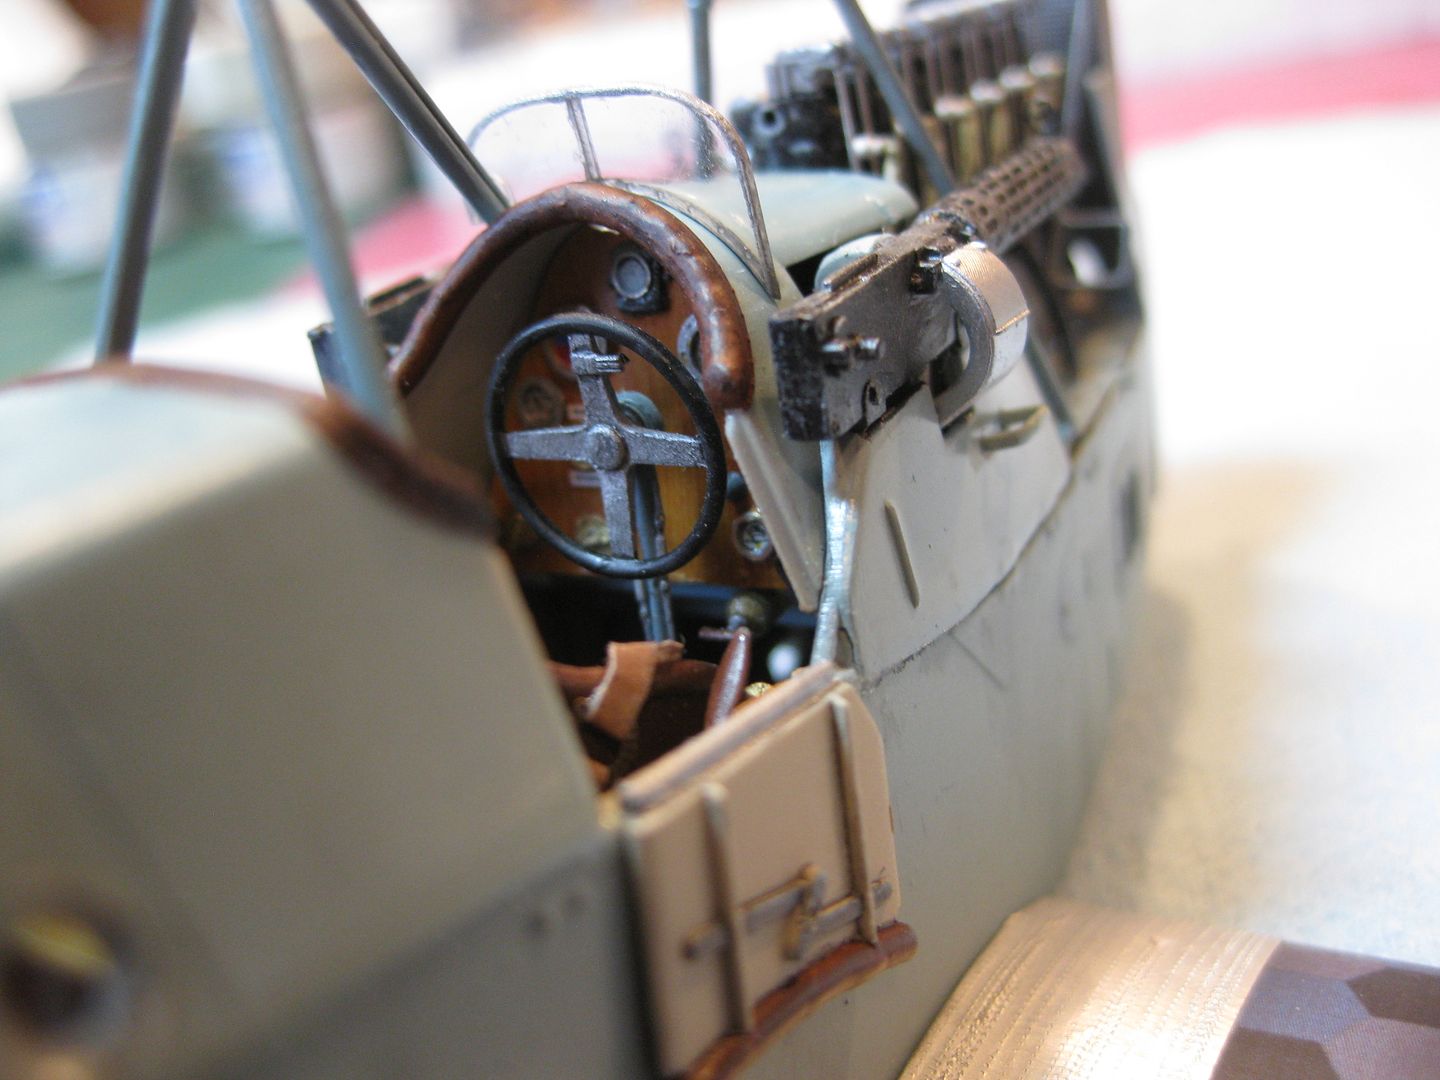
...... The windscreen;
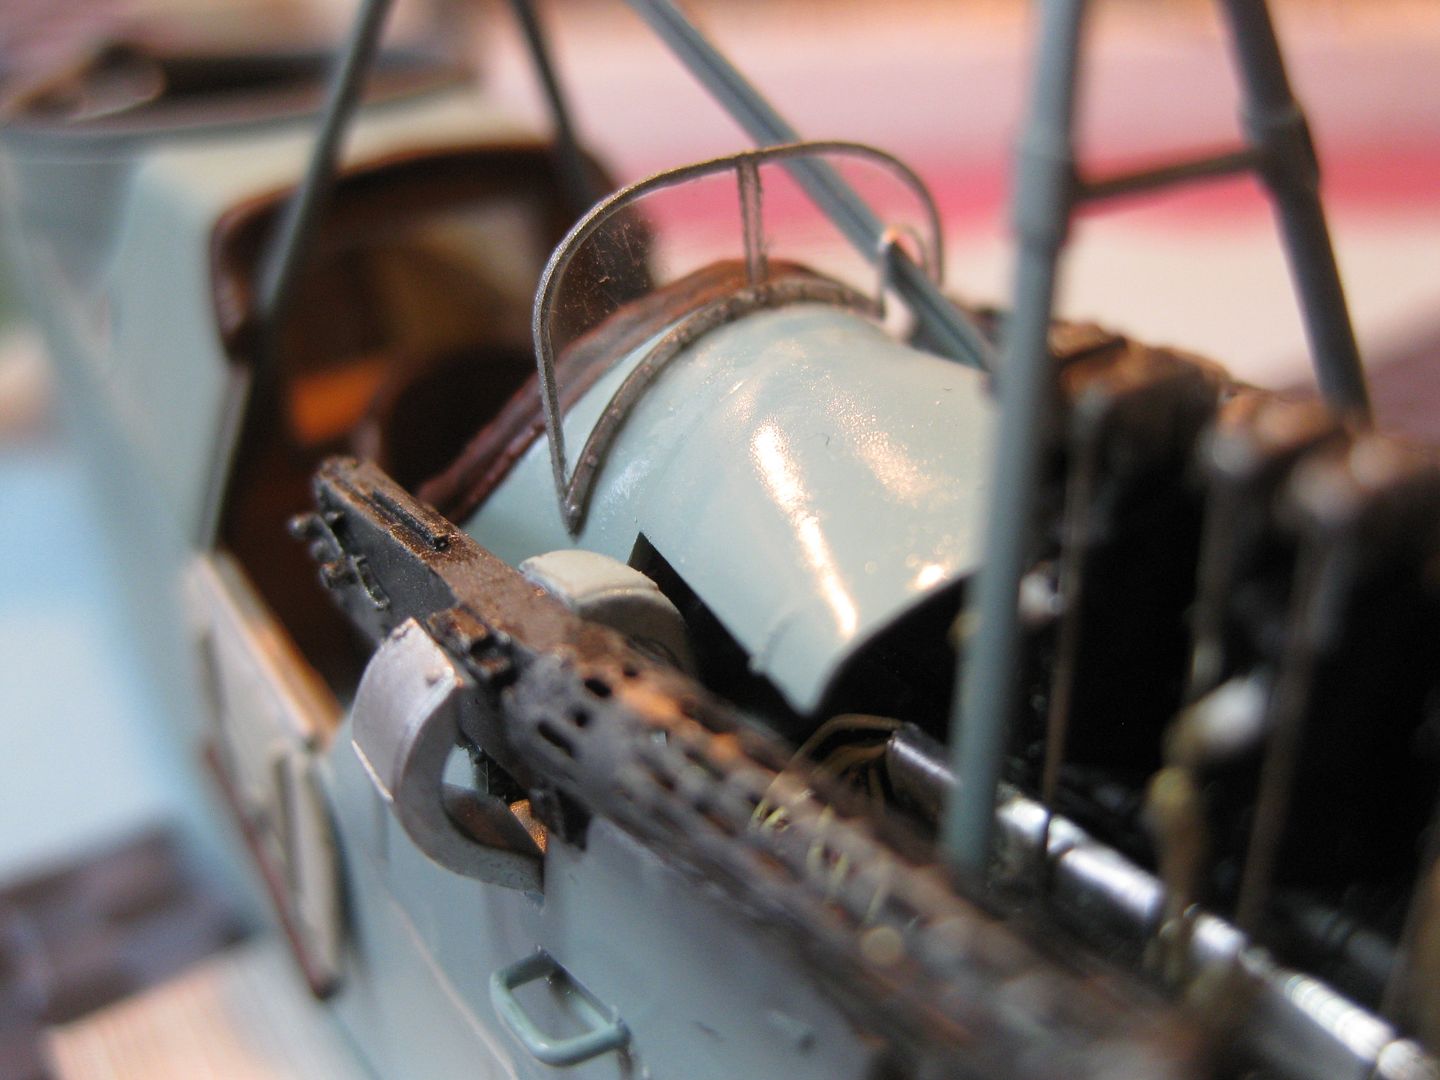
and a view from the rear.......
...... the Parabellum "Ring" (and the earlier installed spare magazines now visible)
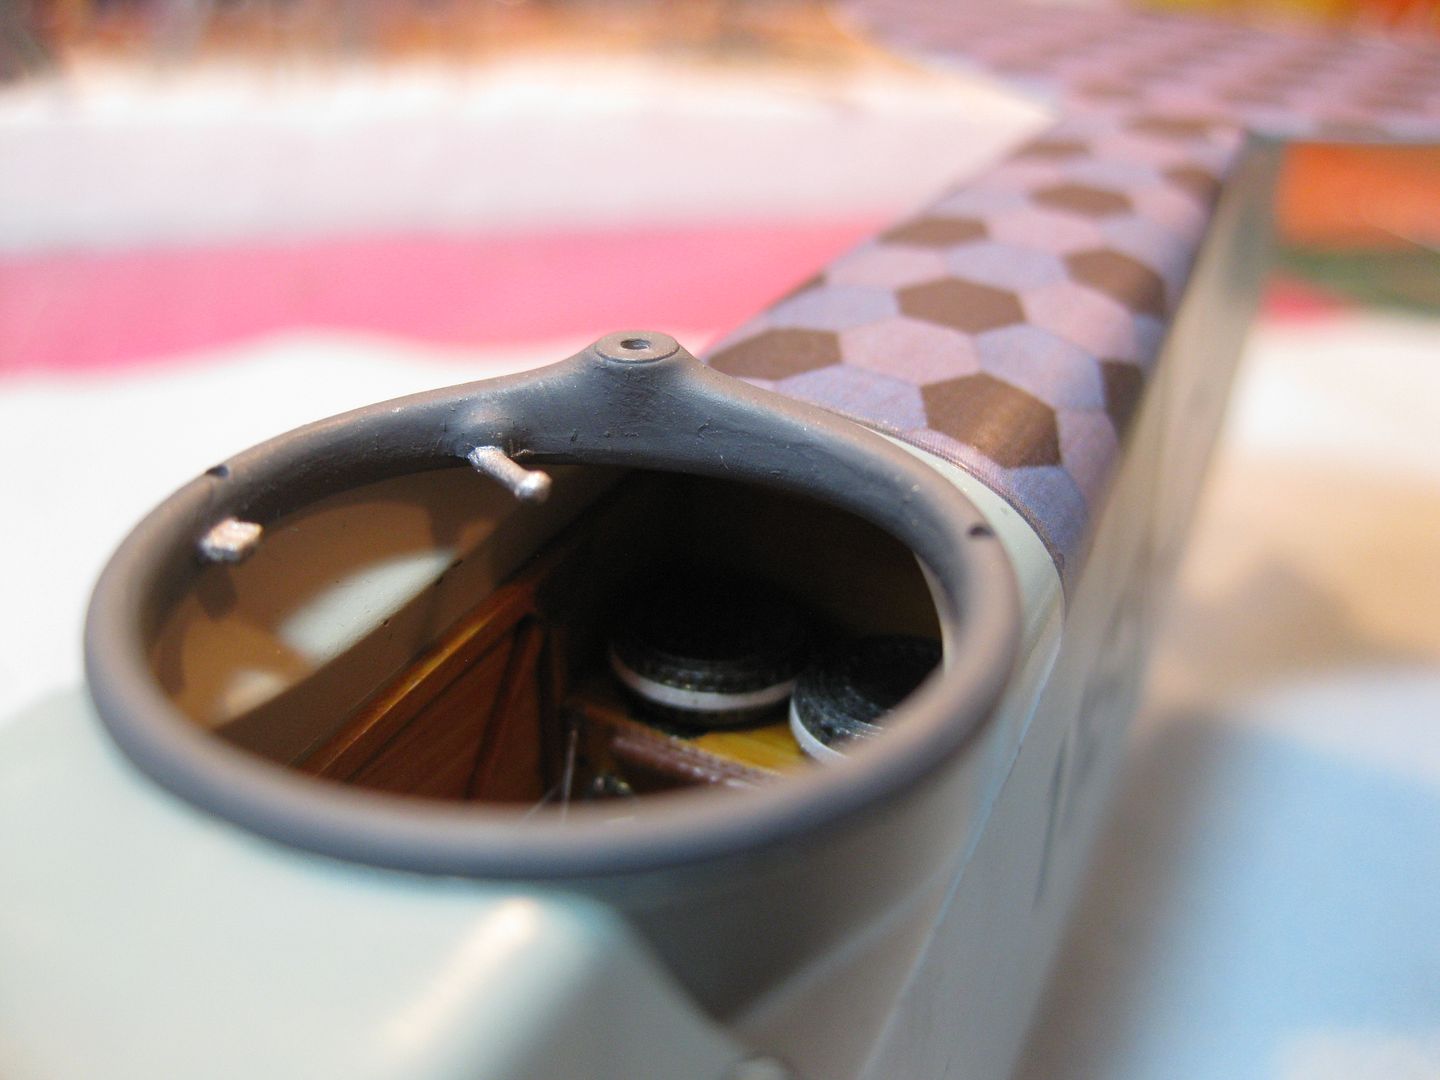
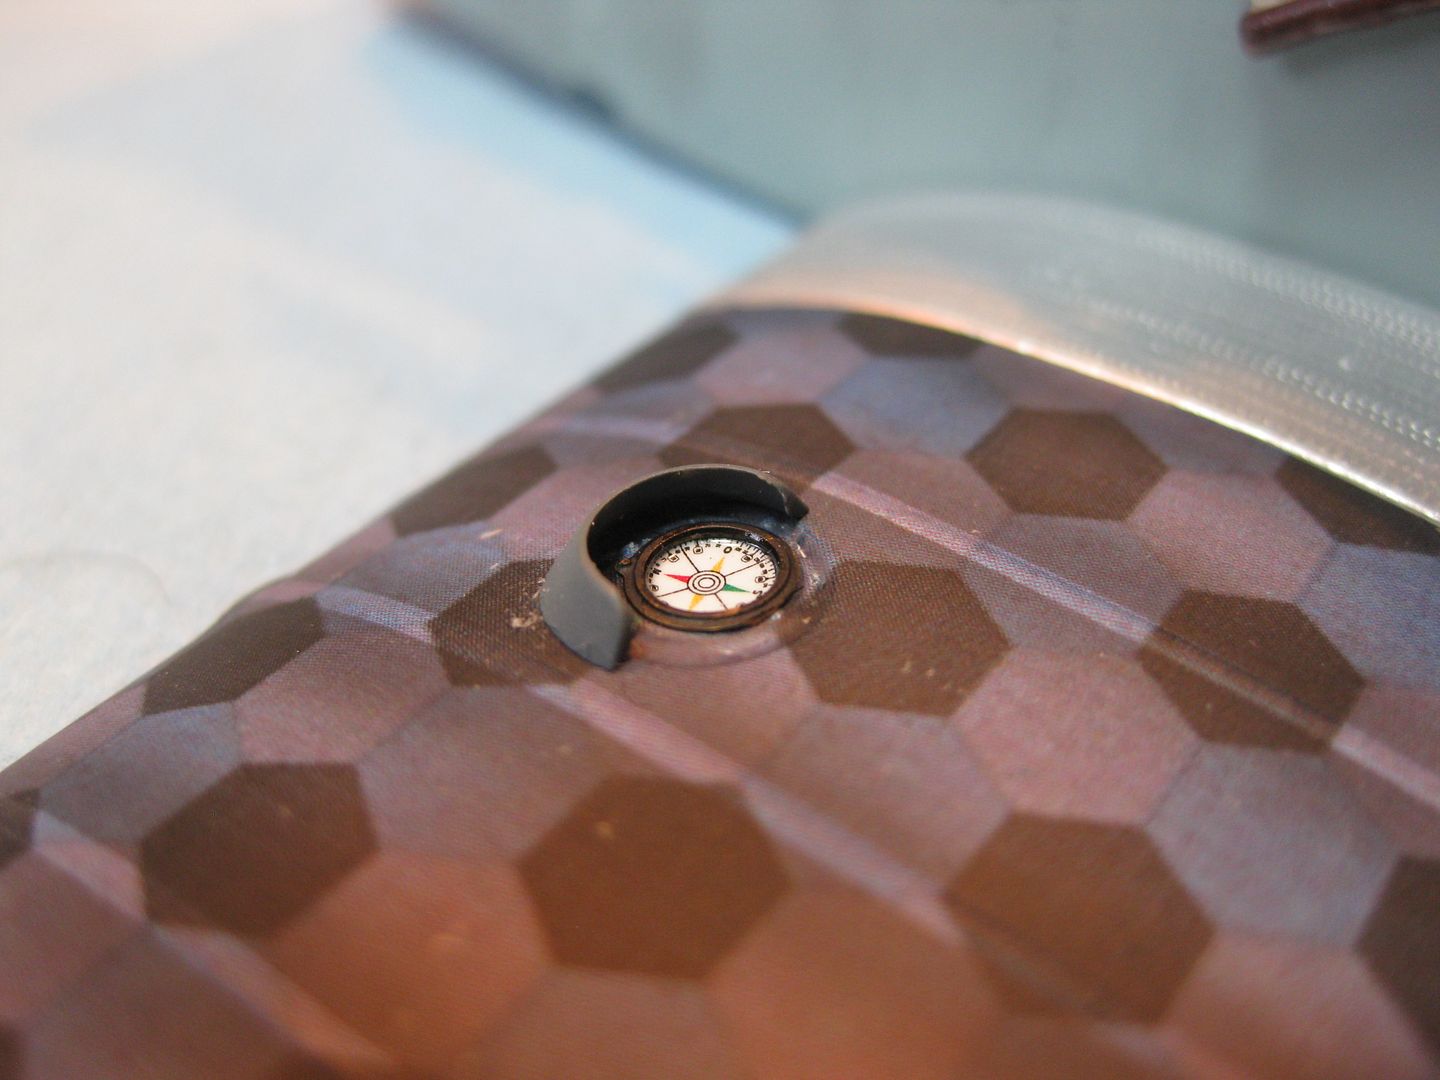
......... the wing mounted compass; (like many spots some touch up of the Vallejo Polyurethane Satin overcoat is required here)
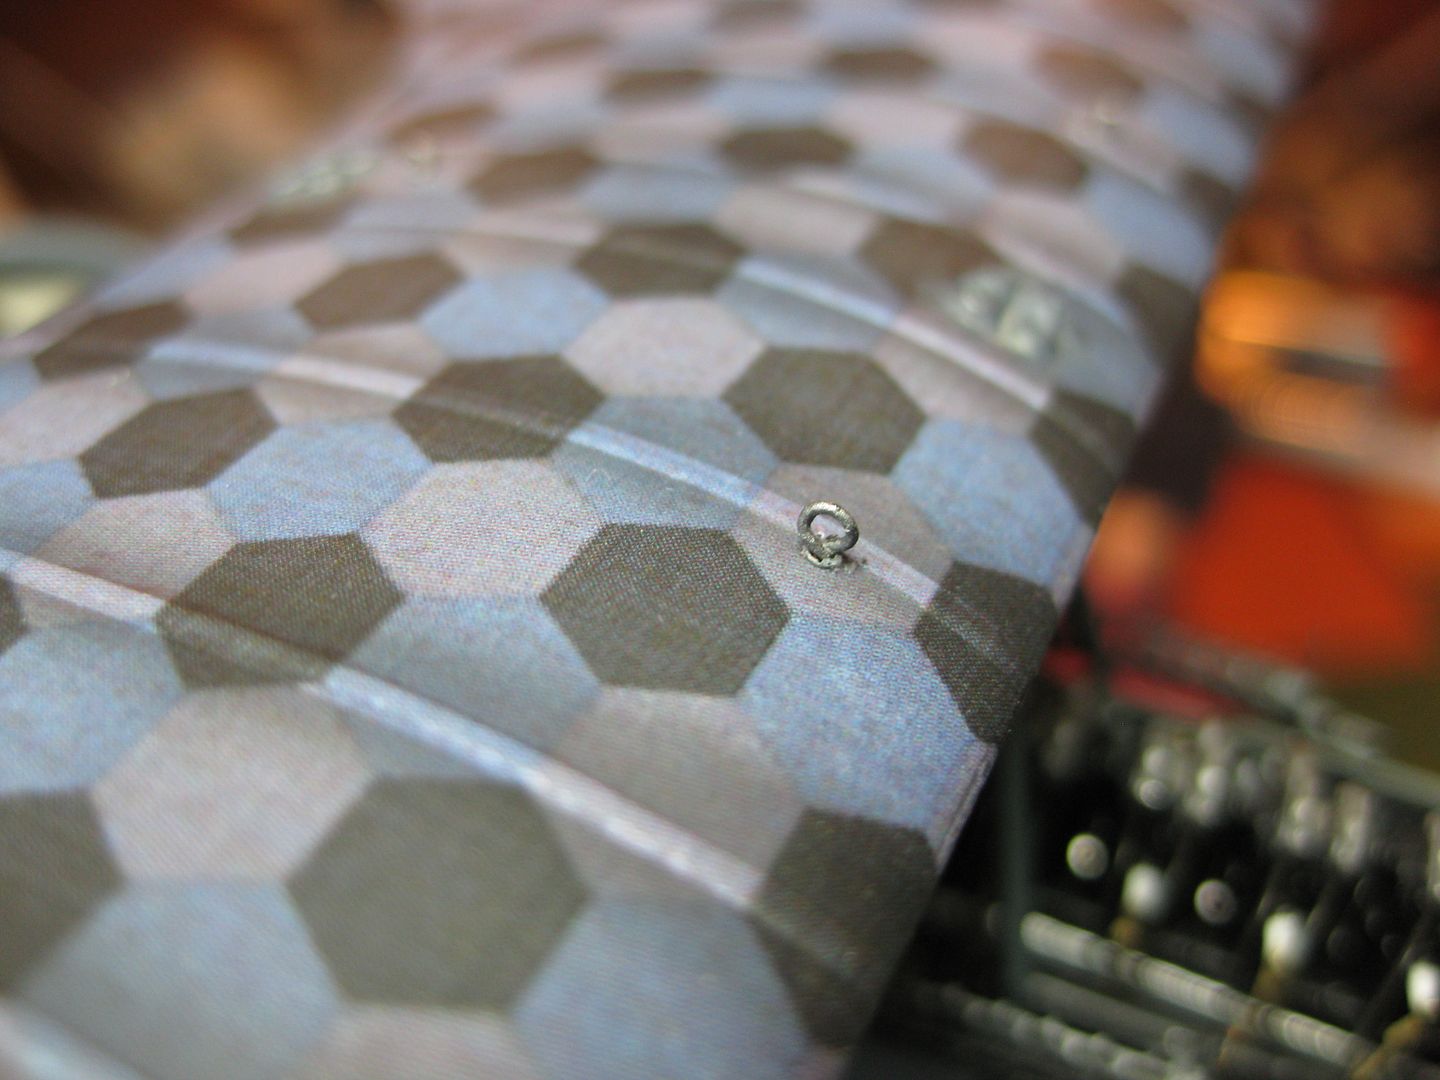
.....and finally the lifting hooks (3 as depicted in the Data File 3 View).......
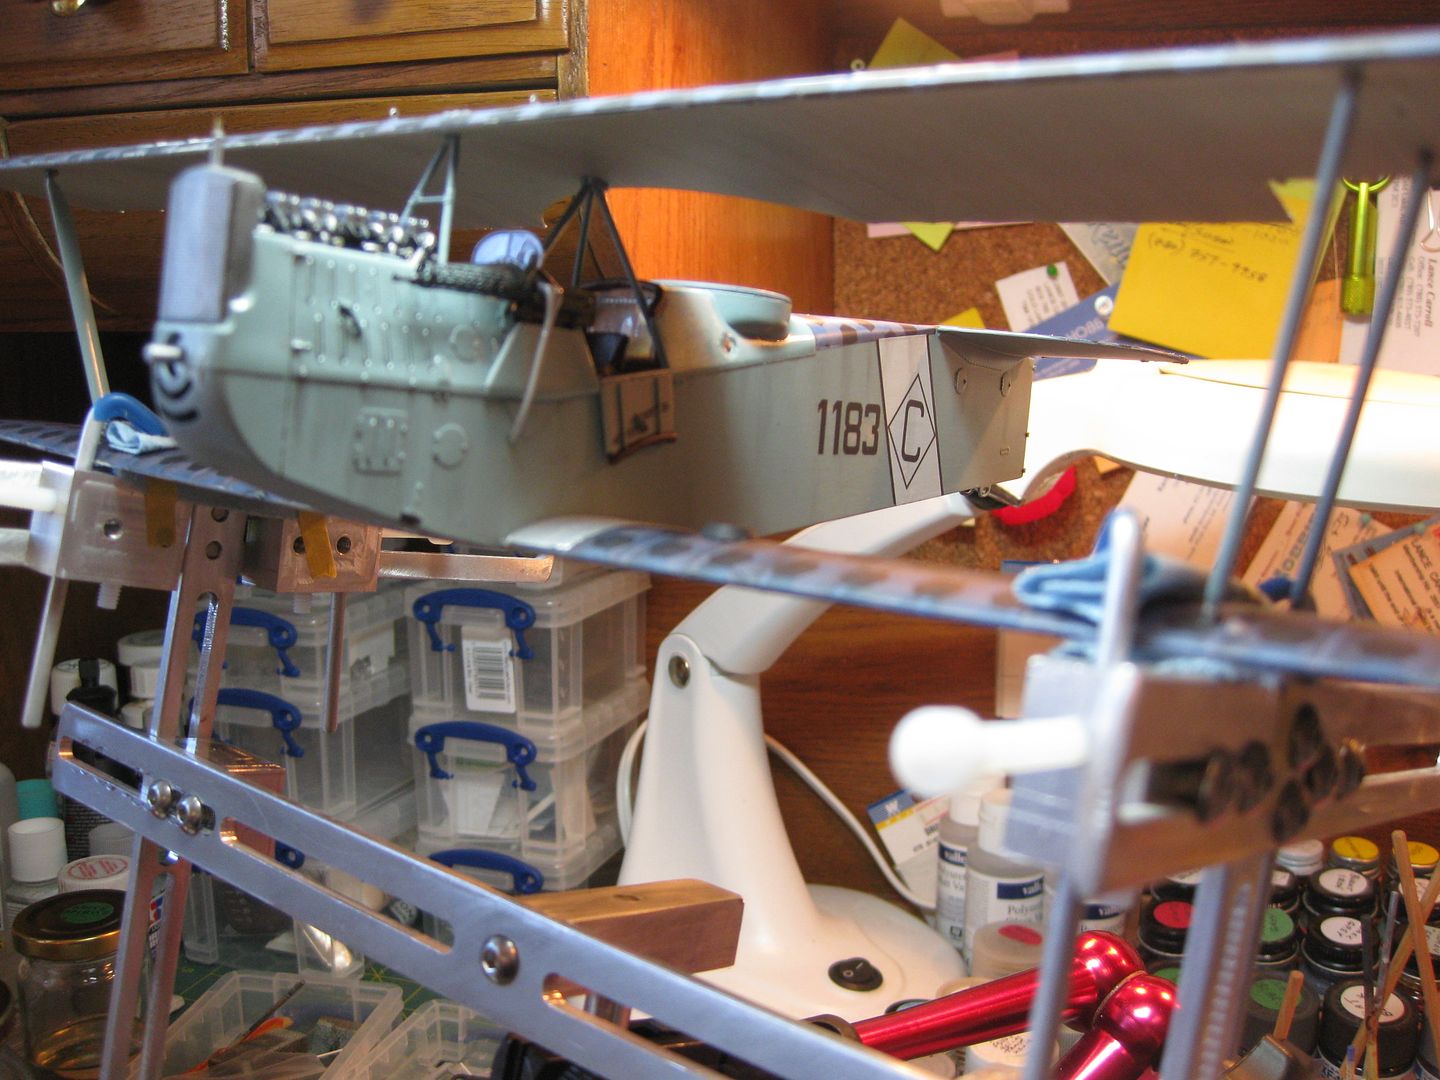
Now it was time to mount the upper wing. The wing chord proved too much for my AeroClub Jig (it's only failing so I think I'll be looking into a Vertigo Jig for the larger subjects) I elected to mount the Model on the Magic Third Hand and CA'd the upper wing and two inner struts, then simply popped the outer struts in carefully (CA as well) and was very pleased with the results. Perfectly aligned, solid, and all in under 10 minutes, a testament to Wingnut Wings engineering yet again!
The next big step is to install the float assemblies and complete the rigging.
Cheers,
Lance

