Decided to pile straight on in to the nose; there is a schedule (it must be done by 28 July), and best to bite the bullet and get on the truly tricky bits....
The cowling panels were removed on this machine to facilitate cooling, so the forward bit of the machine is bare structural members and motor, along with various plumbing bits. The first step was preparing the forward end of the fuselage...
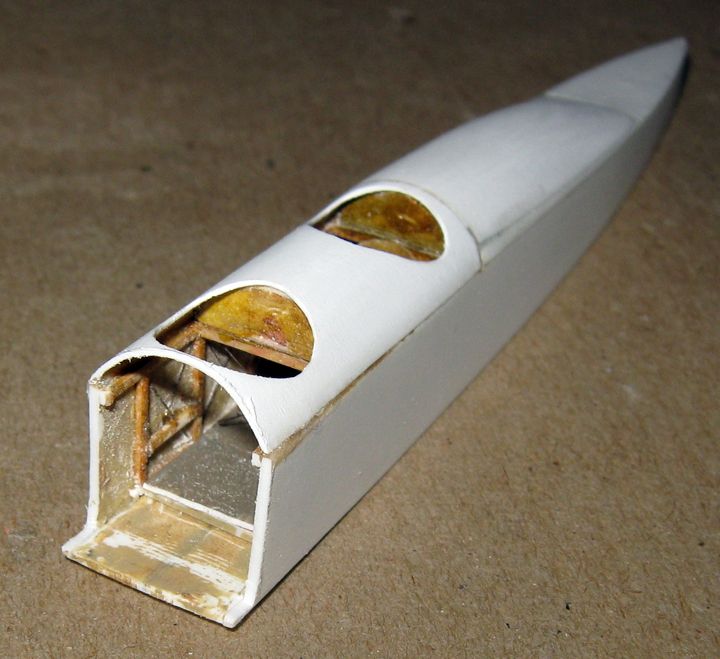
After some consideration and a couple of false starts, I decided some major surgery was needed to get the transition to bare structures done right. I cut away everything in front of the passenger's cockpit opening down to the bottom of the fuselage, also removing temporarily the seat and tank it is perched on.
Reconstruction then began, the early stages of which are shown in the picture below. The bottom of the fuselage now serves as floor and the position of the tank and seat ensures that it will read correctly to the eye when you look into the cockpit opening (this is necessary because, as will be seen, the cockpit floor extends a bit into the bare structure area). The next step was to add the rest of the gravity tank, made of a piece of 3mm sheet, and then cheekpieces of 0.25mm sheet between this and the floor to fill in the fabric sides of the rest of the cockpit.
Things got a bit hectic here, and I have no transition pictures from the above to the state of play at present
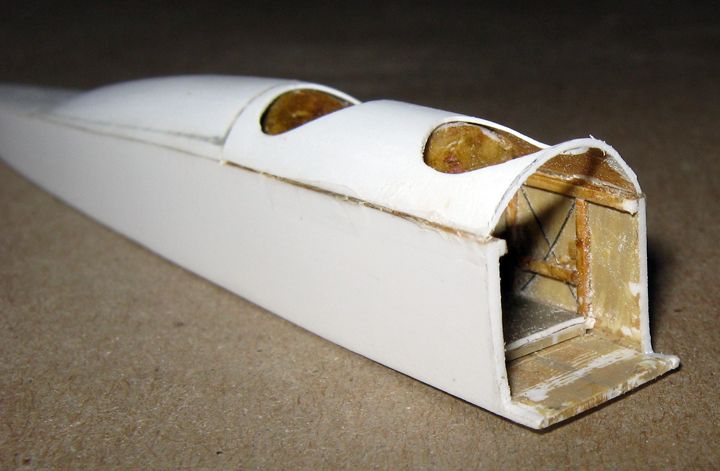
You may notice that the section of the front of the gravity tank has changed. It was at this point that I noticed in the photograph I was looking to for structural details that the top of the tank was flat, not rounded. This has happened to me before; when looking at a picture for some specific information, other things in the picture do not always register. Fortunately, some excess plastic I had built into the fuselage allowed me to fix this without too much bother. The bottom piece of the fuselage I had made deliberately thick (1mm sheet), and the sides also (0.75mm). My intent had been to sand away excess on the bottom, and the fuselage was running, as anticipated, a bit tall and wide by measure. So I sanded down the top instead, and sanded the sides rather thoroughly, too. I had to do a bit of reconstruction on the very front of the passenger's cockpit opening, and some reinforcing here and there with CA gel, and the cockpit decking now awfully thin in spots, but better that then pulling the decking and re-doing it a third time. In sanding down the sides I destroyed the 0.25mm cheek-pieces, and had to replace them.
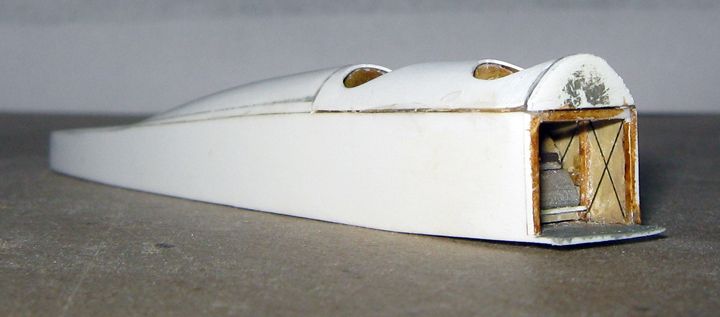
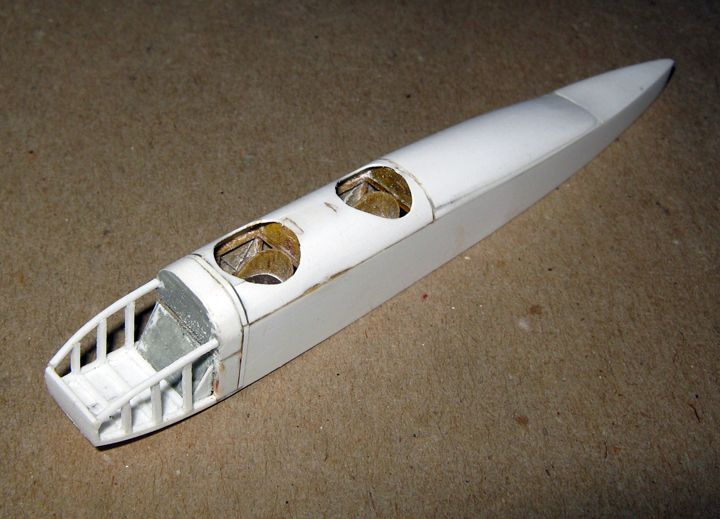
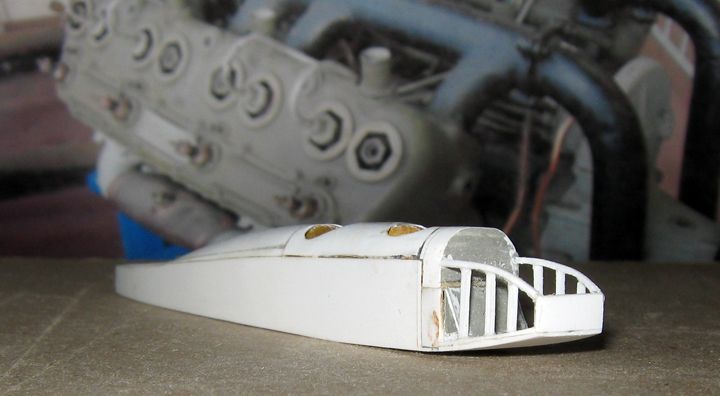
The bottom of the cowing remained intact on 822 (I suspect it is structural). The piece was cut from 0.75mm sheet,and bent to its curve. The accommodation for the passenger's feet was built up from 0.25mm sheet. The structural framework is 0.75mm square rod. Framework on the bottom was added first, and thinned down a good deal. The front-plate is 0.5mm sheet. The uprights on either side were added next, and then the top pieces bent and fastened to them, and the front-plate. Most of this was 'hot' work, on the model, with things trimmed as indicated by the look of the curves.
Next bit will be the engine. The backdrop in the last photo is of a Sunbeam Crusader(the proper motor for this, not the Nubian as often stated), preserved in the Brussels museum.

