Thanks for the feedback everyone. This is indeed a learning experience.

Here are the fuselage halves cut out and sanded flush. I have opened the cockpit, but still have to do the engine compartment cover opening.
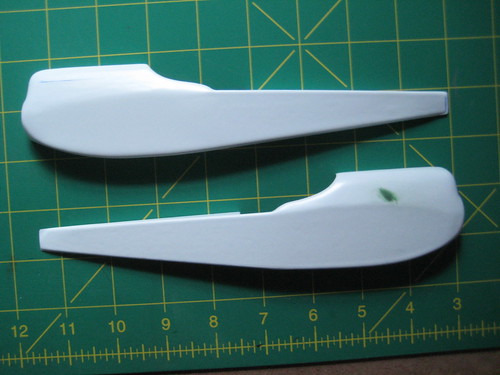 IMG_5619
 by
rhallinger, on Flickr
...and, of course, the obligatory and reflexive "test fit."

The haves mate fairly well without any tabs yet. Still a little tweaking to do though.
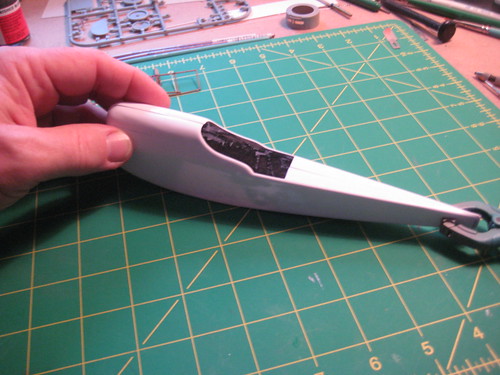 IMG_5620
 by
rhallinger, on Flickr
Isn't it interesting how the scraped up black paint on the interior gives the cockpit a very busy look at this distance? Complete illusion.
Speaking of the cockpit, I can now begin that, among other things, and then there are the wings . . .another new adventure for me.

First though, I will finish up some detailing on the fuselage like scribing panel lines and nail heads.
I am relying on two primary build logs for the 1/48 Special Hobbies kit, since they have lots of protoype photos along with great detailed work and some techniques I can use to duplicate some unique parts of the Lloyd. One site is the Aerodrome build by Wotek Fajtah, previously linked in this thread. The other is at this link:
http://www.swannysmodels.com/yabb2/YaBB.pl?num=1335224480/0Both build logs show lots of detail which will be helpful (and both are stunning and gorgeous builds!). I noticed that many of the metal fittings, access covers and latches on the fuselage of the Lloyd look very similar to those used on Albatros fuselages, so I ordered a PE Albatros DIII set for those parts and some others which are pretty generic.
Gotta finish up the Pup for my daughter, so I may take a brief break from this one over the Thanksgiving holidays, with the family all home for a few days. Blessings to you all. Among the many things I am thankful for this year is this wonderful and enriching group of modelers who share so much knowledge and cameraderie. Thank you all, and a special thanks to Des for getting it starting and making it possible. Well done!
Regards,
Bob

