Hallo everybody, I did not forget this GB, I continue to nibble at the other life few hours now and then...
Here are some pics I took from time to time:
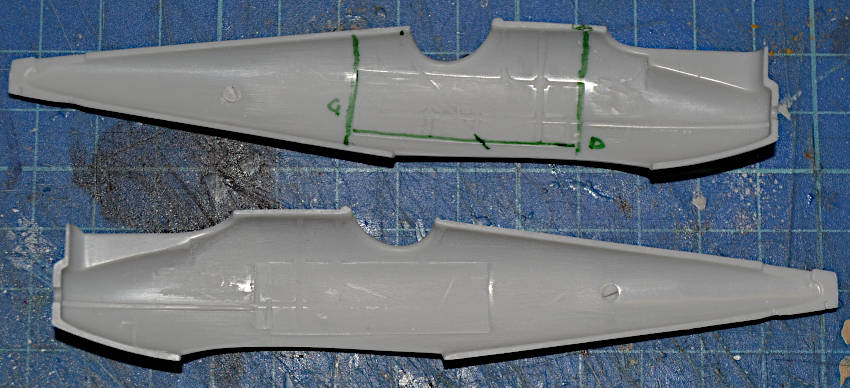
The BLUE MAX fuselage has a very thick wall, and it's really uneven. I decided to keep it as it is, just had to remove that weird bun inside the nose.
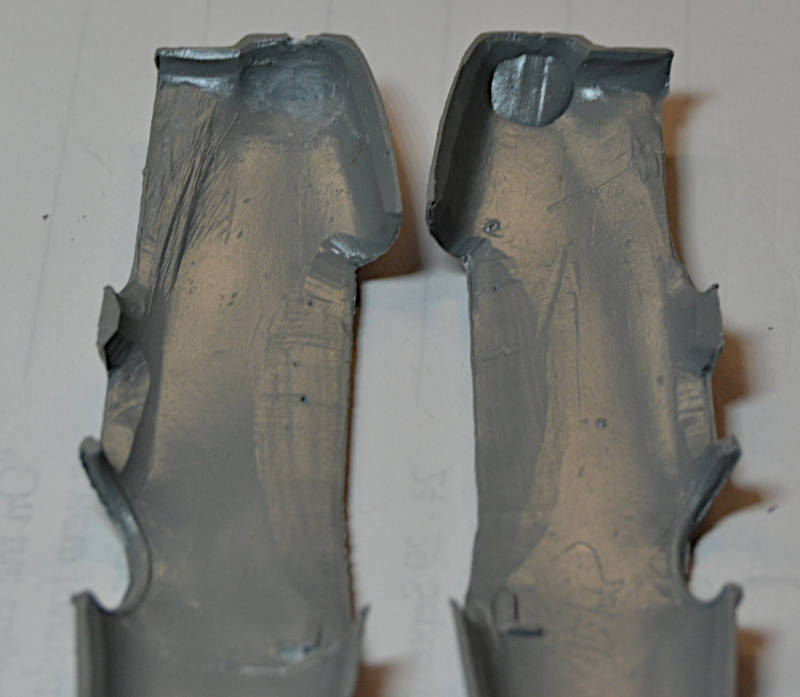
The right half shows the horrible clump, on the left one it has been already removed.
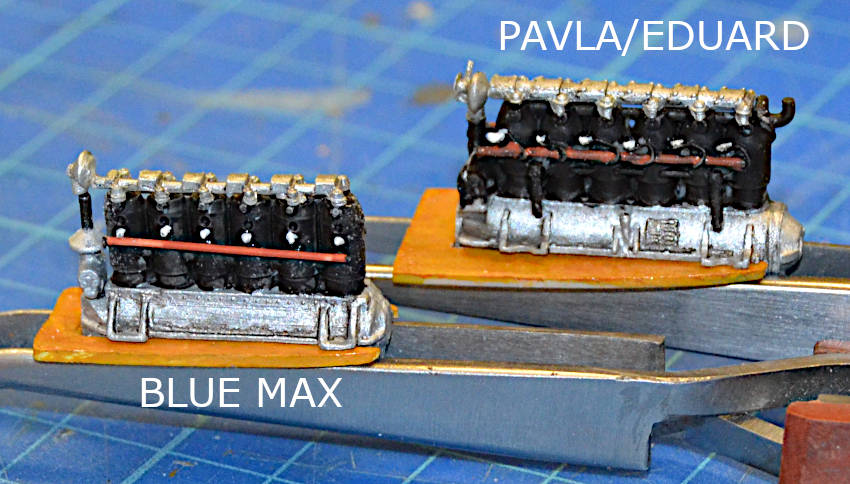
Decisions had to be taken on the engines:
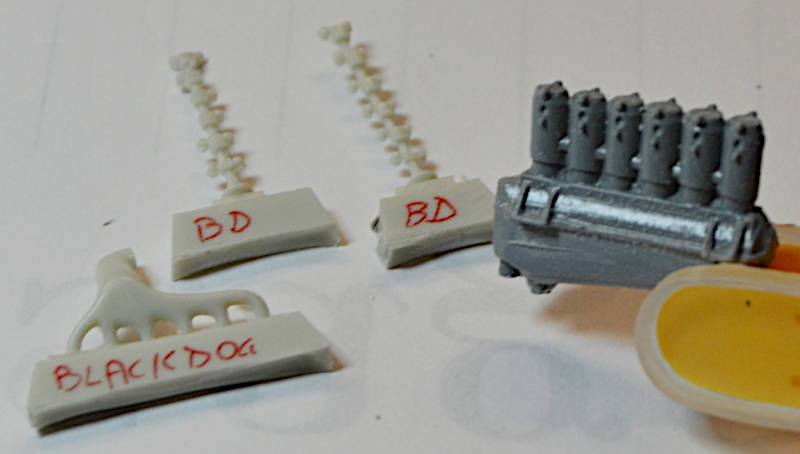
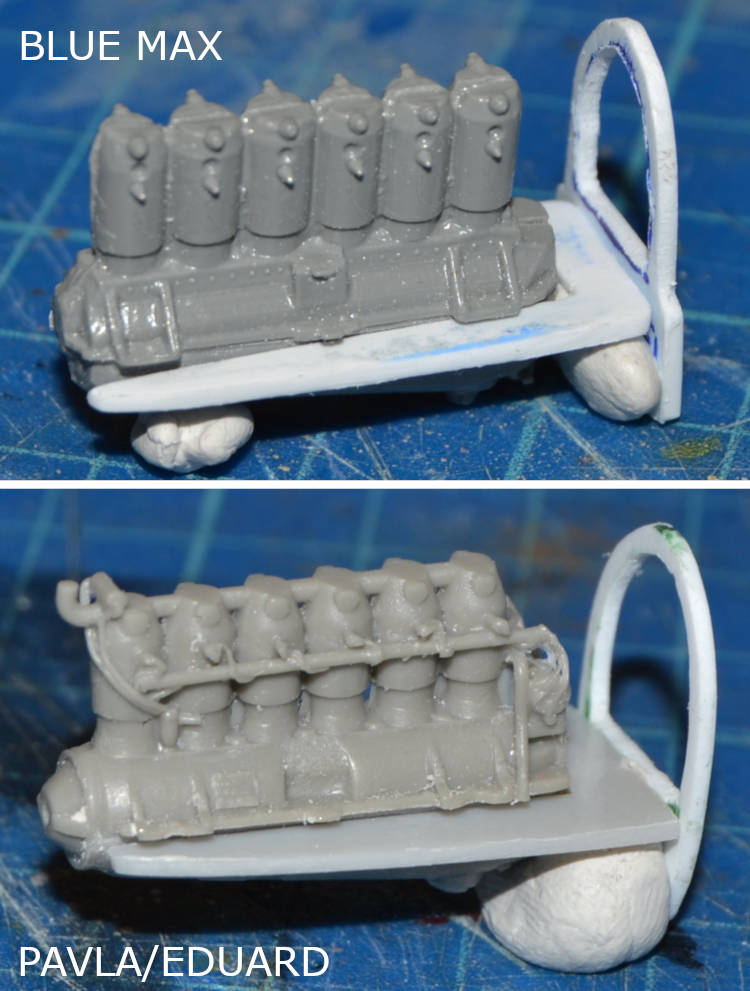
This photo shows the BLUE MAX engine and some resin details from the BLACK DOG set.
I decided to use these pieces plus a couple of pieces from the EDUARD kit.
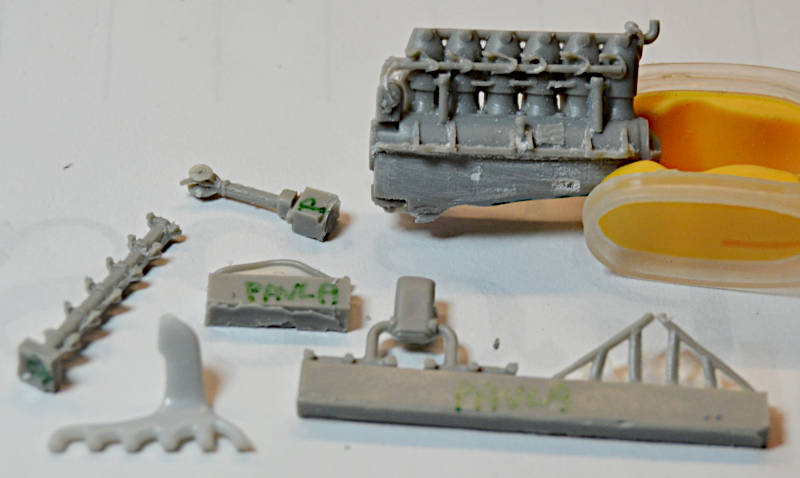
Here you see the full PAVLA engine plus the details. I will use it for the EDUARD kit and will use the exhaust tube from the kit (light grey piece here).
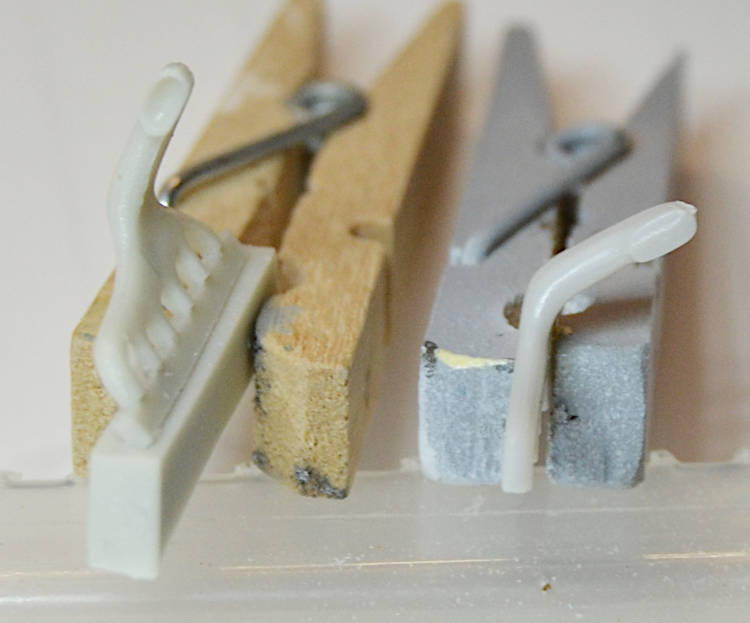
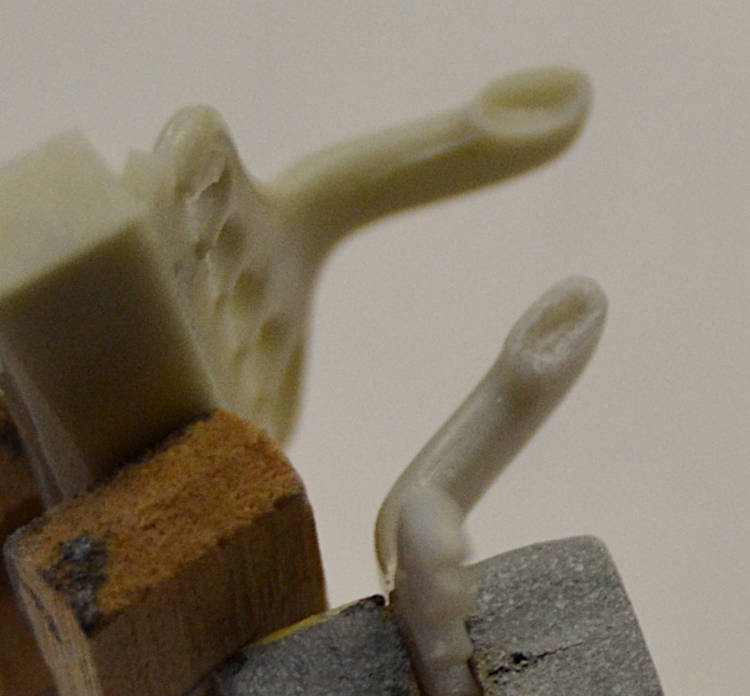
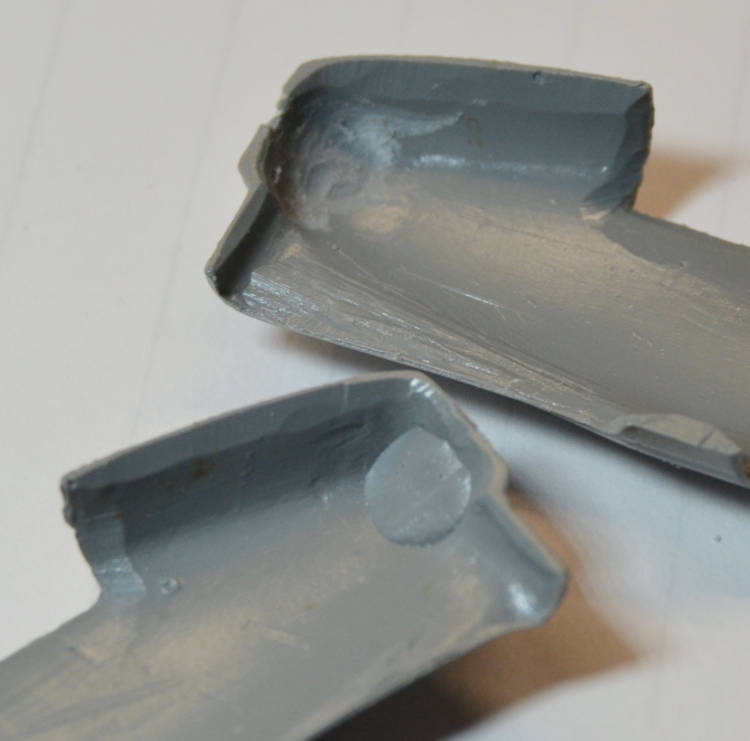
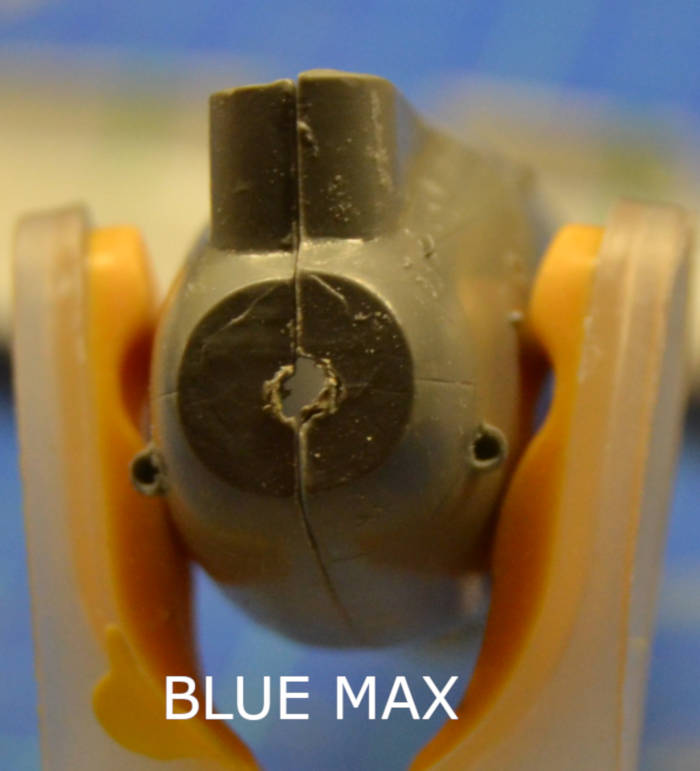
The exhaust of the BLACK DOG set has a hole on the tip of the tube (left) the EDUARD one (right) was full and I had to dig a bit in it.
I decided to build the interiors structure of the cockpit in both the planes, also because there is nothing in any of the kits.
So I found a schema, reduced it to 1/48 and am using it to rebuild the internal frames piece to piece
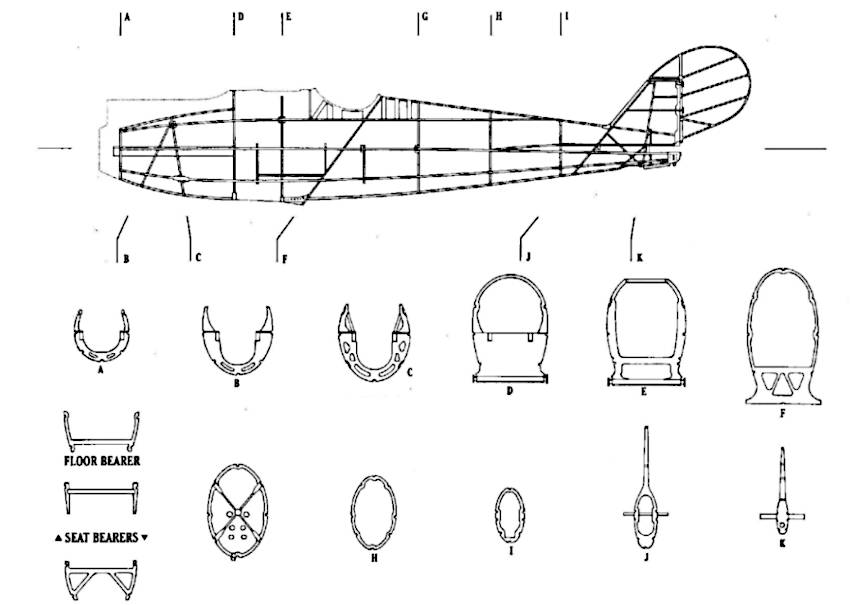

Thisis the BLUE MAX fuselage, I had to glue some plasticard to hold the plan where the engine will stay and traced the position of frames G (behind the seat) and D (behind the engine)
Same for the EDUARD fuselage, here they casted the vertical and horizontal frames, I had to file them off but tried to leave at least the tace of their positions that, according to my documentation, is fair enough acceptable.
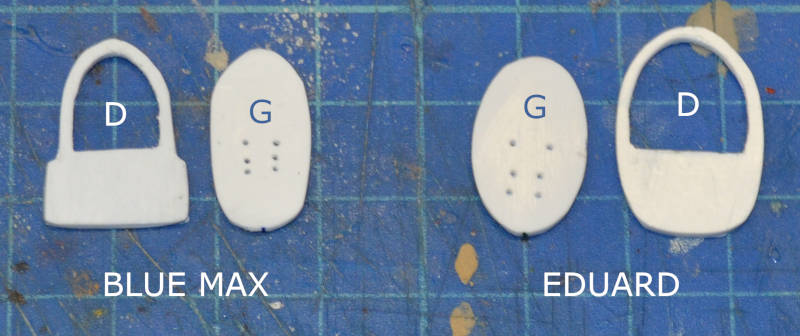
Here are pieces D and G for both the kit, they were cut from a 0,5 mm plasticard sheet and filed until they allowed the two alves to lock.
The BLUE MAX are totally different from the original drawings, the EDUARD pieces are fully compatible, I just had to file away a few plastic from the external edges (I guess because of the thickness of the molded plastic)
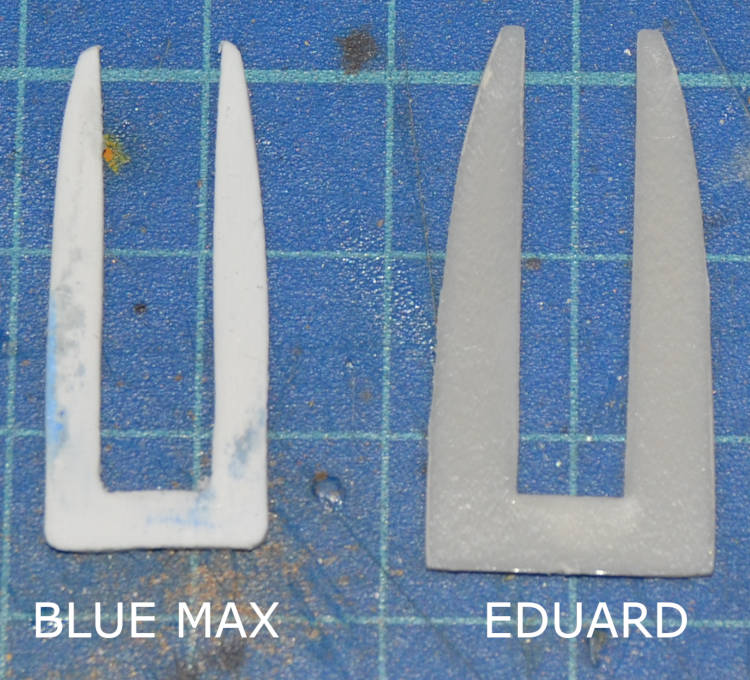
The wooden plan holding the engine: the EDUARD piece and a piece built by me, the BLUE MAX kit did not supply any piece to hold the engine.
Here is a dry fit of the engine with the related pieces.

I drilled the two air intakes that are on the plane cheeks, both the kit have them "close"
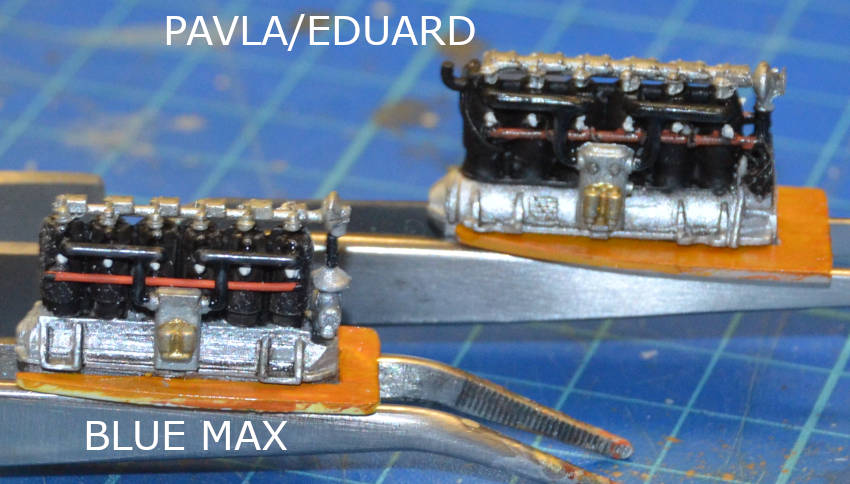
Here is where I am at today: Engine and bearer painted and glued.
That's all for today!!!!
Thanks for watching
Antonio

