This build log has been on pause for quite a while for reasons explained here:
https://forum.ww1aircraftmodels.com/index.php?topic=12587.0Fortunately, thing are getting a little back to normal. Her progress is slow, but promising, and the dining table / workbench is back again.
I have been quietly working in the background on several other segments of the aircraft, of which I included some photographs.
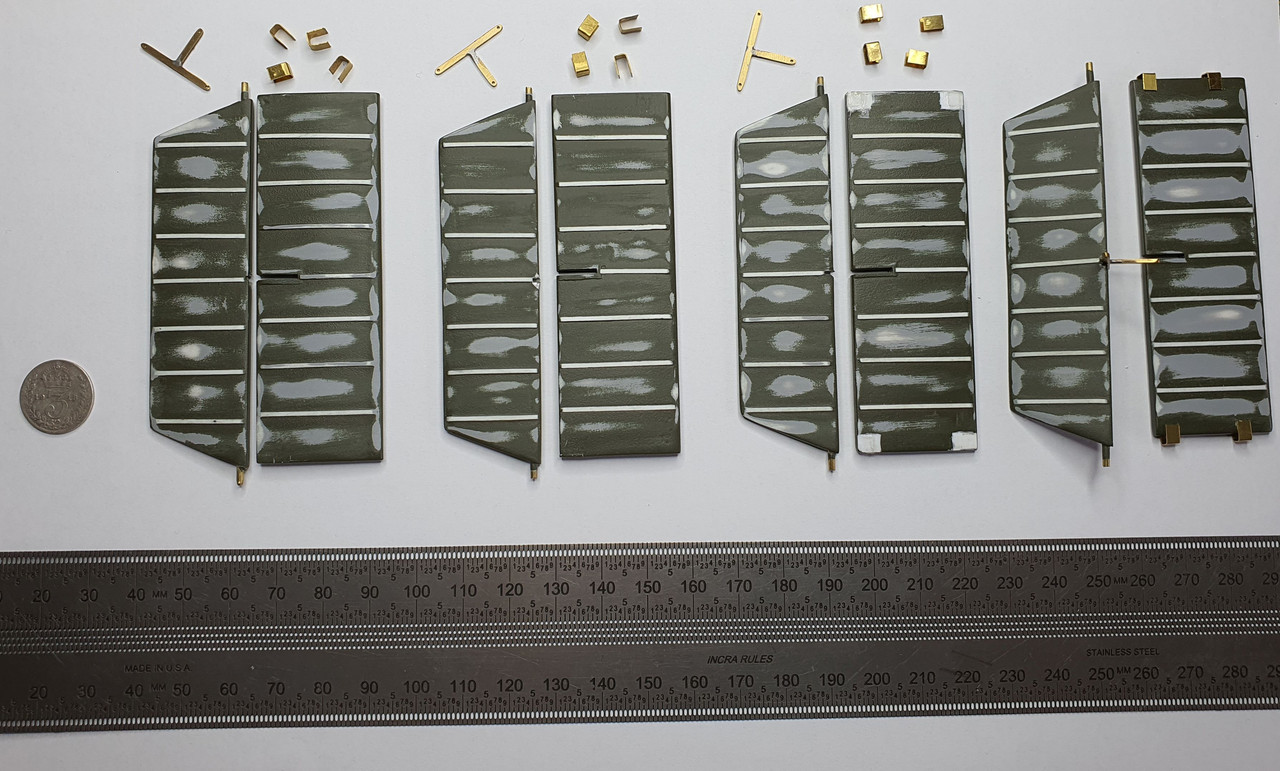
Tailplane and strutsThe stabilizers and elevators need a little more work before they can be primed.
The rudders and fins are almost finished. The surfaces are sanded down again. There is a lot of single-colour surface to cover later on the whole aircraft and my fear from the start was that the overall result may look dull and monotonous.
So I decided to experiment a little. The need some more layers of colors, which I will try to mix in slightly different shades to make it look more interesting. (Thank you Gary for your inspiration). Also, the hardware for the struts and the rigging have to be installed. The stabilizers and elevators wille receive the same treatment.
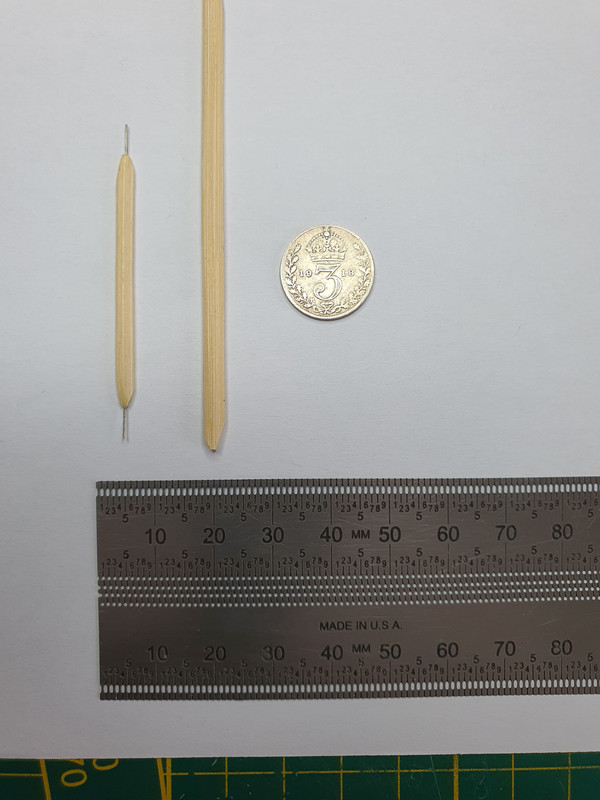
The struts are made from bamboo snack sticks.

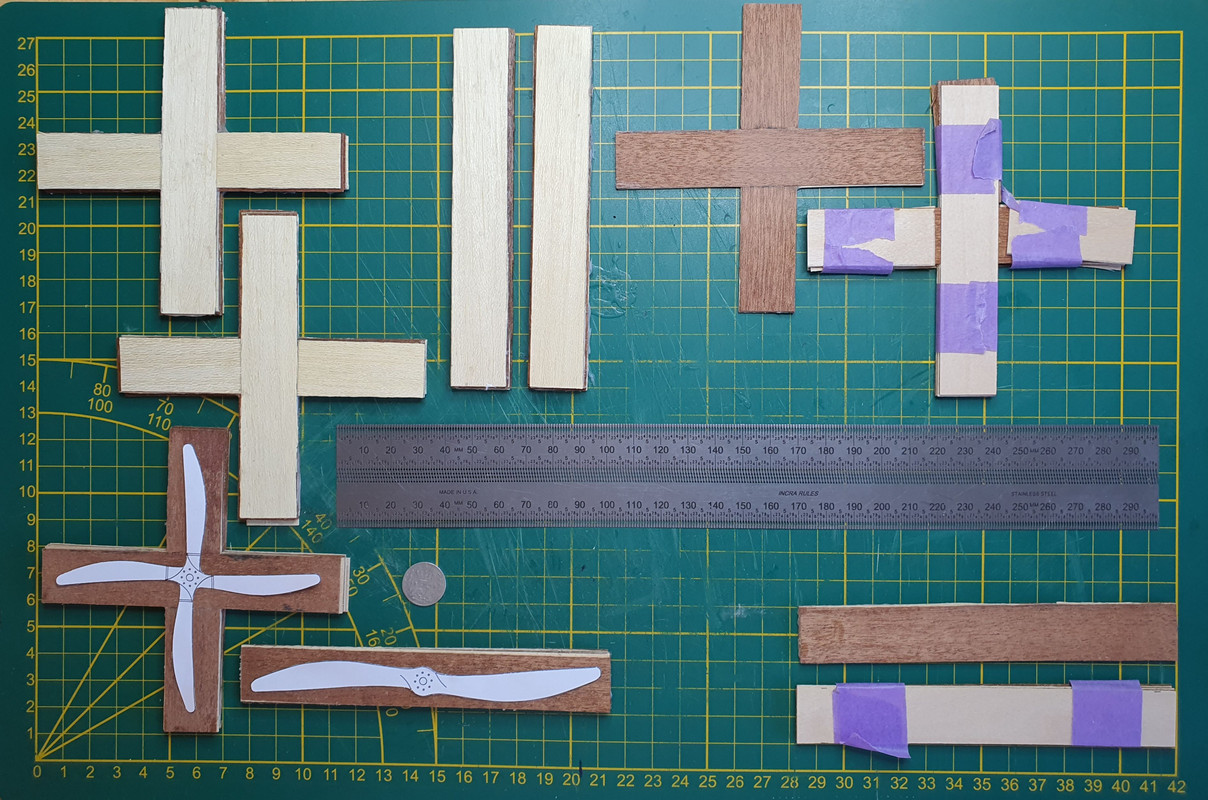
 Propellers
Two member of this forum kindly donated unused propellers from WNW kits to make the 4 bladed variant, but ultimately I decides to give it a go with wood veneer I made two sets of the four propellers, because I know I will mess them up at some point. I have some serious carving to do now.
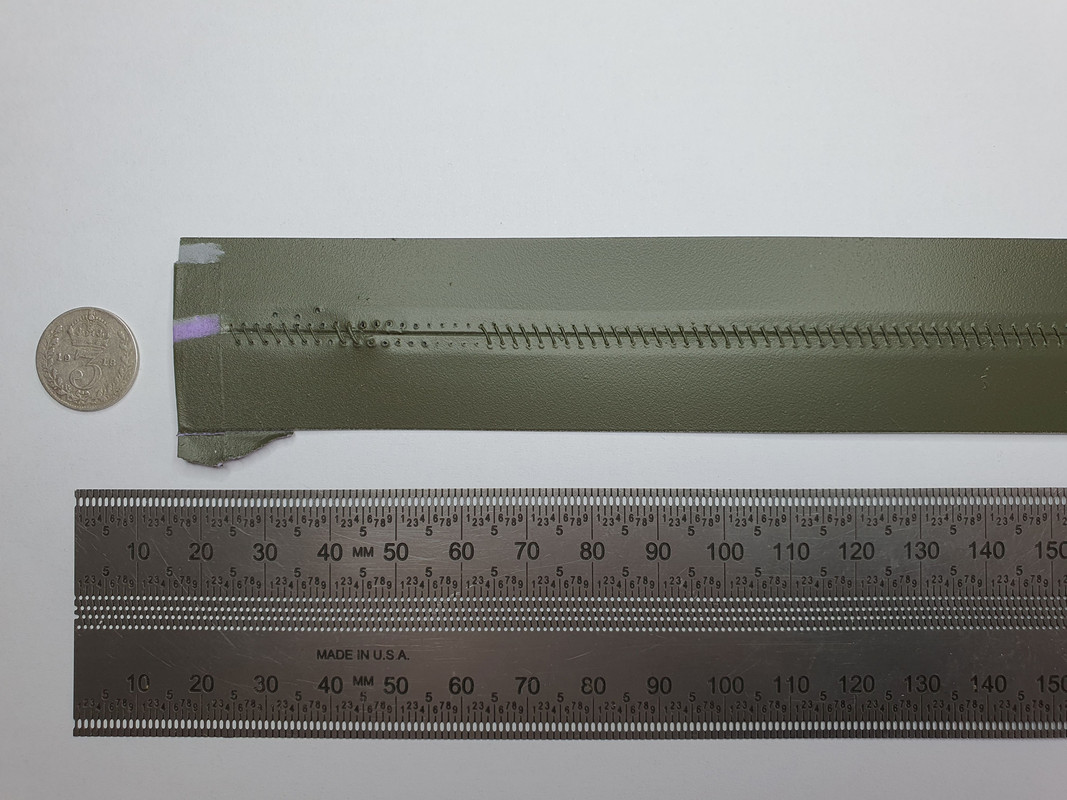
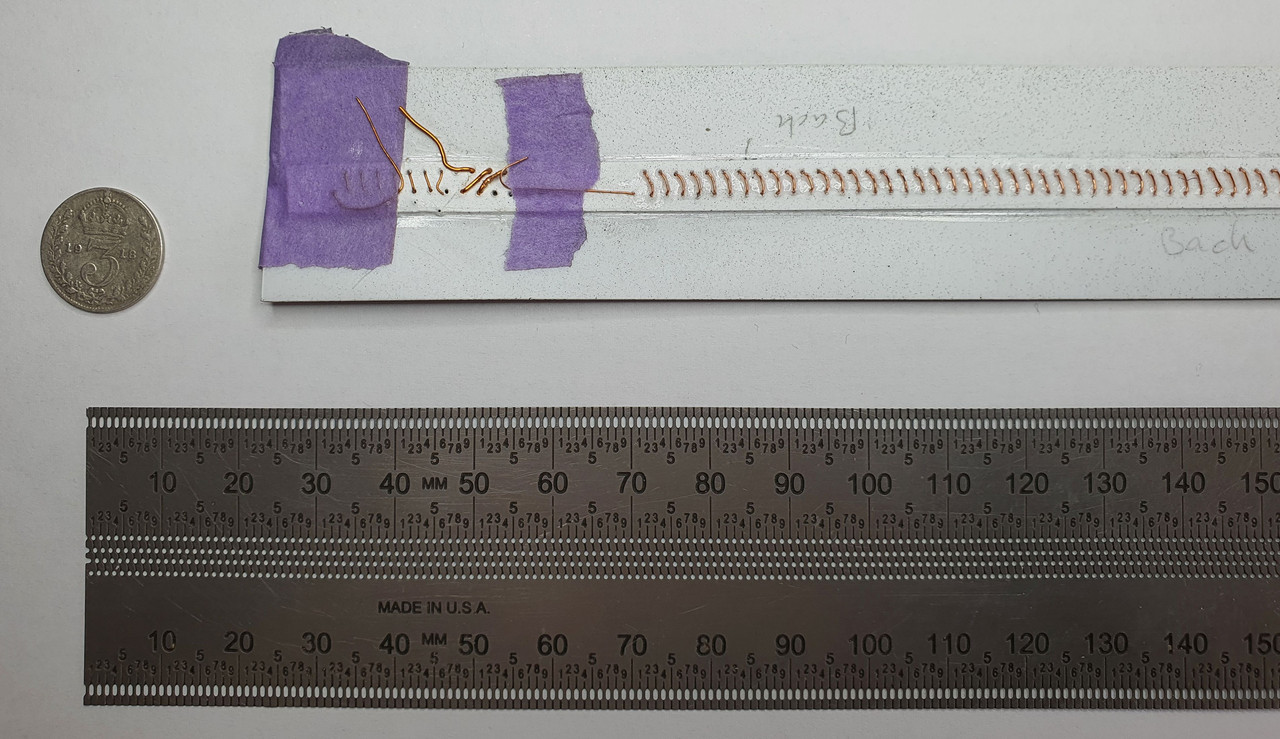
 Fabric lacing
I did some testing here too in scrap styrene, cotton thread and 0.2 mm copper wire. I taped my precision ruler to the styrene strips, and punched the holes directly through the holes of the ruler. That way the holes are neatly aligned. The holes were made with a steel needle in a pin vice with a good grip.
I flattened the wire by covering the laces with a scrap strip of styrene and just hammered the lacings flat.
 Cockpit
The cockpit is literally crammed with gauges, meters, tumbler switches, pushbuttons levers and more.
I got the shape right, but I think I will follow the WNW assembly method.
But thats not all:
On the starboard wall of the cockpit was a group of eight levers on a common vertical axis. The upper four were the mixture controls, and the lower four were on-off controls for the petrol supply to the engines. The oil-pressure gauges and the revolution counters for each pair of engines were mounted on the inboard side of each forward engine, where they were supposed to be visible to the pilot; consequently there were few instruments in the cockpit. The airspeed indicator and altimeter were duplicated in the bow gunners cockpit [and under the pilots seat], and the bombsight was mounted externally on the nose. And then there are the control column with cables for the rudders, elevators and ailerons.
These are all very tiny part, even in 1/32. So I took the liberty of cheating a little and bought the Airscale instrument bezels and decals.
Rib stitchingMy rib stitching experiment (see reply #122) failed miserably, but I have another idea or two. Im not sure if they will work, but I hope to show some results soon.
EnginesI was fortunate enough to buy 4 Wingnut Wings sprues with the Rolls-Royce Eagle VIII engines before they went out of business. I am very glad with those, because the engines on the V/1500 had no cowls. But figuring out all the fuel-, oil- and water plumping is challenging enough. And then there is still the cables and wires to and from the carburetors, radiator shutters etc. etc..
Thats all for now folks, but,
Ill be back
Willem

