The quistion was already asked how to put a topic about scratch building since i dont have a kit to show.
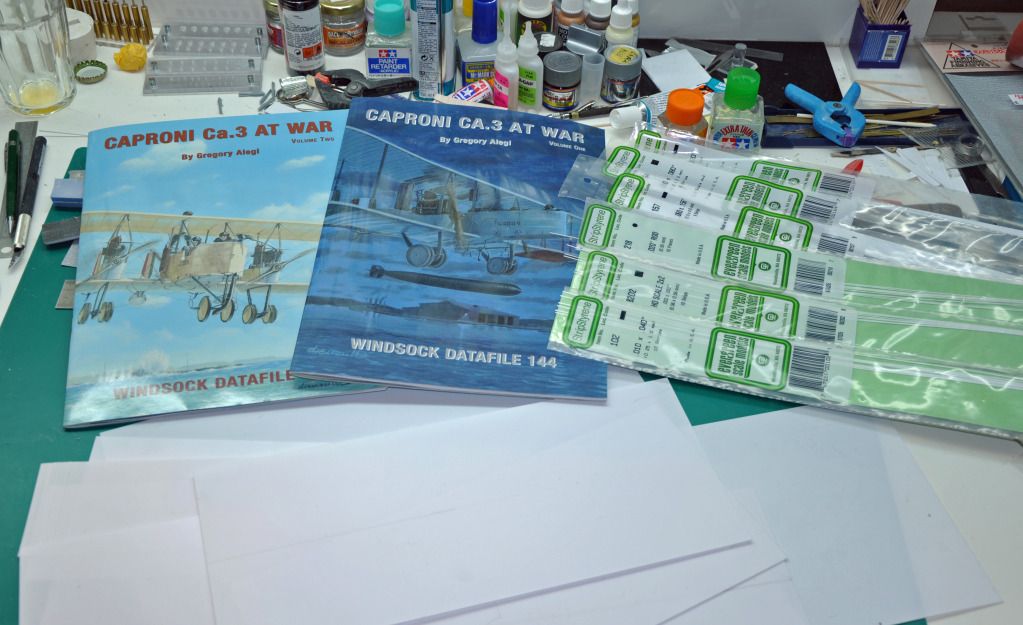
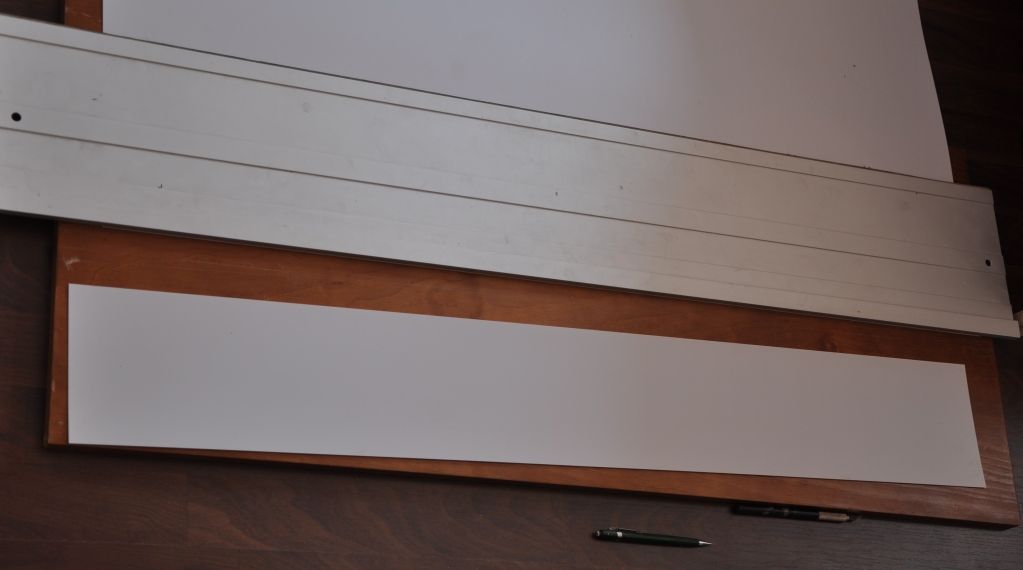
Referens ill be using for the build is Caproni Ca.3 at war Volume 1&2 Scaled the drawing to 1/32 and stuck them on my door to my hobby room.

The material ill be using is mostly Styreen, for the wings ill use Balsa wood and ofcours the brass and copper for detailing.
Overall view:
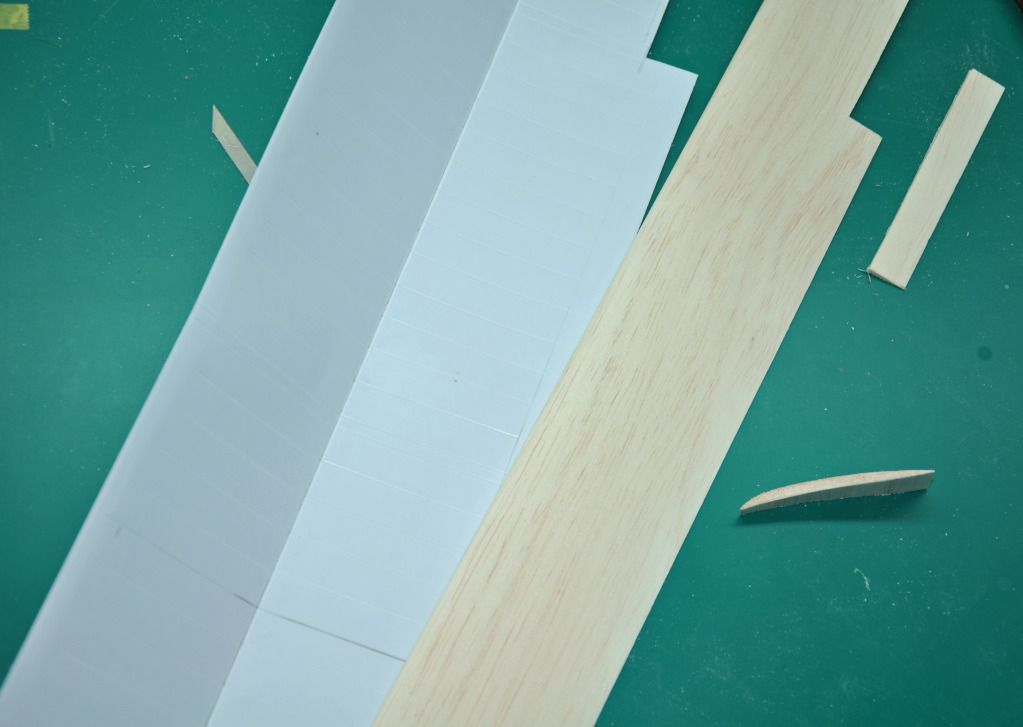
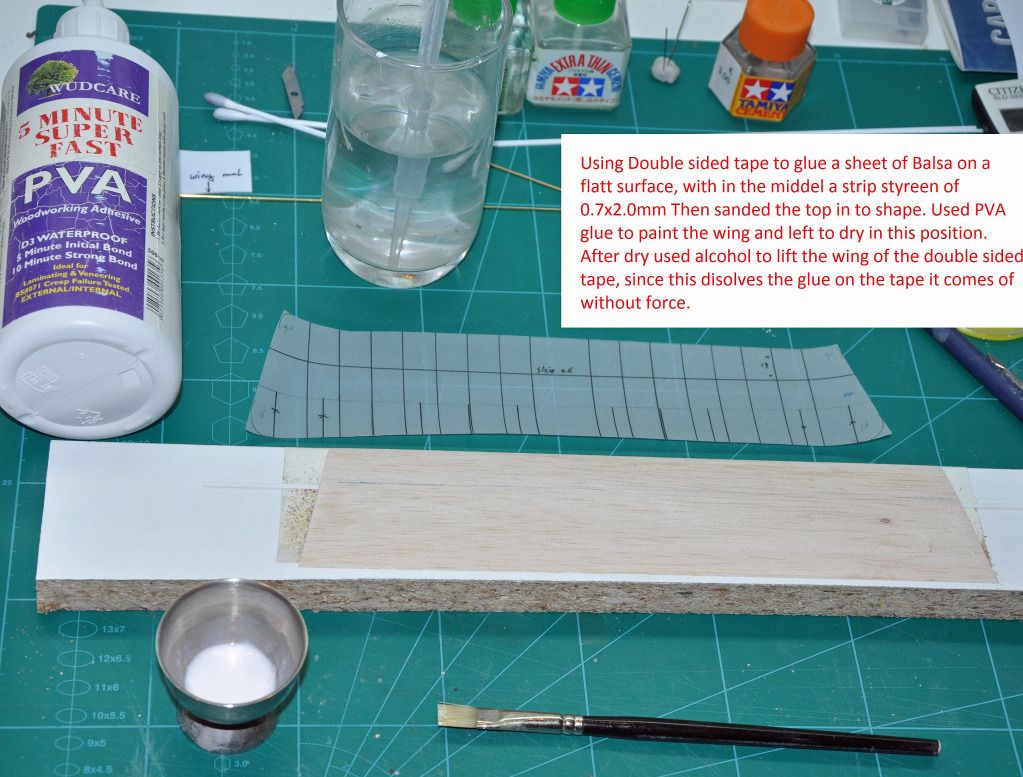
I diceded to start on the wings using the harry woodman methode.
First shaped 6mmx100x1000 balsa wood in the airfoil form using sanding bloks, then cut out the ailerons keeping in mind its 3mm smaler then the real wing.
The overall airfoil shape is 0.5mm smaller this is for the sheet of styreen that is gonna wrap arround the wing.
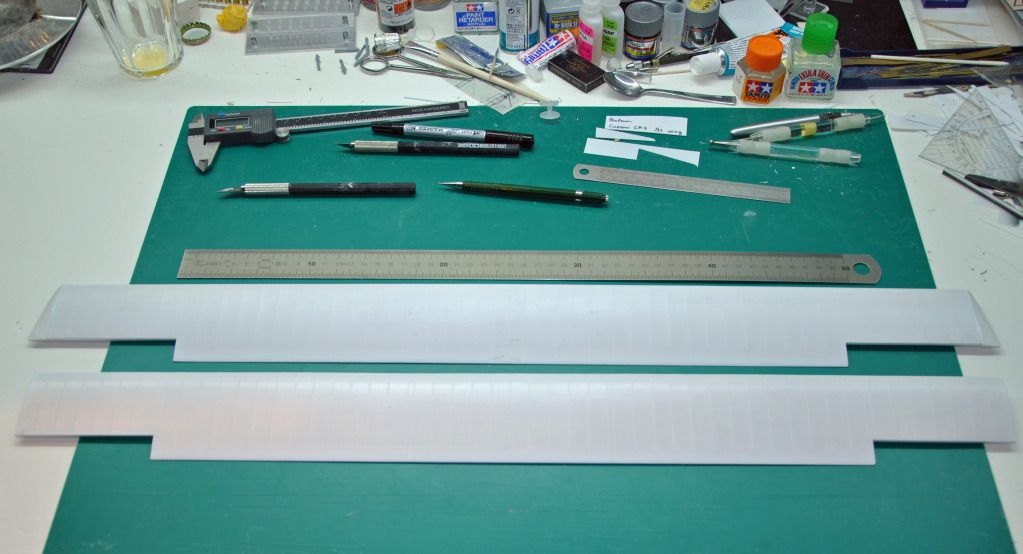
At first when i started collecting info and supplys for this build i had trouble on how to build the wings in one peach since all the sheets of styreen are 250x500mm and the overall wing span is 700mm
So i whent and search the web and found a store that sells big sheets in 0.5 x 1400x1000 for 6.95 so that's cheap two.
Here is the site where i got the stuff.
http://www.kunststofshop.nl/index.php?action=showbasket&lang=ENCutting the styreen using a guid rail for a circelsaw, using a knife.
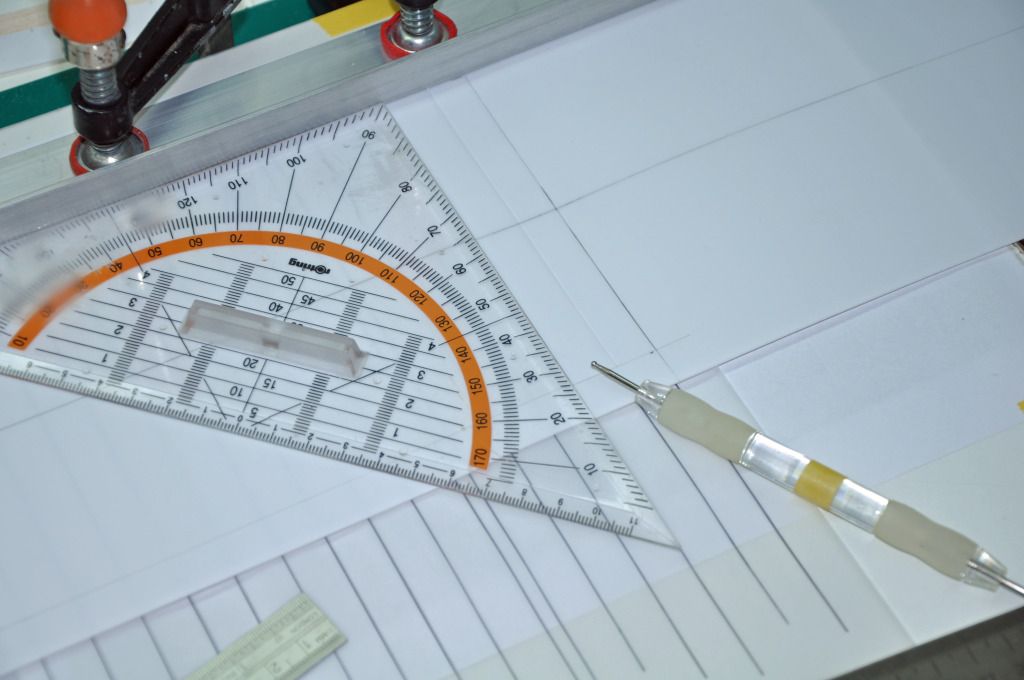
On this picture i trached all the ribs on transparent paper and then taped it on a flat surface with underneat A4 paper and a sheet of rubber.
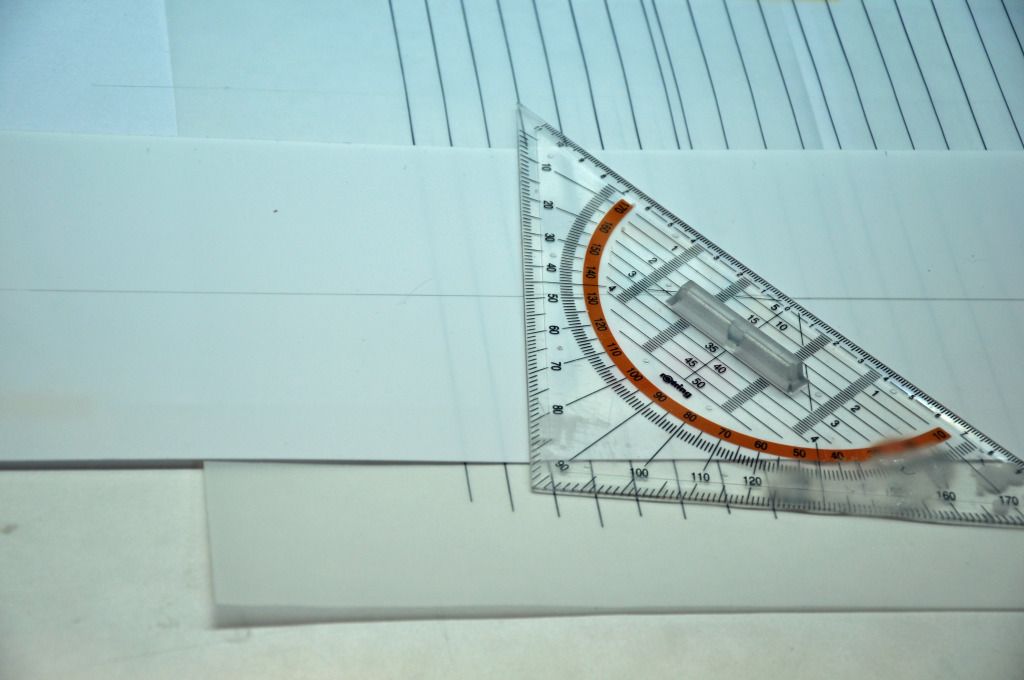
Then using a pen with a ball point and a straight edge of alu profile clamped on the table with the styreen between it, so it cant move.
Then using a try angel as a guid for the pen i pussed the ribs in the styreen.
Harry Woodman advice is using 0.25 styreen wich will be better, forming arround the wing but i coulden't find sheets that big of 0.25. So thats why i use 0.5 little more work but it worked fine for me.
For the smaller wings ill use 0.25.
Afther all the ribs are done on the sheet i pused with a bolled pen in the middel of the sheet over the length of the wing to stress the styreen to make it easyer to bend.
Then using tamiya tape i taped the wing on the inside where i dident wanted the contact glue to go and sprayed it from a spraycan from bison.
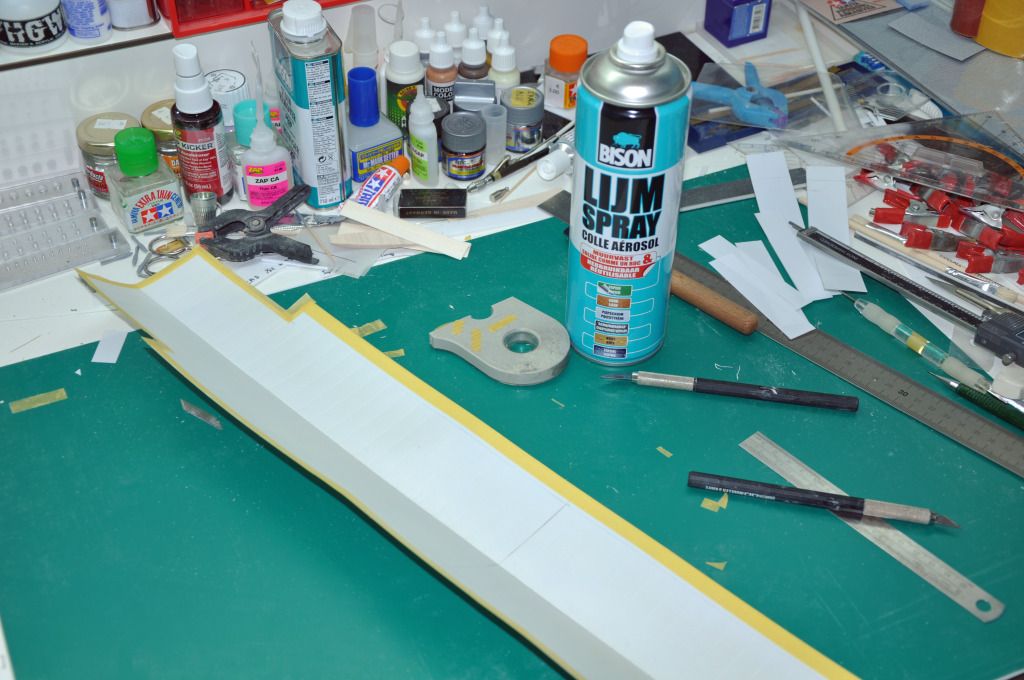
Did the same on the balsa wing core and left it to dry for 30 min.
I gave the balsa a second coat afther about 10min since its sucking up the glue.
Then the hard part comes placing the balsa in the styreen, it has to be right! straight away, since no correction is possible with contact glue.
This is the first time i use this methode and it whent whell the first time.
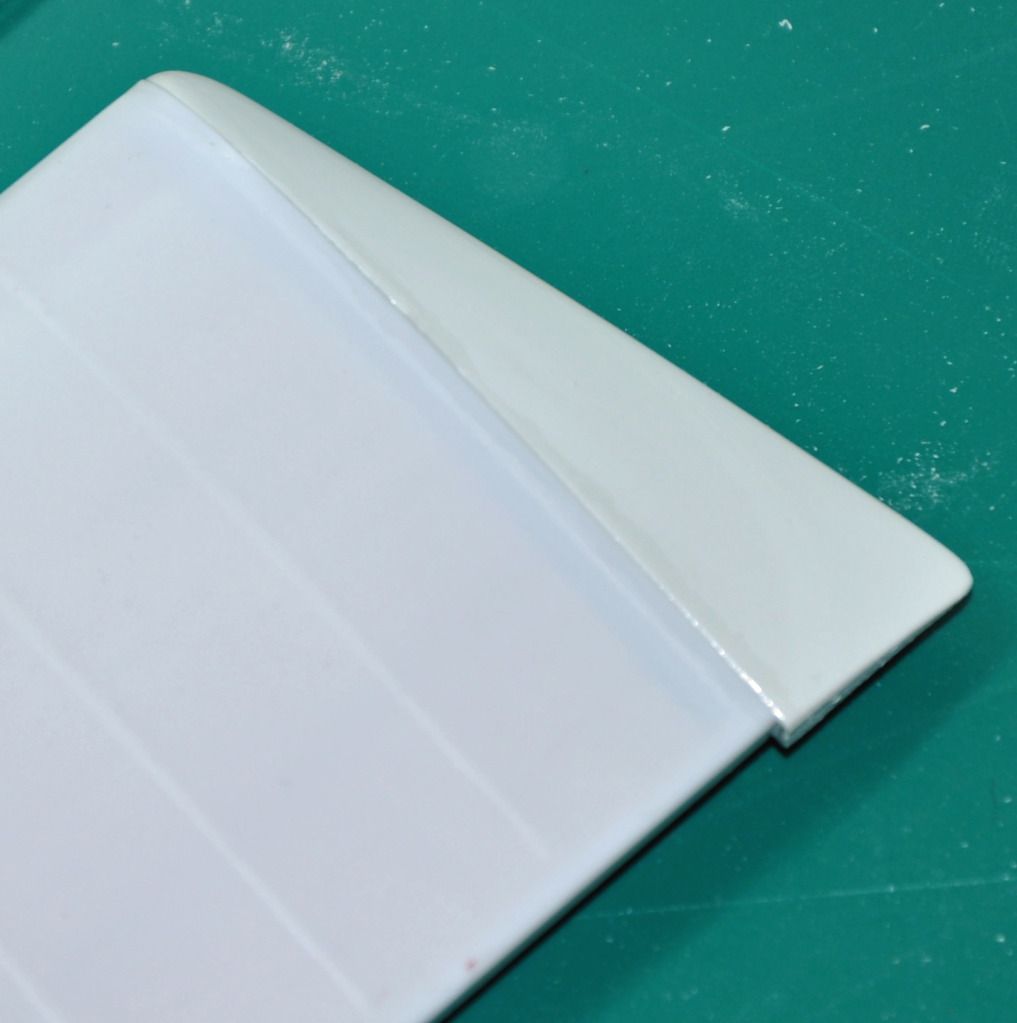
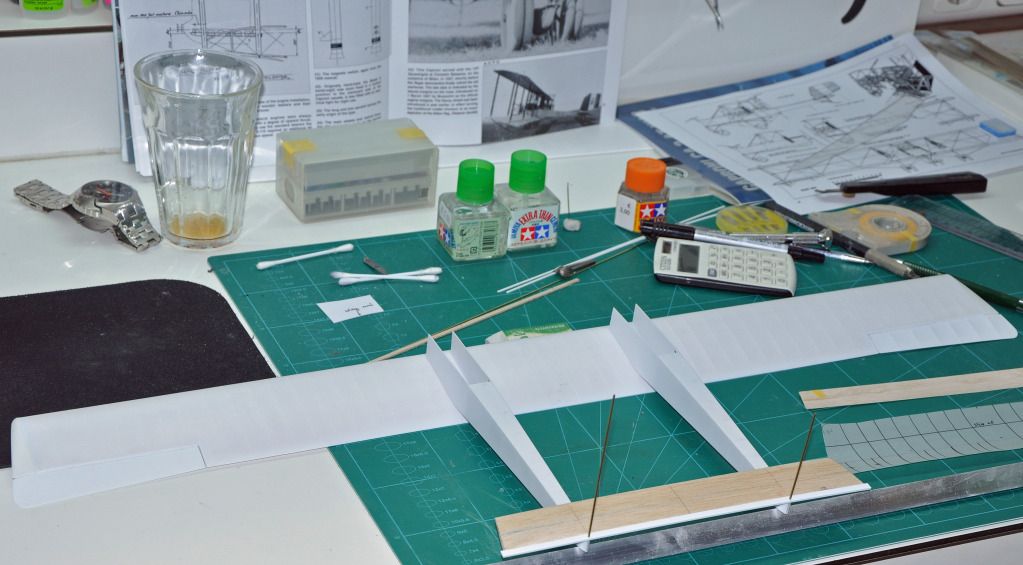
Here is the end result so far:
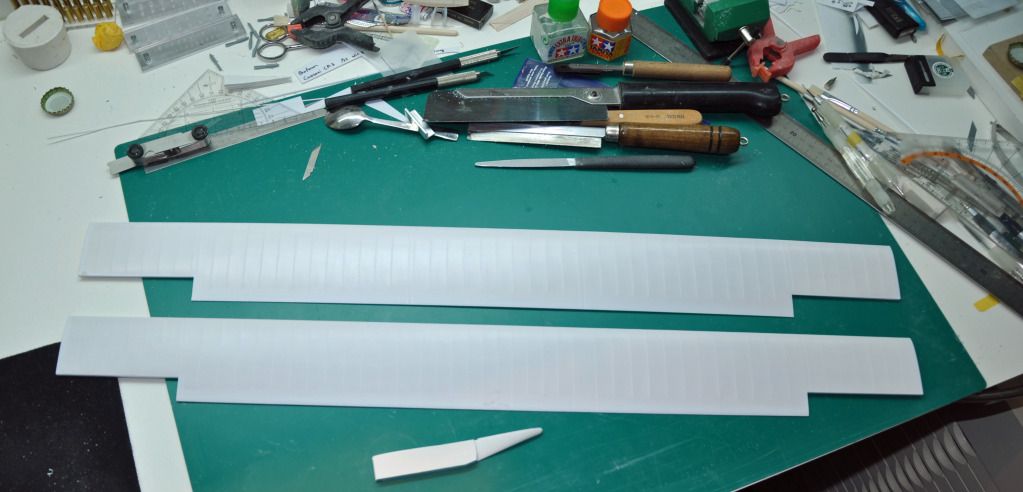
When both wings where done i closed the gaps with styreen of
2mm x1.5 strips where the ailerons are.
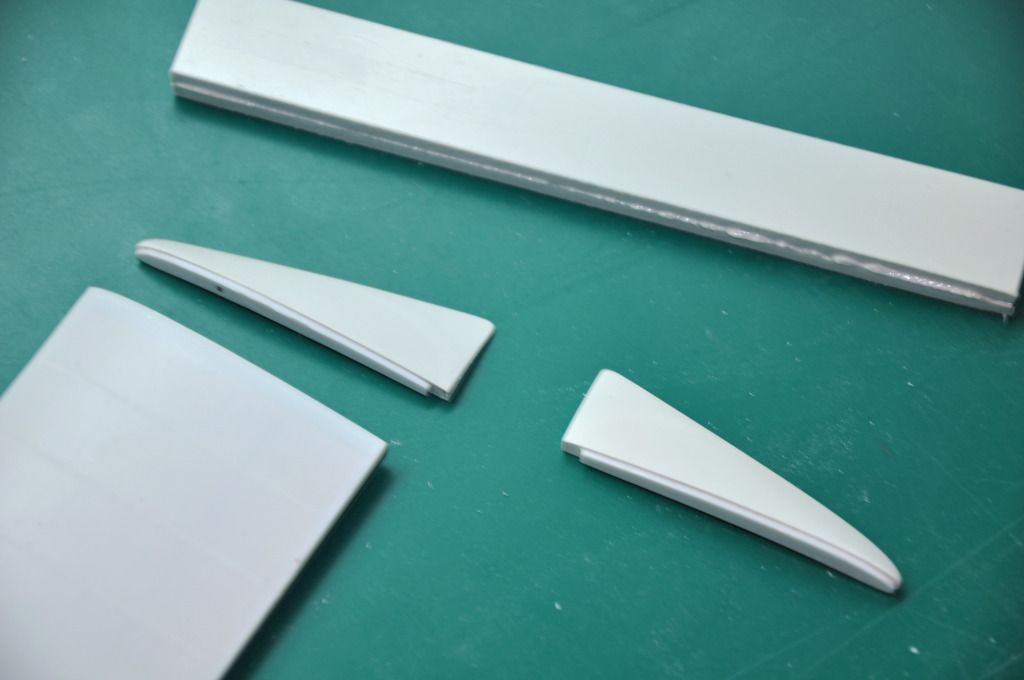
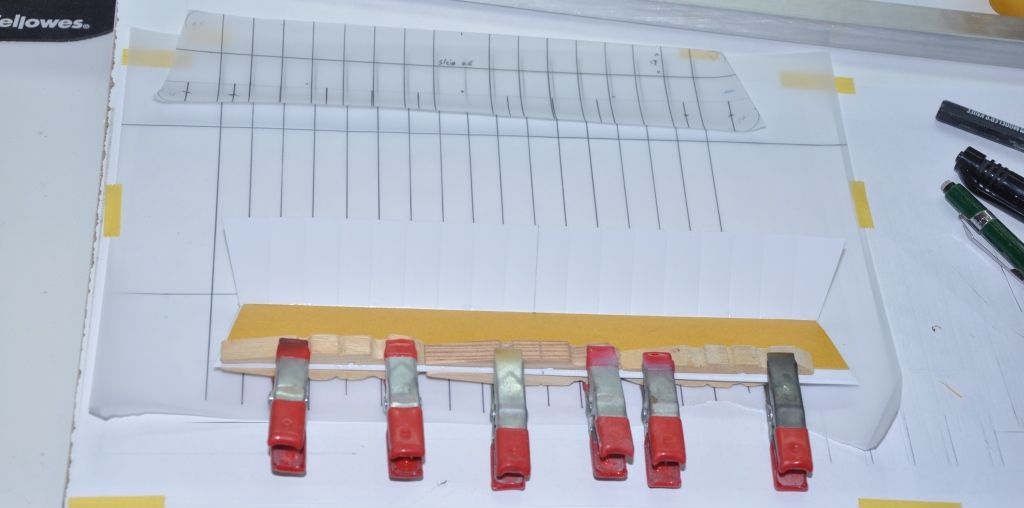
In the mean time i sandwiched two strips of 3mm x17x125mm for the wing tips.
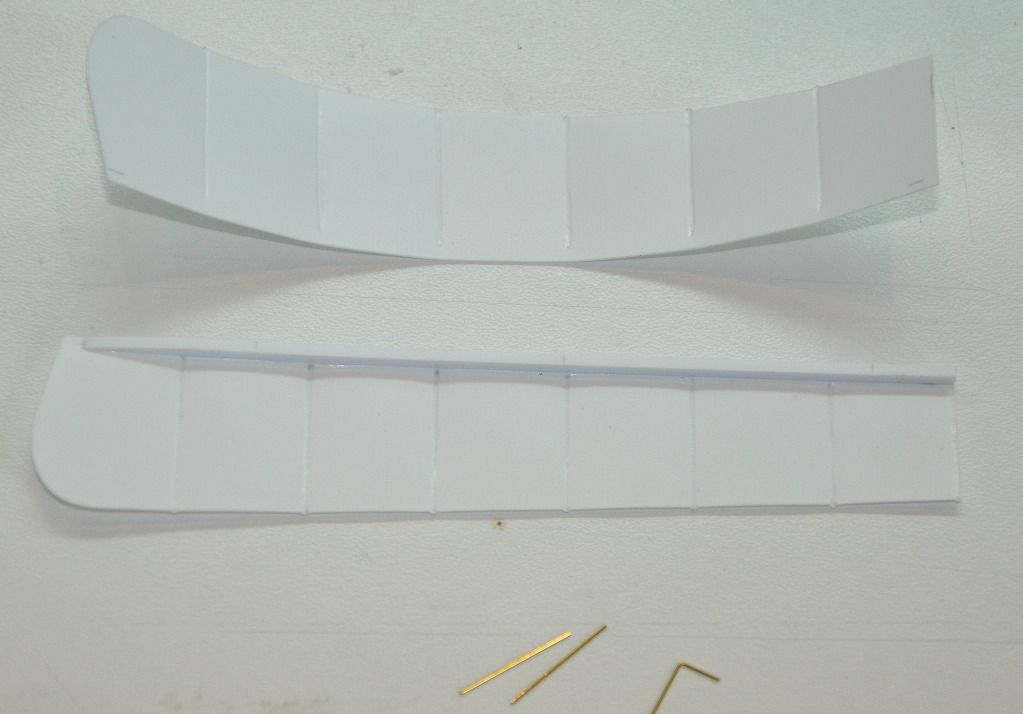
When dry sanded them in to shape so they fit the wing flawless took some time but looks good.
Over all here is where iam at:
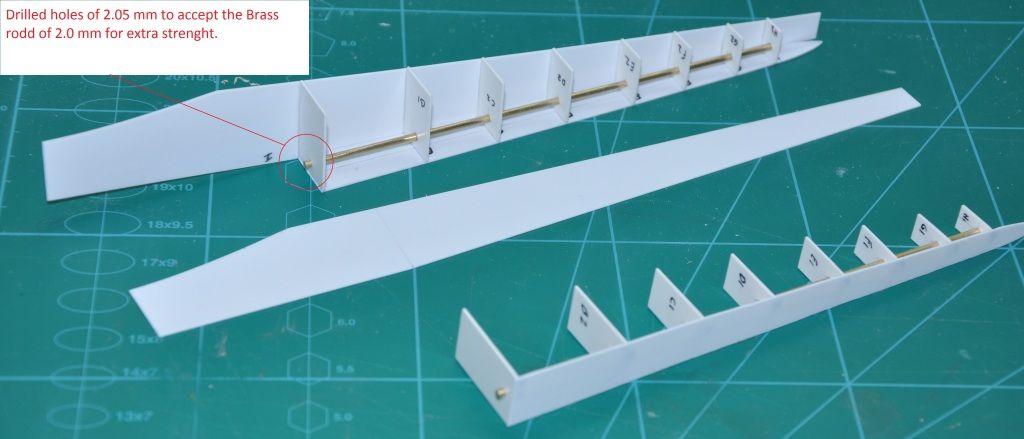
Made alerons for the main wings using 0.25 sheet styreen and inserted brass rodd of 0.5mm to act as a hinge.
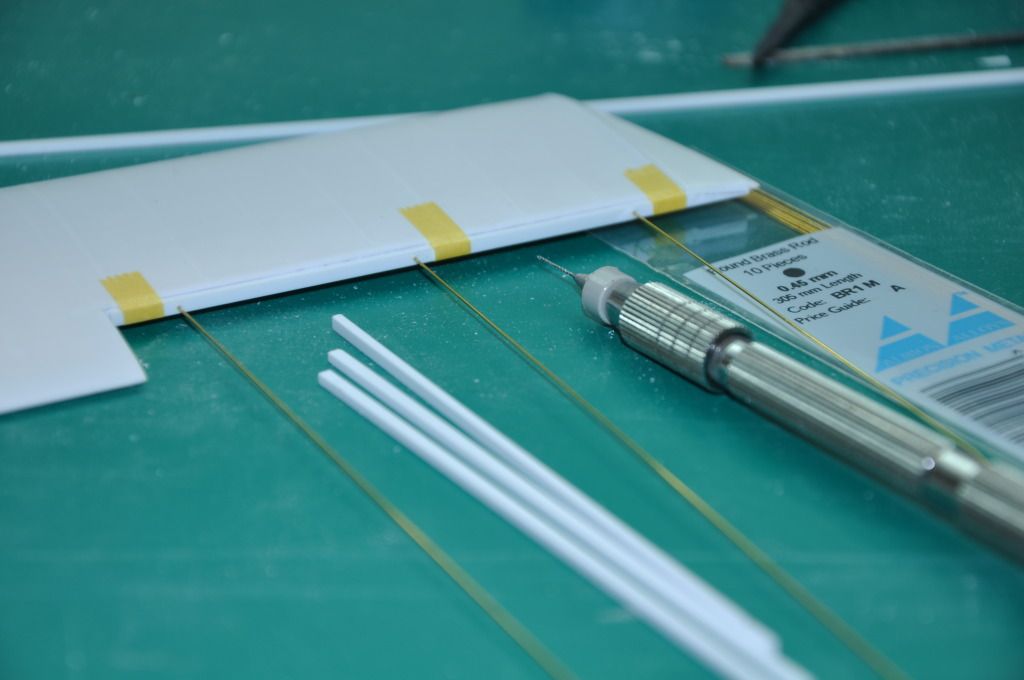
USing a drill of 0.55 to accept the Brass rodd's.
Here the rodd's are bent in a L shape and glued in place with CA.
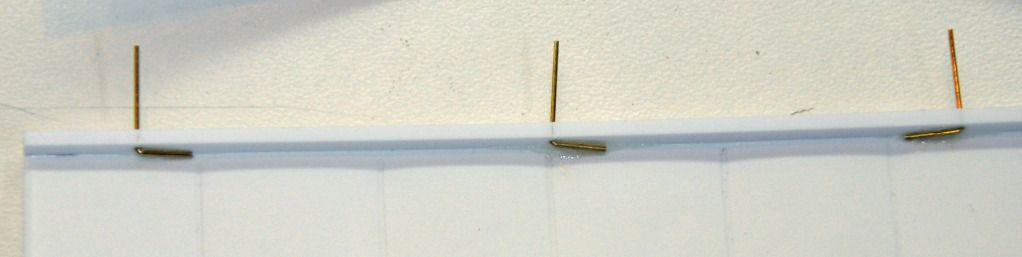
Making disks of 1.0mm and then cut in half glued on both sides of the Brass rodd to make it look like a hinge.
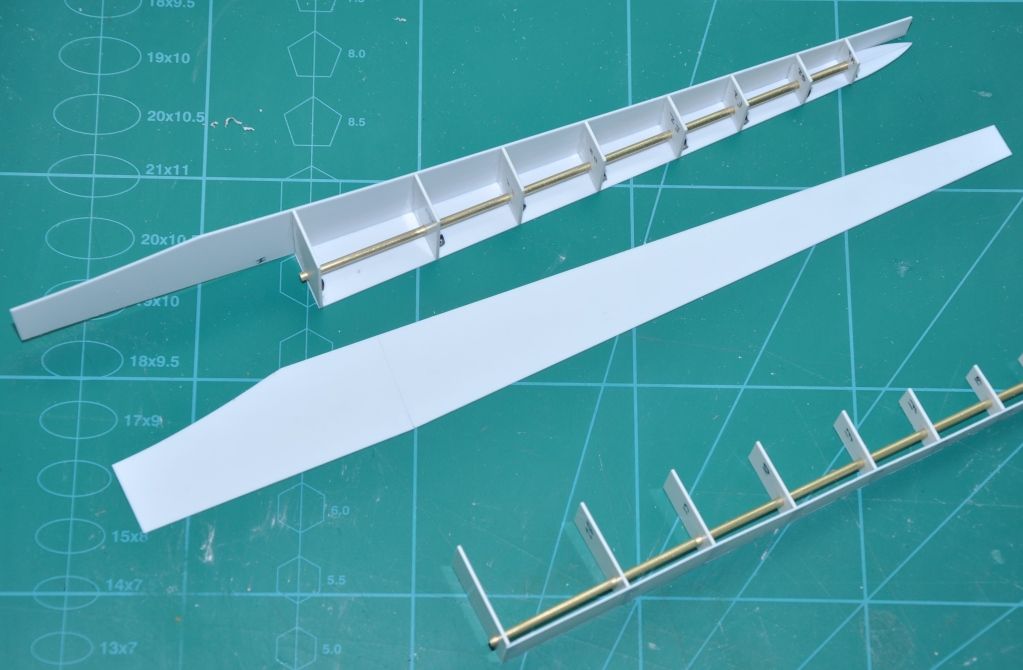
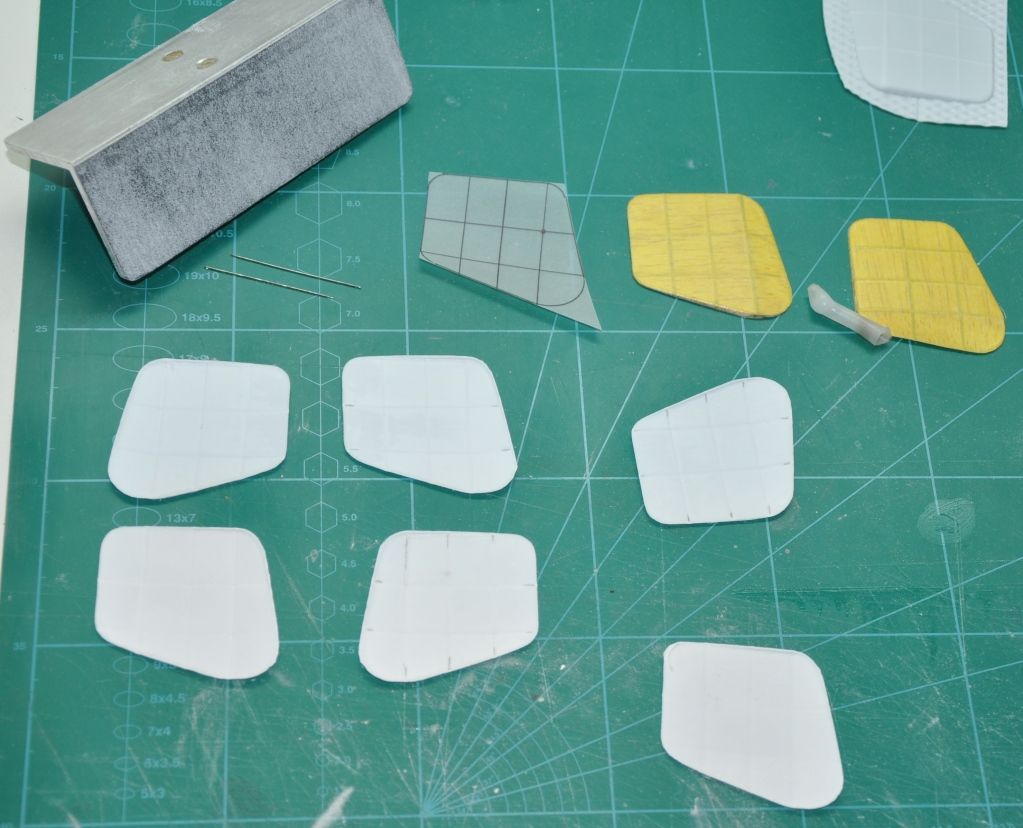
Next made a start with the tail section, cut all the shapes needed and sanded them square.

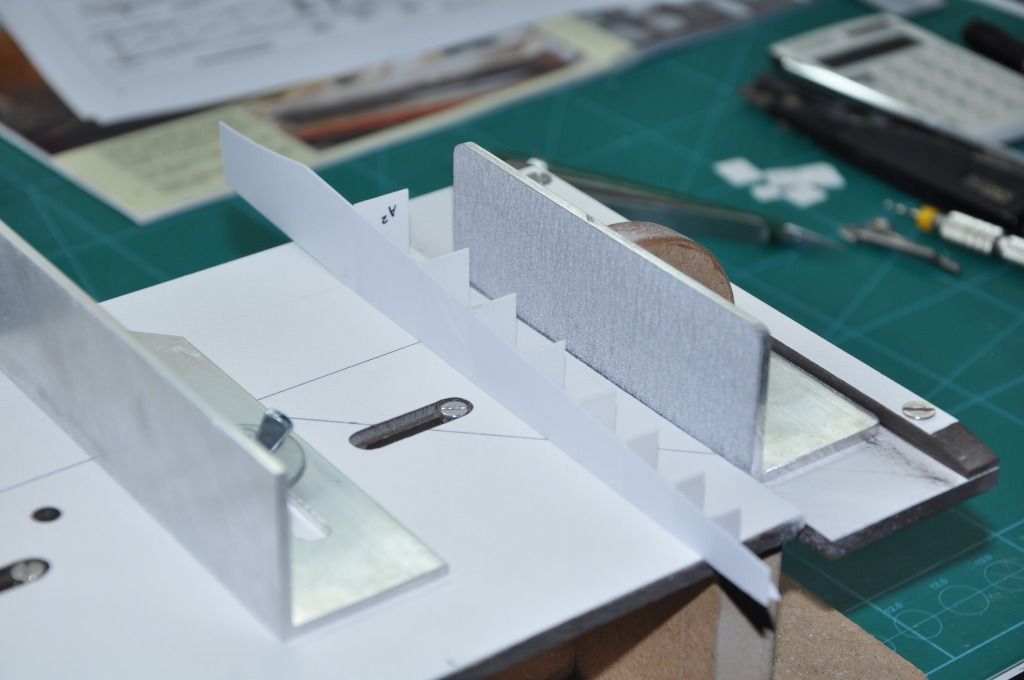
Here you can see my home made sanding Jig for sanding straight and square.
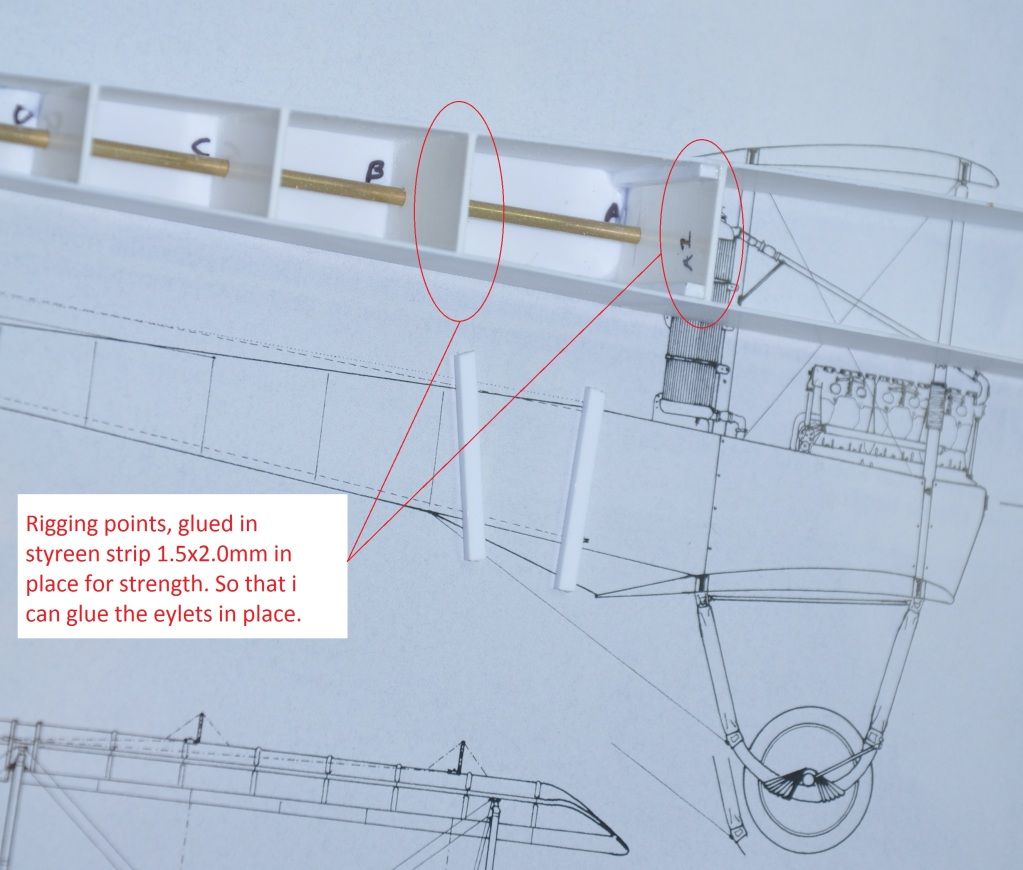
Prep for the eylets later on.
Now i have to for an order of styreen so i began making the tail.
Starting with the horizontal one made of 0.25 styreen sheet and 1.5mm balsa wood.
Overall dry fit so far.
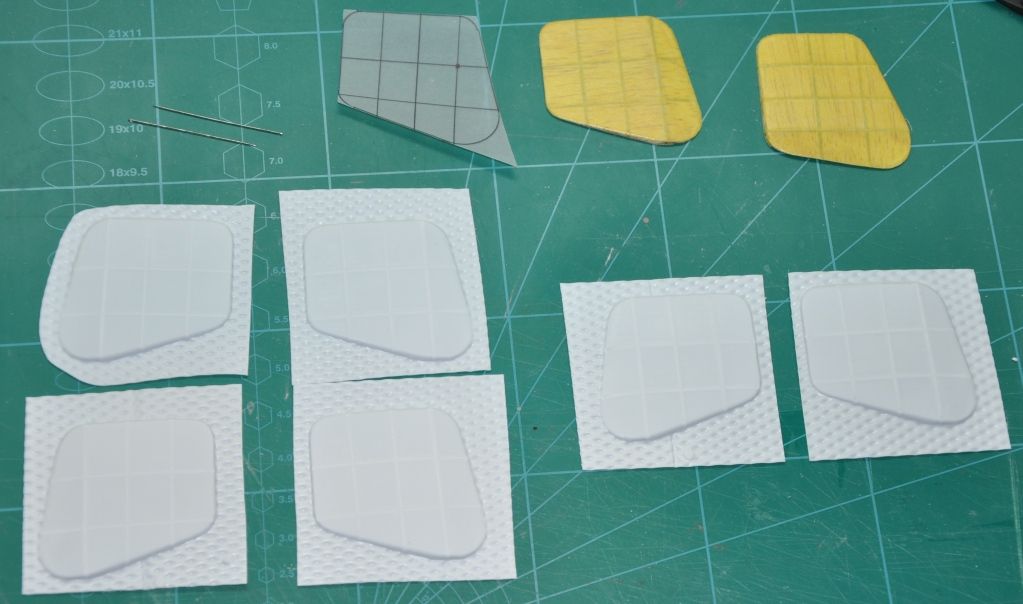
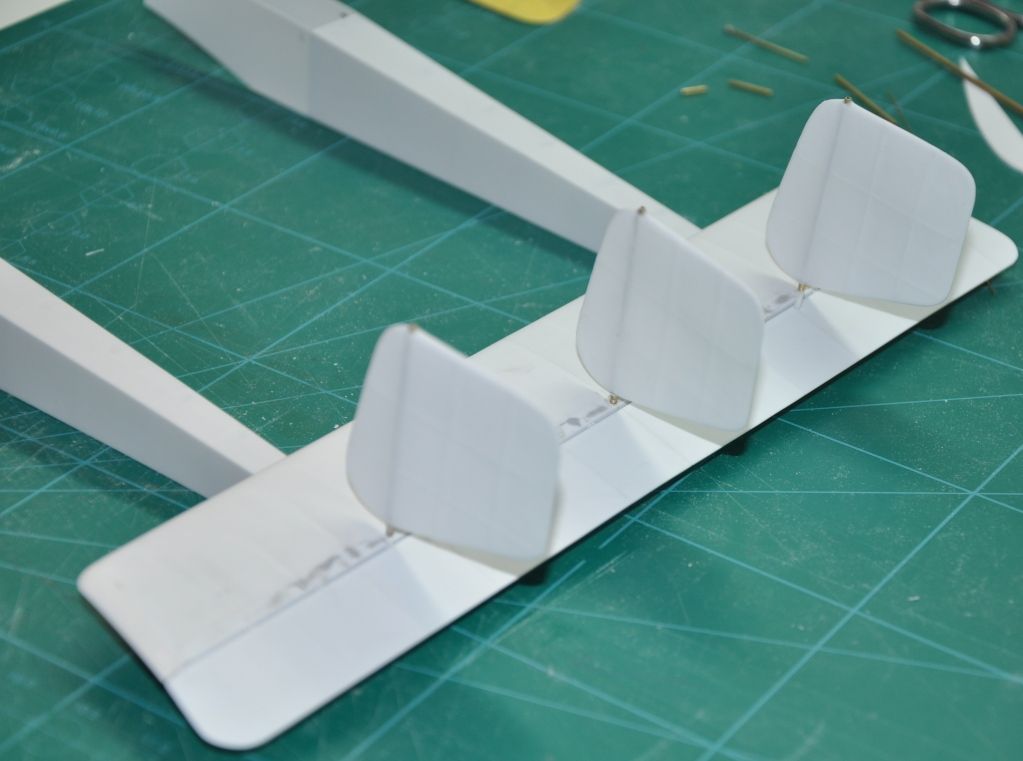
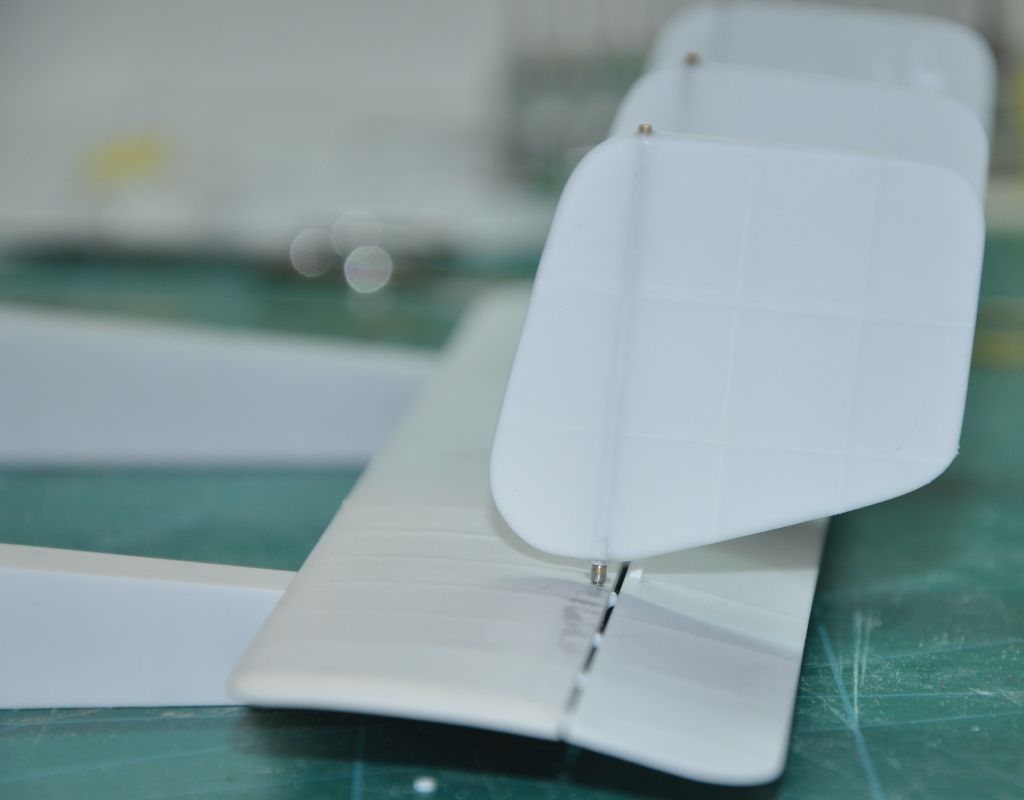
The tail fins, made a mold of Balsa wood then used 1.0 mm tape to simulate the ribs and over that with a layer of tamiya tape 40mm.
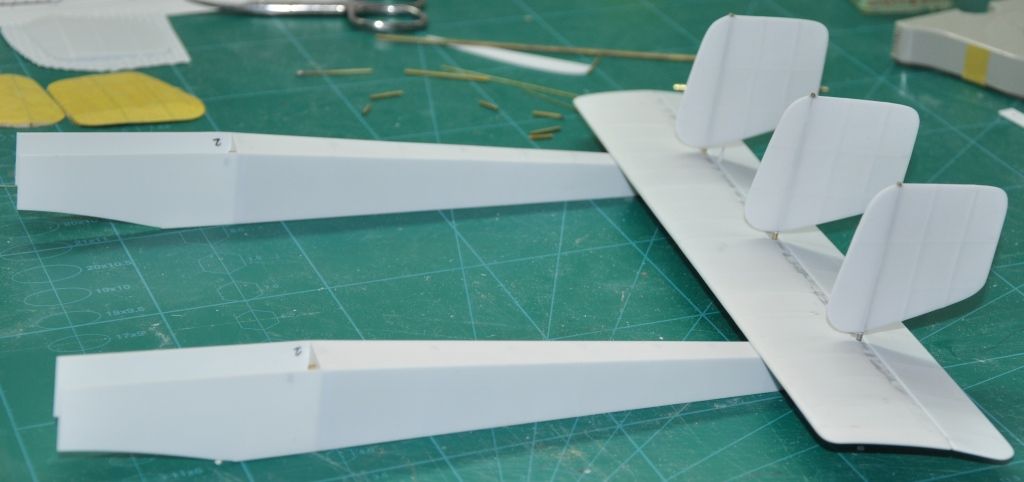
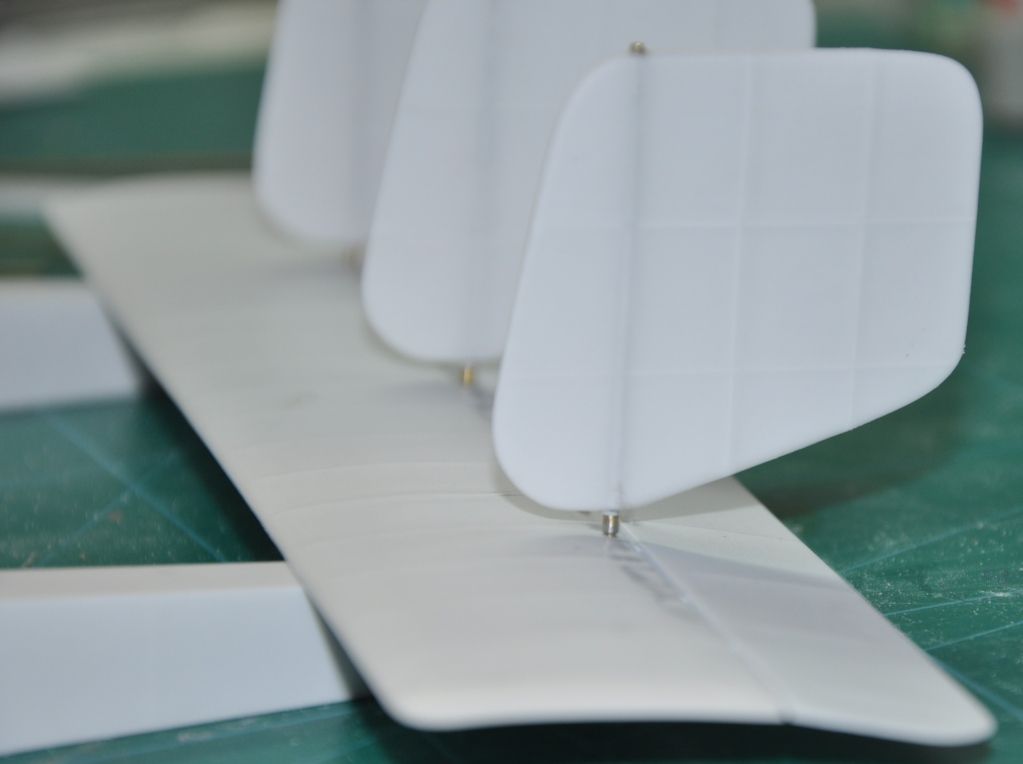
Here the pivet points of the tail fins are in place i used 1.2mm tube for this.

Does anny one know if all three fins where used to controle or just the outside ones...?
The middel one is fixed with struts on pics in the Datafile.
Dryfit.
Made a start of the internal detailles for the engine bay.

Ron

