Evening All,
Thanks to Des, Xmald, IanB, Rick and Martin for the encouraging remarks - I have just had a week when I needed them!
This model is a test of concept for me - can I build a flying boat? I have always considered that the fuselage would be the biggest problem because of the shape, especially the curves in the nose area and getting sharp edges at the top and bottom of the the sides. I now know (thanks to Malaula) how to get the latter correct (as I did on the Ago nacelle), but those nose curves look to be a different ball game. Anyway I thought that I might build up the sides, stepped bottom, and top rear from 30 thou card as box sections and mould an upper front fuselage with the curved section for the wings in the usual manner. I set out to do this and carved a male mould for the upper forward fuselage but then realised that in front of the cockpit there is a small vertical section through which the m/g's protrude and moulding this by pushing a mould vertically was not going to work very well. I could perhaps do it if I then put some thin stretched sprue around the top edge and used filler but it was going to be a fiddle and might not work after all. A bad attack of cold feet meant that I went back to start and thought again, demonstrating by the way the advantages of scratch-building. I had not glued any of the fuselage pieces together so I am able to use them elsewhere, in this case some of the cockpit details were made from some of the pieces.
Second attempt at the fuselage/hull: I decided that I would go for the traditional method with fuselages and mould it in two halves. Then I would cut away the bottom so that I could insert two pieces, one in front of, and a second to the rear of the step. The step would be a former inserted into the joined halves. This would give me a stronger fuselage assembly and square joins along the edges of the lower fuselage. The top edges could be dealt with by using sprue and filler as per the Ago. This also would give me the curved vertical face in front of the cockpit. The problem with this approach was that for a push mould this is both rather large, and thin at the rear end and I was concerned whether the balsa wood would have the strength to enable me to get the necessary moulds. Well I gave it a go and found that the size was a bigger problem that the strength of the wood - I have had to make more moulds to get two decent two fuselage halves than any other moulding that I have made so far. I am not disappointed if I have to try two or three times but on this occasion it took 5 attempts to get one of the sides and four for the other - I was beginning to run out of 30 thou card! The problem was that the male mould would not fit squarely into the female and I kept getting distorted shapes. In the end I heated the plastic a little more than usual and then pushed the male into the female with fingers from each hand at both ends of the male mould while supporting the female over a large basin. Even then the mouldings are not the best and have needed a considerable amount of filler as the accompanying photos show, but in profile and plan they are very close to the drawings so I am happy with what I have got. If anyone wants to take a micrometer to the completed model and tell me that I am 0.5mm long/short/wide I will be happy to let them do so
.. and then ask if they can do better?
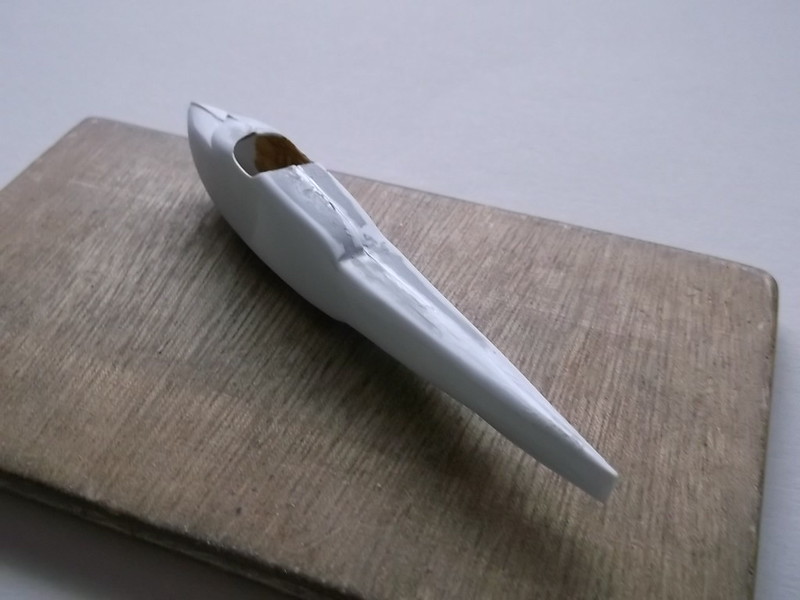
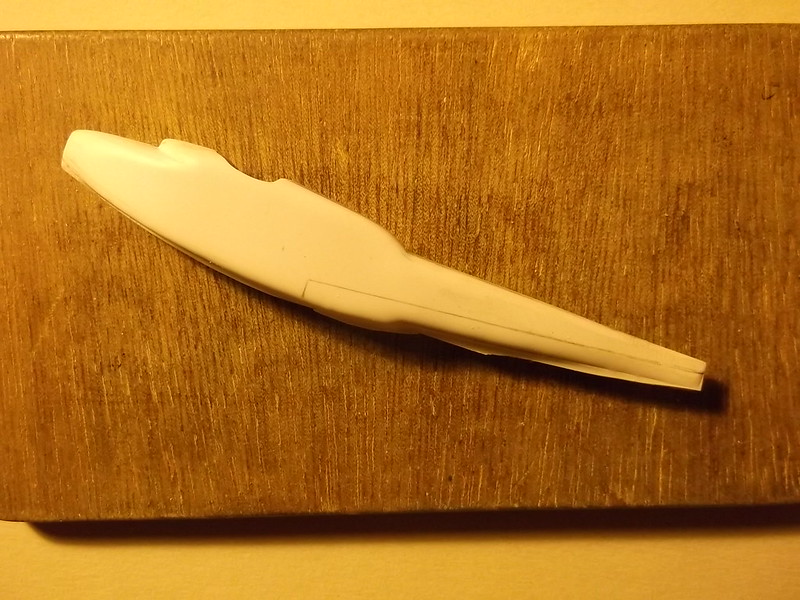
This was the fuselage after I had filled the depressions in the upper rear - I had not started on the nose at this point! The cockpit opening was also cut out.
After filing, filling and sanding I managed to get my fuselage/hull and with some care marked out which parts of the lower fuselage to remove.
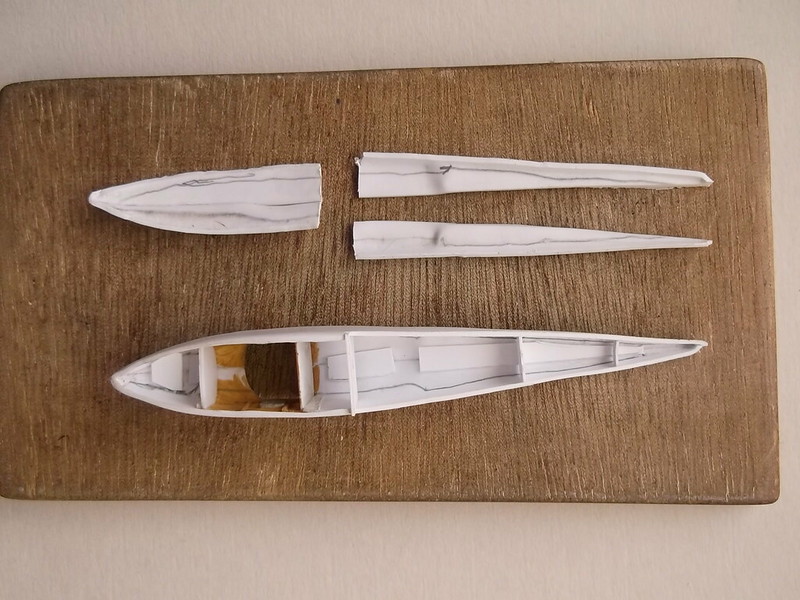
I had deliberately made this section too large with every intention of cutting away part of it to bring it to the correct dimensions, which is what I did next. I could then insert some stiffeners into the hull and at the step in mid fuselage. I also painted the interior of the cockpit sides and put in a plate at the rear of the cockpit - I actually think that there should be a fuel tank here but I cannot find any details so I left it blank - it will be difficult to see on the finished model anyway so I will overlook that detail.
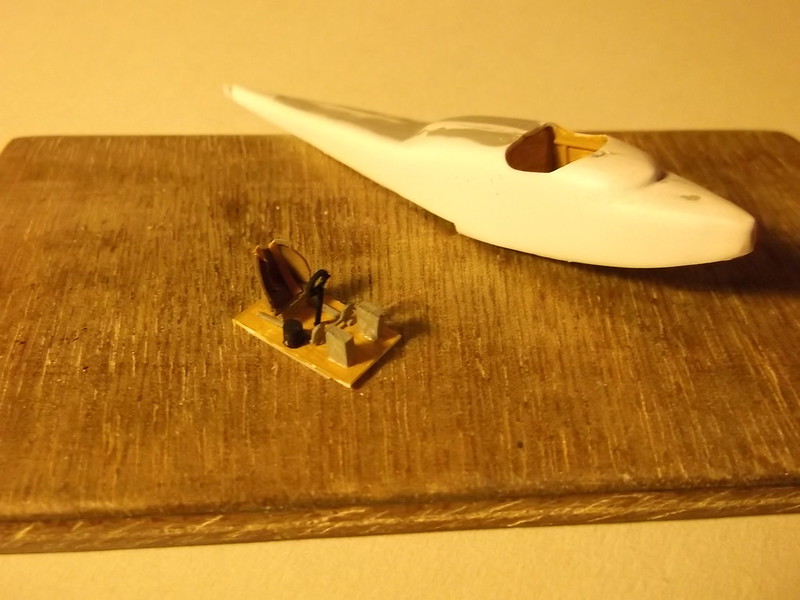
I have constructed a simple cockpit which I will insert from below before I put on the bottom of the forward section of the hull.
In all a tricky week but I am getting there: that is the difficult part over for now - the next one will be fixing the top wing but that is a long way off at the moment and in the meantime the next operations should be straightforward. Next week I will be on my travels again as it is Easter in this part of the world so there may be a pause before the next update.
Thanks for looking.

