Author Topic: Revell Eindecker EIII 1/72  (Read 5541 times)

Offline Bluesman

  • Newbie
  • *
  • Posts: 40
Revell Eindecker EIII 1/72
« on: April 25, 2017, 03:06:49 PM »
After seeing some of the awesome models here, I decided to try and step up my game. I am new to modelling so every build is a learning experience. I wasn't going to do a build log because I didn't think anyone wanted pictures of me gluing my fingers to the parts, but then I realized there is a lot of experience here and I thought I would post my build and hope people might make suggestions along the way.

The first thing I did was gather some reference photos from the web, then I washed the sprues of parts to get rid of any release agent. I started with the engine. I got a great close up pic from the London Museum of Science of the engine, and when I compared it to the kit part, I could see it really didn't match very well. The center hub where the cylinders attach was way too tall and there was no way to add the exhaust push rods. I cleaned off the flash and then using my hobby knife a small file began to shave the hub down and to undercut the hub portion where the propeller would attach. The undercut is not to scale, but with the tools I have and my current skill level, it was the best I can do.


Most of the flash off and noticing the height of the central hub.


After about 90 minutes of carefully removing material

I plan on using thin copper wire for the push rods. I think I will start by double or triple folding at one end for the rocker arms,then a ninety degree bend. I am thinking a small bit of stretched sprue across the cylinders and then glue the "rocker arm" perpendicular across that sprue and the other end of the wire will be glued in the undercut portion of the propeller hub. If anyone has any other ideas, please chime in!

I am looking to add the bolt heads to the engine, but I haven't figured out how, or even if you would even see them at 1/72 scale.

Offline RLWP

  • Hero Member
  • *****
  • Posts: 1494
  • Bodger
Re: Revell Eindecker EIII 1/72
« Reply #1 on: April 25, 2017, 07:14:01 PM »
Don't bother with bolt heads

First off, you wouldn't see them at this scale

Second, they almost certainly didn't exist. I haven't checked the Oerursel yet, many engines of this era had the cylinder and head cast as one piece

Richard
Hendon for flying - the fastest way to the ground!

Offline RLWP

  • Hero Member
  • *****
  • Posts: 1494
  • Bodger
Re: Revell Eindecker EIII 1/72
« Reply #2 on: April 25, 2017, 07:16:23 PM »
Whoops - bolt heads, not head bolts!

Up to you on that one, tiny pimples on the crankcase hidden behind the prop? Maybe fake them with dots of paint

Richard
Hendon for flying - the fastest way to the ground!

Offline Bluesman

  • Newbie
  • *
  • Posts: 40
Re: Revell Eindecker EIII 1/72
« Reply #3 on: April 25, 2017, 07:58:59 PM »
Don't bother with bolt heads

First off, you wouldn't see them at this scale

Second, they almost certainly didn't exist. I haven't checked the Oerursel yet, many engines of this era had the cylinder and head cast as one piece

Richard

The engine originally had small circles to indicate the bolts. Here is a pic of the engine:

Offline RLWP

  • Hero Member
  • *****
  • Posts: 1494
  • Bodger
Re: Revell Eindecker EIII 1/72
« Reply #4 on: April 25, 2017, 08:18:43 PM »
More stuff on the Oberursel U.1:

http://www.mincbergr.net/index.php?page=en-oberursel-u-i-110hp

I struggle to represent tiny engine details in 1:32, doing that at less than half the size is going to be tricky. I spent ages making rockers for a 1:32 engine, all of which are barely visible behind the cowl. A dab of silver on a lump of black would have been just as good

Can I suggest, if you are new to modelling, try not to get too lost in tiny details. I have abandoned many builds through getting too obsessive about things that are not really noticeable. In a model this scale, it will be the overall appearance of the aeroplane that will make it convincing. So getting the colours right, the aeroplane the right shape and the lightness of the parts and rigging will make more of  impact.

Richard
Hendon for flying - the fastest way to the ground!

Offline Bluesman

  • Newbie
  • *
  • Posts: 40
Re: Revell Eindecker EIII 1/72
« Reply #5 on: April 25, 2017, 09:08:04 PM »
More stuff on the Oberursel U.1:

http://www.mincbergr.net/index.php?page=en-oberursel-u-i-110hp

I struggle to represent tiny engine details in 1:32, doing that at less than half the size is going to be tricky. I spent ages making rockers for a 1:32 engine, all of which are barely visible behind the cowl. A dab of silver on a lump of black would have been just as good

Can I suggest, if you are new to modelling, try not to get too lost in tiny details. I have abandoned many builds through getting too obsessive about things that are not really noticeable. In a model this scale, it will be the overall appearance of the aeroplane that will make it convincing. So getting the colours right, the aeroplane the right shape and the lightness of the parts and rigging will make more of  impact.

Richard
Good advice. I am just challenging myself  :P

Online lone modeller

  • Hero Member
  • *****
  • Posts: 5357
Re: Revell Eindecker EIII 1/72
« Reply #6 on: April 26, 2017, 03:04:59 AM »
As a builder in God's Own Scale I echo everything that Richard has written. Do not become too bogged down in very tiny detail: in this scale impression matters as much as accuracy. By all means set challenges (I do), but be careful that you do not set so many that little is achieved and boredom sets in!

Correcting the more obvious errors is more important than worrying about details that others wood not notice, (or know about), and gaining experience through a variety of models is more helpful to the new modeller in my opinion.

Stephen.

Offline RAGIII

  • Hero Member
  • *****
  • Posts: 18999
Re: Revell Eindecker EIII 1/72
« Reply #7 on: April 26, 2017, 11:07:36 PM »
Although I am not a 1/72nd builder I agree with the others. If you reduce the size of the photo to match 1/72nd how much is truly visible. JMHO, and you must build to suit your own taste!
RAGIII
"A man has to know his limitations": Harry Callahan

"Don't slop it on" Lynda Geisler

Offline IanB

  • Hero Member
  • *****
  • Posts: 2451
Re: Revell Eindecker EIII 1/72
« Reply #8 on: April 27, 2017, 09:32:39 AM »
I totally agree with the above. This was the first kit I built when I got back into modelling, and it served its purpose well. It would be far more important to me now to spend time thinning the wings and getting the rigging right, than on bolt heads on the engine. Having said that, if that is the sort of detail you really want, go for it, but be careful not to scare yourself off before you get the basics sorted!

Ian
« Last Edit: May 08, 2017, 04:43:06 AM by IanB »

Offline Bluesman

  • Newbie
  • *
  • Posts: 40
Re: Revell Eindecker EIII 1/72
« Reply #9 on: May 01, 2017, 03:03:10 PM »

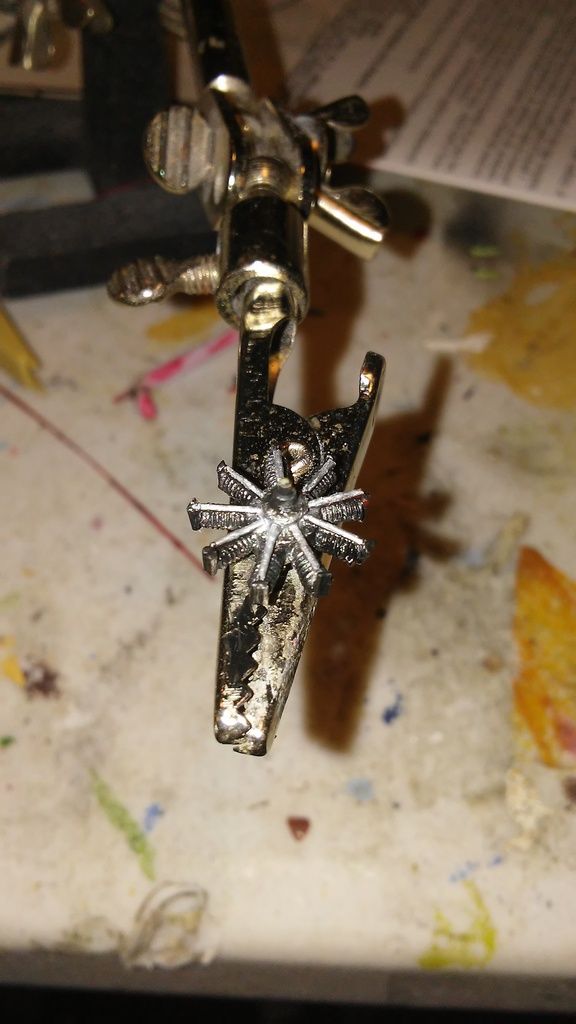
I stretched some sprue to make the rods, they are a little out of scale but I think they add necessary detail to the engine. I also used bits of sprue for the rocker arms. I painted the main body of the engine flat black and the rods titanium white. Acrylics are translucent, so the black undercoating dulls down the silver while the white makes the silver pop more. I dry brushed silver over the cooling fins of the cylinders to bring out detail. I also dry brushed Titanium white on the rods at the very last (after this pic was taken) and did some washes on the engine. I wanted three layers of paint to create depth. Bright silver, dull silver, and black with silver highlights, which is the basic pattern on the real engine.


The pilots seat should have been a leather bucket type of seat, but the kit gives you a square seat, so I rounded the corners off seat and rounded all of the edges. In the black and white picture, I really couldn't tell whether the leather was black or brown, so I painted mine a really dark brown.


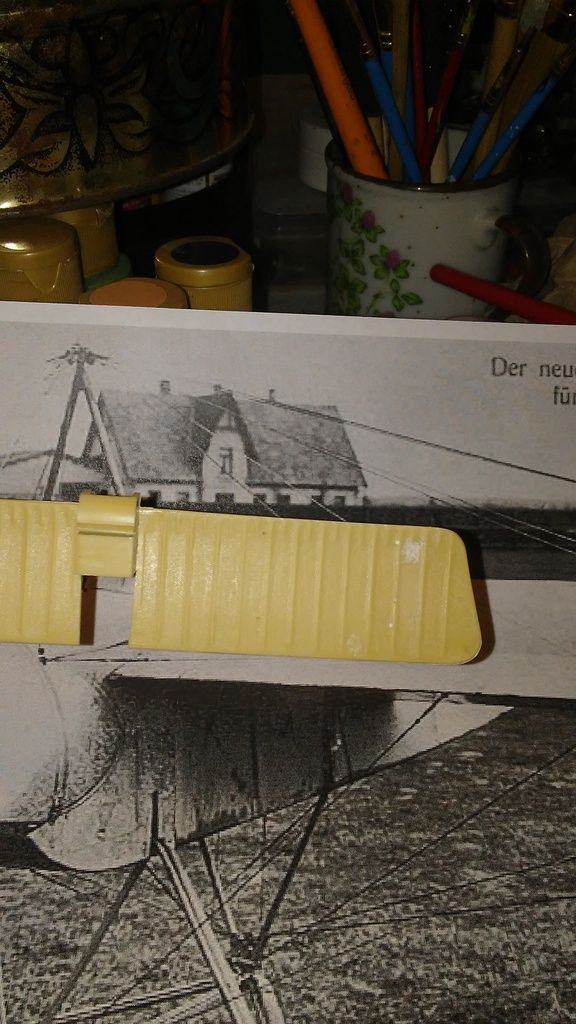
The wing ribs seemed out of scale, so I sanded them down to make them less pronounced and the wing thinner. I am trying some Testors sculpting putty to fill in the pin marks.


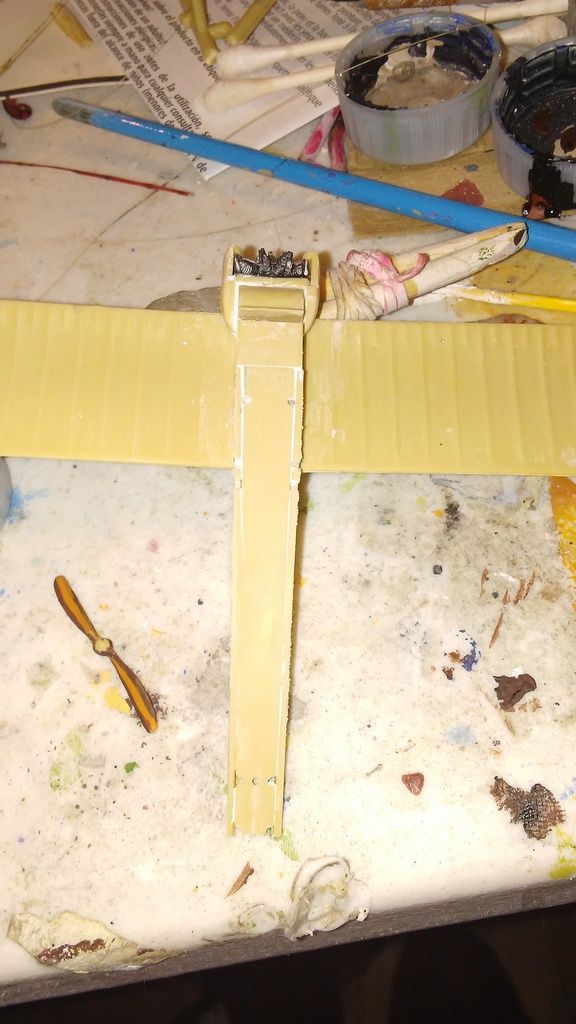
The fit is pretty good for the kit, but there is some flash to clean up. Here I've used PPP to fill in the gaps on the bottom of the fuselage. I also used it all around the engine cowling. I also painted the prop, trying for a laminated effect. I will add a gloss coating later to simulate the varnish they used on the props. The period pics seem to show black props, but the modern pics show laminated wood. I like the laminated look better, so I went with that.

Next I will paint the cowling black and then put silver over it and construct the landing gear and the tail area.

Offline Bluesman

  • Newbie
  • *
  • Posts: 40
Re: Revell Eindecker EIII 1/72
« Reply #10 on: May 02, 2017, 03:01:42 PM »

This kit had the easiest landing gear to put together of all the kits I have done so far. You can see undercarriage and the taildragger, vertical and horizontal stabilizers are now in place.


Engine cowling painted black and then silver. I masked off the wings to hit it with some dull coat. I should have primered the plane as the paint is easy to rub off.


Base coat applied to wings and fuselage and gunmetal stippled onto the silver cowling to recreate the original finish. It looks ok, but it could have been better. I found I need to do more sanding on the bottom to erase the seams where I put the putty filler.

Offline RAGIII

  • Hero Member
  • *****
  • Posts: 18999
Re: Revell Eindecker EIII 1/72
« Reply #11 on: May 07, 2017, 11:20:55 PM »
Sorry I haven't dropped by in a while! You have certainly made terrific progress on this OLD kit! Nice work on thinning the wings and working on the seat! I also like the overall color looks pleasing to my eye!
RAGIII
"A man has to know his limitations": Harry Callahan

"Don't slop it on" Lynda Geisler

Offline IanB

  • Hero Member
  • *****
  • Posts: 2451
Re: Revell Eindecker EIII 1/72
« Reply #12 on: May 08, 2017, 04:51:11 AM »
This is coming on nicely.
 The machined look on the cowlings is very tricky, especially in 1:72 - you've made a good effort at it, but it looks a little harsh. After many attempts (and failures) myself, I've found that steel, rather than gunmetal, over the aluminium gives a pretty good subtle effect.

Ian

Offline TobyCoulson

  • Hero Member
  • *****
  • Posts: 610
Re: Revell Eindecker EIII 1/72
« Reply #13 on: May 08, 2017, 05:09:38 AM »
You've done a great job on this so far and the machined look on the nacelle looks excellent.  I made this kit a while back and when I did the nacelle I used aluminium and then lightly brushed in water to give it rippled effect. I prefer yours. Btw I managed to rig it using just one length of EZ Line. That was fun...sort of :)

Ale should be drunk out of a glass. Lager should be drunk out of desperation

Offline KiwiZac

  • Global Moderator
  • Hero Member
  • *****
  • Posts: 2674
    • My Linktree
Re: Revell Eindecker EIII 1/72
« Reply #14 on: May 08, 2017, 02:05:37 PM »
I'm working on one of these too! I was wondering how to do the turned metal - I tried wavy lines but in 1/72 it just looks like flattened grey snakes. I'll try dappling like yours, Toby.

Nice work Bluesman!
Zac in NZ