Author Topic: Sopwith Tabloid (Classic Planes) and Baby (Eduard), another 1:72 double build  (Read 18387 times)

Offline RAGIII

  • Hero Member
  • *****
  • Posts: 18901
Outstanding work on the decking Ian! It looks excellent!
RAGIII
"A man has to know his limitations": Harry Callahan

"Don't slop it on" Lynda Geisler

Online Juan

  • Hero Member
  • *****
  • Posts: 2457
  • All gave some, some gave all.
Brilliant, simply brilliant.  Great save, I will have to file that technique for future use.

Offline lone modeller

  • Hero Member
  • *****
  • Posts: 5337
Outstanding work on the decking Ian! It looks excellent!
RAGIII
I totally agree with Rick's comment.

Stephen.

Offline lcarroll

  • Administrator
  • Hero Member
  • ******
  • Posts: 8563
    Great technique on the upper decking, Ian, and one I'll file away for future use! This version is a huge improvement over the original, nicely done!
Cheers,
Lance

Offline coyotemagic

  • Hero Member
  • *****
  • Posts: 7710
  • "Here's to not buggering it up." -Winston Chuchill
    • My Models
Vast improvement on the upper decking, Ian!  Your skills really shine through.
Cheers,
Bud
"All men dream: but not equally. Those who dream in the dark recesses of the night awake in the day to find all was vanity. But the dreamers of day are dangerous men, for they may act their dreams with open eyes, and make it possible." -T. E. Lawrence

Offline IanB

  • Hero Member
  • *****
  • Posts: 2444
Thanks everyone!
 After doing the Tabloid rear decking I was not quite sure whether or not I needed to do the same for the Baby. Finally I decided that if I was not sure, then I should probably do it, so I reskinned the rear decking on that too...


A big improvement there too so a good choice in the end! I then added some of the PE detail to the floats in preparation for building and attaching the float struts..


It gives them a little more interest, at least.

I hope to get the 2 Fokkers finished tomorrow so that I can really get on with these two.

Thanks for looking in!

Ian


« Last Edit: July 04, 2017, 04:47:59 AM by IanB »

Offline RAGIII

  • Hero Member
  • *****
  • Posts: 18901
Awesome work on the skinning of the rear deck! The PE looks great on the floats!
RAGIII
"A man has to know his limitations": Harry Callahan

"Don't slop it on" Lynda Geisler

Offline lone modeller

  • Hero Member
  • *****
  • Posts: 5337
Another excellent update Ian. This will be another pair of models which demonstrate what can be done with some patience and effort. It reminds me too that both of these are on my to do list…..

Stephen.

Online Juan

  • Hero Member
  • *****
  • Posts: 2457
  • All gave some, some gave all.
The work done thus far and those floats look fantastic.  Looking forward to your next update.

WarrenD

  • Guest
Beautiful work sir, just beautiful.

Warren

Offline andonio64

  • Hero Member
  • *****
  • Posts: 1687
  • There's no hurry
Wow Ian, I was missing this double WIP, very good work, and a lot of interesting inspiration...

Antonio

Offline IanB

  • Hero Member
  • *****
  • Posts: 2444
Thanks gents, much appreciated!

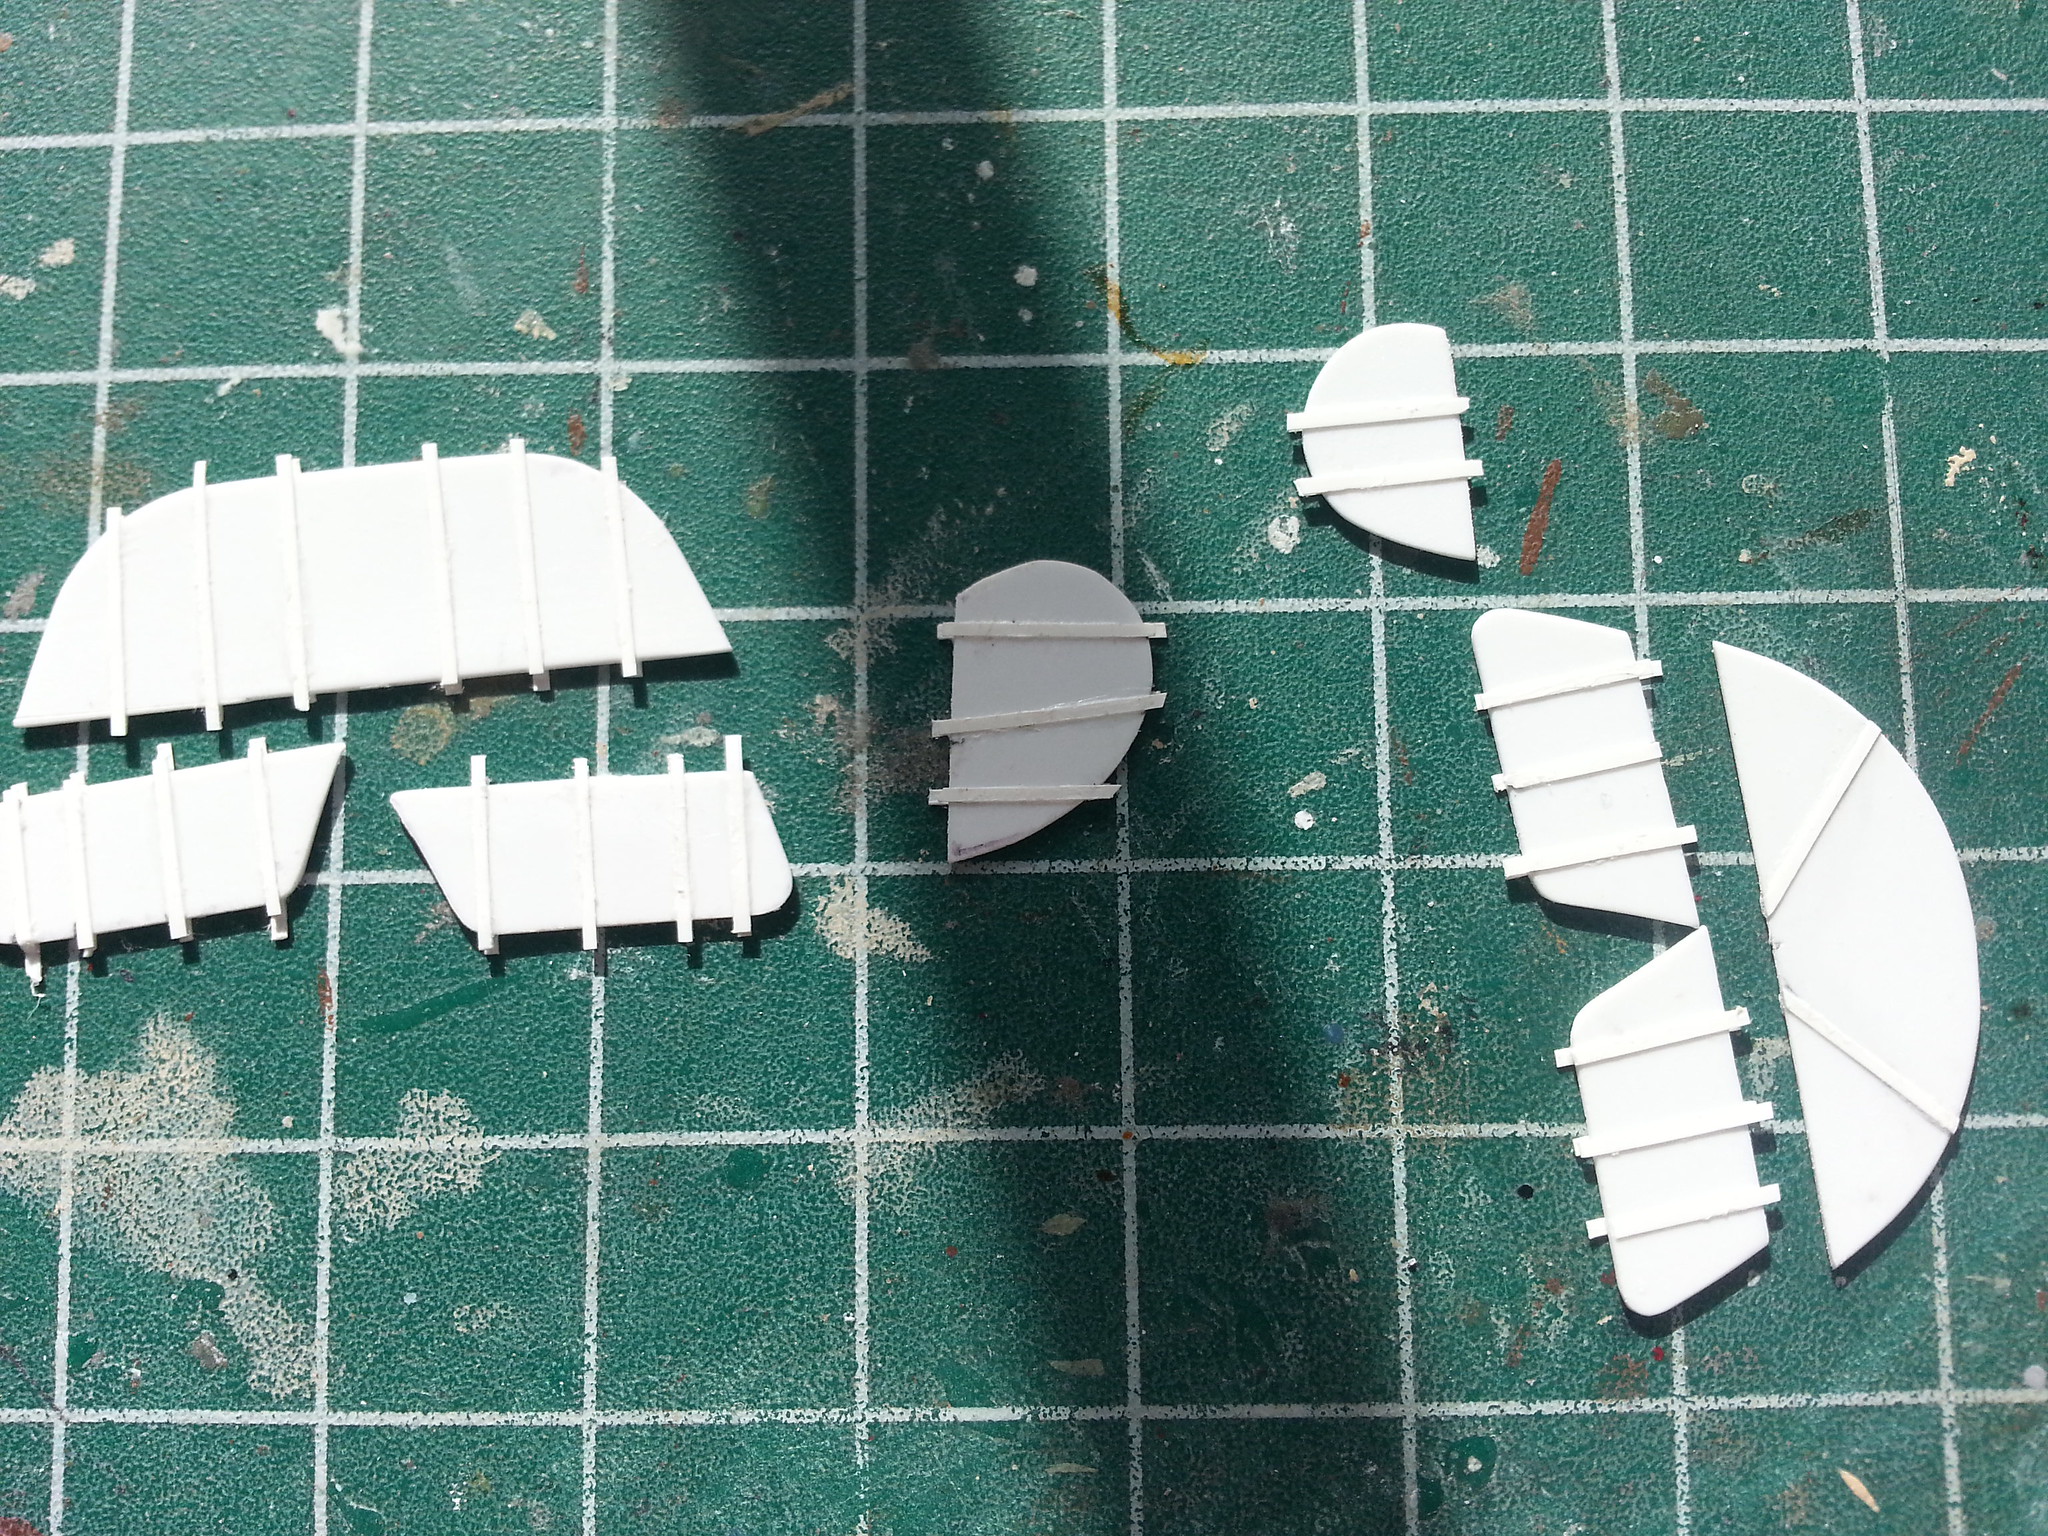
 After the last few builds with scratchbuilt tail feathers, I'd decided that the plain plastic sheet was too bland, and the micro masking tape strips were too big, so for these 2 I'm trying something else. I attached thin strips of .005" card, and then gently sanded them down even further.

Here's what I started with, just the strips added:


and a comparison shot:


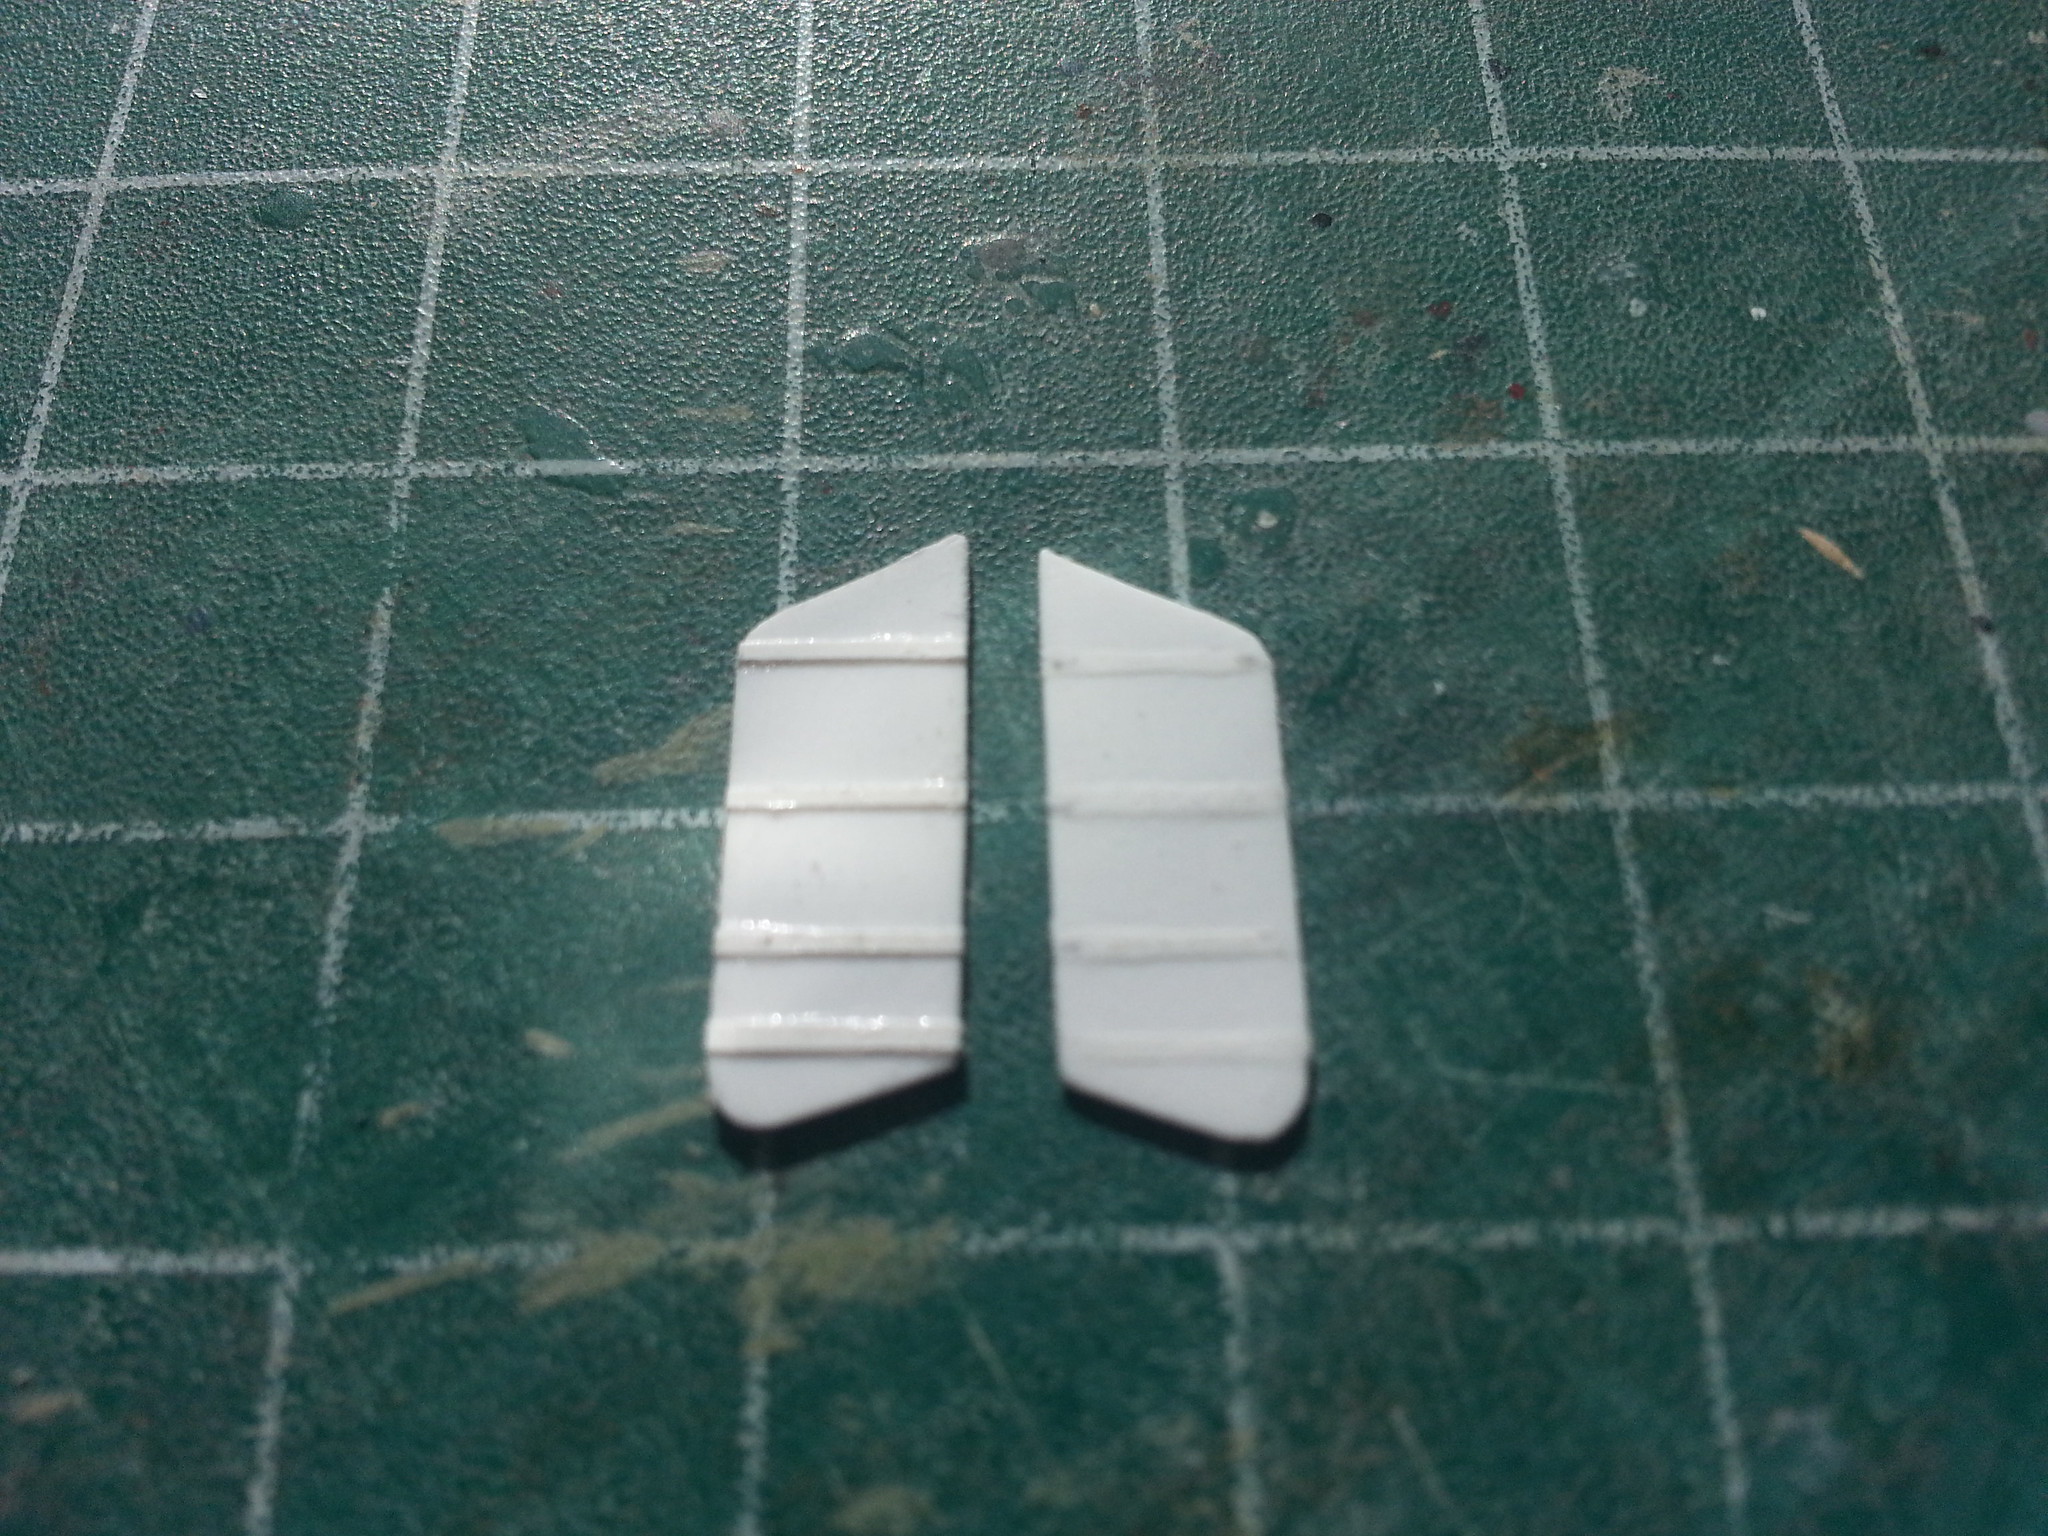
 So far I'm pleased with how they look, a coat of primer will reveal the truth.....

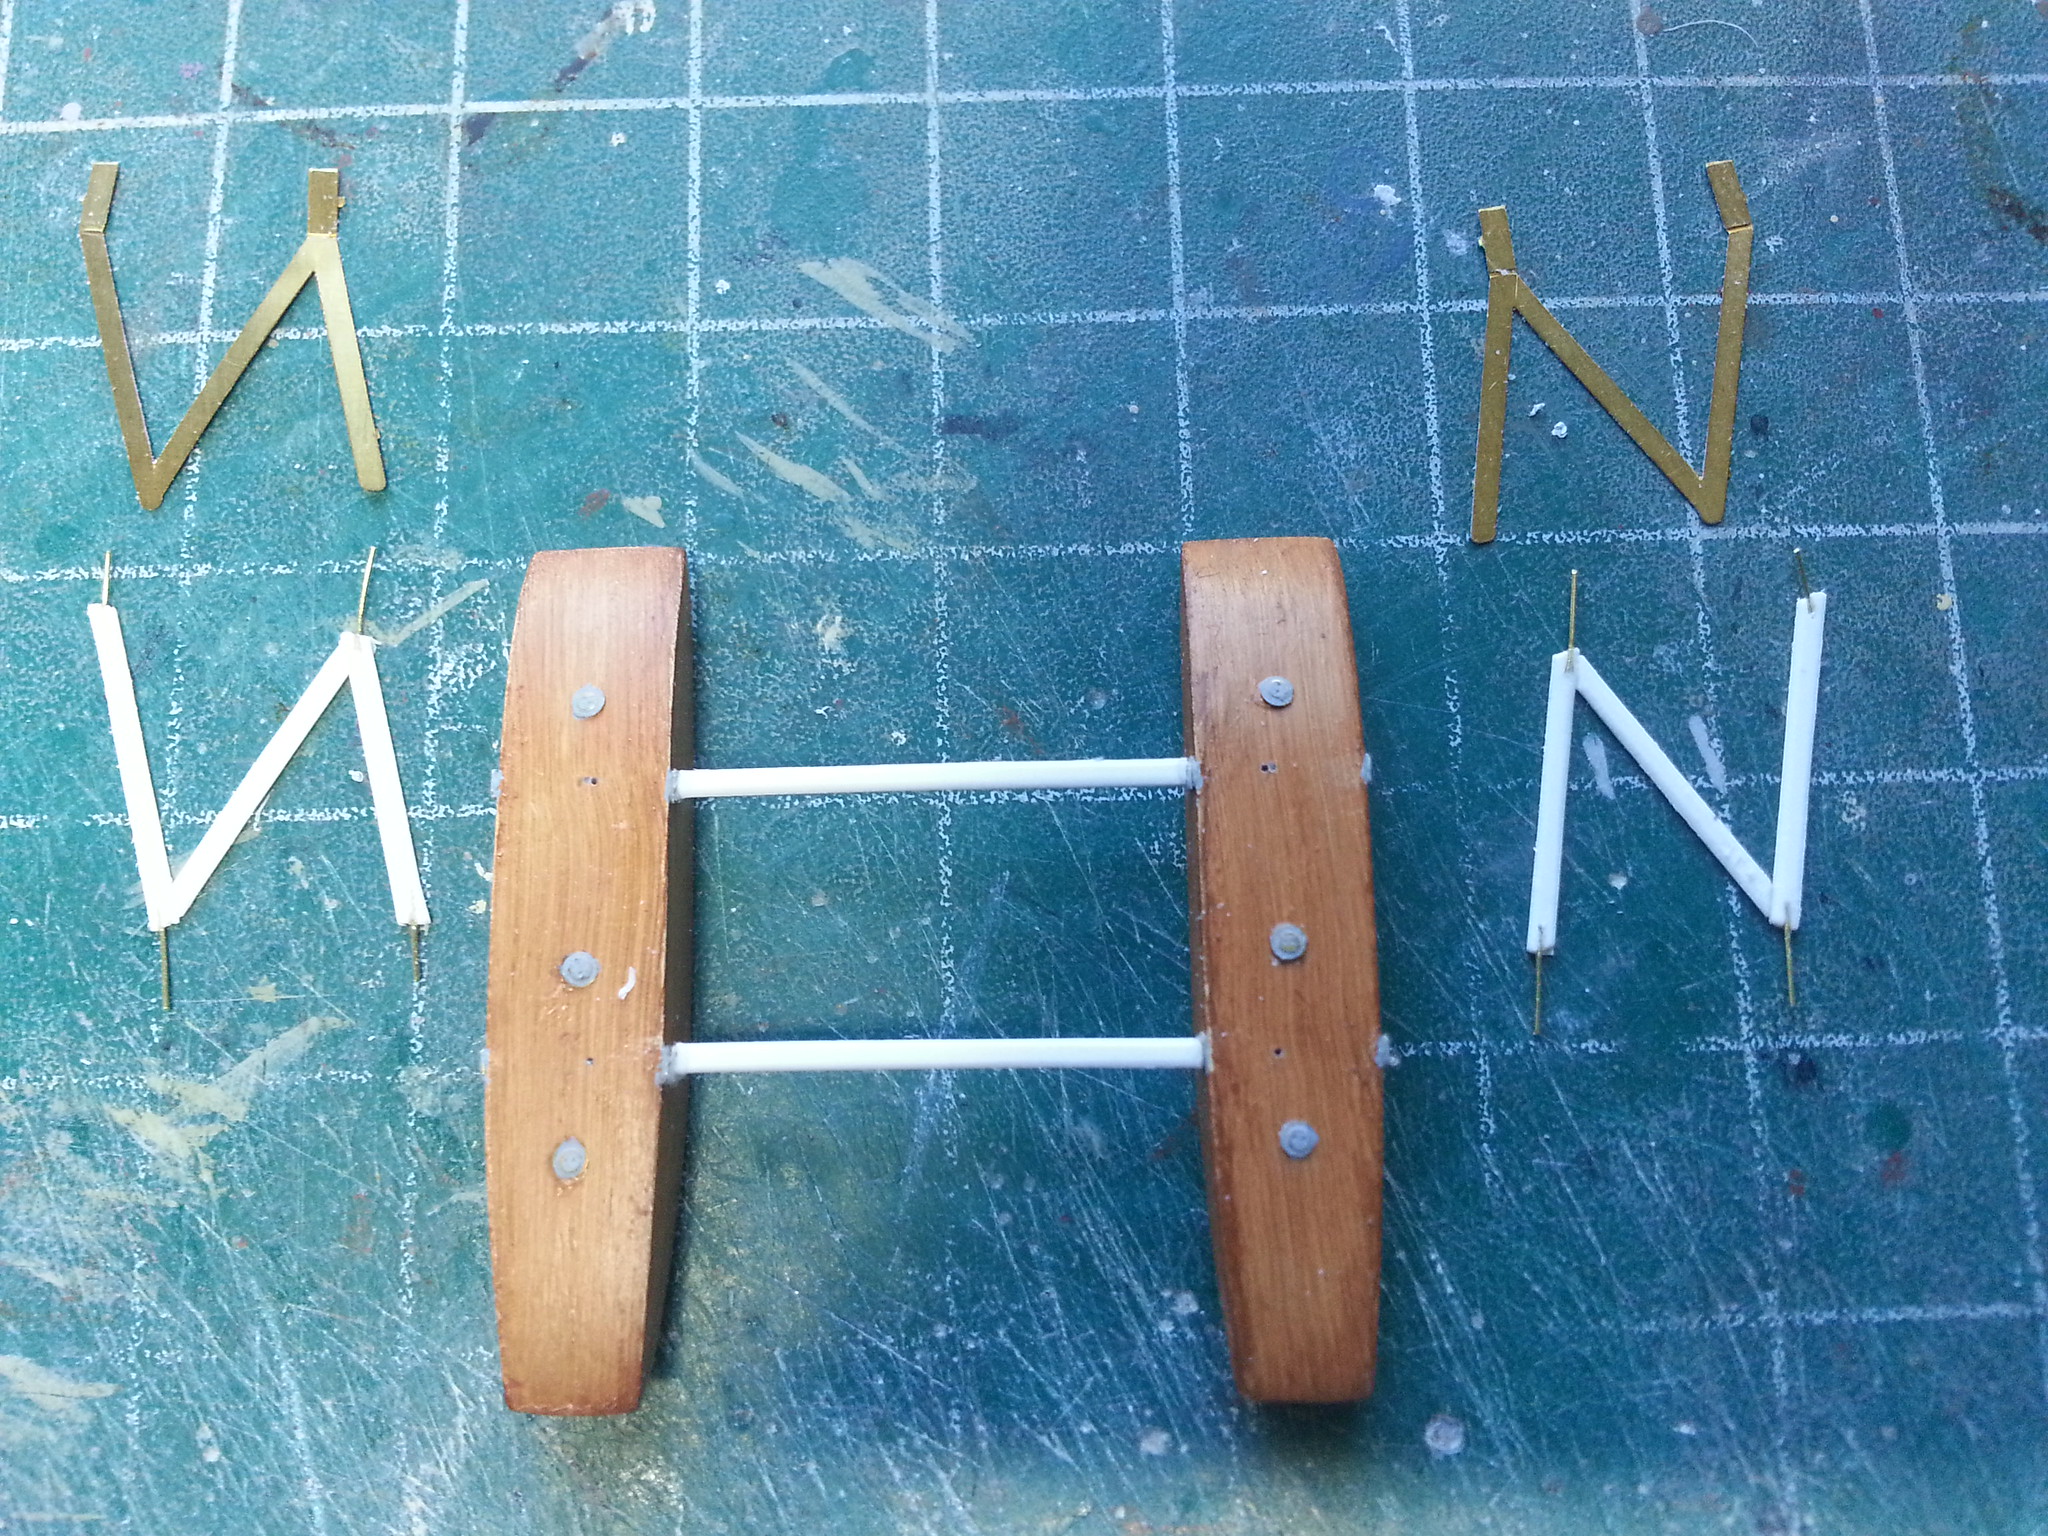
A little more progress on the floats too. They've been joined together, and I've made new struts from .020" x .060" strip, thinned down slightly as .060" was a little too thick, but .040" was too thin....


Thanks for looking in!

Ian

Offline IanB

  • Hero Member
  • *****
  • Posts: 2444
I spent most of yesterday working on these, measuring and drilling all the strut location holes, and a little bit of painting - so nothing worth photographing!

Today I attached the tail surfaces in preparation for the first coat of primer.


That left me with nothing much I could do with the airframes until those had dried. I knew I had to build some beaching gear for the Baby so that is what I did this afternoon. .040" x .060" strip was used for the main cross-member, which was filed out at the ends and drilled to take the brass rod "axles". The rest was added to match the pics in the Datafile as best as I could make them out, but none of them are very close so a lot of it is just guesswork. I'm happy with how they look so I'll leave them as they are. The wheels are again my own 3d printed items.

 The float struts are finished apart from some holes for the rigging, but they are not yet attached to the floats, just sitting in their holes for the pic,


 I hope to get my new airbrush in the next day or so, so I'll be able to get on with the priming then!

Thanks for looking in!

Ian
« Last Edit: November 08, 2016, 09:24:40 AM by IanB »

WarrenD

  • Guest
Ian, watching you bring these to life is a great learning experience for me sir. Thank you for the education!  Great work.

Warren

Offline RAGIII

  • Hero Member
  • *****
  • Posts: 18901
Terrific progress Ian!
RAGIII
"A man has to know his limitations": Harry Callahan

"Don't slop it on" Lynda Geisler