Thanks for your comments Willem, Rick and Richie!
@Richie - I too was a bit overwhelmed by the rigging, but one at the time does the trick!

It feels like I'm moving towards the very end now, knock on wood...
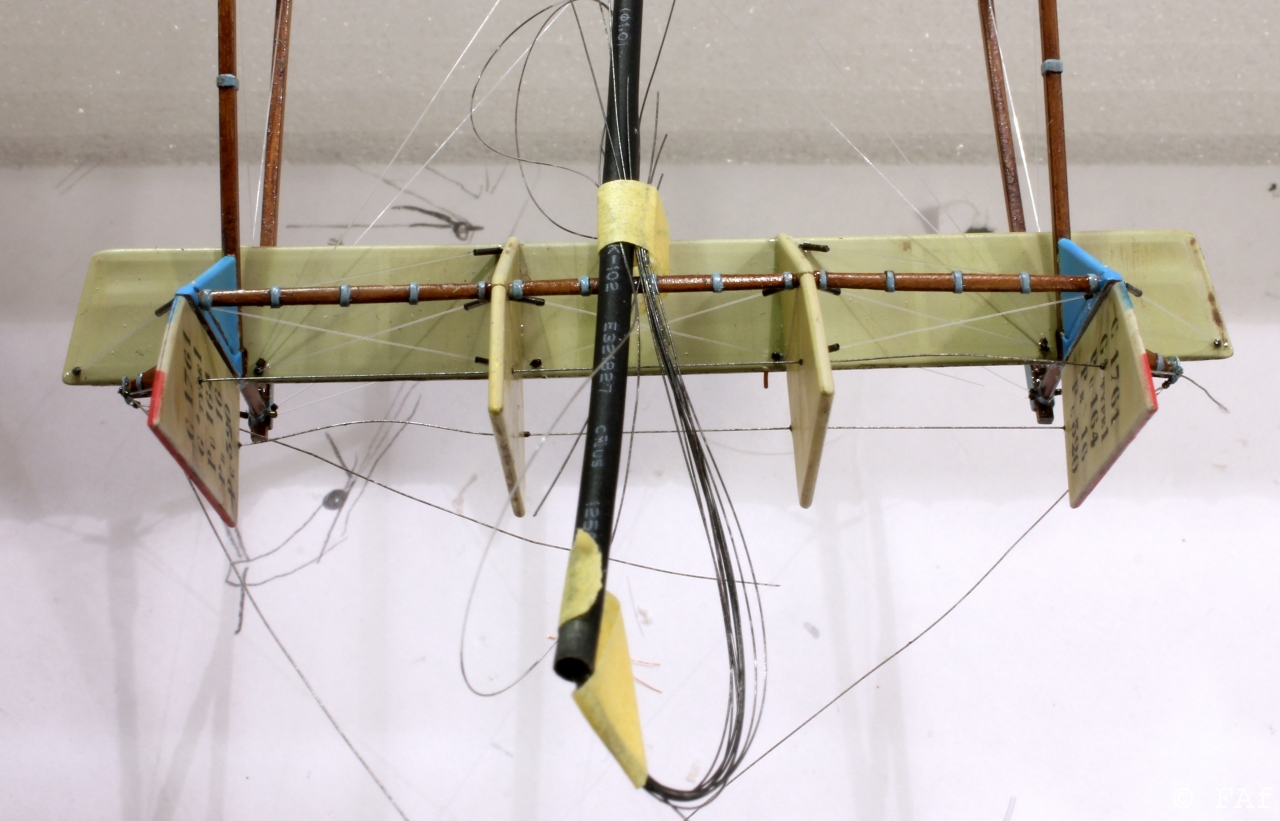
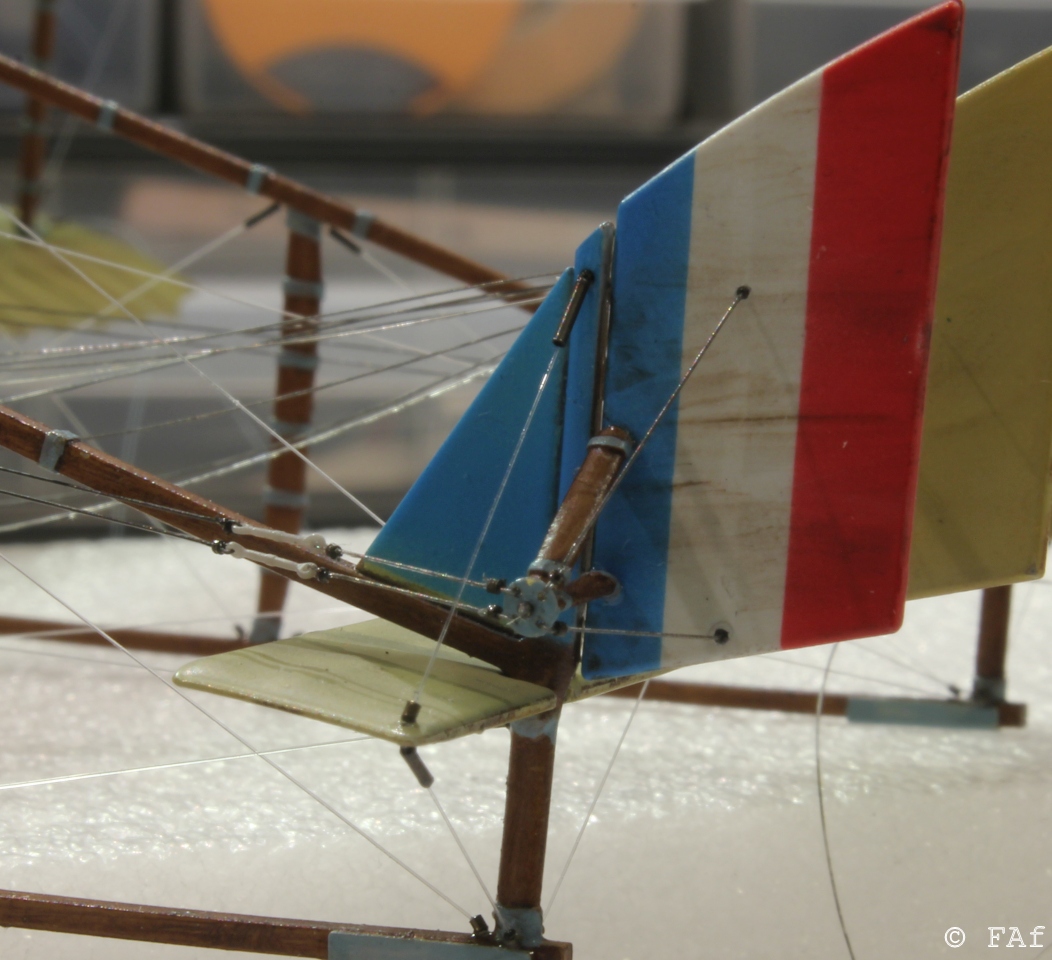
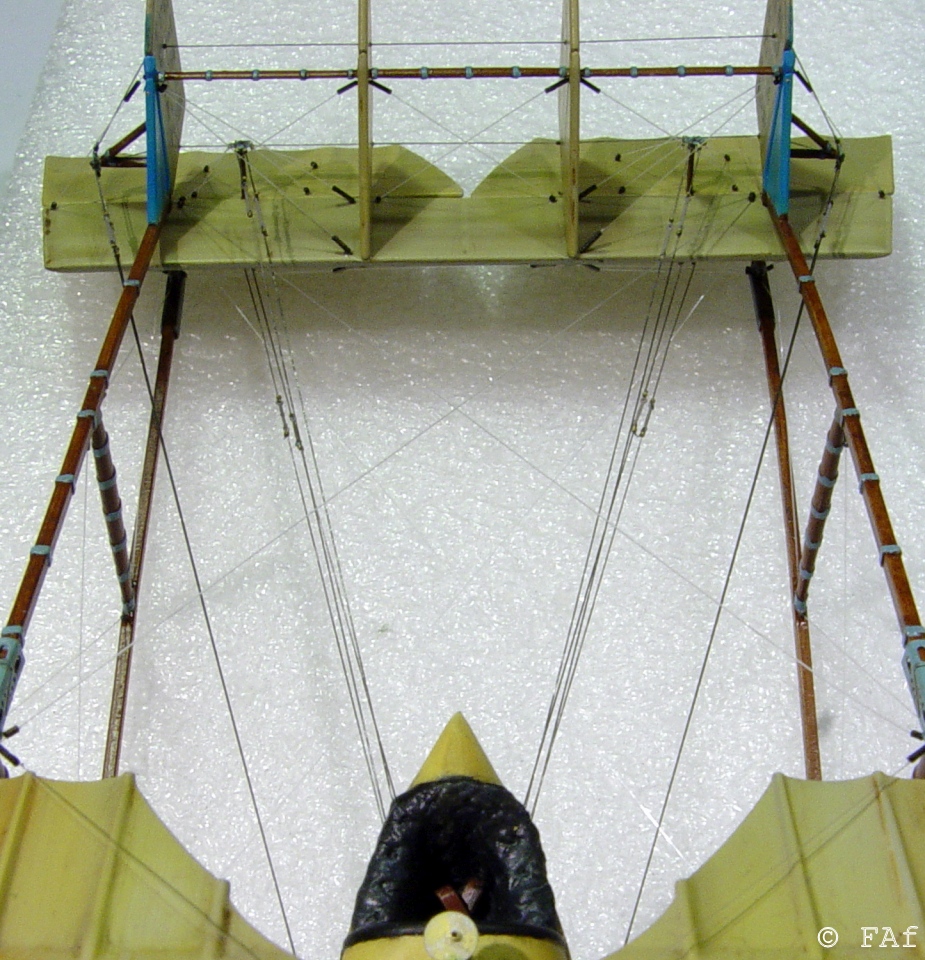
The overwhelming bit about the rigging was really before the rigging itself started, when I was trying to understand how many lines that had to go where. Once I got to the part where I could start attaching lines one at the time, it wasn't very different from other simpler builds. That said, there were some issues while rigging the tail end, such as where the different control wires should go in order not to interfere with one another.
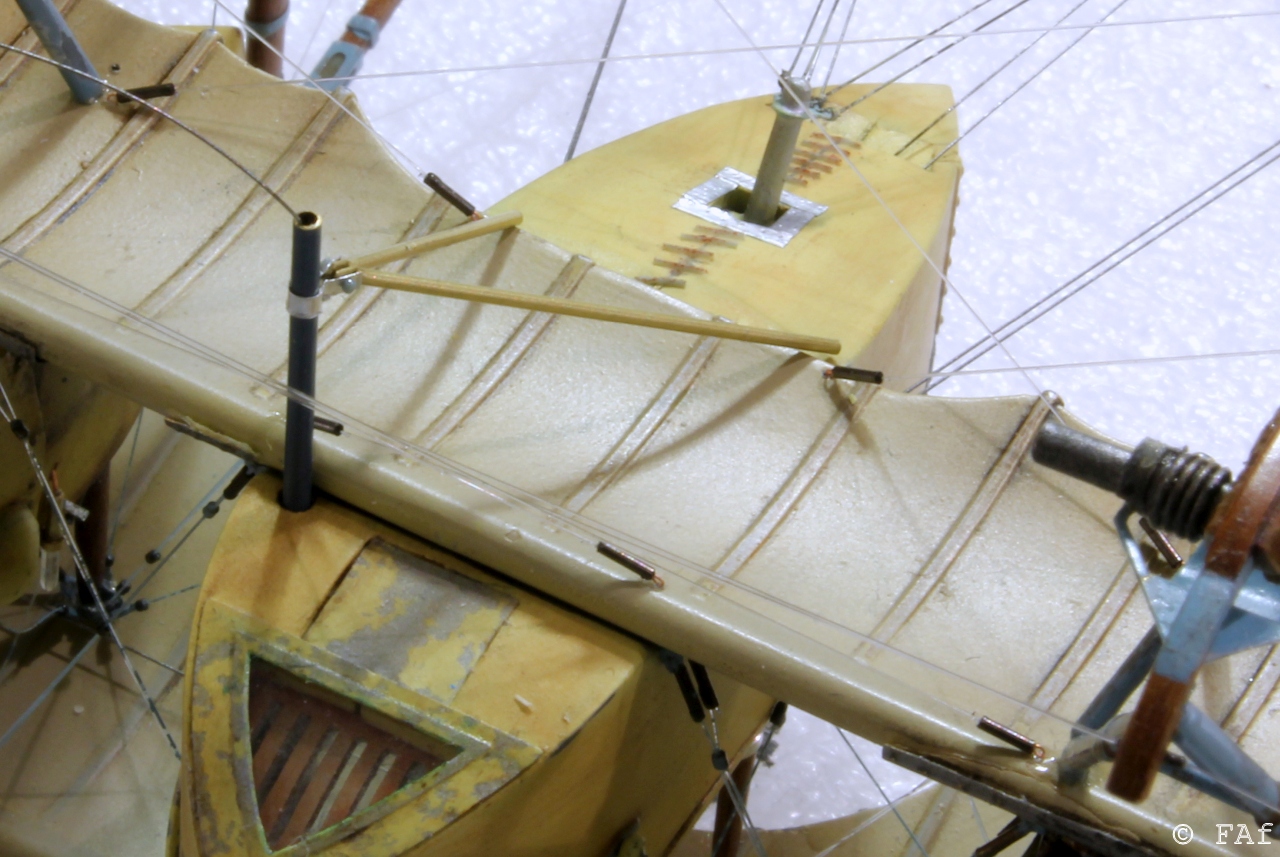
Some other small bits and pieces have been added...
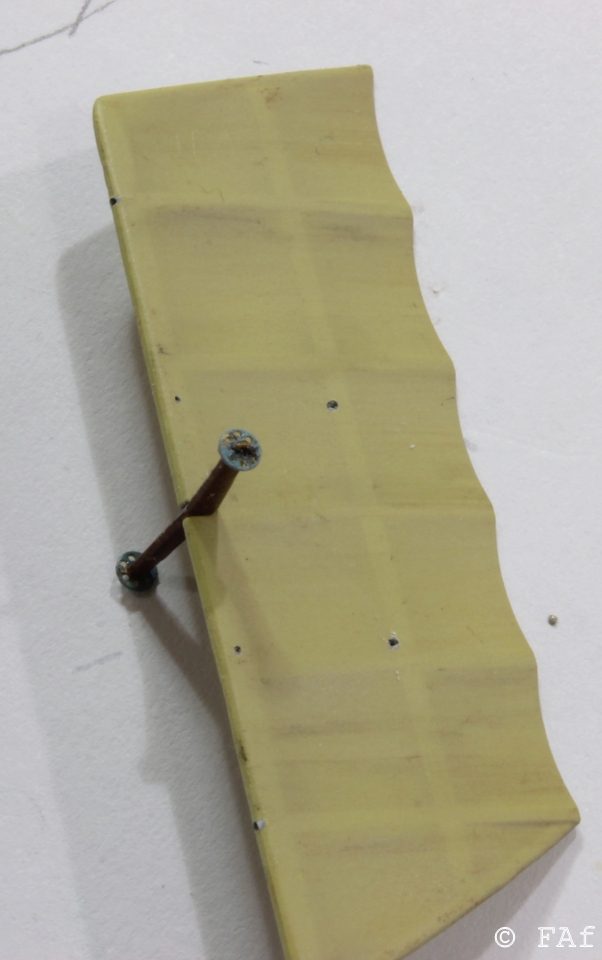
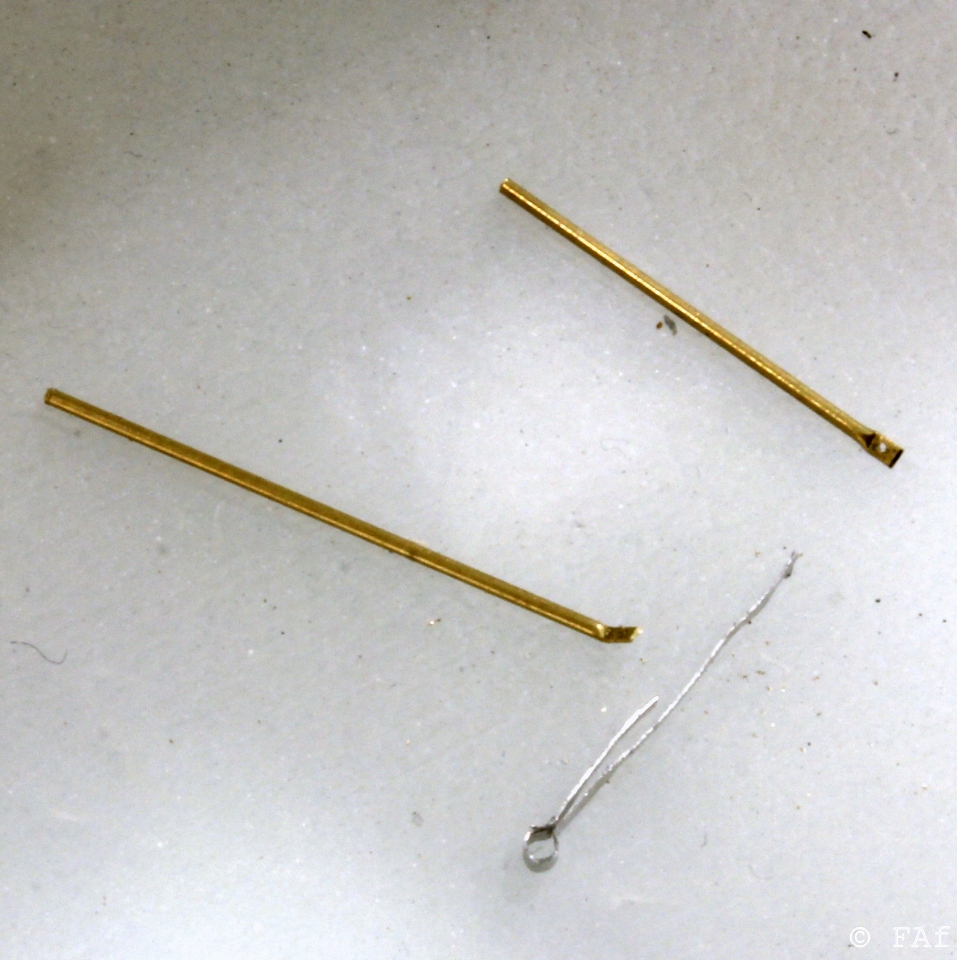
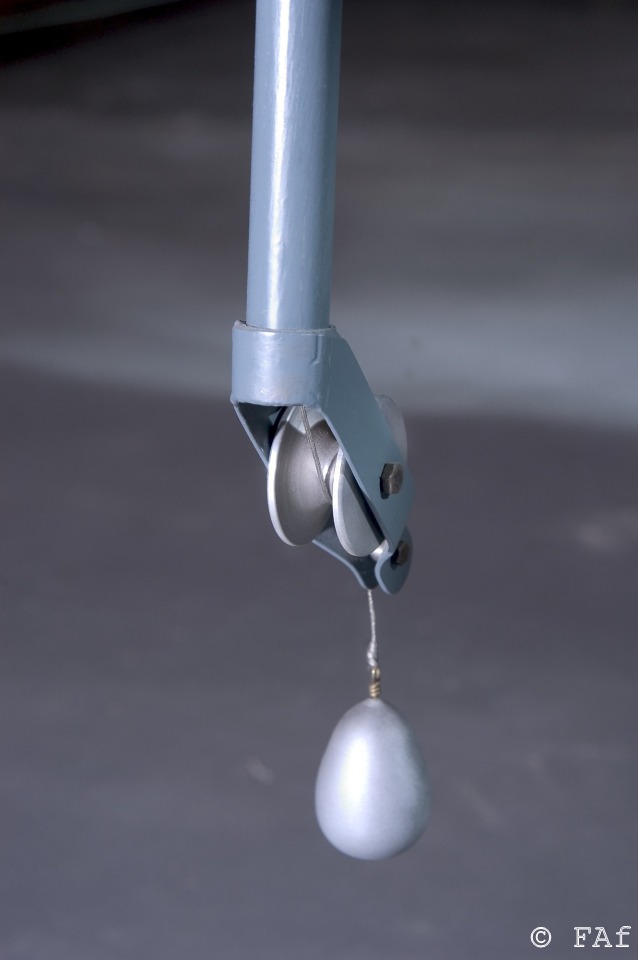
Next up to sort out was the trailing antenna. I exchanged the kit's plastic part for a 1.0 mm brass tube earlier in the build. You can see the tube with its monofilament antenna wire in this first image.
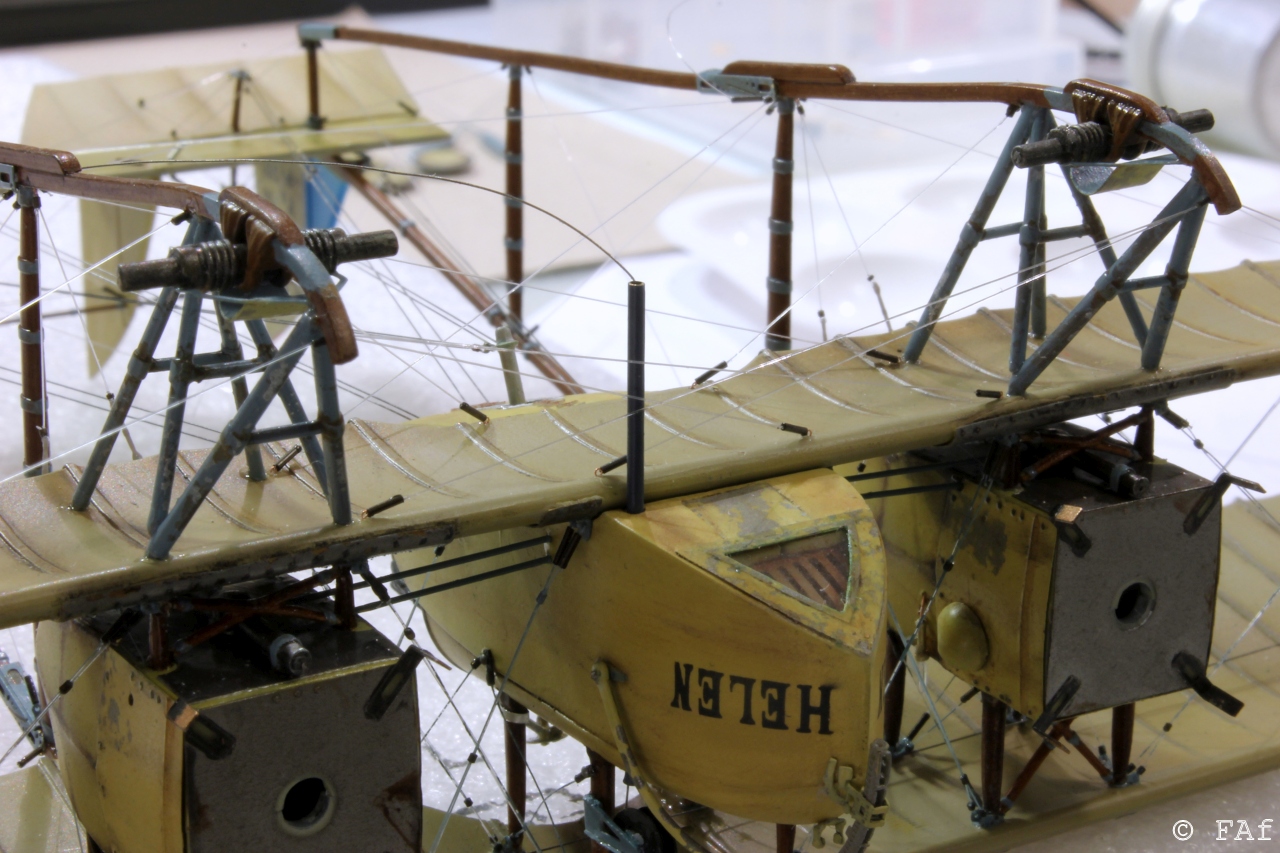
This tube should also have supports, and they are not included in the kit at all (which isn't very strange really). I made those out of smaller brass tubing and aluminium foil from an IKEA tea light and stretched sprue to make the rivet attaching it all.
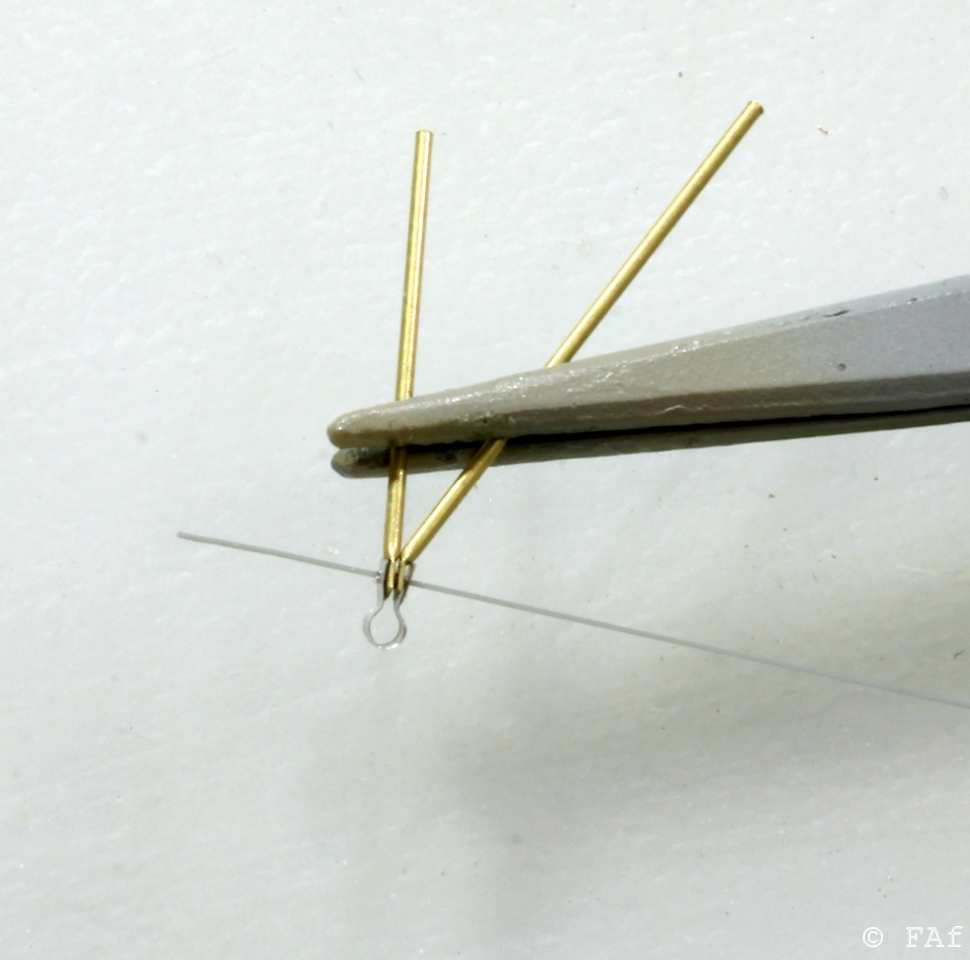
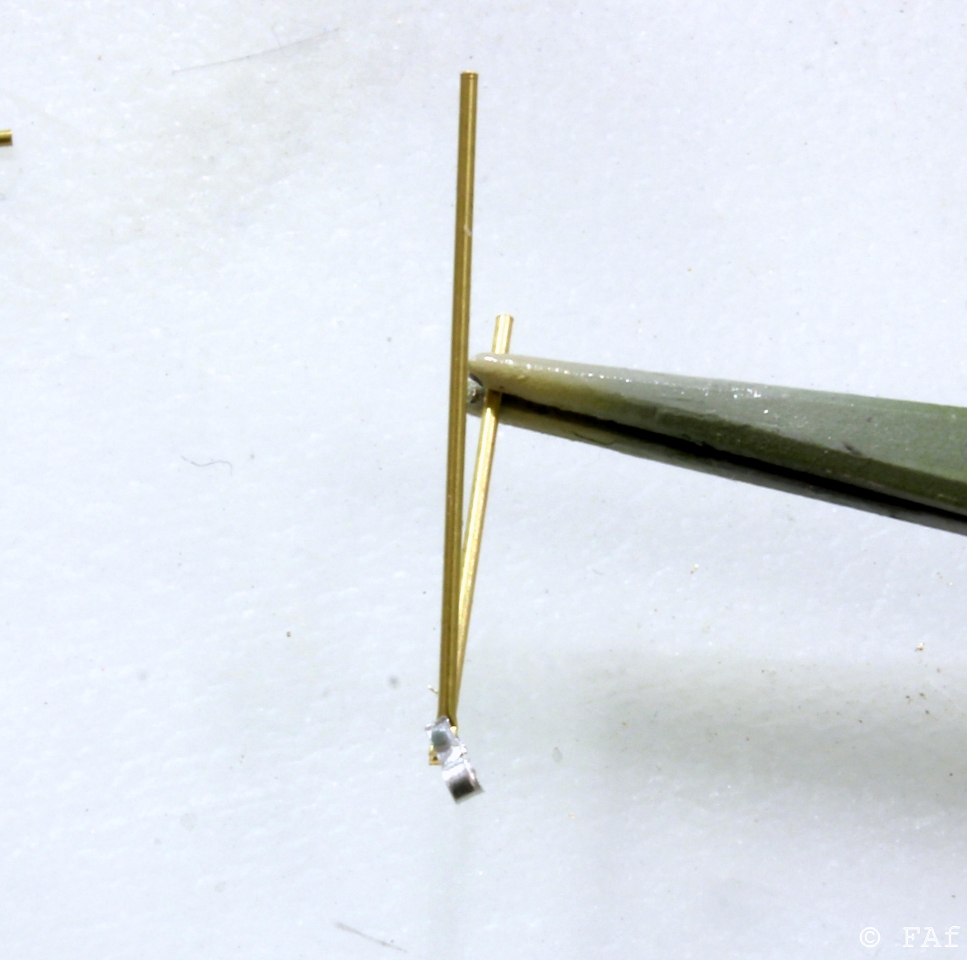
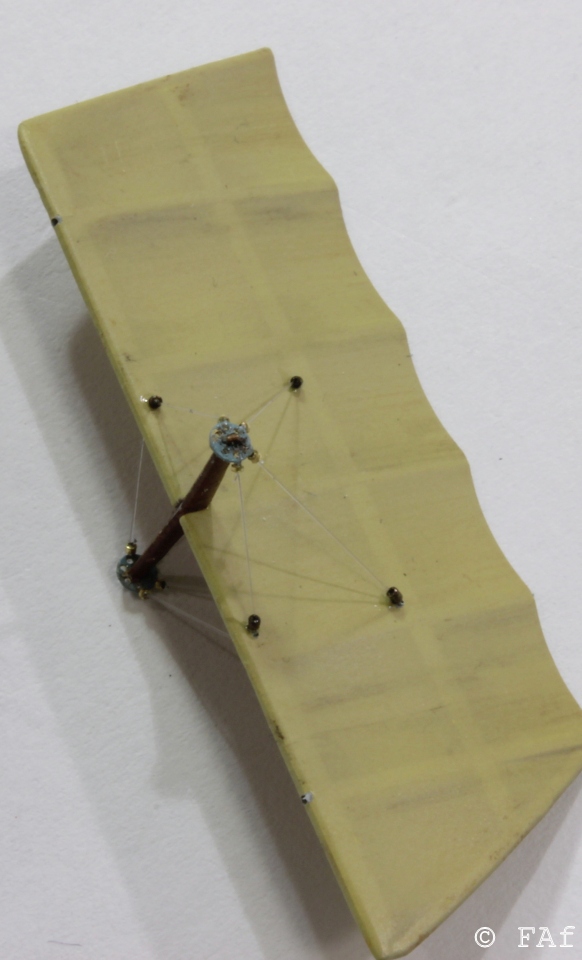
Once I've painted the supports and attached them to the antenna tube, I'll have to add this end bit to it.
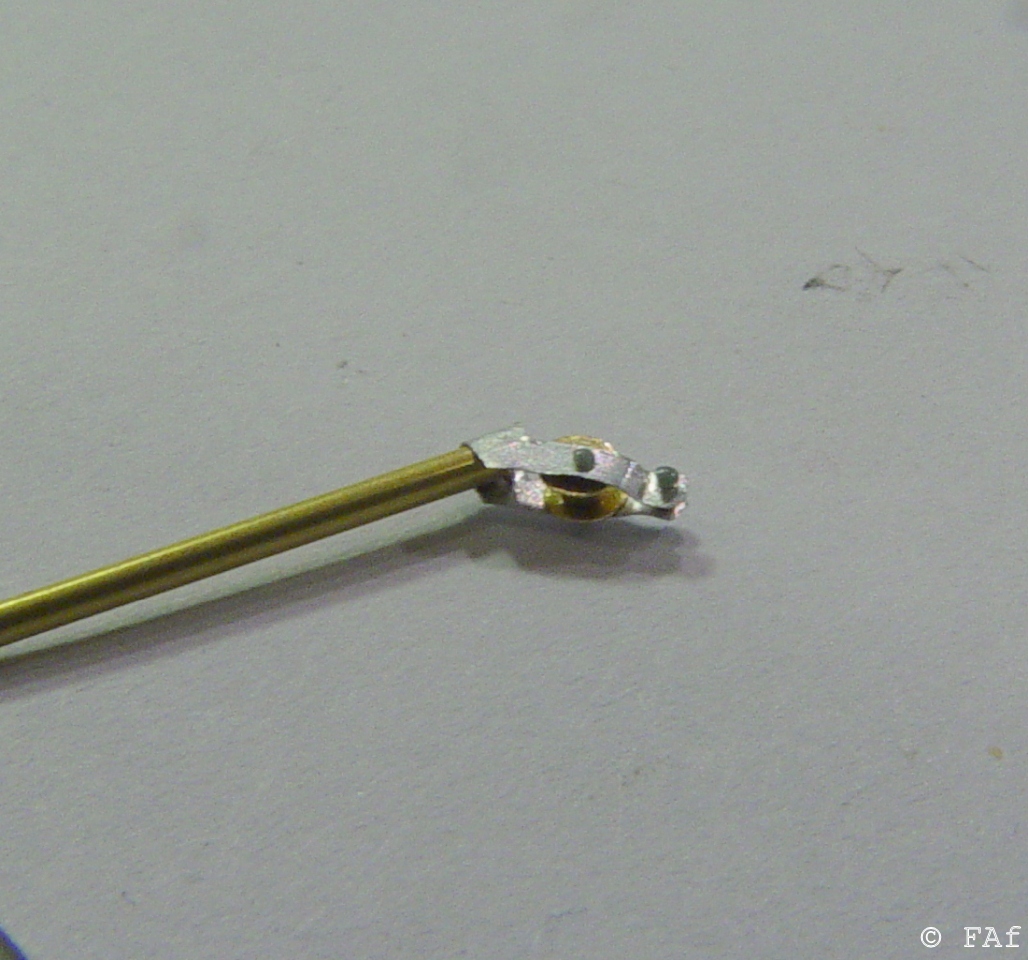
I used the same materials to manufacture this - tea light aluminium, brass tubing of different diameters, a bit of 0.12 mm brass sheet and some stretched sprue for the rivet. The rivets out of stretched sprue turned out to be really good and you can close both ends without glue by carefully heating each end to make it curl into a bolt head.
Waiting for some paint and machine guns to show up before the end stages.
/Fredrik

