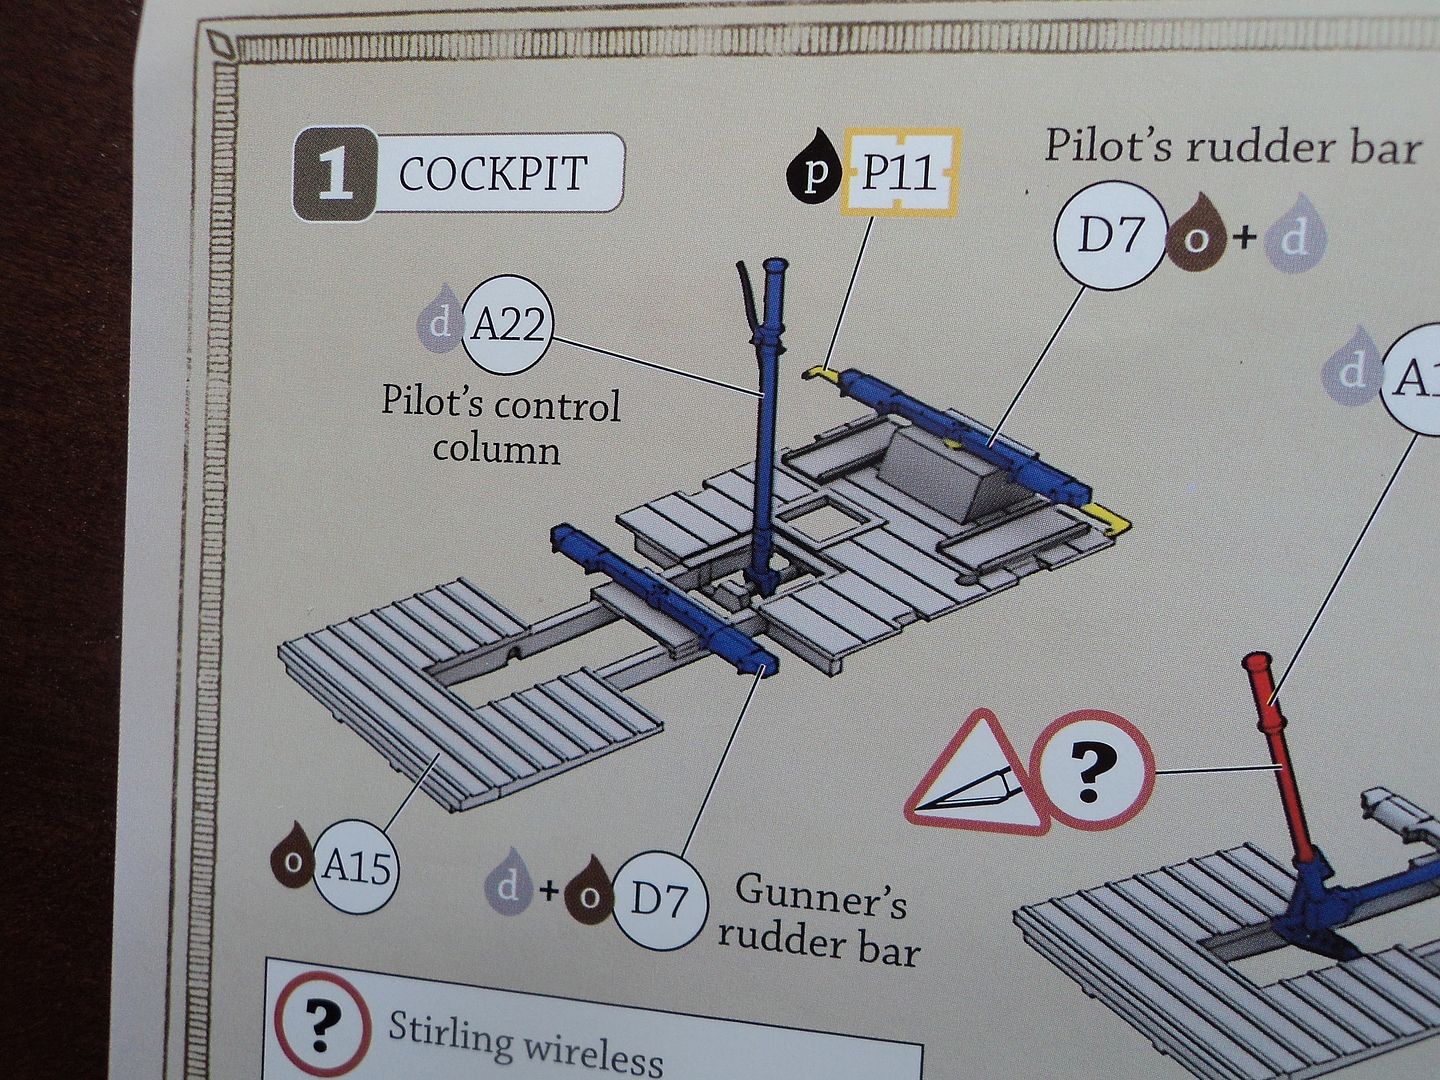
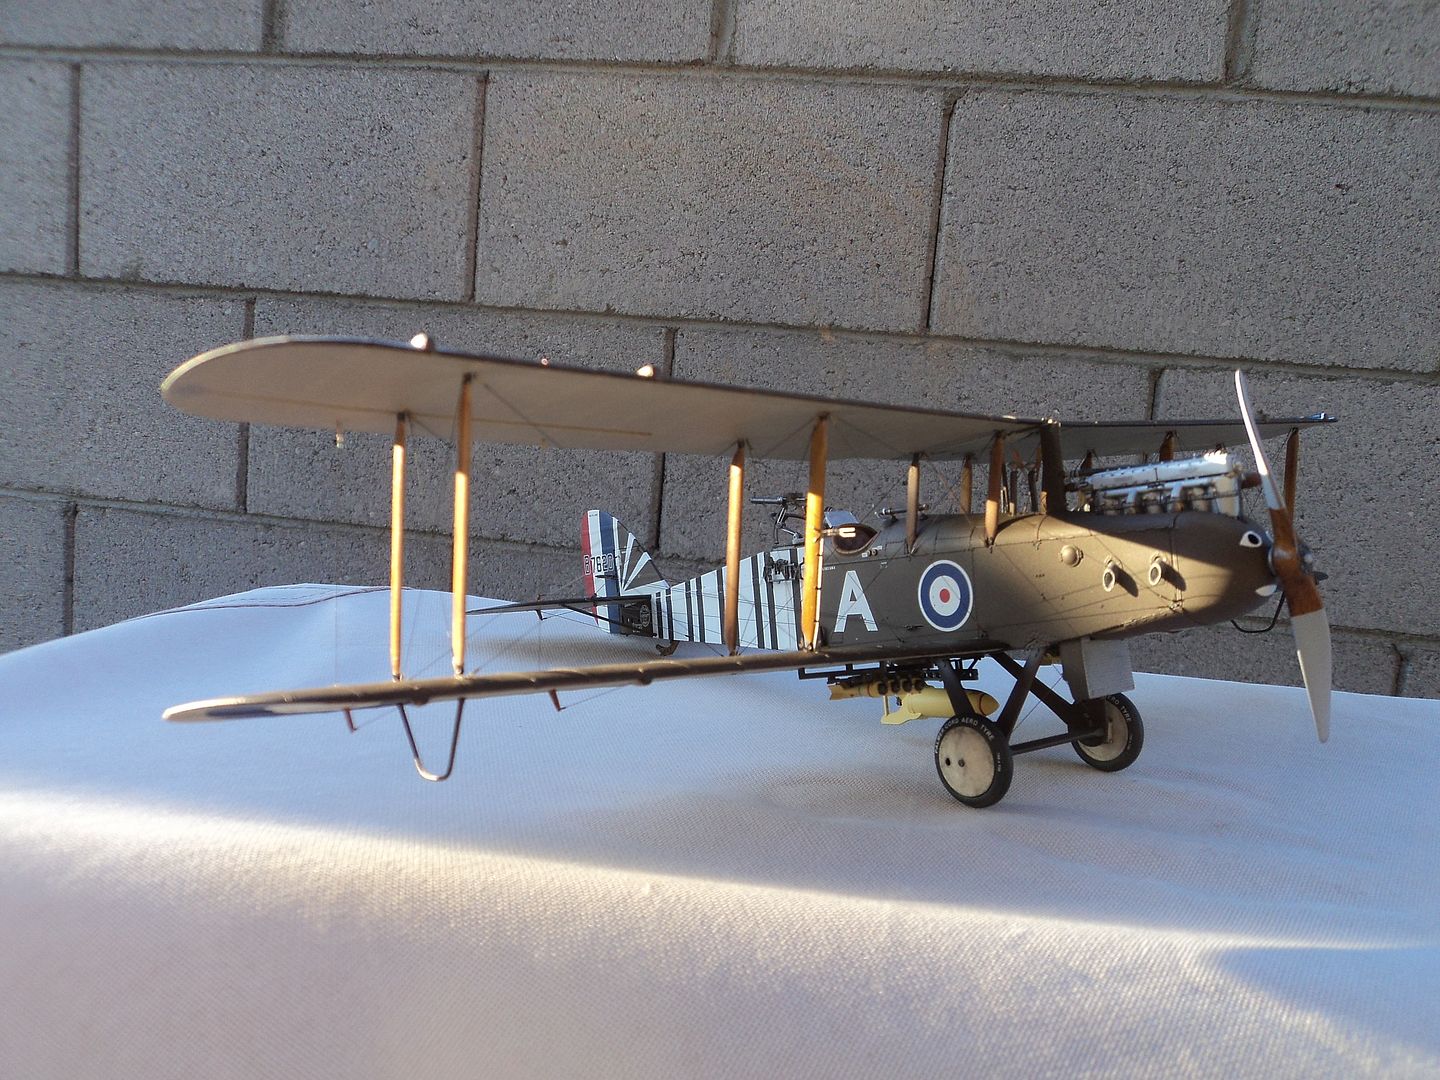
Surely no one could ever say that the DH.9 is a great looking airplane, it still is an interesting subject. My wife got me this for Christmas when it first came out and I finally got around to building it. The build is pretty straightforward with no pitfalls. However, anyone doing this build or the NINAK post war version would be wise to pin the rudder controls D7 and P11 to the floor board as it is really in the way when handling the fuselage and can easily come separated from the floorboard. Ask me how I know this.
Other than that, no major problems.
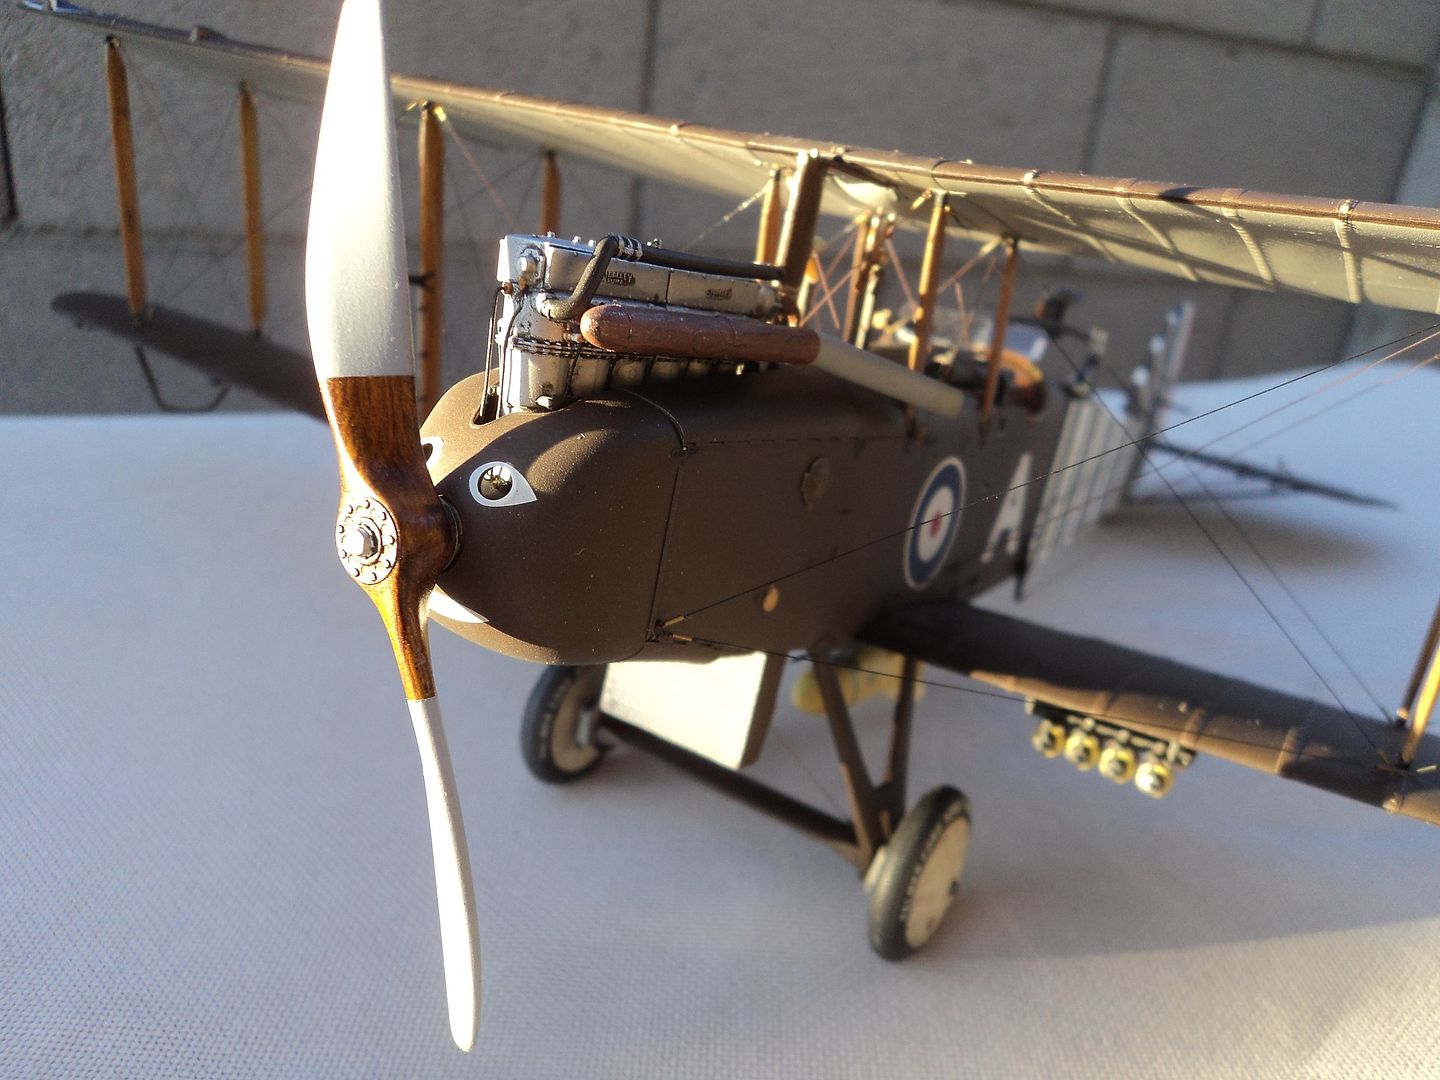
I did add some lines to the front of the engine as it is right out there and the photo's show two lines, so I added them using brass wire.
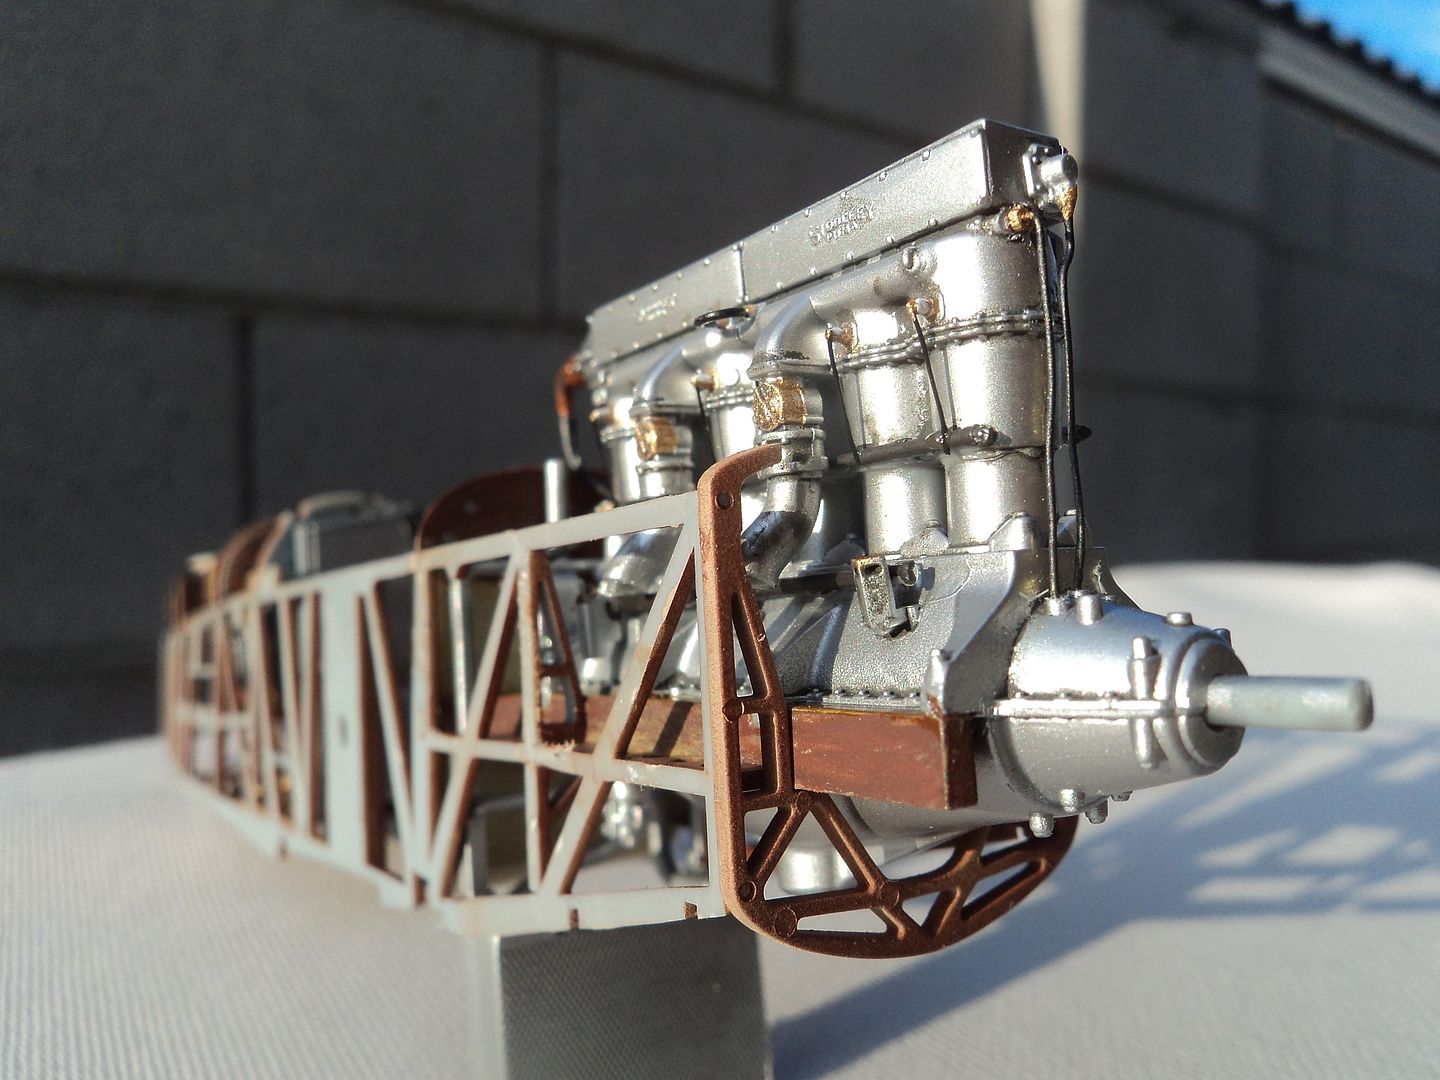
I used AK interactive Acrylic wash to dirty the engine up a bit.
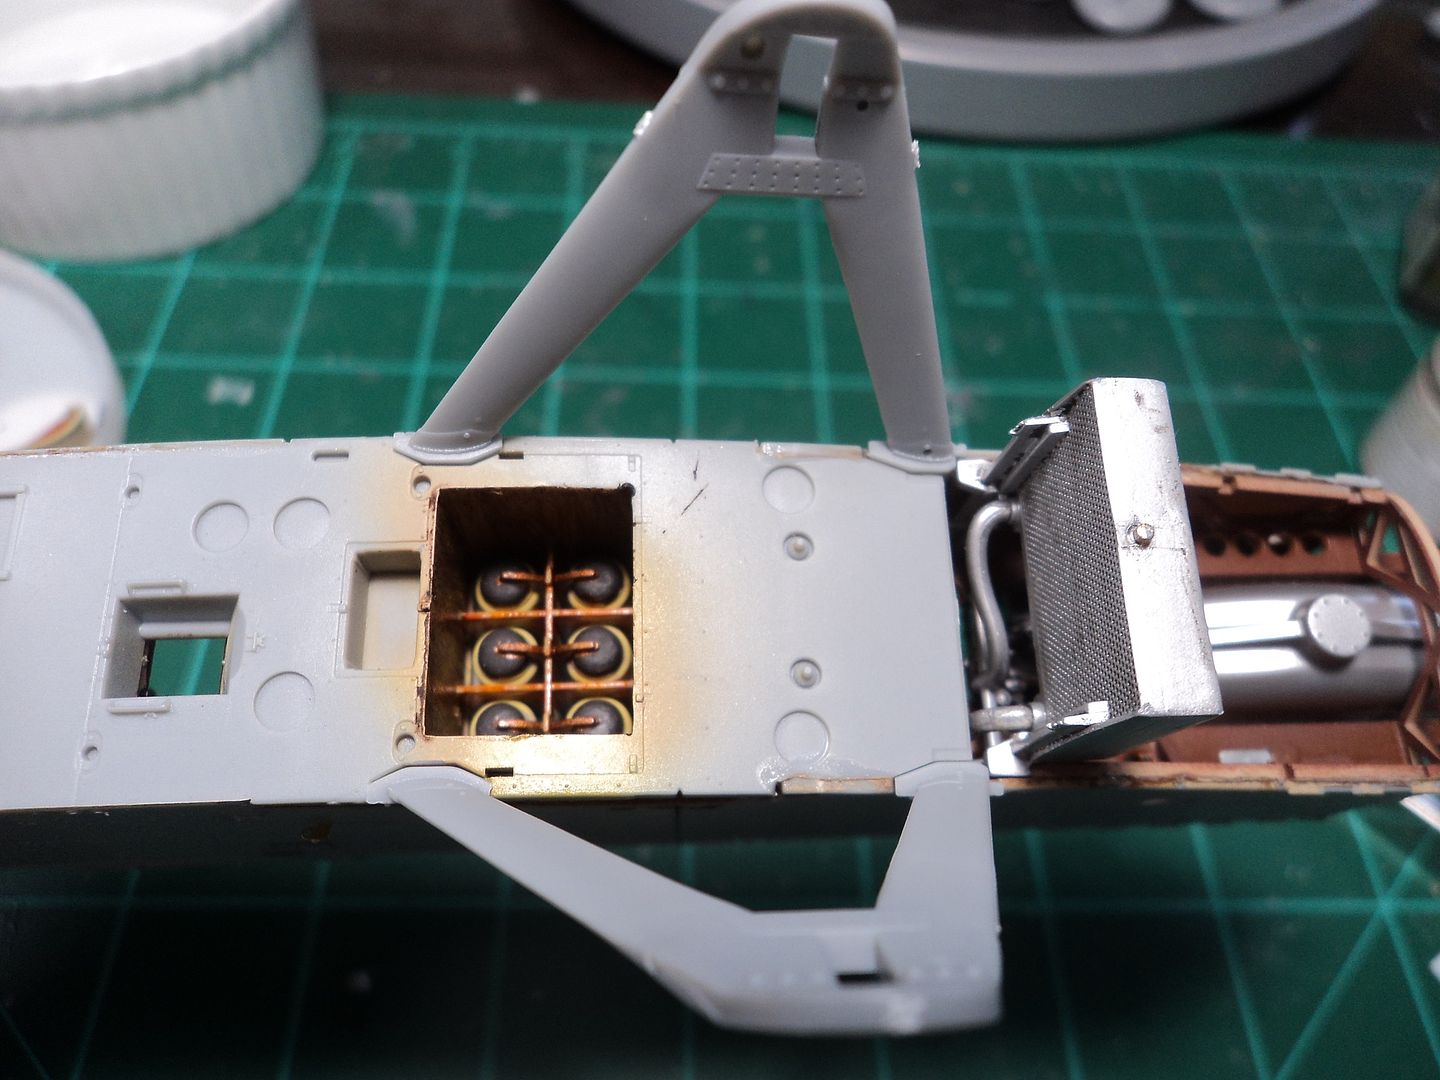
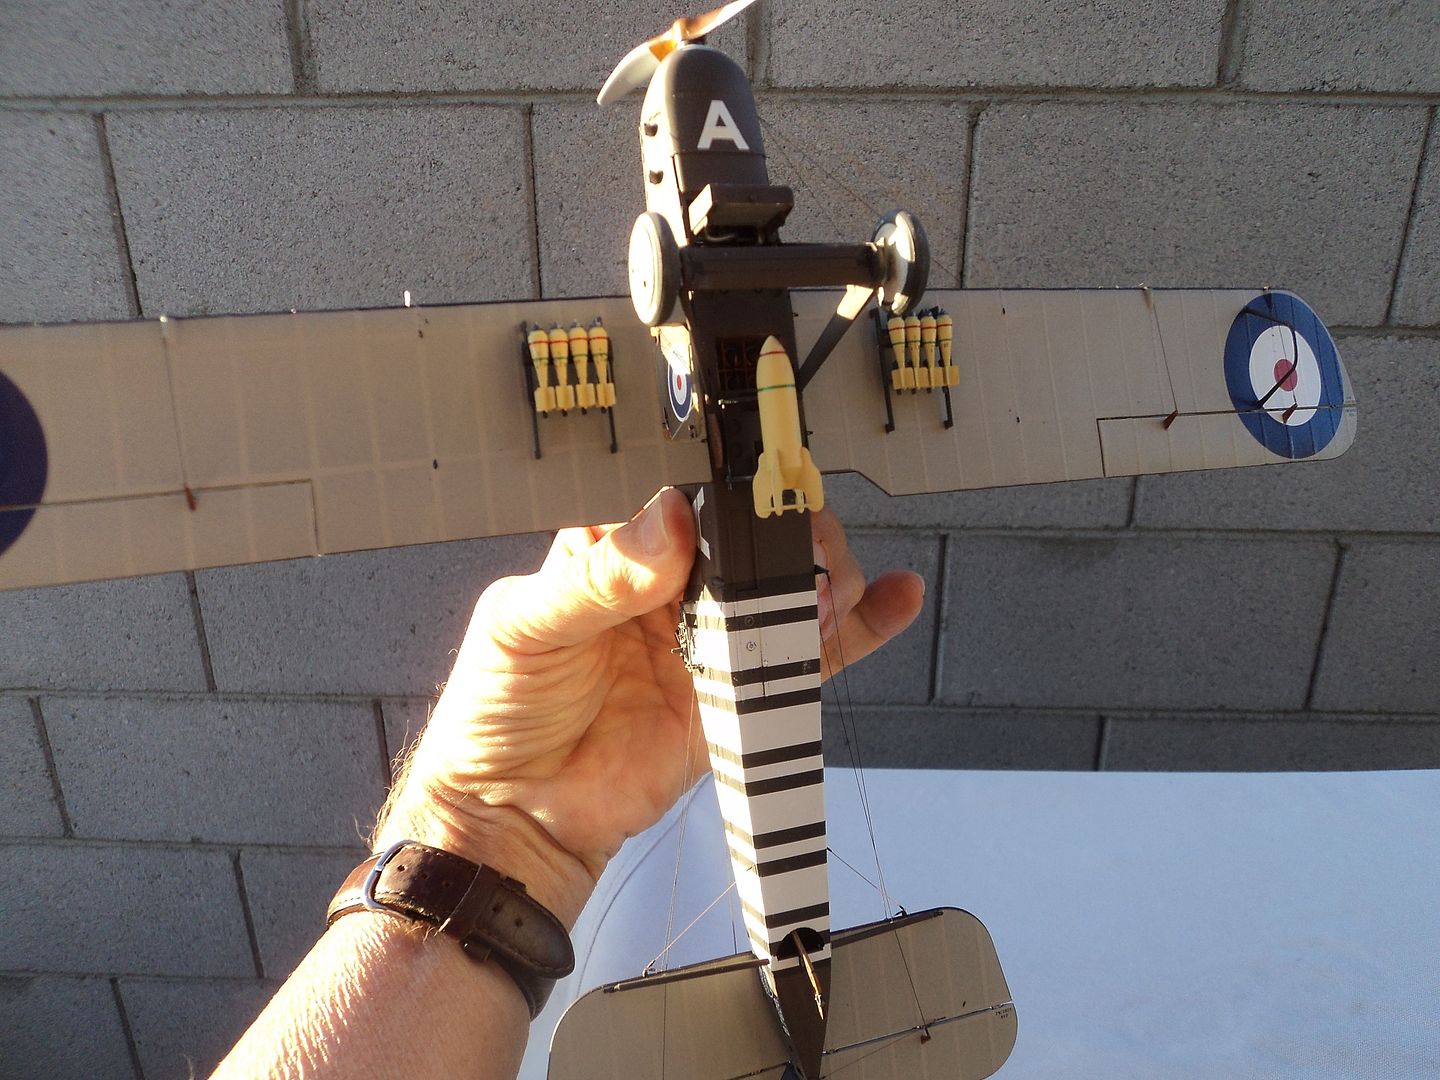
WNW offers two internal bomb bay configurations, 12 or 6, I chose the 6 variant, painting the bombs mustard yellow, using wood tones for the dividers and interior of the "bomb bay" and Testors non buffing Gun Metal for the front of the bombs. As it is on the underside, not much visibility but I think it is a neat addition to show your friends when looking at the underside.
Critical to the assembly is to ensure that the interior structure is square and tight. If not, problems arise in assembling the fuselage. Again, ask me how I know this.
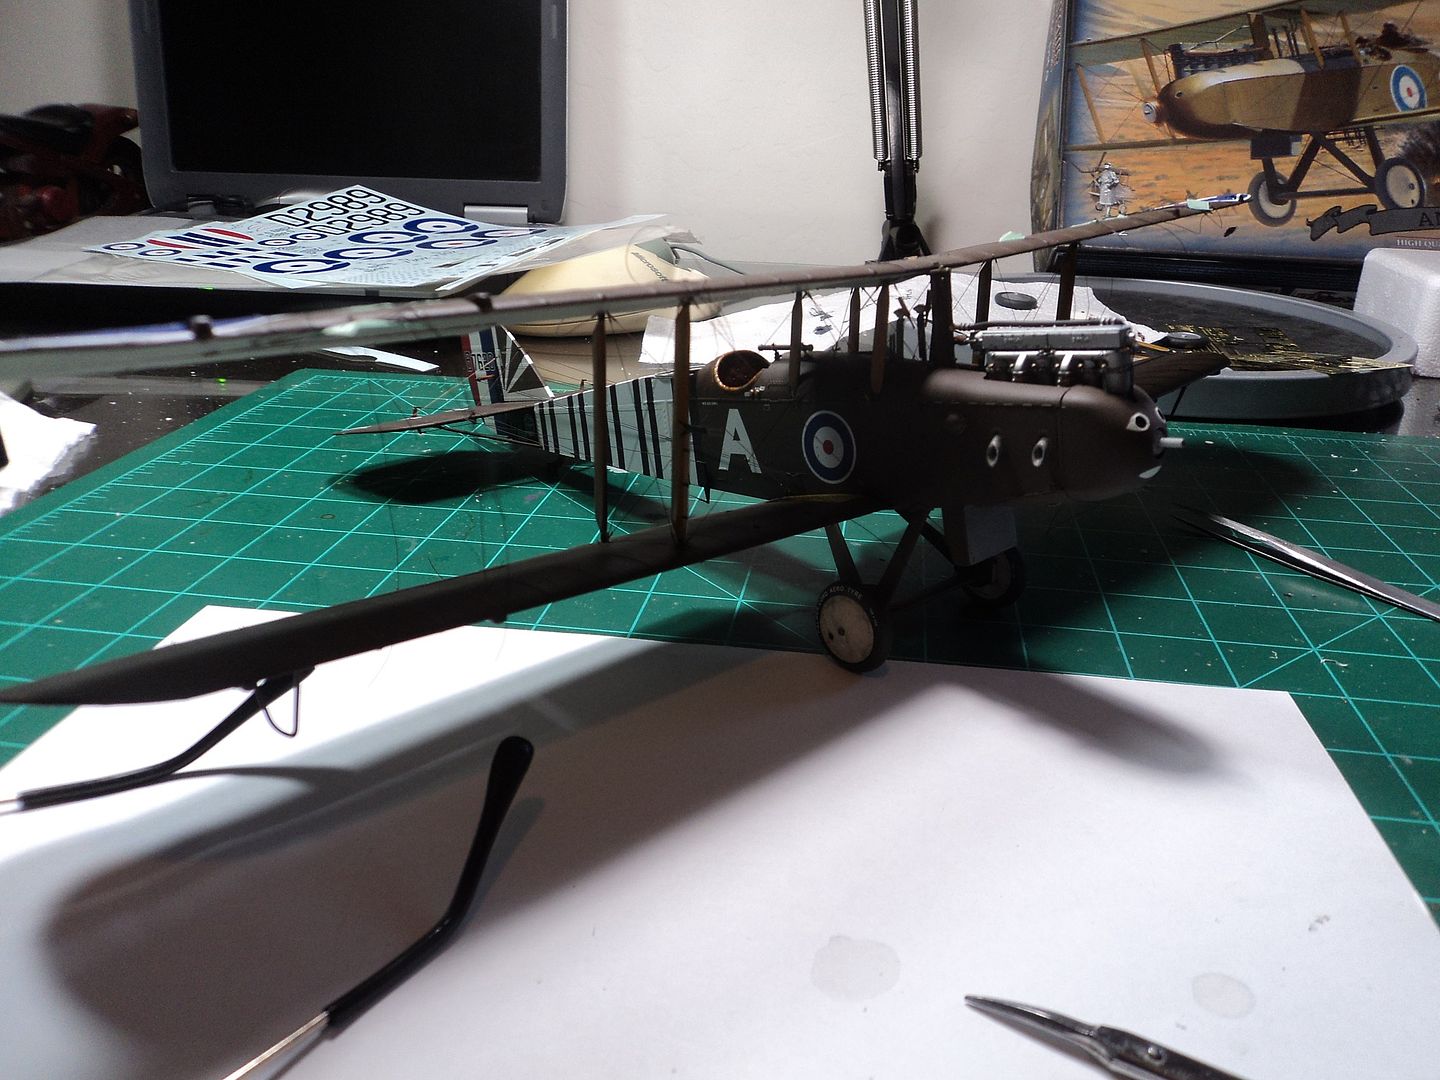
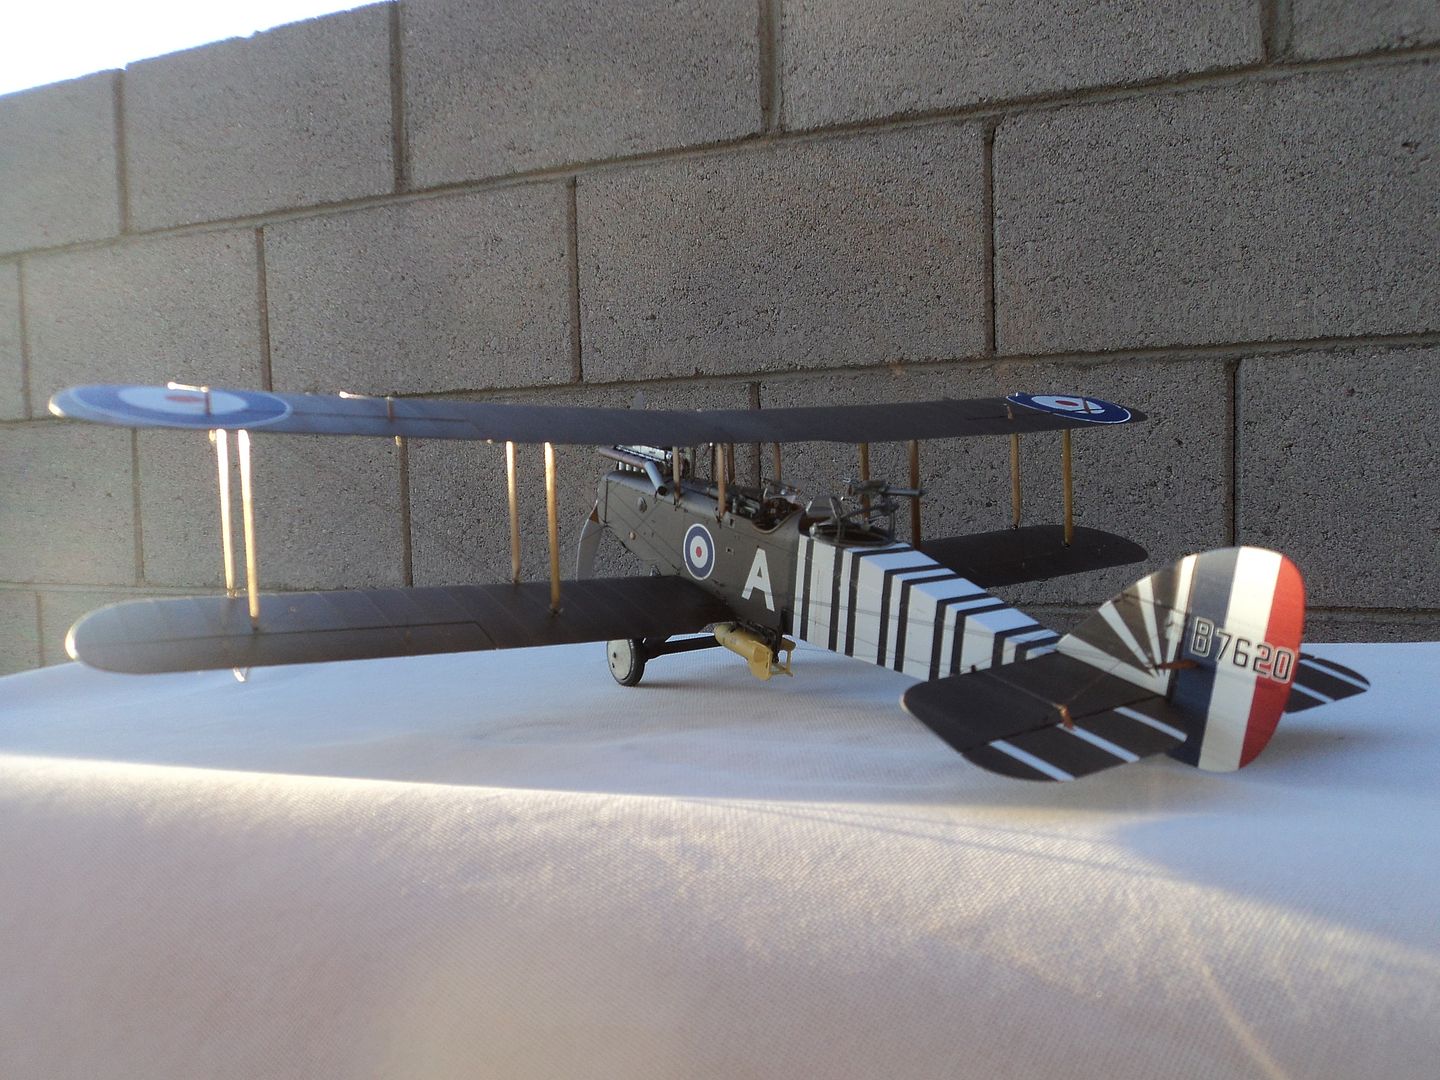
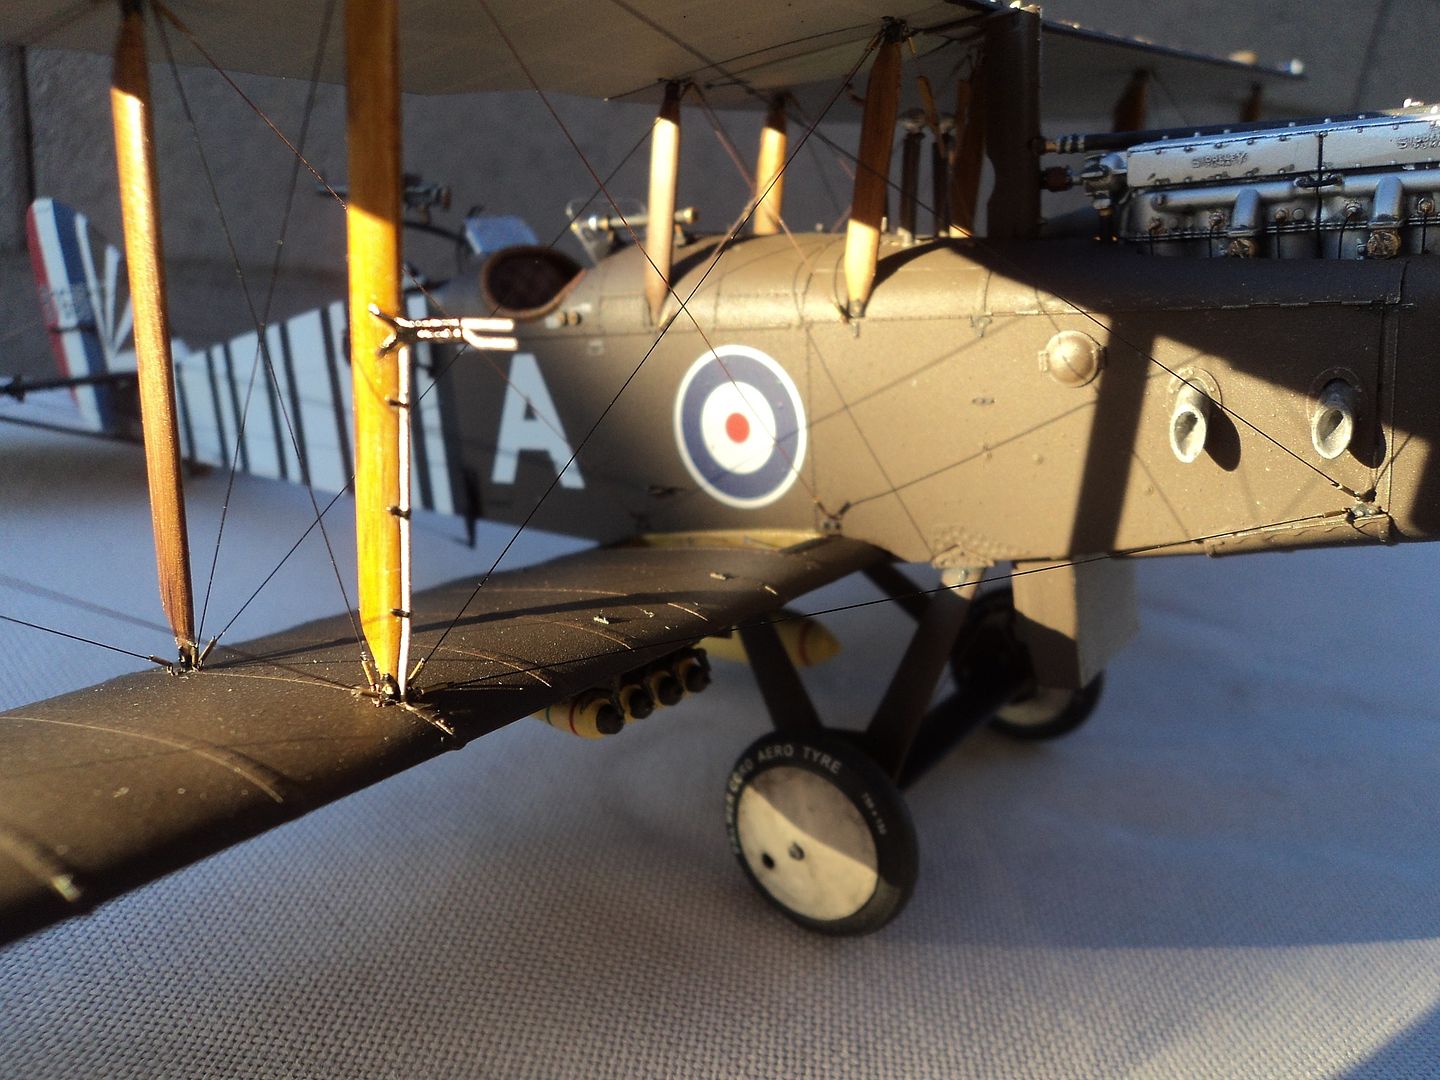
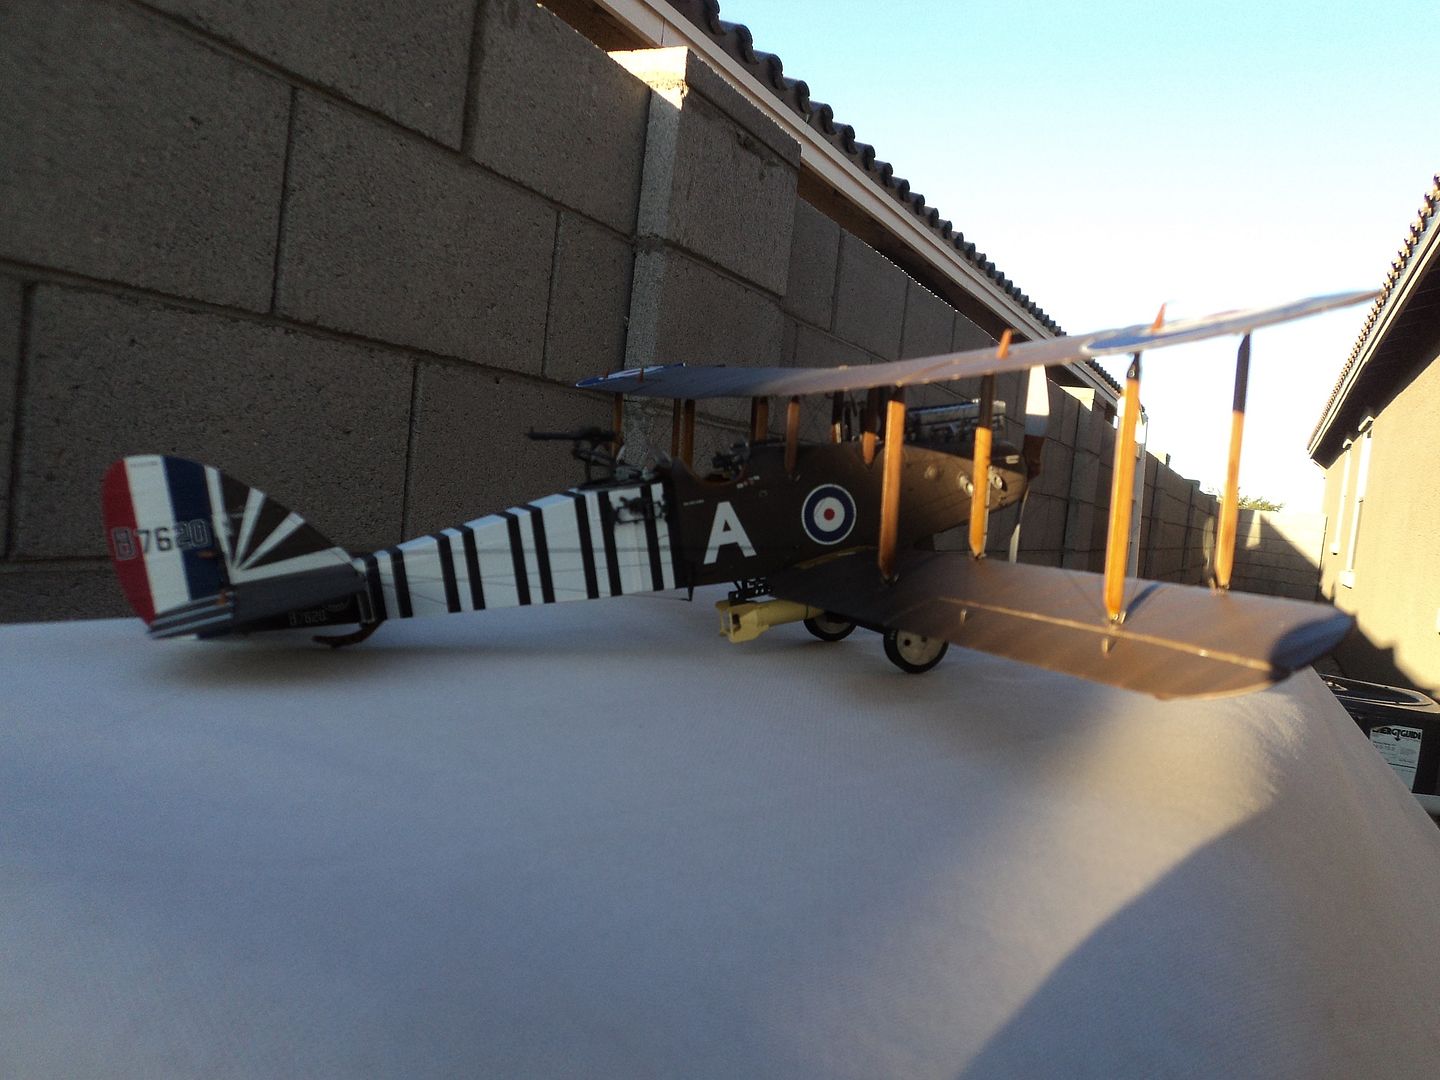
I chose the markings of DH.9 B7620 of J.A. Gray & J.J. Comerford, A Flight, 211 Sqn, June 1918 as it is interesting and has an interesting story behind it. I opted to paint the aft end of the fuselage gloss black and then applied the decals. The white is totally opaque with no black bleed through. I also opted to paint the rudder vice using the WNW Provided decal.
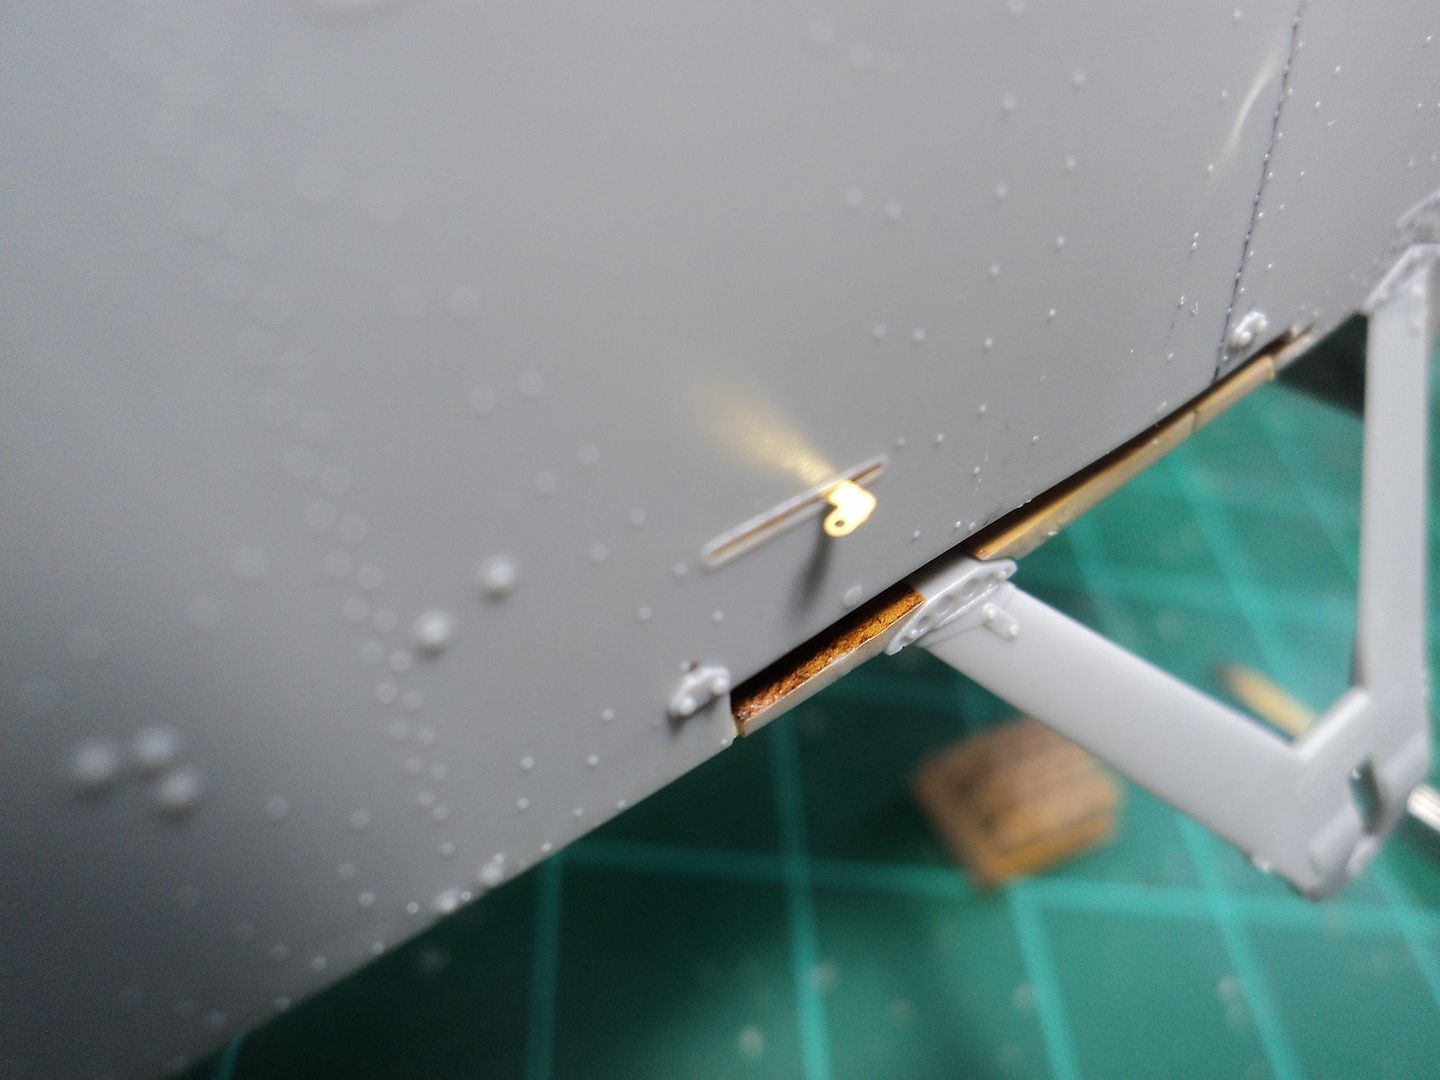
For rigging I used Chameleon two pound test for the lower fuselage to upper wing for strength and Model Kasten (MK) .06 stretch ine for the rest of the rigging. I would rig the bay and then slide the struts in. Using the chameleon line, I would get it in place and once the struts were in, tighten it up. I used Bob's Buckles eyelets and tubes for all rigging attachments. Here you can see the process in progress where I would rig, once the bay was rigged I would then insert the appropriate struts.
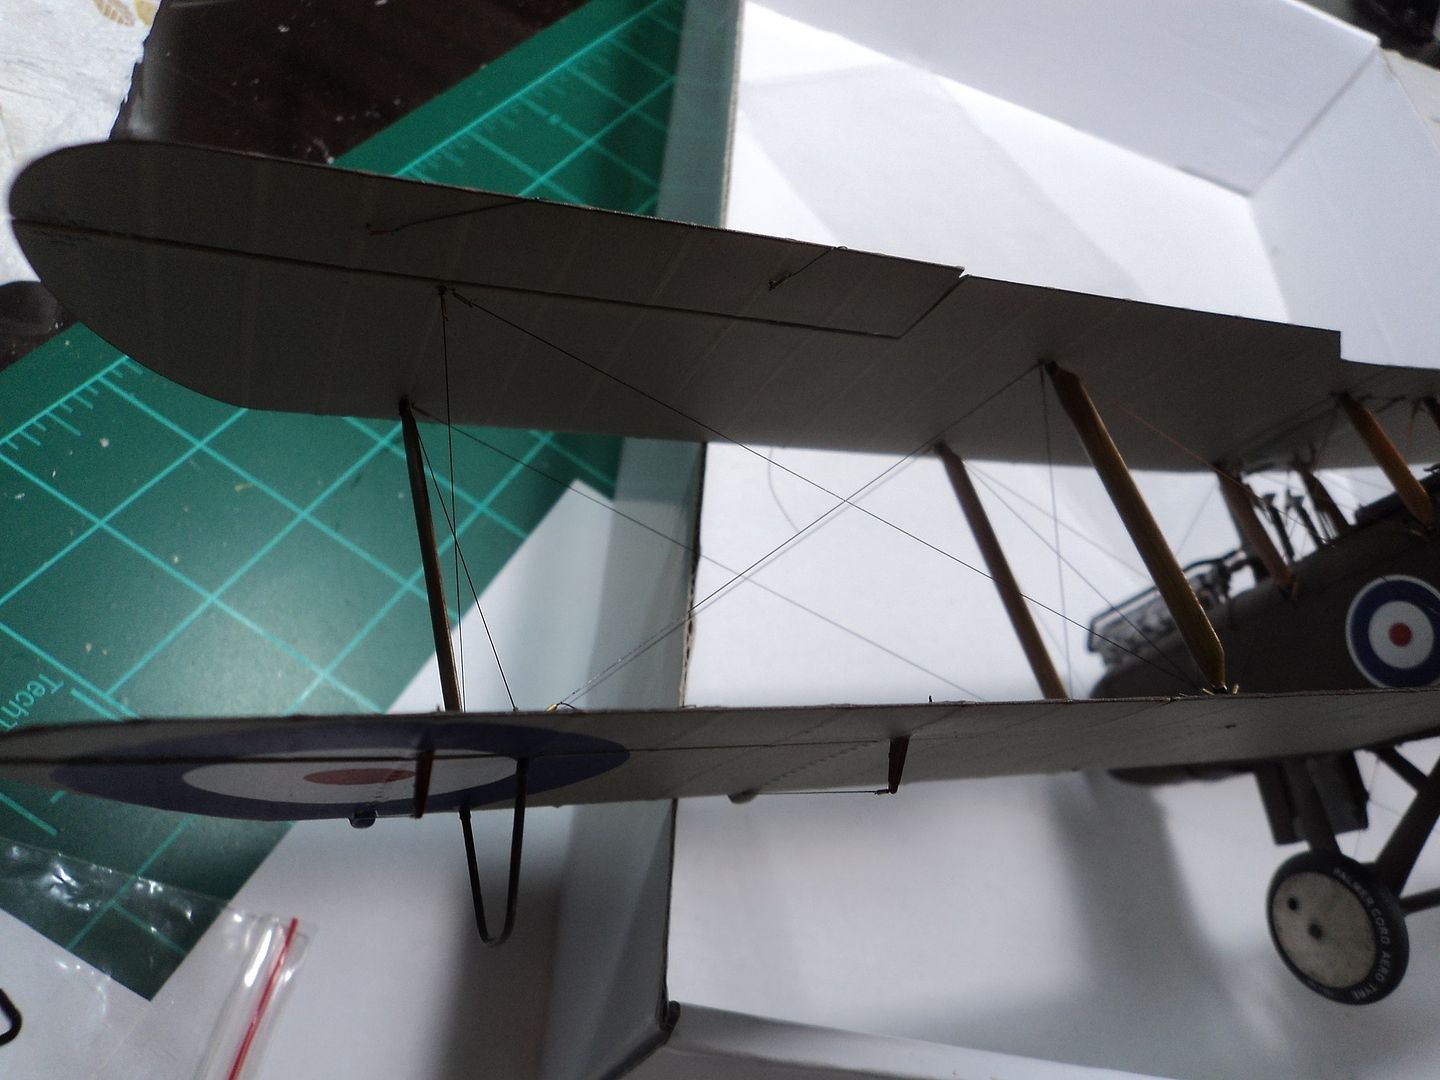
Makes the rigging process a lot easier, and the two strands of chameleon line offer strength..
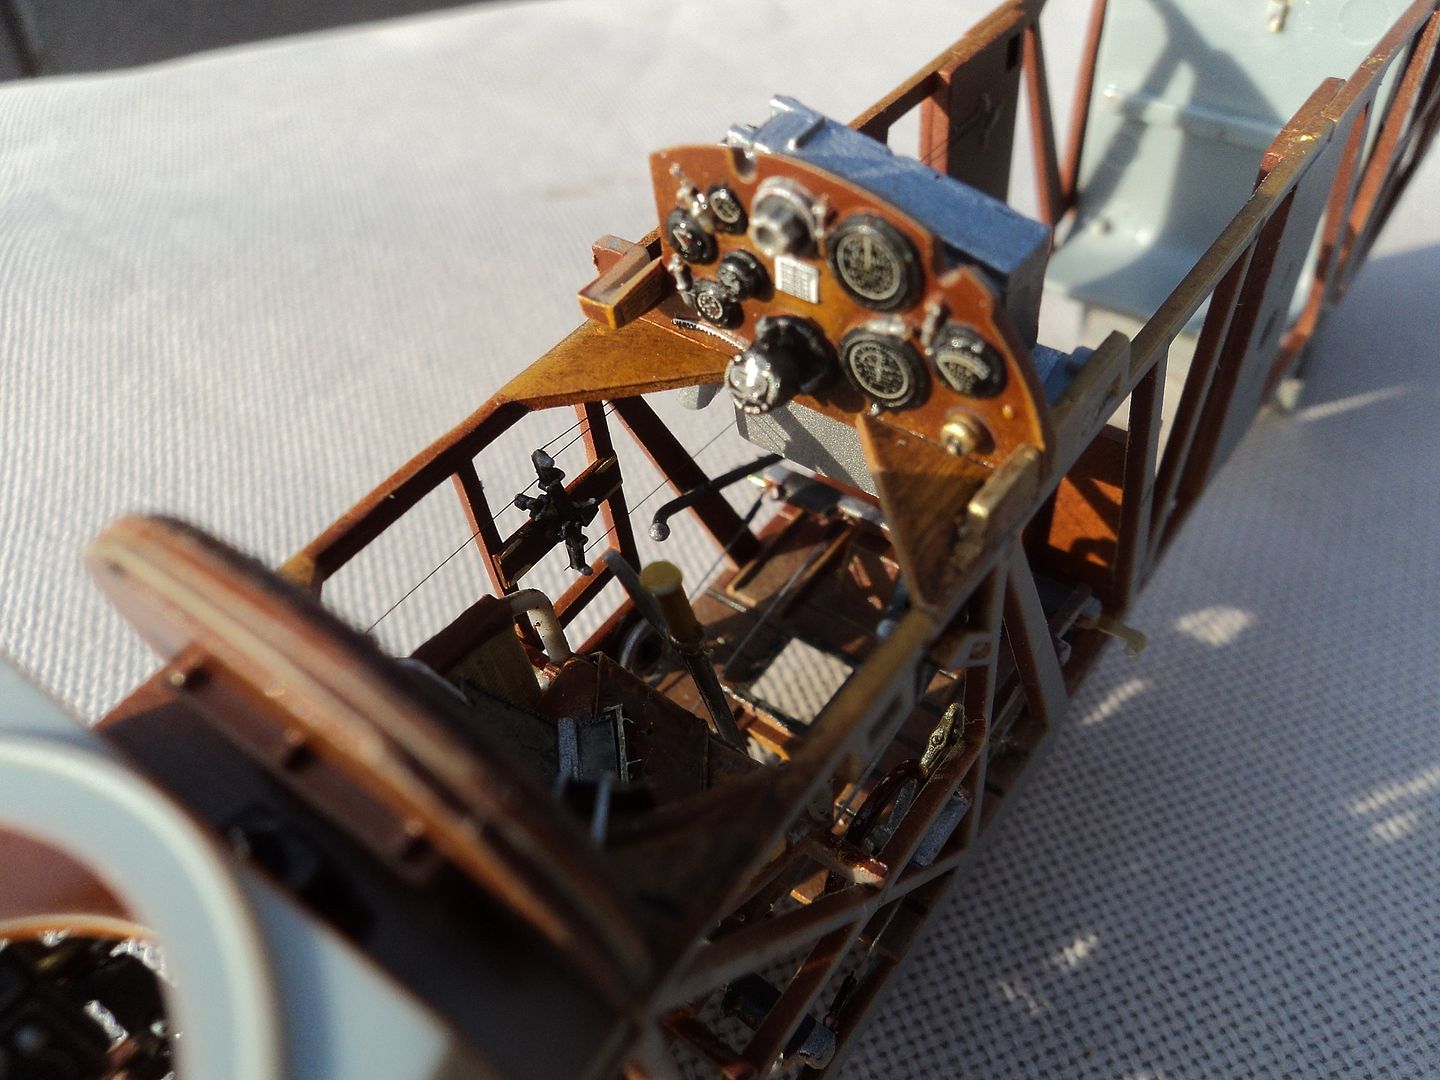
The Carburetor intakes are a pain to try to line up, so I just cut the end off a bit and using Testors Canopy Glue cemented them in place. For the plug wires on the engine I used the MK stretch line. None of the photo's in the instruction booklet show the aircraft with the bomb sight on the starboard side, but I thought it was neat looking and put it on, after all it was used in the bomber role and seeing I added bombs, I thought it would add to the airplane.
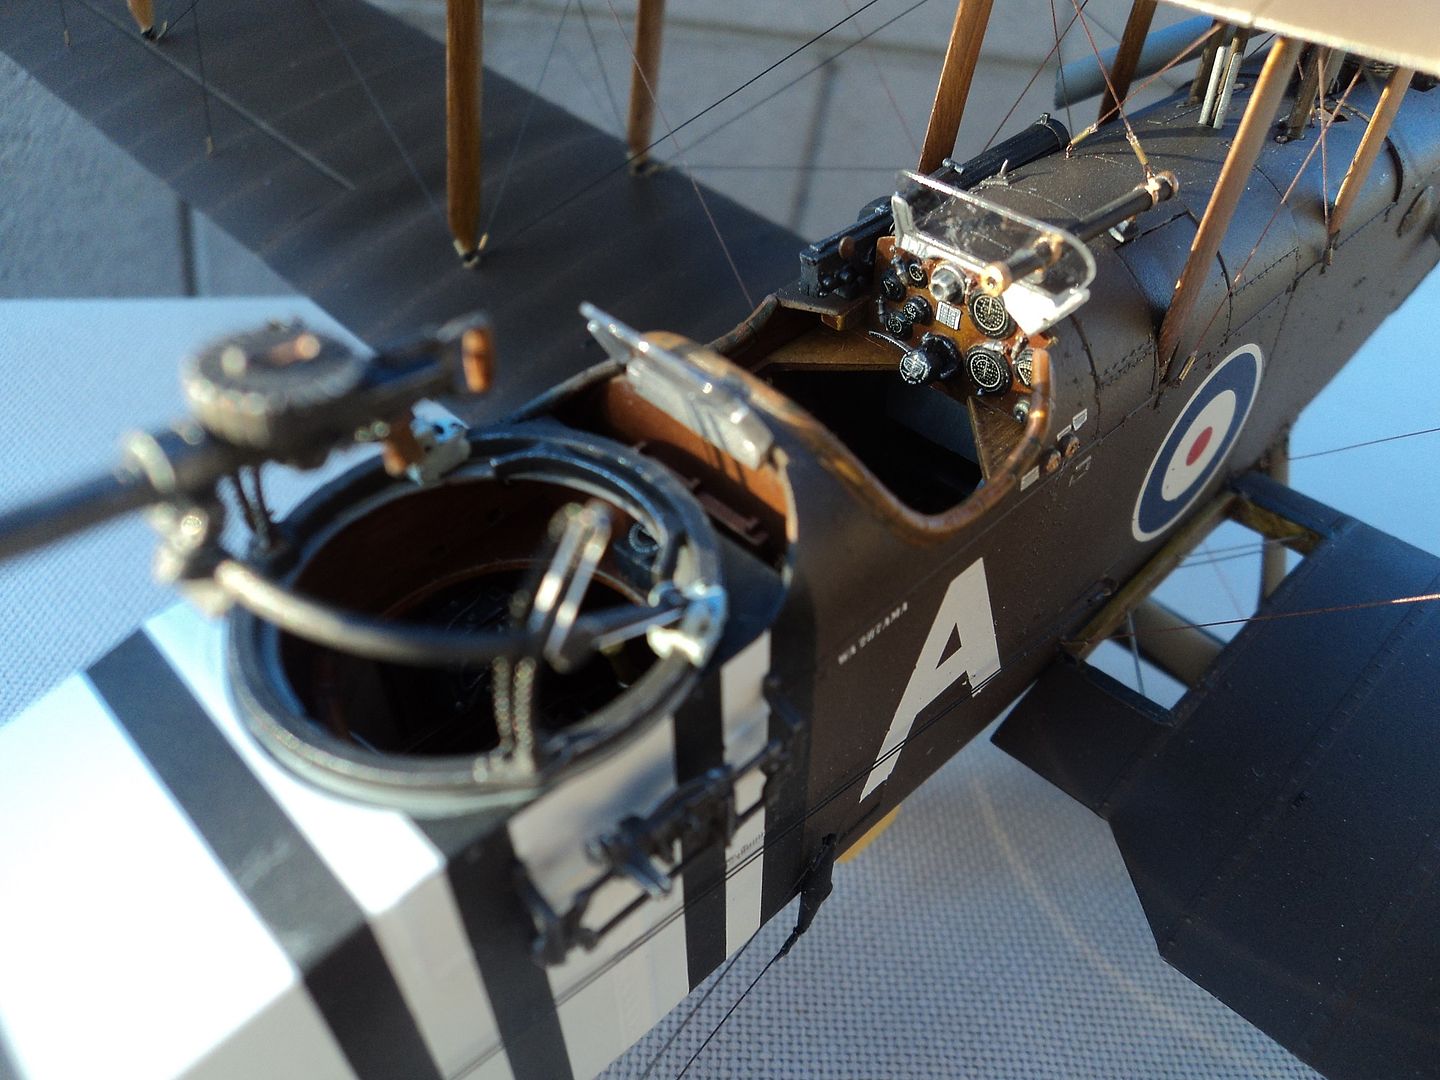
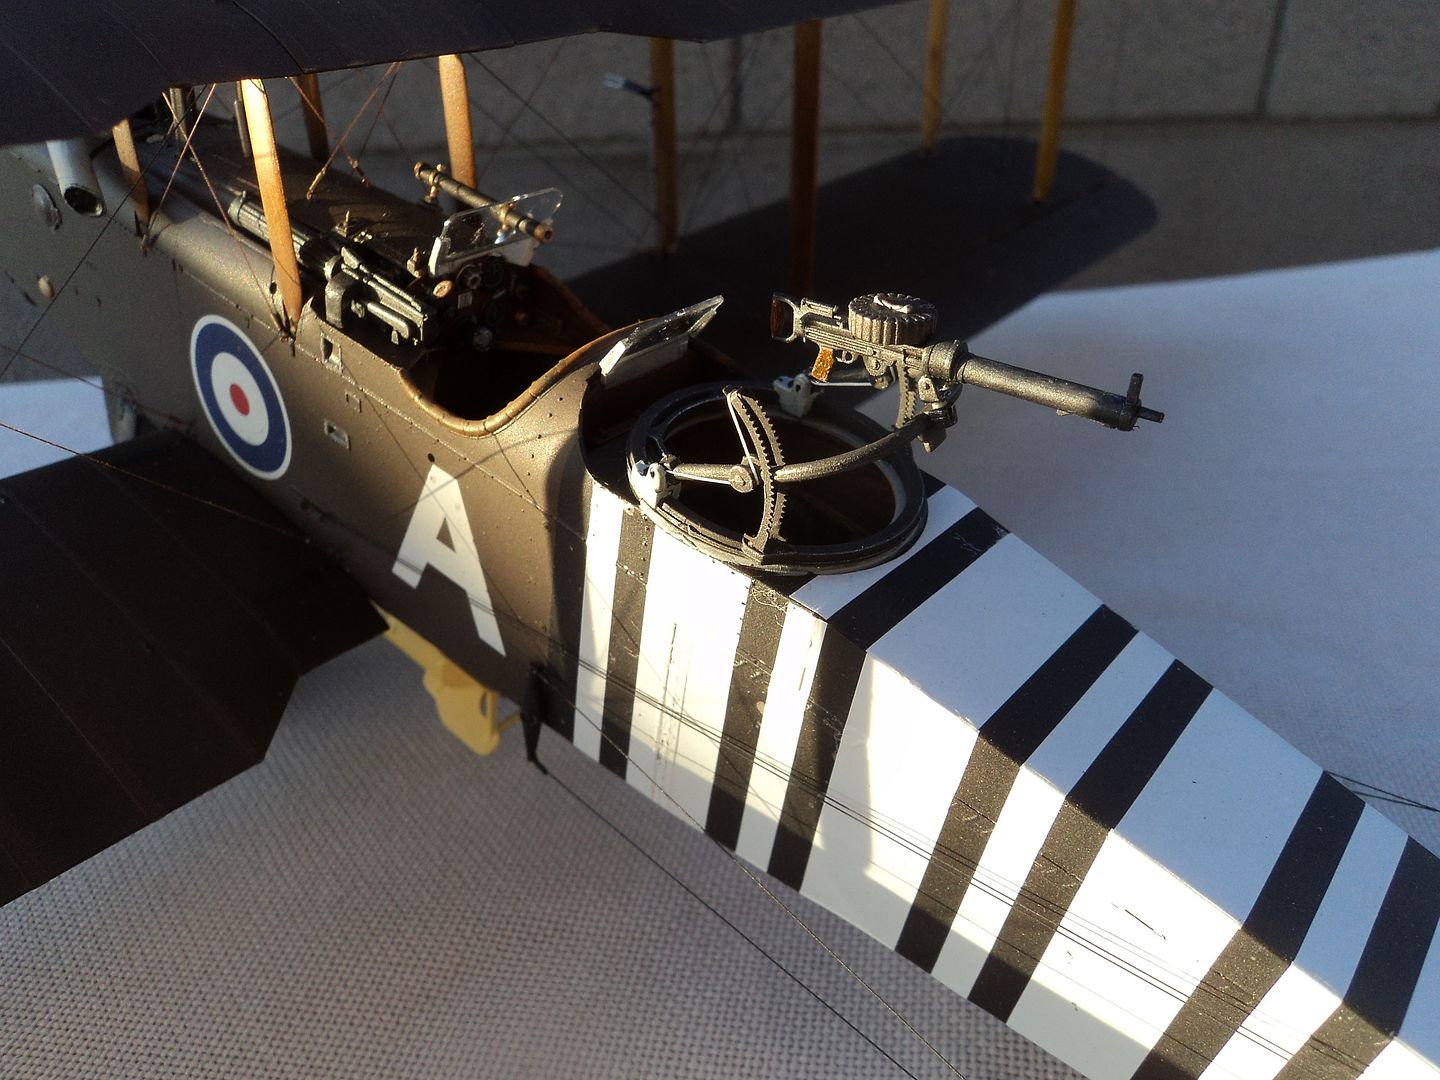
For the bungee chords on the scarf ring I used White Fine EZ Line.
The eyes on the cowling seemed to mock me as I progressed and seemed to laugh at a blunder I would make.
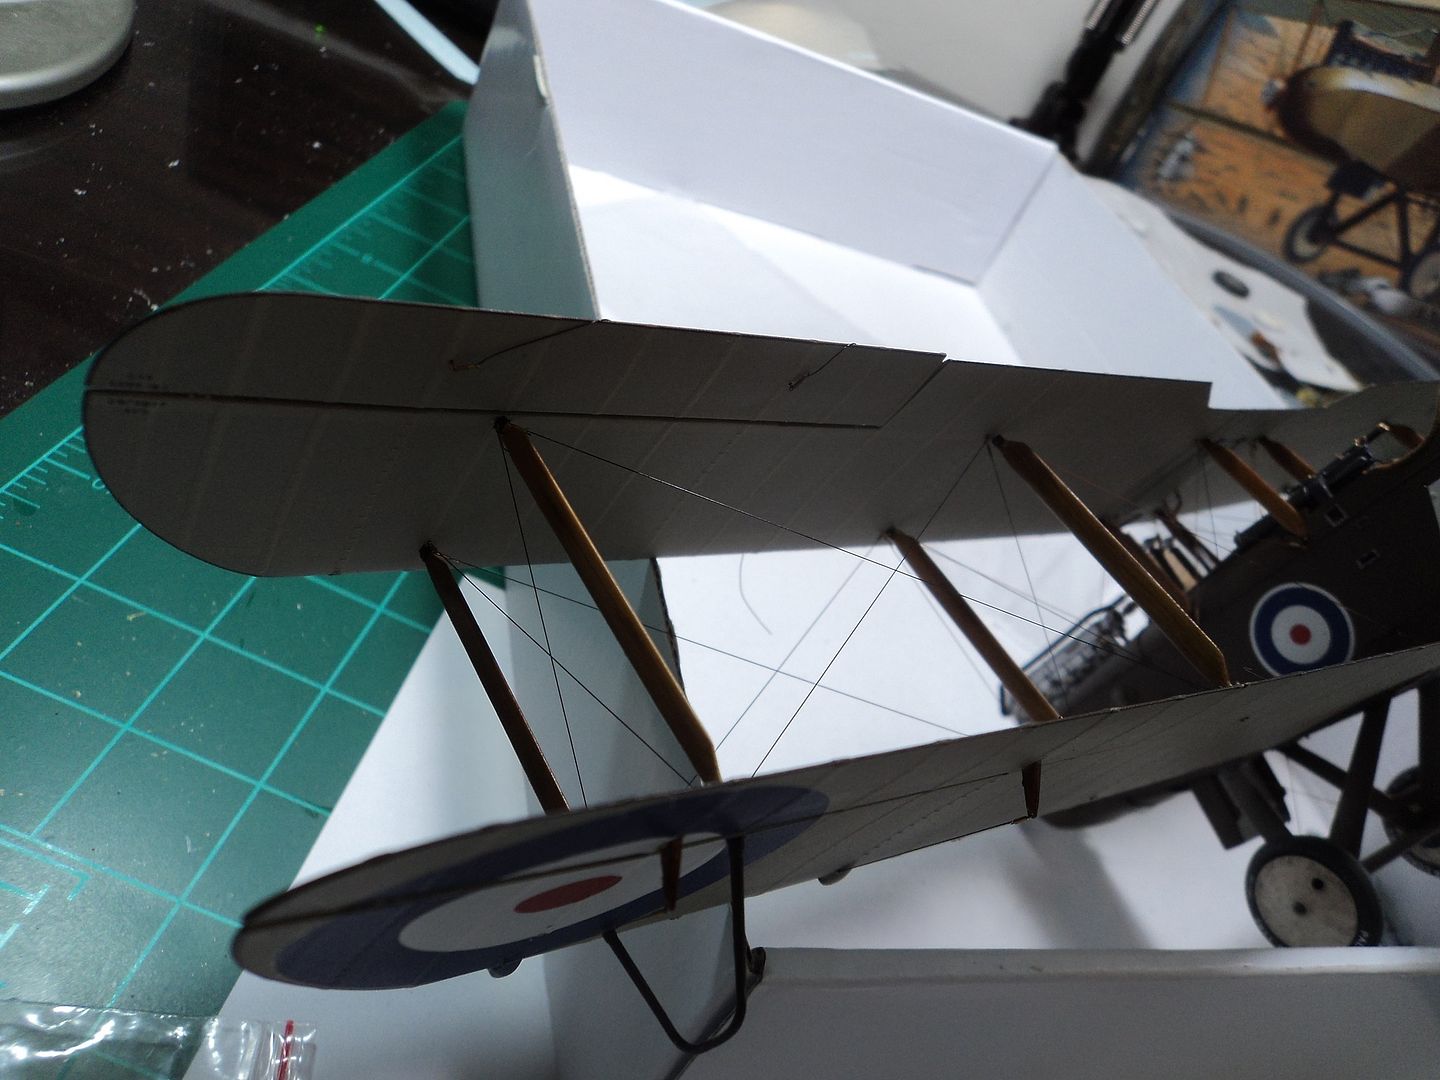
For the underside "shading" I first painted the wing the CDL, masked off the rib detail and then painted the whole thing black. Once set, I removed the tape and carefully repainted the CDL color until I achieved the desired results.
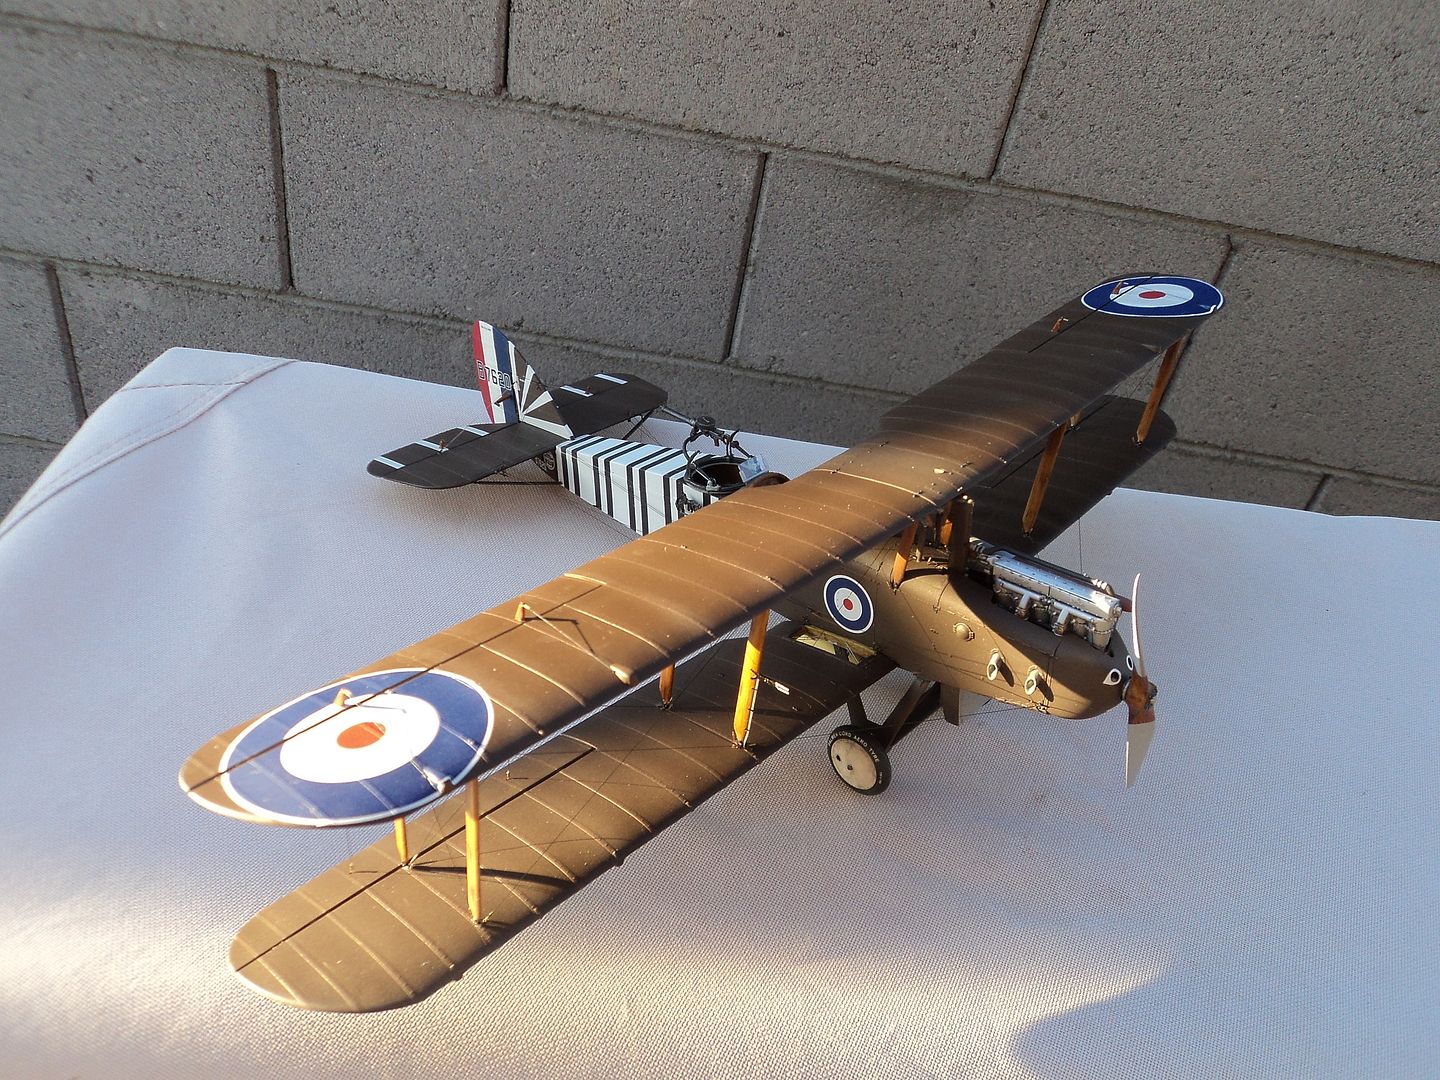
Using Tamiya Smoke diluted with Testors Dull Coat I sprayed in between the ribs to get a "weathered" look.
I think it's a neat looking airplane and makes a unique model
So there you have it folks.

