I have been working on this for a bit, and now have reached a point where it is worth putting up here. This is one of the more forgotten Nieuports, and to be fair, there was not a lot to be remembered about this transitional type, which appeared near the end of 1916, and featured the new rounded fuselage configuration that would be used on subsequent types, mated with the wings as well as the tail of the N.17. The R.N.A.S. was the buyer, taking first French-built machines, and later a batch from the British Nieuport firm built under license.
The build mixes parts from an Eduard N.17 kit and a Roden N.24bis kit.
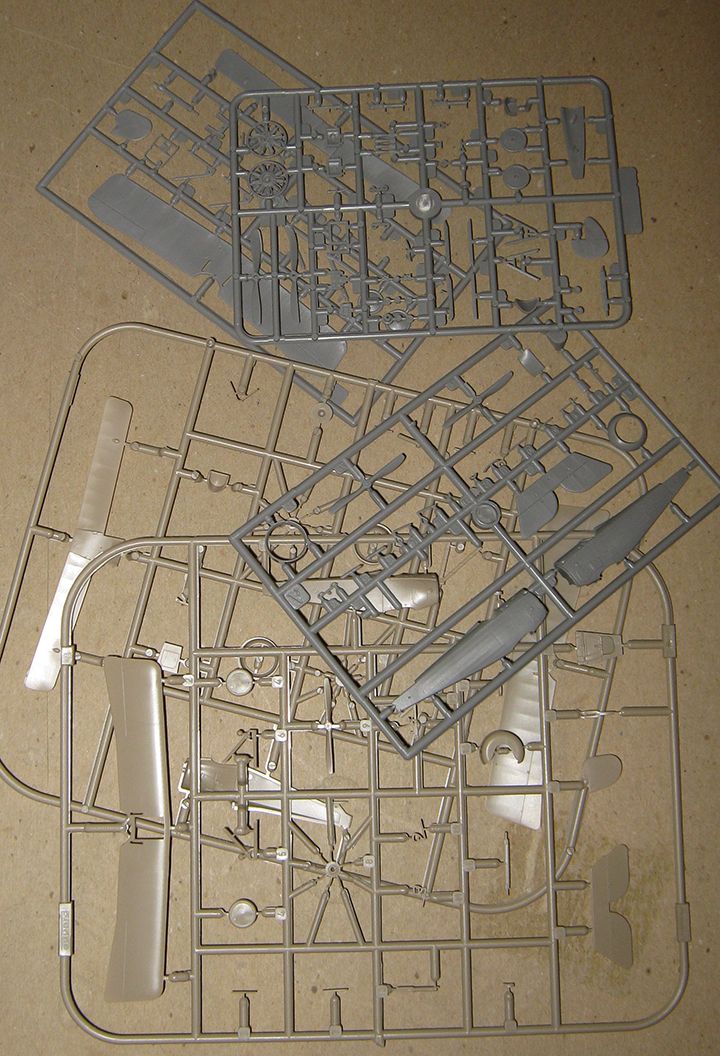
These actually go together pretty well. I decided to use both wings from the Eduard kit, because the Eduard struts must be used in any case (different angle to the 'V'), and the Roden kit's wings have their interplane locating holes placed a little farther out on the span than does the Eduard.

The Eduard kit comes with two upper wings, one with a large open panel (which I filled to use on this project).
I scratched a few detail for the interior, but did use the Roden seat and floor-boards.
The Eduard lower wing fit nicely, though it was necessary to cut some plastic away, as the Roden kit's wing piece mates very differently than the Eduard kit's does. But as a matter of size and fit, there was very little work needed to bring them together.
The little wedges on the underside are to blend in the center fuselage portion of the Eduard with the wider fuselage bottom of the Roden; as you can see, there is little difference at the front, but an appreciable difference at the back.
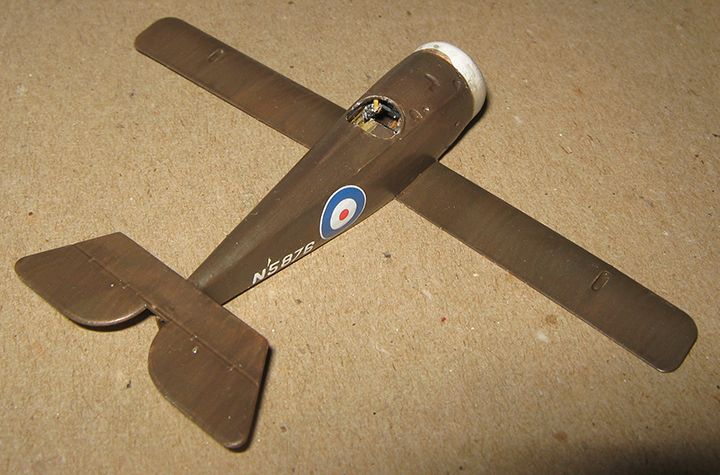
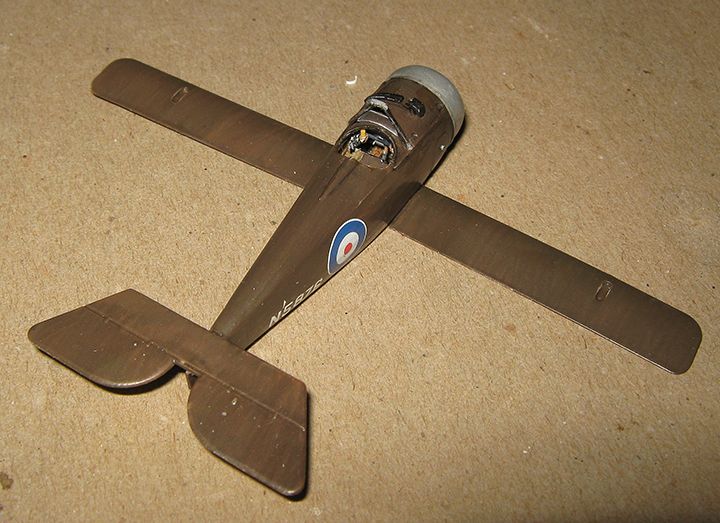
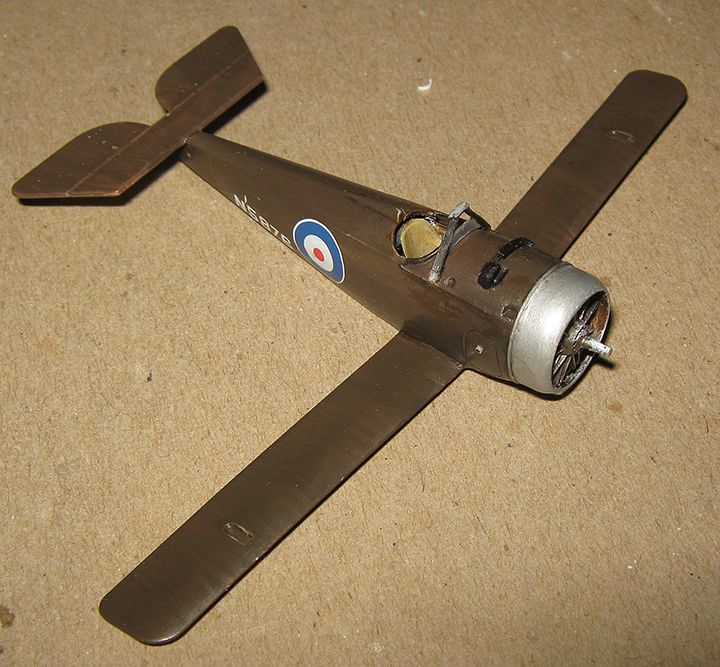
Next was the motor and cowling, and the tail-plane, and with this in hand, starting to add some color.

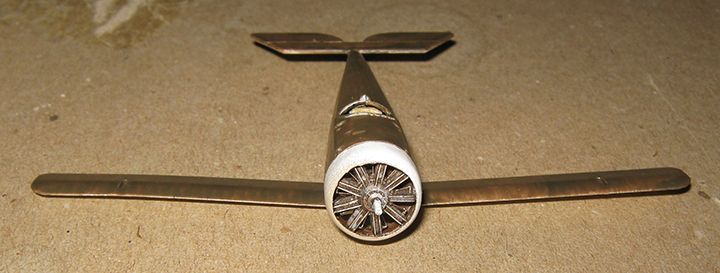
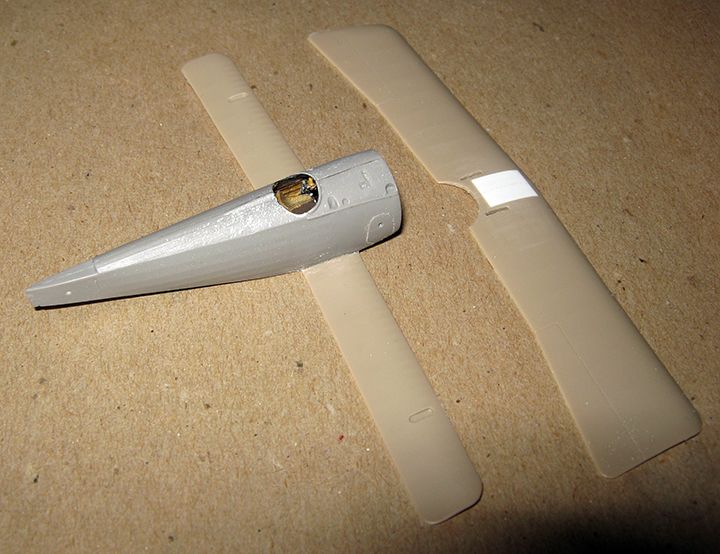
The cowling is from the Eduard kit. Its chord has to be reduced a good deal, and its mouth opened out a little, and outlets for oil-exhaust cut in. A little preparation is needed to fit it to the nose of the Roden fuselage, but no more than is advisable for fitting it to the nose of the Eduard fuselage. It was thinned out considerably on the inside, which led to my adding a bit to the lifters on the motor.
The Roden Clerget is a little gem (the N.17bis used a Clerget motor), with the push-rods placed properly and even spark-plugs moulded on. I added ignition wires.
I am using the Roden tail surfaces here, not the Eduard (the Eduard do fit, however). Because the Roden fuselage is for both 24/27 and 24bis types, a little inset is provided to extend the turtle-back aft to meet the old style tail-plane; this is a bit of a bother but no real problem.
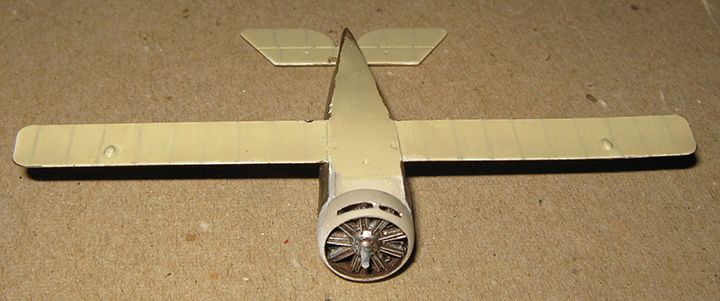
This is what my painting method looks like about half-way through, at least on the upper surfaces (the unders are pretty much done). Two coats heavily thinned with Future have been brushed on over the white primer. The first was decidedly brown, the second decidedly green. Once dried a bit more they will be gone over with a polishing pad, and further coats, alternating green cast and brown cast, applied.
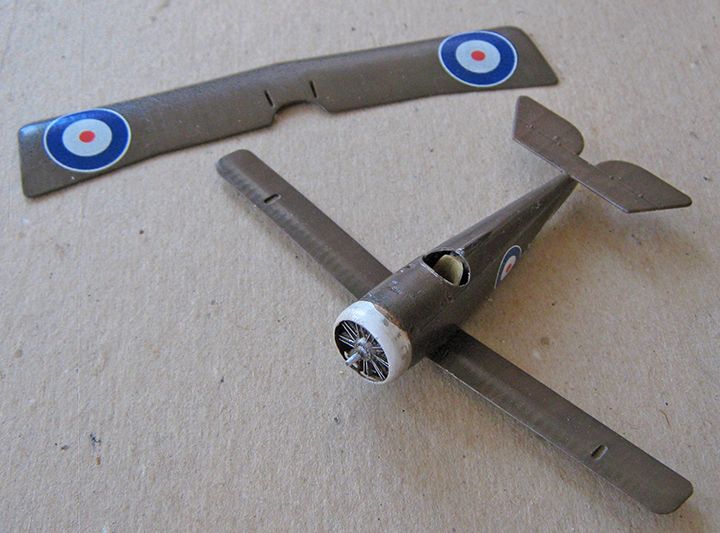
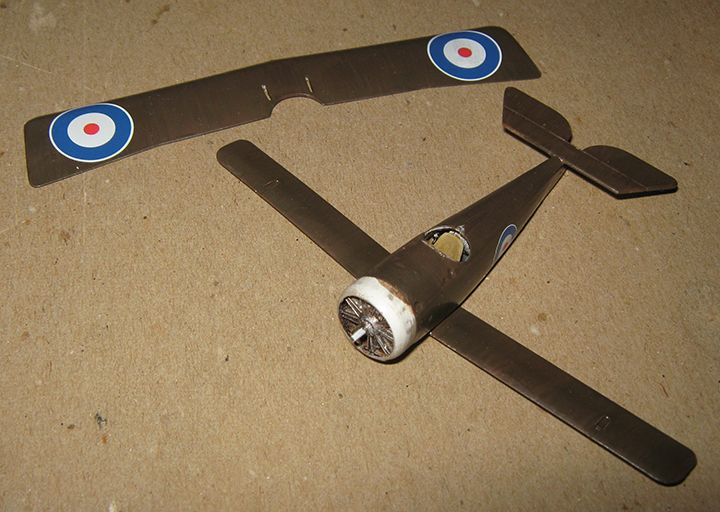
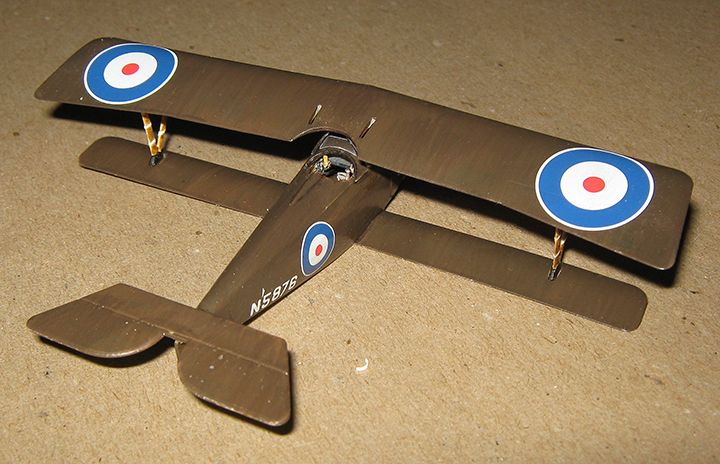
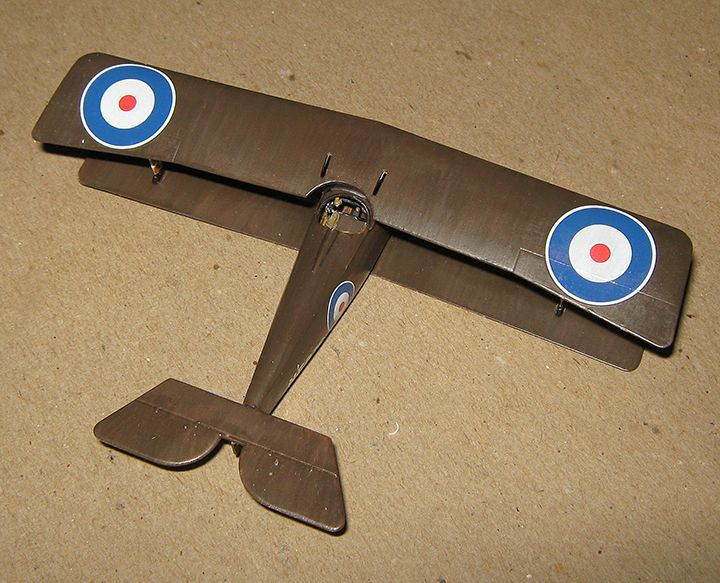
With basic painting complete, decals were added. Pictures are presented in both natural light and flash, by way of illustrating how variable the appearance of a P.C. 10 finish can be. Since this machine was both late-war production and long in service, I have gone for a more brownish shade....
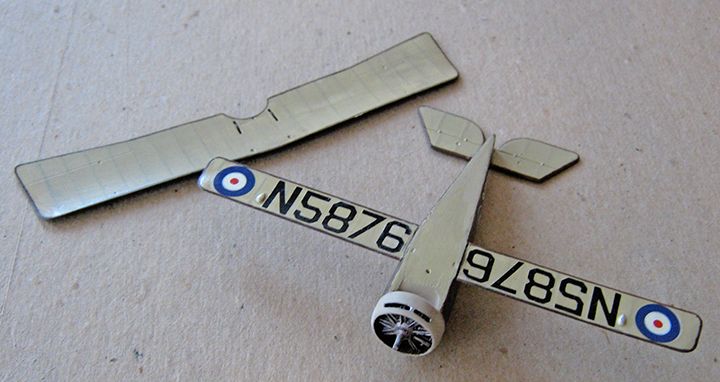
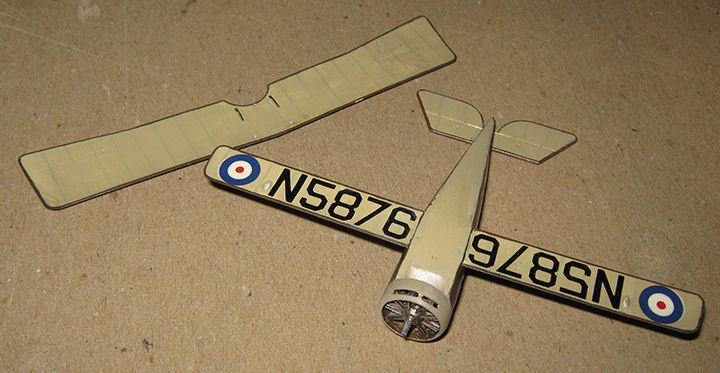
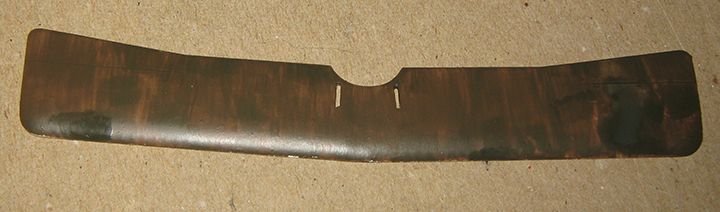
Under-wing serials were encountered on training machines late in the war, and this machine ended its carry in an RAF training unit at Old Sarum, where a photograph shows the under-surface of the lower wing.
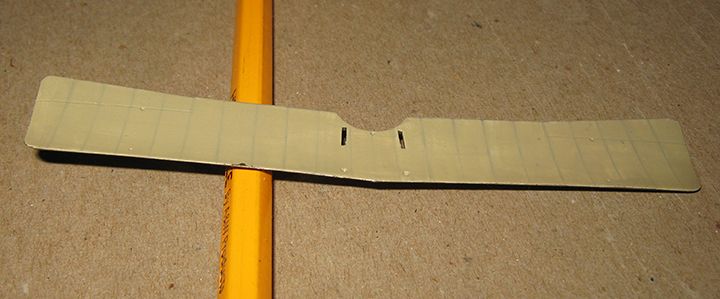
The serial style and positioning here is also from a photograph taken at Old Sarum; it is not usual. The apostrophe was originally an indication a machine had been re-built or assembled from parts of various machines at a depot, but I have seen a number of pictures of machines delivered in 1917 which I know were not rebuilds which had this marking, so there must be a bit more to it. The serial runs are home-made (both wings and fuselage), from dry-transfer put on clear film.
Now the wind-screen and inverted 'V' cabane is in place, as well as a few more details, and the struts have been added to the upper wing. I used the Roden cabane 'V', as it is noticeably more substantial than the Eduard, and so easier to work with when getting the scratched windscreen in place.

Here are a couple of 'pre-view' pictures with the upper wing resting more or less in place....
The Roden cabane is a hair too high (or perhaps I just managed finally to get the Eduard interplanes to go all the way into their sockets in the lower wing), so the alignment in these pictures is not quite right. I have since got the height in order with some careful sanding.
I hope within a couple of weeks to have the upper wing on, and the undercarriage and rigging completed as well.

