Thanks sp & Terri. Sp, I will check on the brand of this jig, but there may be better ones out there. I struggle with this one because I find it difficult to make fine adjustments because every pivot point is secured by a Phillips-head bolt and nut, meaning you need to insert a large screwdriver to make certain adjustments, which I find to be very limiting and bothersome, particularly with a model in harness (so to speak). I will let you know as soon as I can check it, assuming it is marked.
Well, speaking of jigs and wings, I managed to get the top wing on without too much trouble, and the cabanes added as well. I tried a different approach (for me) and it worked pretty well. After drilling rigging points and adding von Buckle's eyelets and some of the EZ-Line rigging, I glued the main struts to the underside of the top wing and used templates to get close to proper alignment. After letting them dry overnight, I place the top wing on the jig supports and slowly lowered it into position with the strut wires close to the pre-drilled holes in the lower wings, then used tweezers to push them in, with a drop of CA following to secure them and a touch of craft glue to reinforce the joint. After that dried, the cabanes were added with tweezers. All of this seemed to work, and here she is, ready for the rigging to be completed before the landing gear is added:

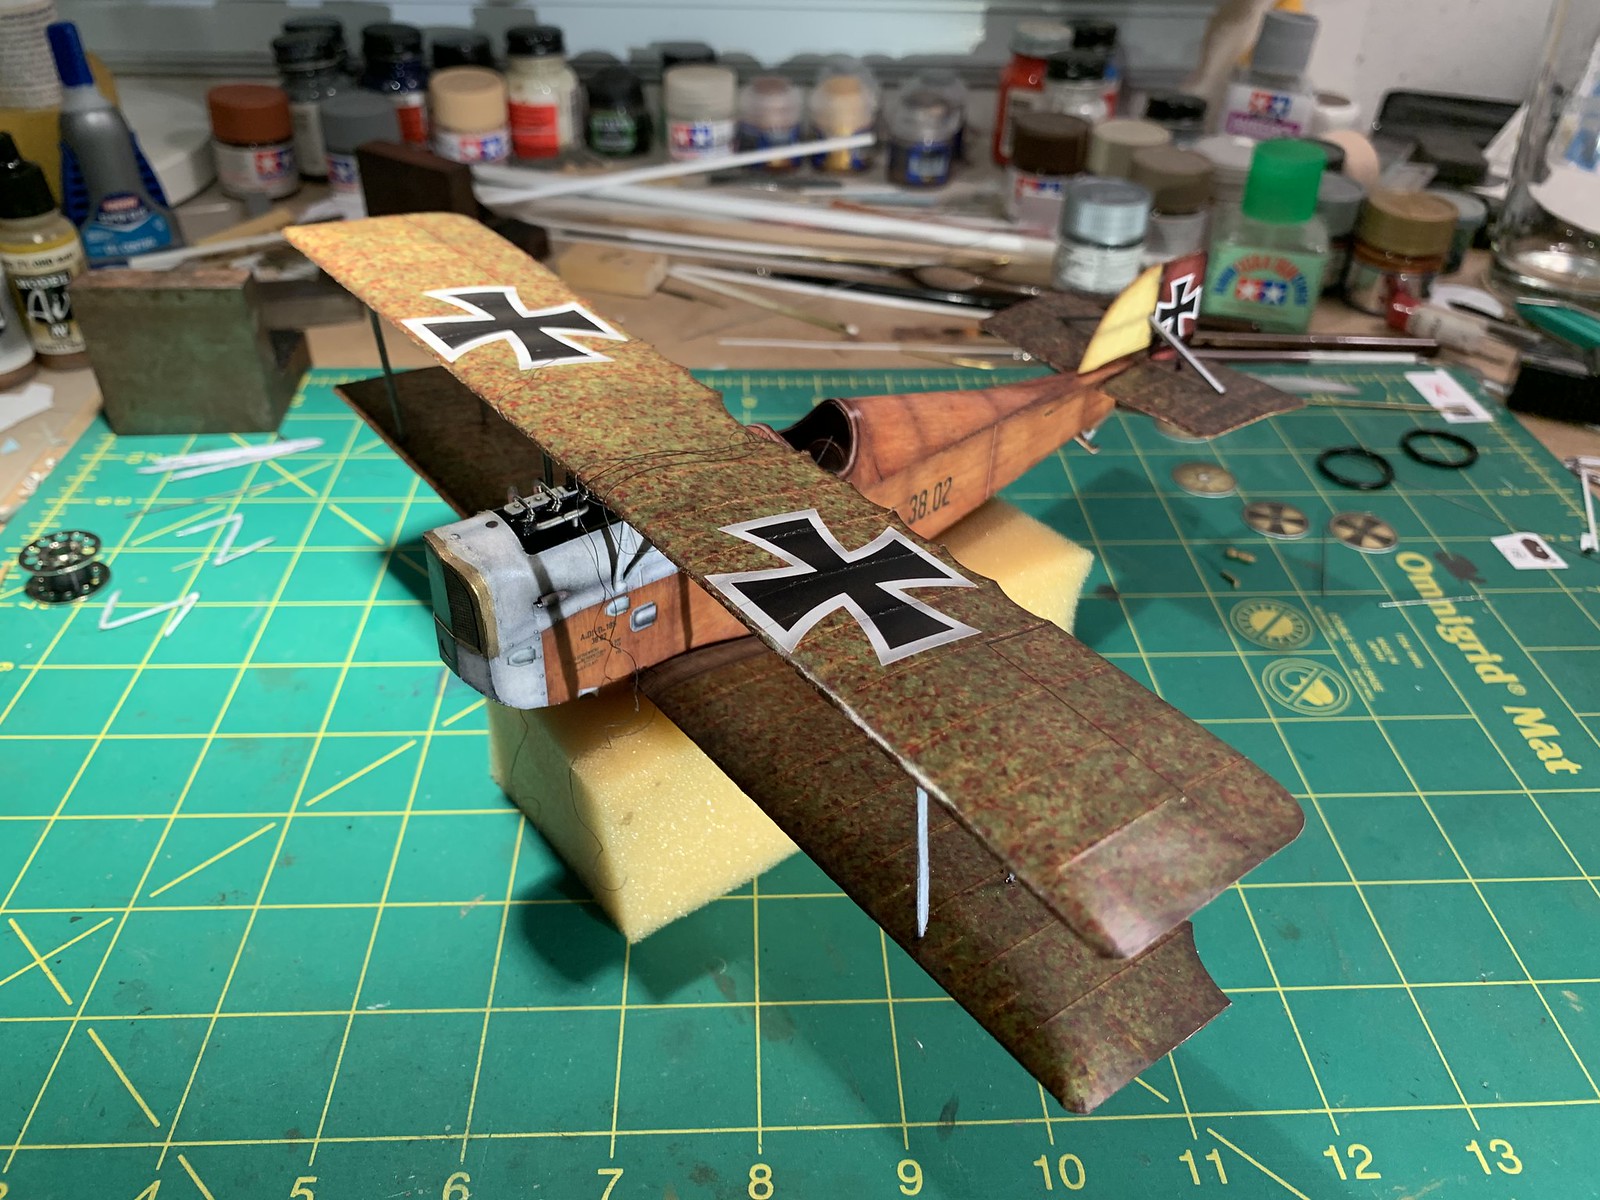
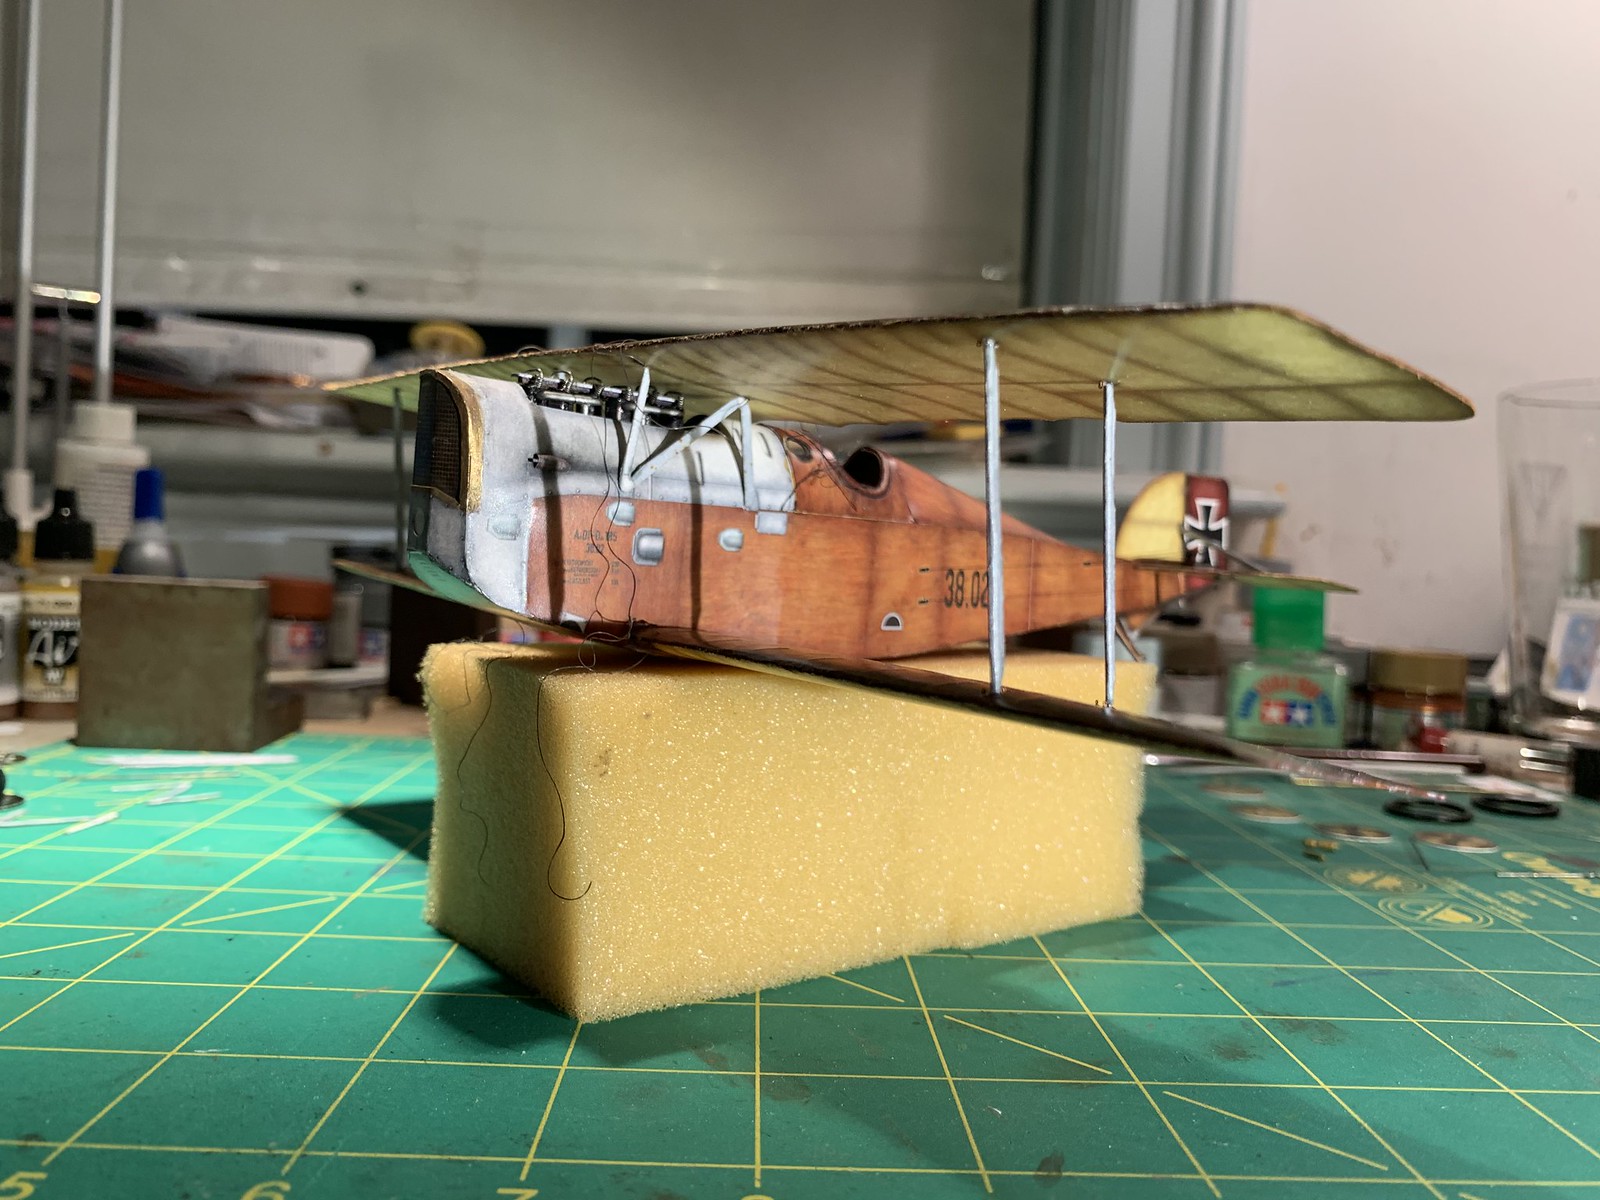
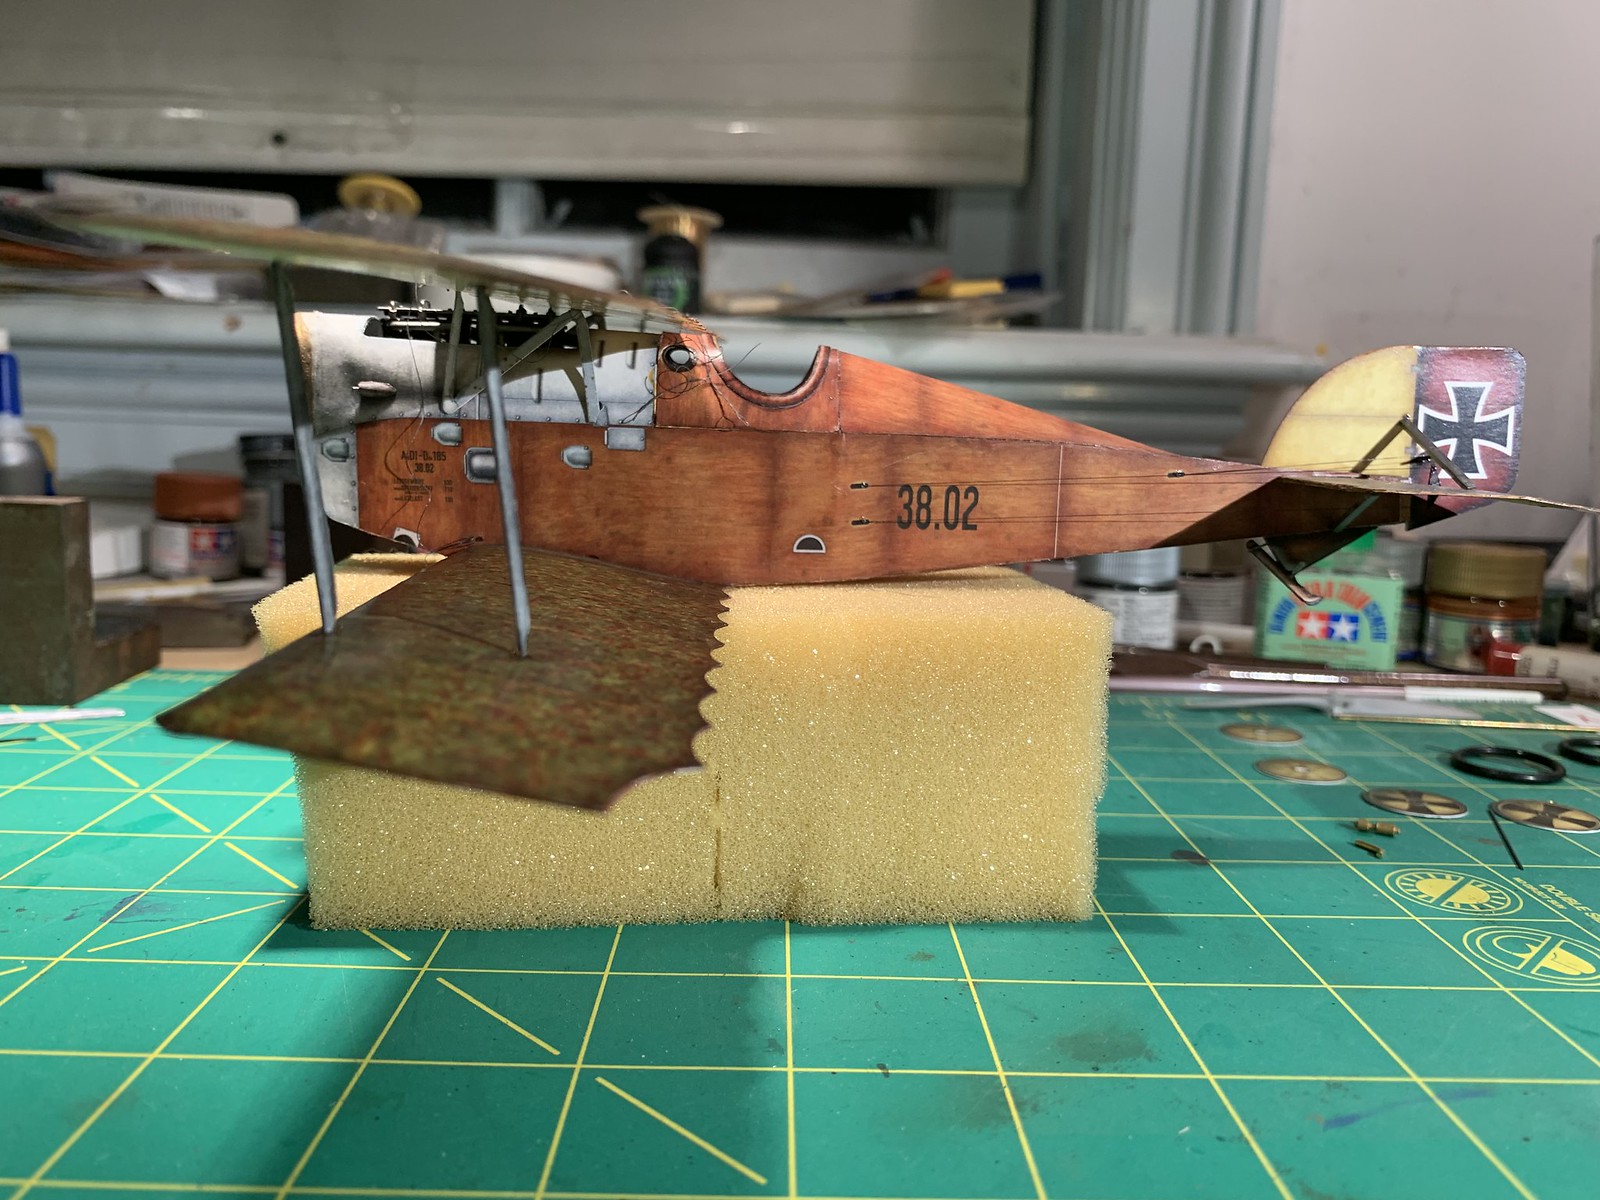


Looks within tolerance to me, although the wing cutout in front of the cockpit could probably sit a bit higher. Remember my original thought that the first set of struts was too short? Well I was wrong and the longer struts I made were way off, so I went back to the originals. They work pretty well actually, but some prior misstep likely leaves them just a tiny bit short. Or maybe it's just my imagination. I'm satisfied with it though, and like the overall look of the aeroplane.
Now, finish the rigging and then on to the wheels and langing gear assemblage. I am going to try using the kits paper wheel inserts, but with rubber O-rings for the tires (you can see them on the bench in some of the photos). We'll see how I make out with that. I am not pressing my luck with the prop, and have already located a suitable plastic stand-in from the parts box. Until next time,
Cheers,
Bob

