Firstly Thanks, Bo, for the Supafilla info, I'll have to try it on my next project, or even perhaps on this one when I "close it up".
Next, another update, the Holiday Season is past and I've finally got a few hours in on the work bench.
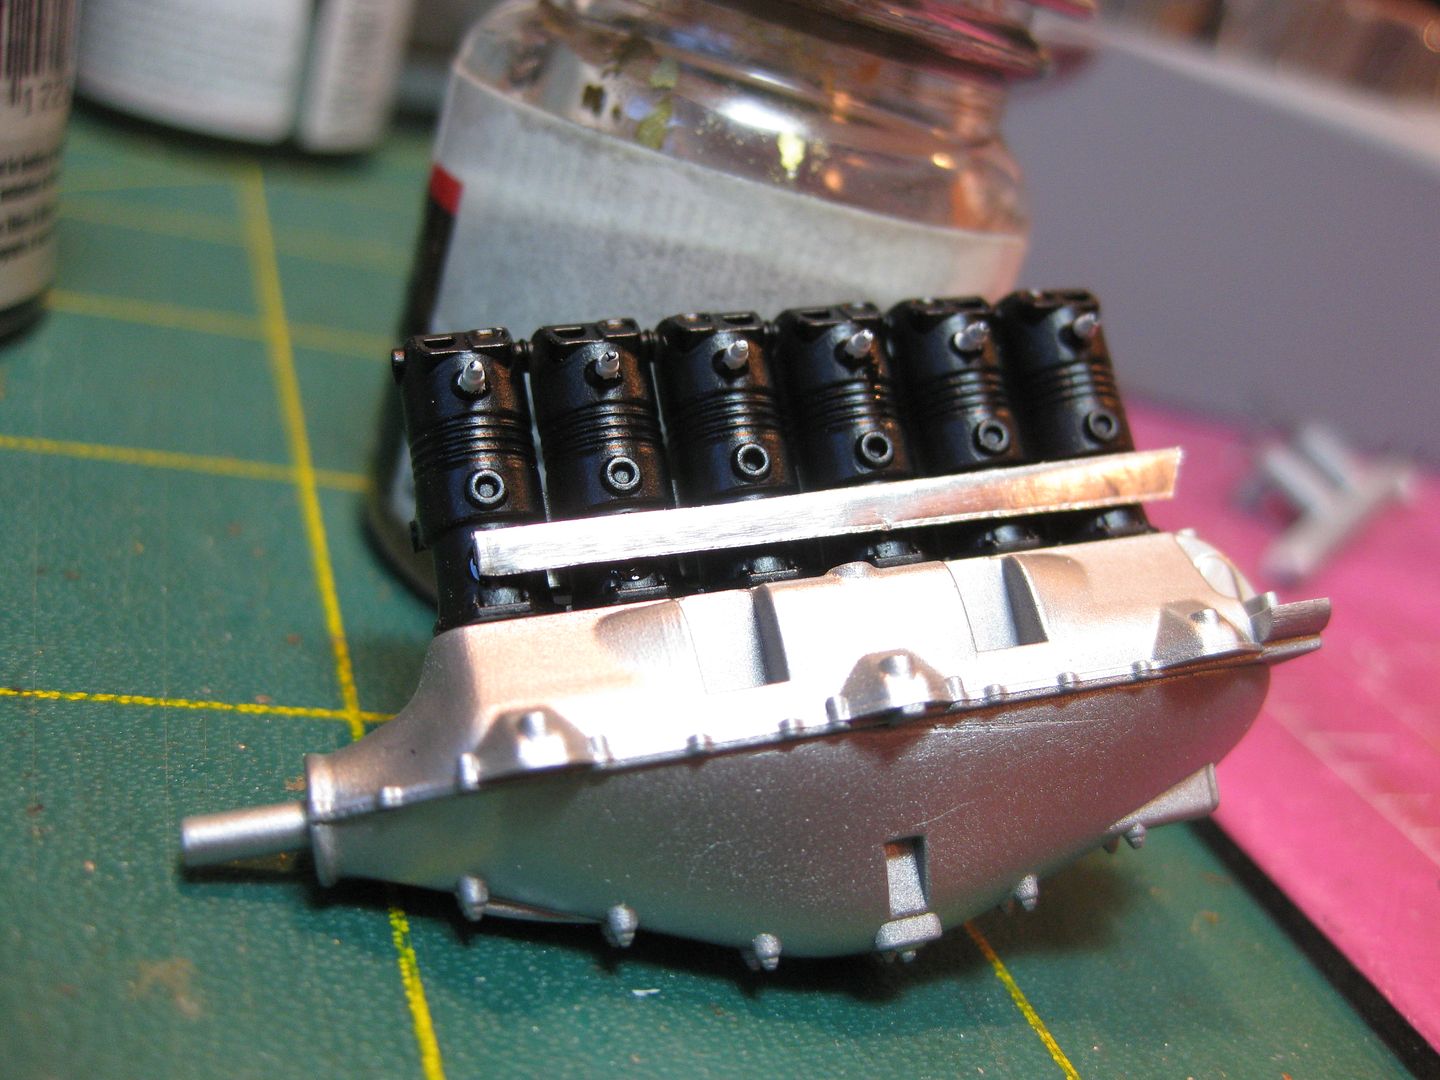
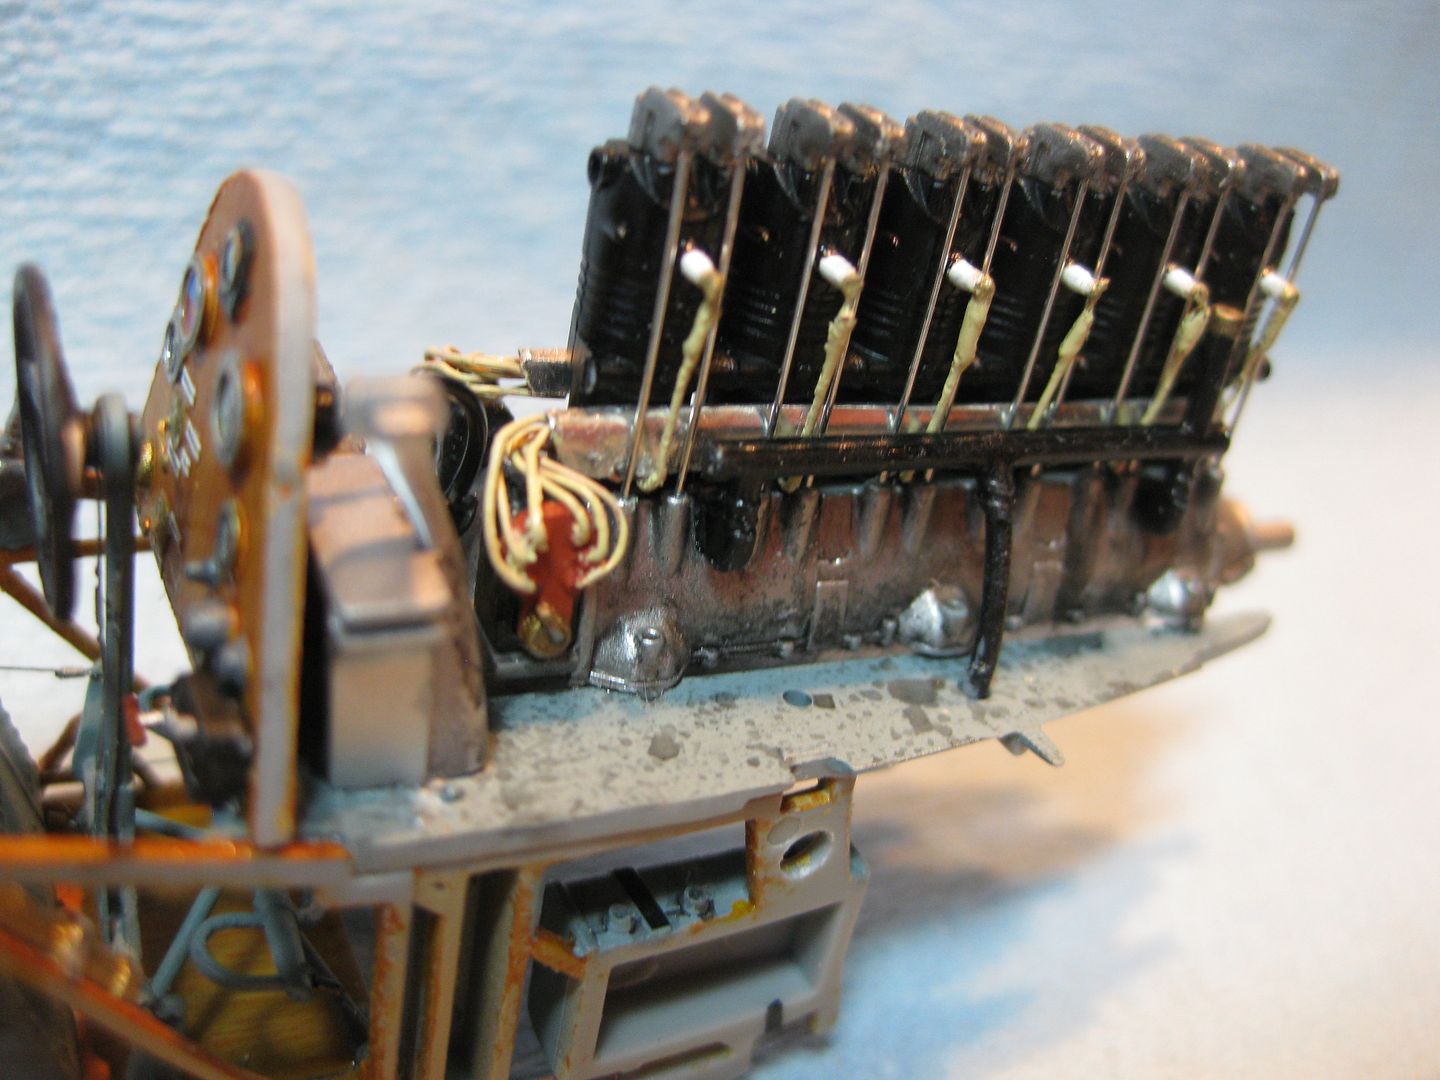
I completed the Benz III engine electing to use the optional Part E7 for the right side of the cylinder bank and add my own stainless push/lifter rods. Other additions are the ignition wires, the sheet conduits that route them from the distributers to their respective plugs, and the throttle linkage on the port side.
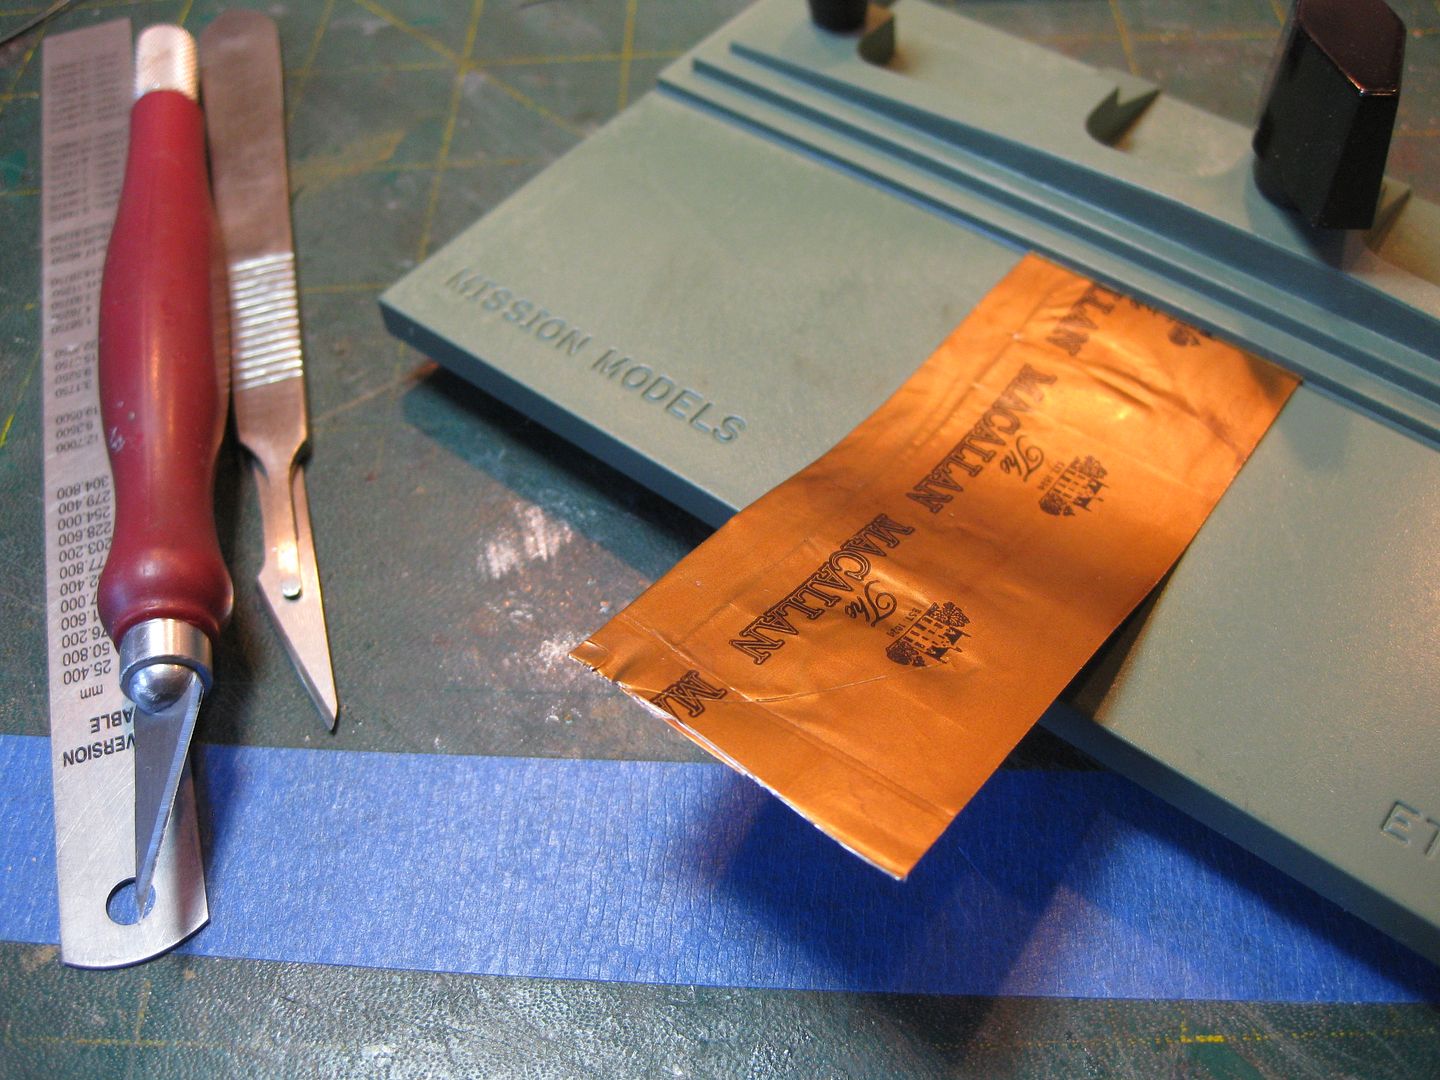
The wire supports/conduits were completed first from lead shrink seal from a Scotch Whiskey bottle, it's a toss up as to whether emptying the bottle or doing the prefabricating is more enjoyable! I used my Mission Models Etchmate with the guide reversed to do the bends.
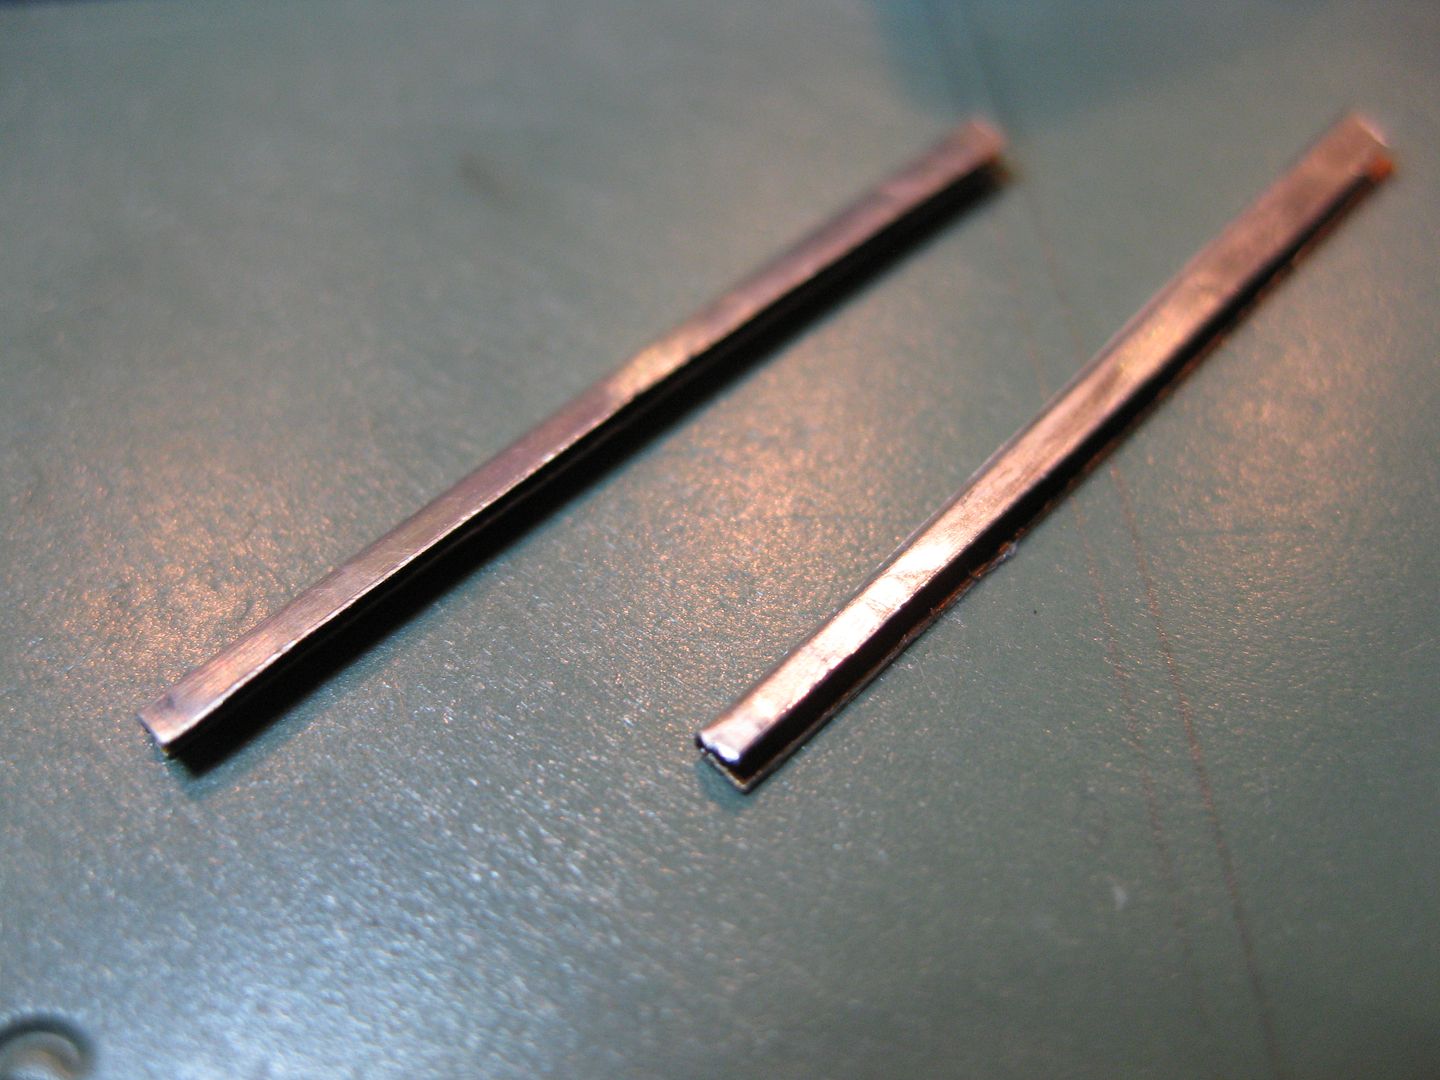
The finished products, and then installed.
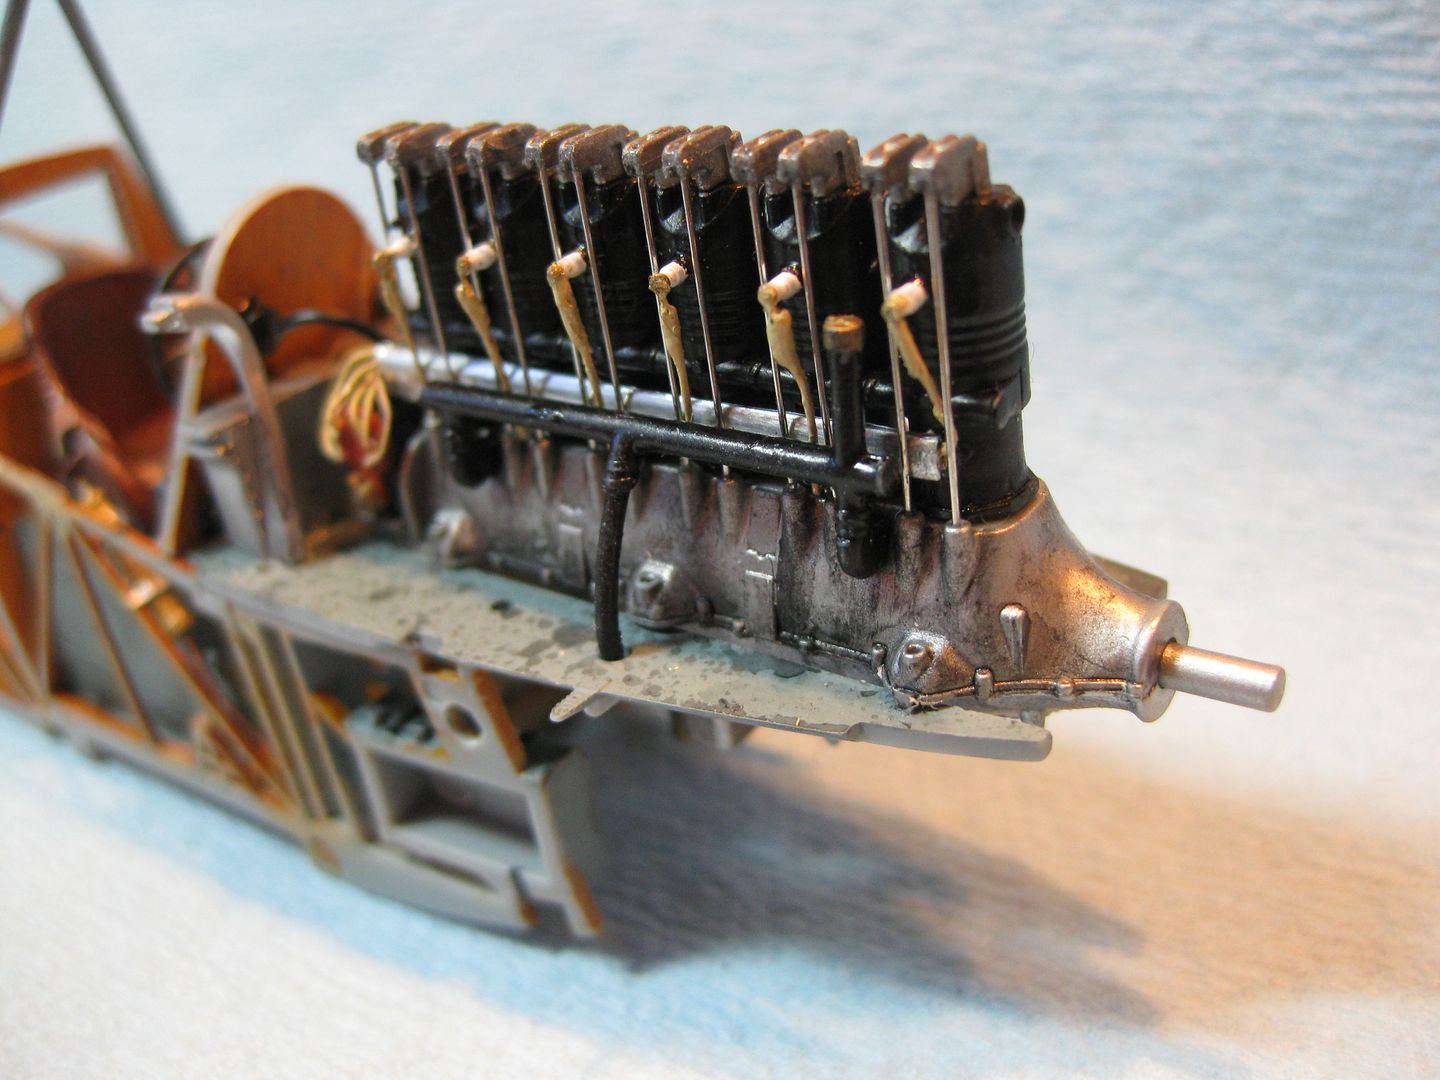
The intake manifolds were then added and the weathering of the engine started.
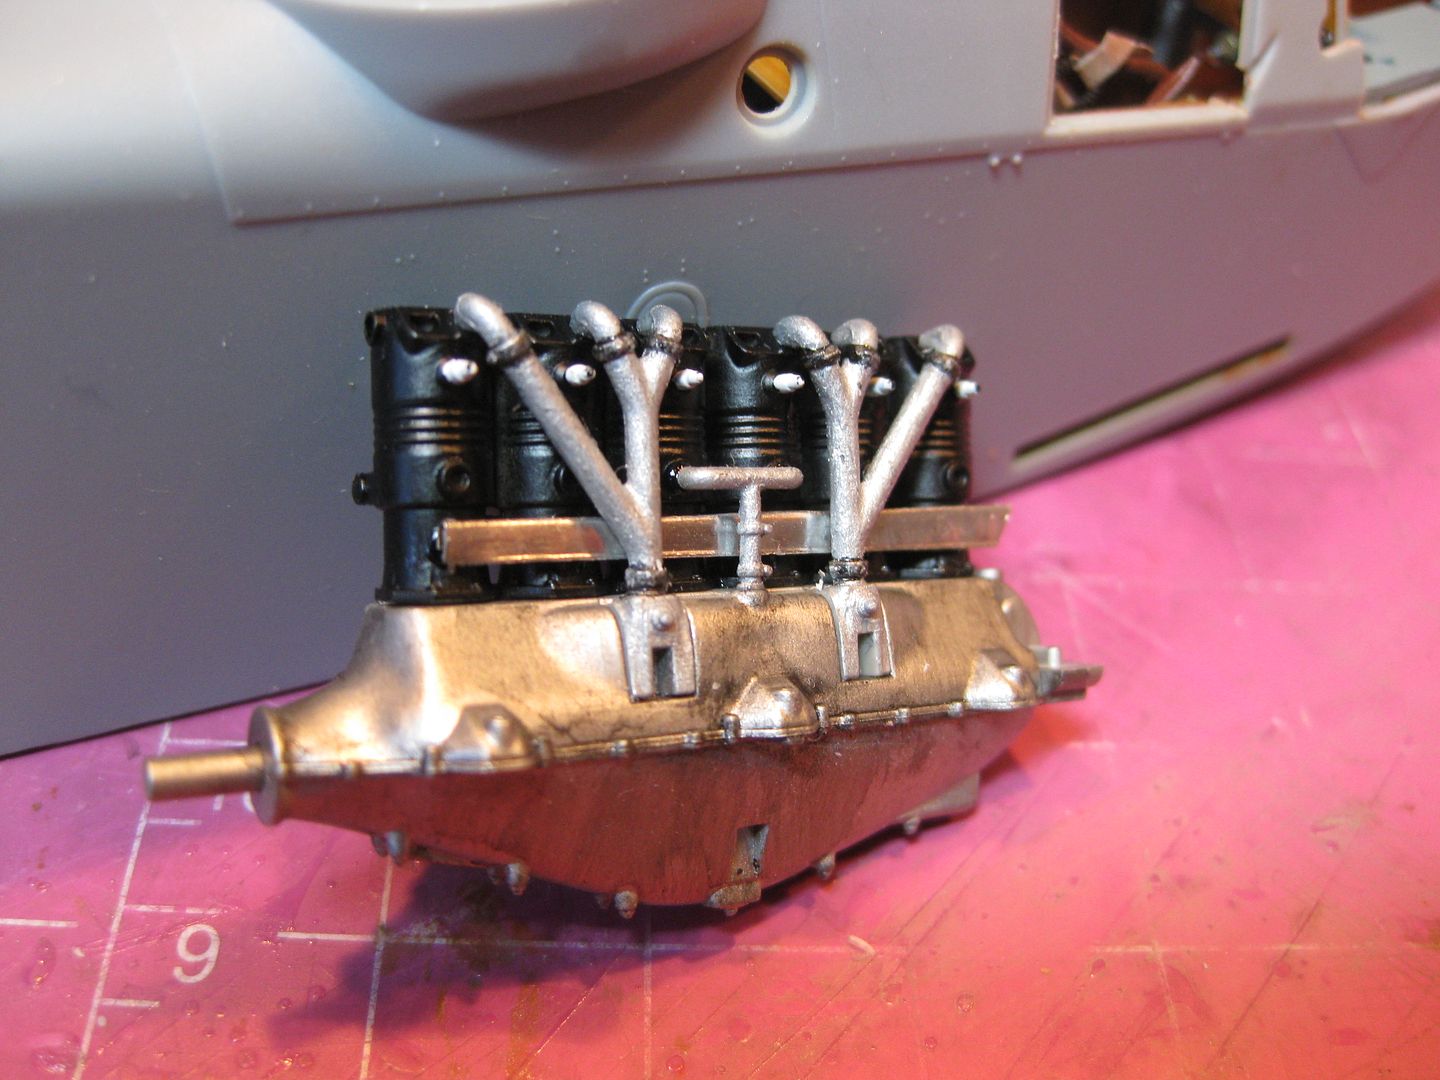
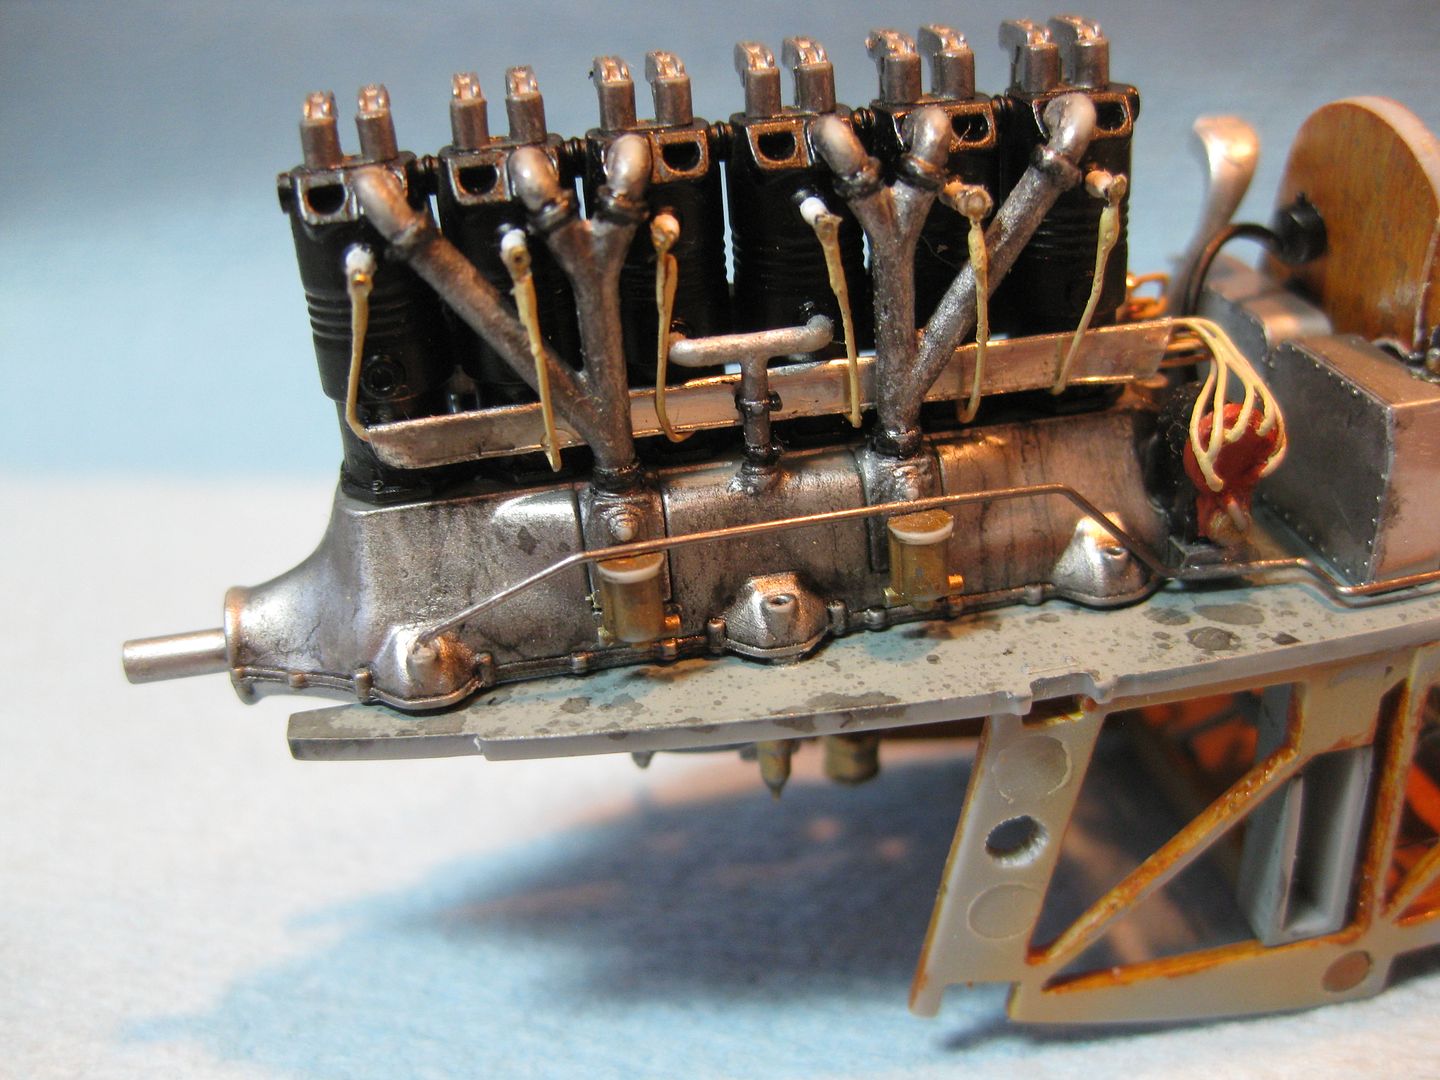
Next the ignition harness was added using salvaged copper wire and some scrap PE for plug connectors. The connectors are a little "rough" however they are mainly out of sight with the engine cowling panels in place. The Camera Machro setting reveals a few touchups required to the "plumbing".
The weathering of the engine is complete using several applications of thin black and brown oil washes. Some "oil" was also added to the engine bearer panels.
..... and finally the completed left side with the steel throttle linkage assembly added. This is an unashamed direct copy of the one Prze added in his build as I couldn't find any photos of the real thing. The Machro Mode is, as always, humbling regarding paint quality........and the bit of dog fuzz by Cylinder #5 has been removed!
I've got the floats together and will be working on the completion of the fuselage next.
Cheers,
Lance

