On to the cylinders.
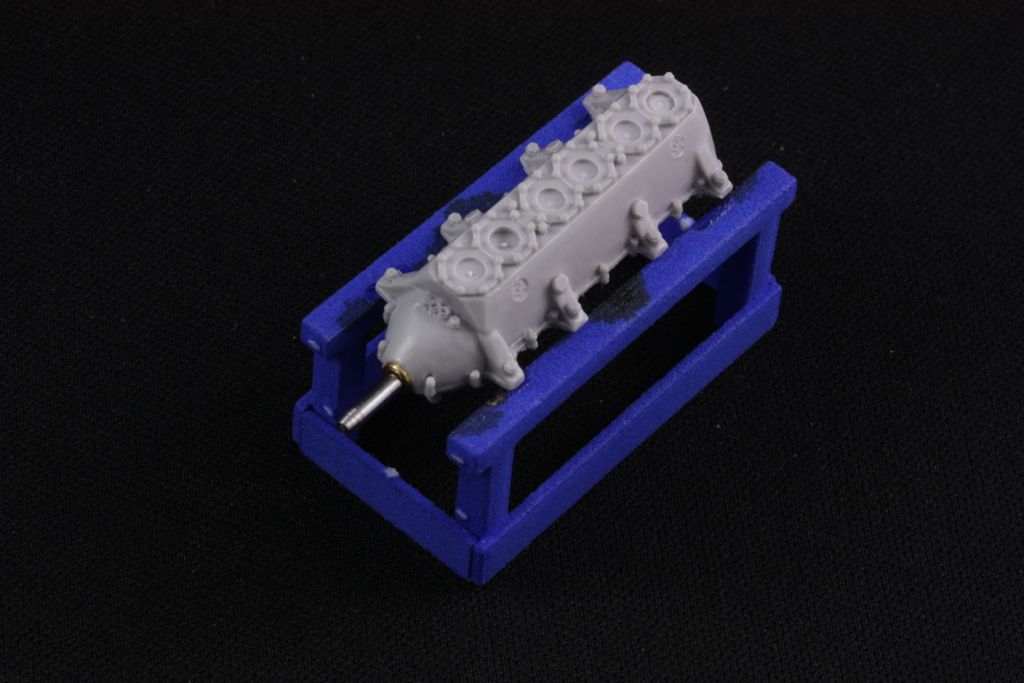
First, Ron recommends drilling a large shallow hole in the center of each cylinder bolt plate on the crankcase. The purpose is to help ensure the cylinders sit level & flush with the case. Now, this is not entirely necessary -- I can assure you these have been built skipping this step by both me & Ron and they were "fine" -- but it is helpful.
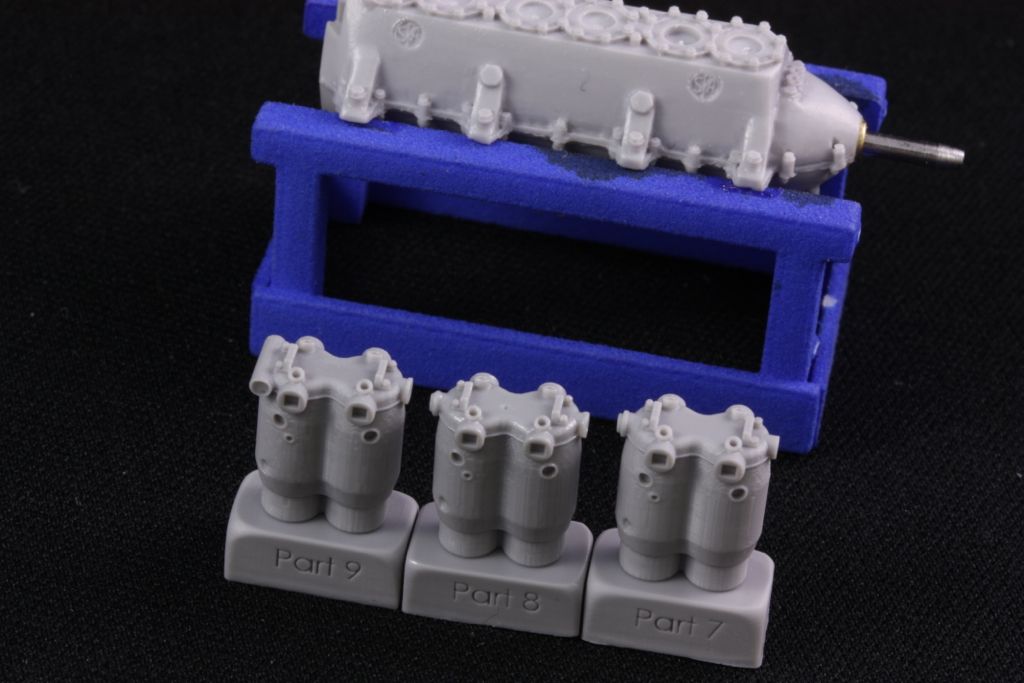
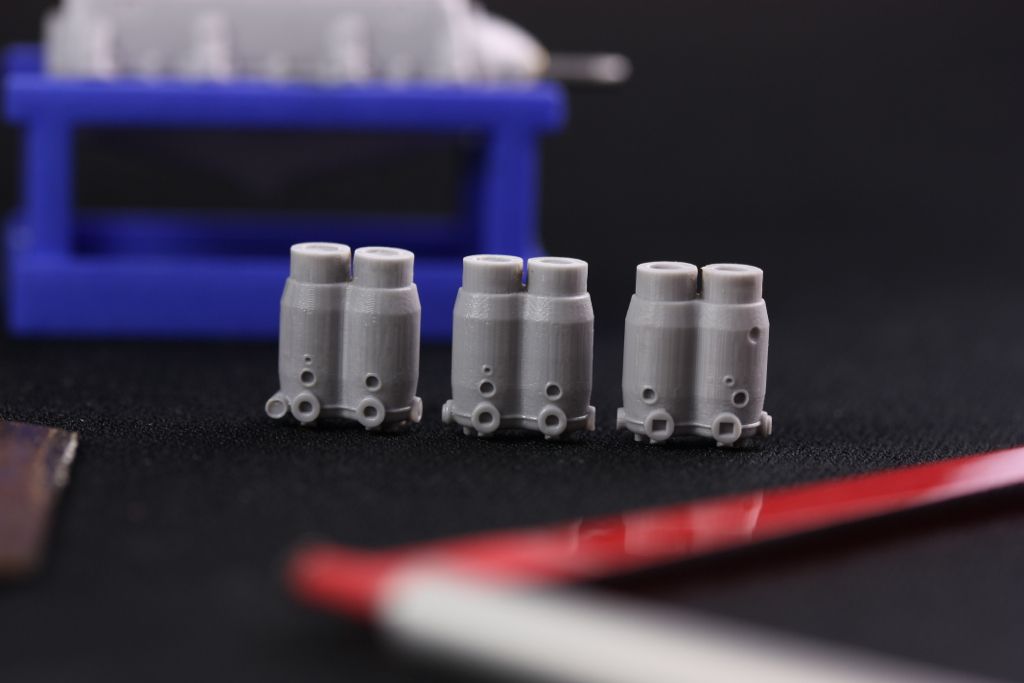
Now, note the order of the cylinder pairs -- this photo shows how it goes together. #9 is rearmost, #7, frontmost. Note too that the exhaust side ports have square holes.
Take your time separating the cylinders from the casting block -- neatness counts here! It might be time to finally replace that dull, bent razor saw blade that you've had out on your bench for the last 4 years with a fresh one.
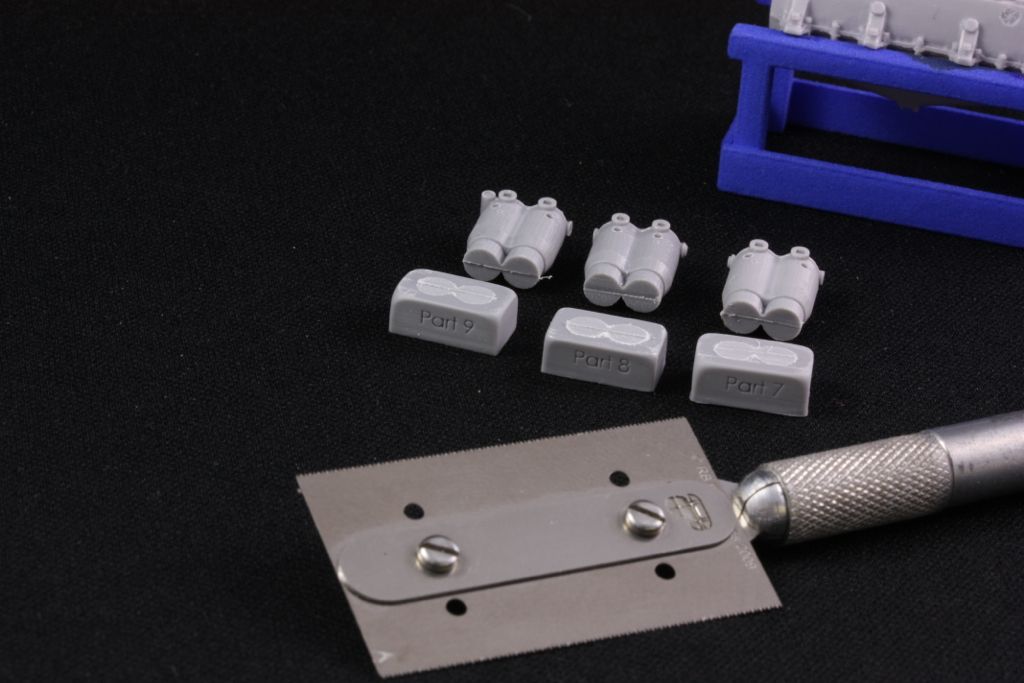
Like the crankcase, the bottoms of the cylinders can be drilled with shallow holes. This makes leveling them easier -- no material in the middle to remove which means they are less likely to get rounded off when you sand them.
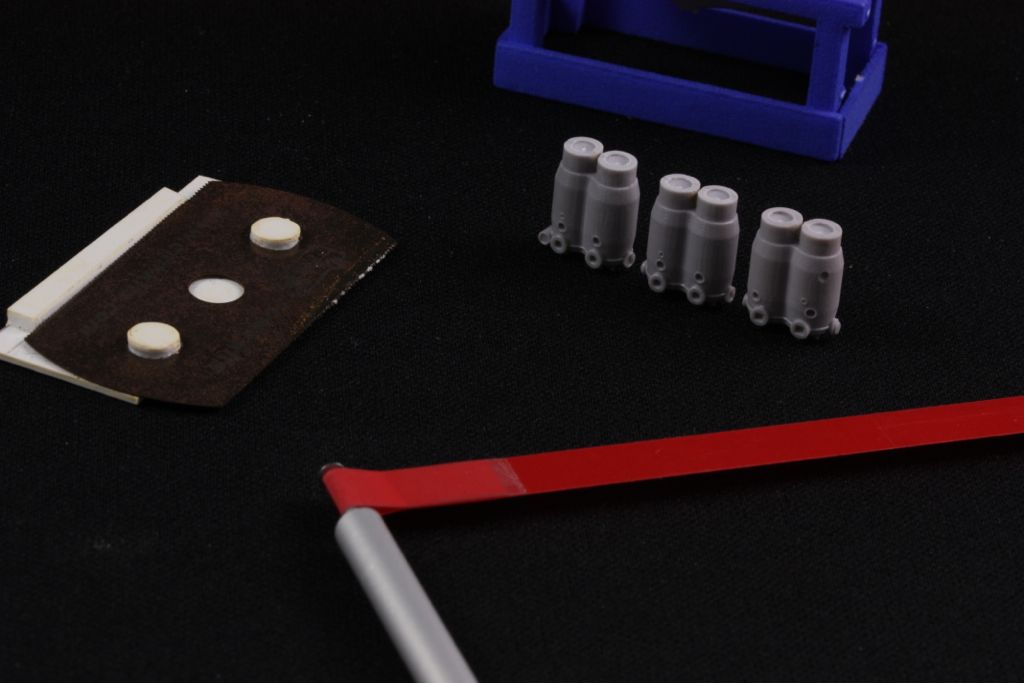
Note that you should open up the space between the cylinders below the jackets. I use a simple tool that I made to hold several saw blades together (in prev photo), this way I can cut notches of precise widths. The bow sanding tool is used to clean up the work:
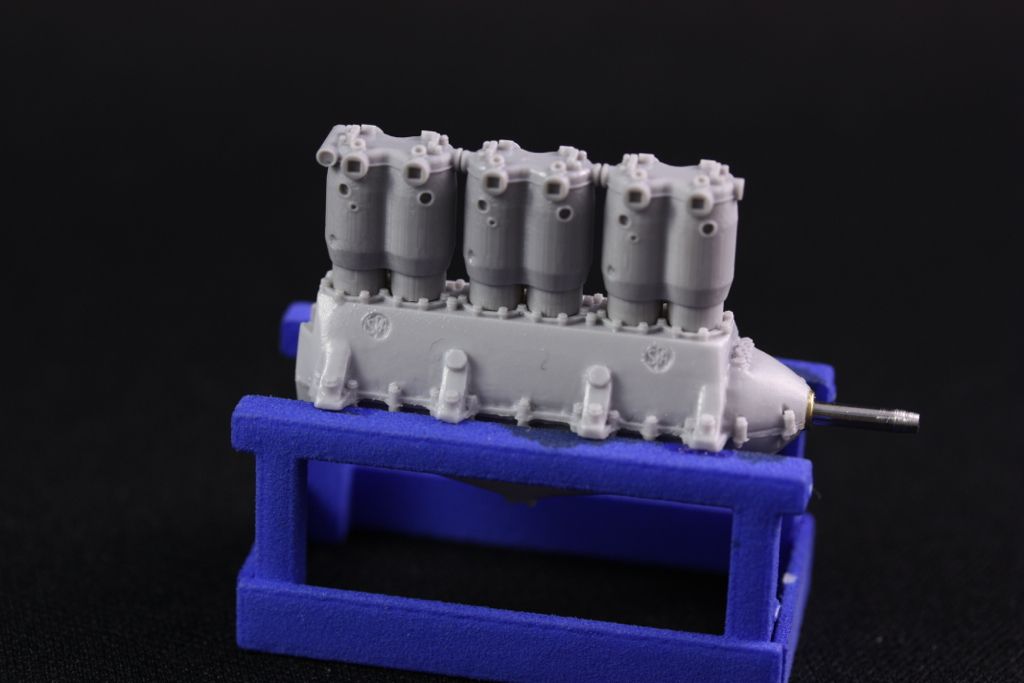
First dry fit is pretty good! It's worth spending time getting the cylinders as perfectly aligned and level as possible, this will make your life easier later...