I have just started on this model, with Pheon decals on the way to do a Black Flight version "Black Sheep" N5376.
This is nothing to do with any particular pilot, more I like the appearance. I am leaning towards "Black Sheep" as that was/is the name of the brewery operated by the Theakston family after their original one was sold to S&N. To me, that's as good a reason as any to choose a certain finish!
Thanks also to Rowan for further advice on correlating the options in the WNW kit to N5376, as the main box does not have a similar aircraft in its offerings. N5376 was a Clayton & Shuttleworth built aircraft with one machine gun.
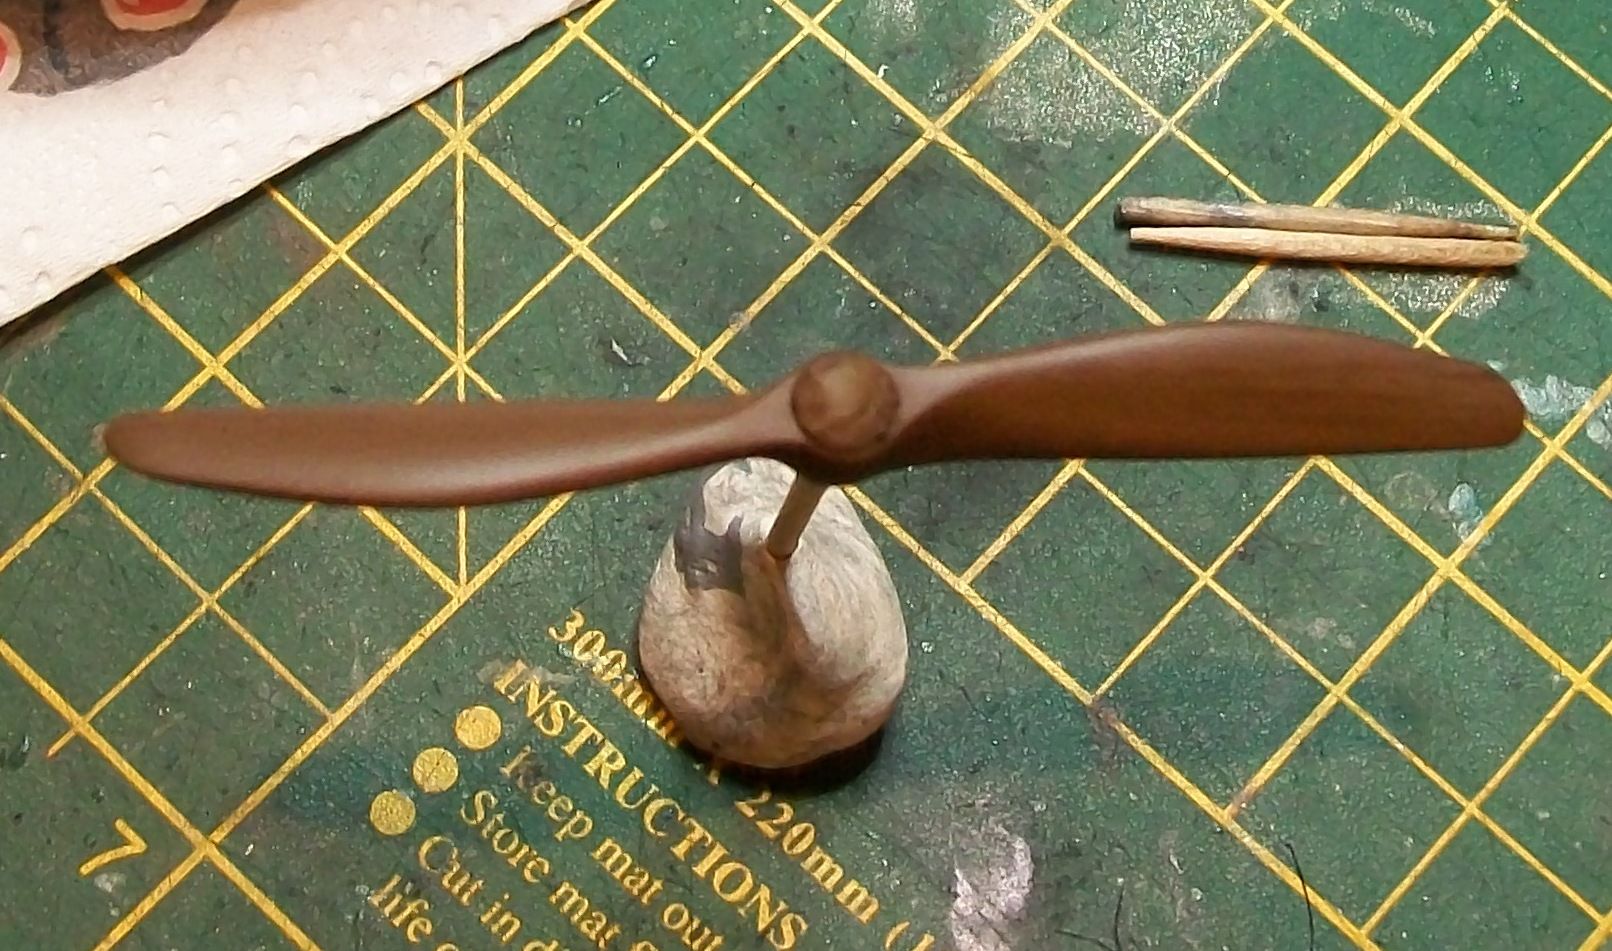
As per my usual habit I start with either the seat or the propeller. In this case, the prop. I understand that whilst British props were laminate in construction, they were not made of dissimilar woods, therefore (in model scale) it would be almost impossible to discern the laminations with same colour woods. I have used a dark earth base coat then an oil mix as shown below. The oils need their week to dry before the klear is applied.
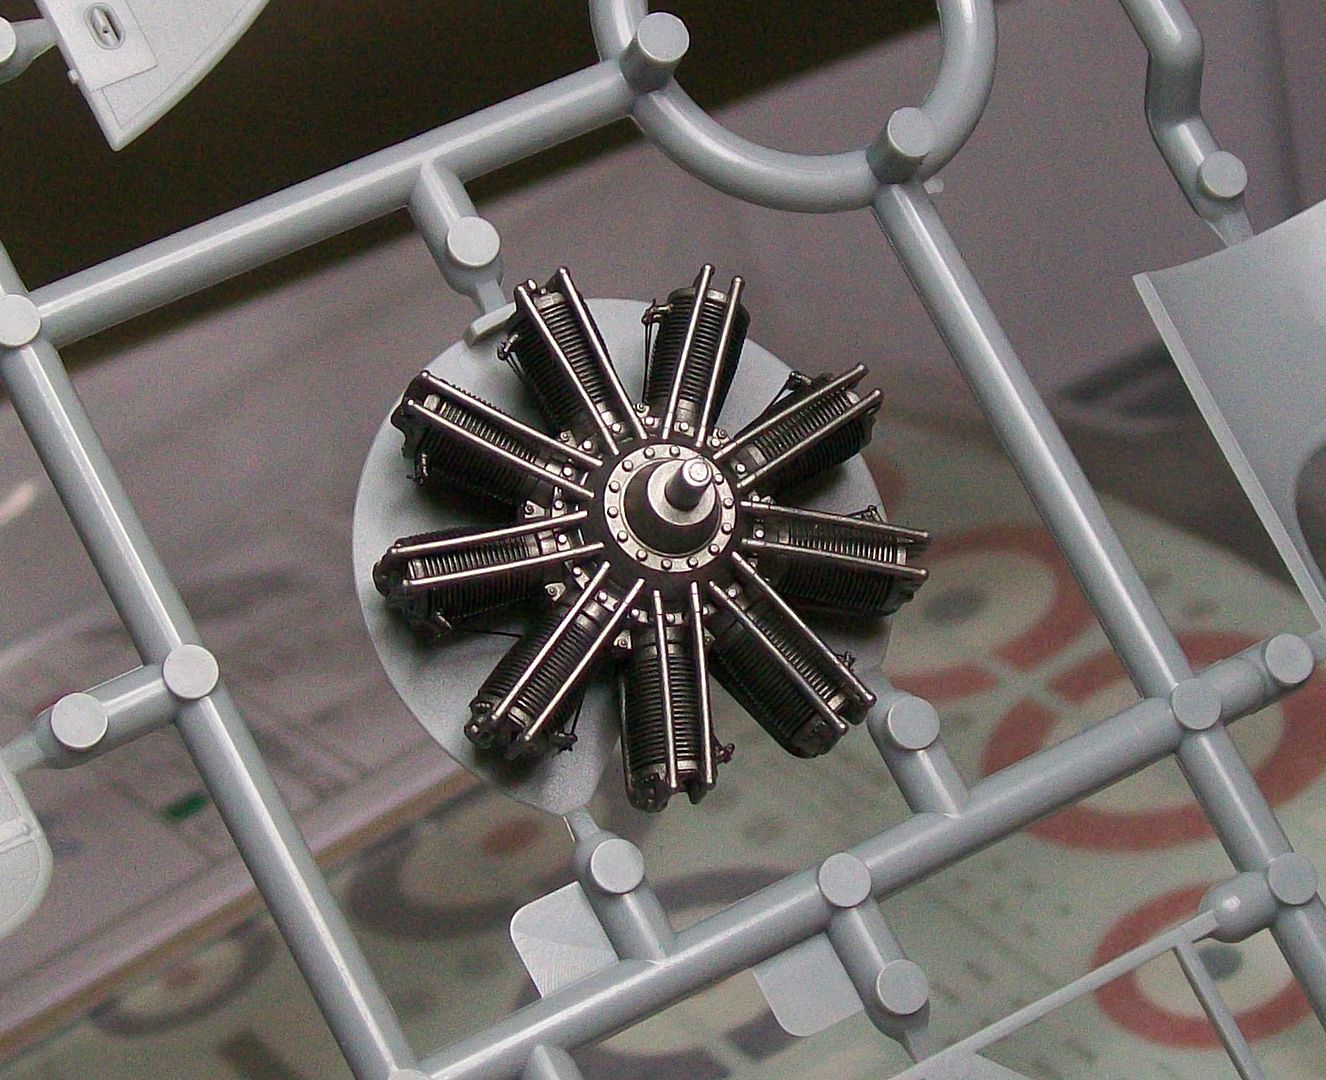
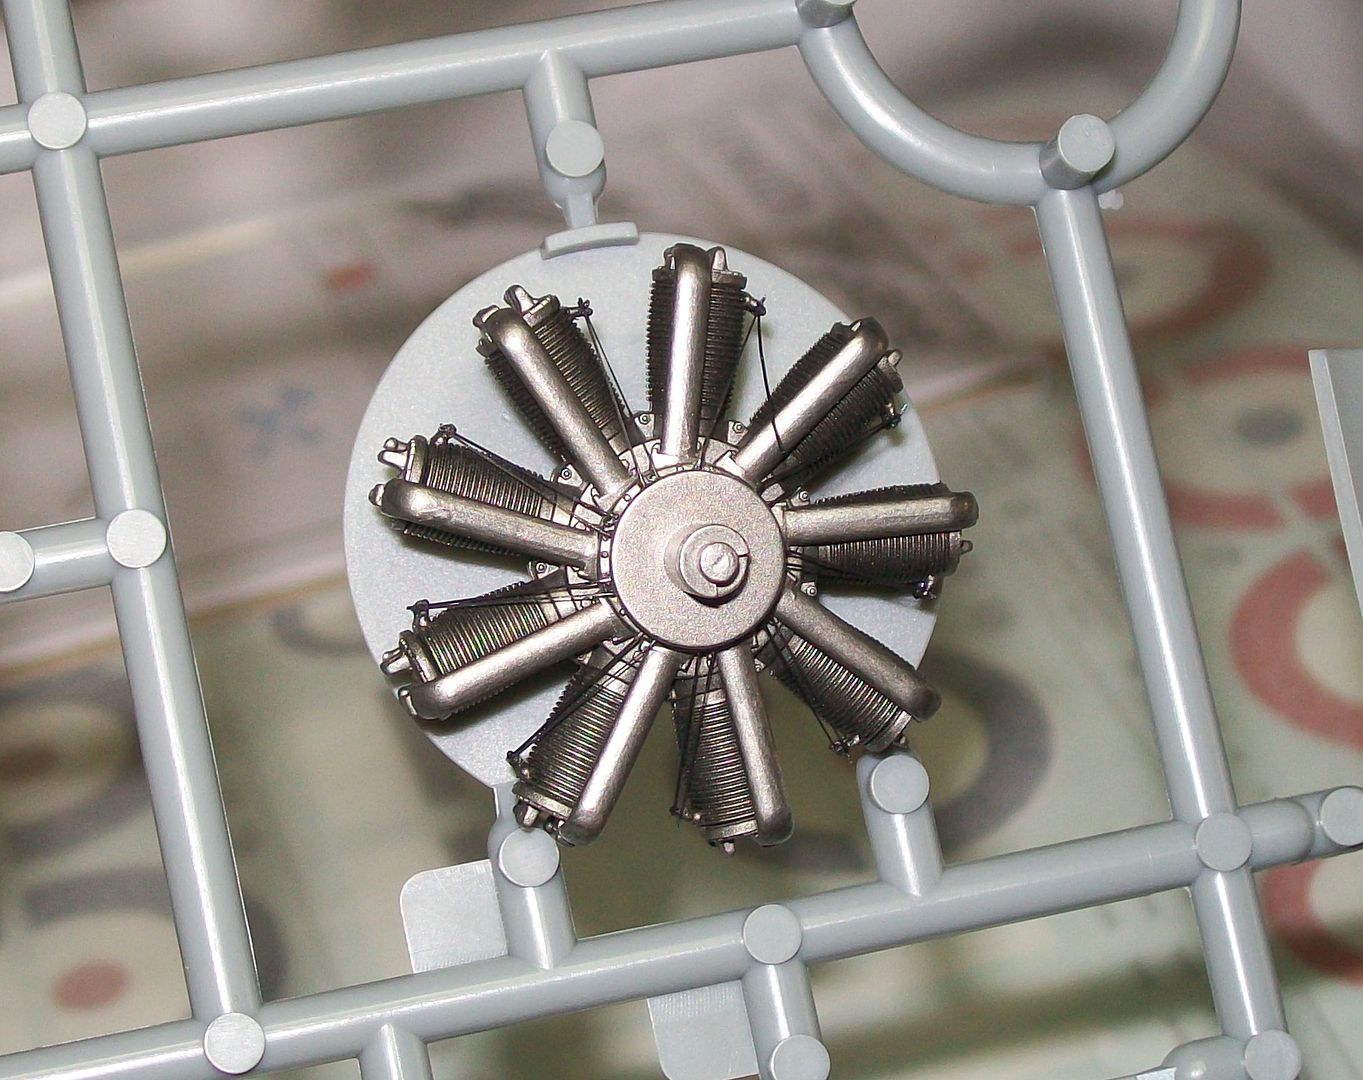
Then I made the engine, which in this kit is mainly very simple to assemble. I painted the components with Mr Metal stainless, with a thin coat of dark iron on the cylinders. I first used invisible thread painted black for the plug cables, but they were too fragile and I lost 9 of 18. so today I replaced them with EZ Line which took the CA much better - one line has come off at one end, as seen below, but I can correct that later. There is supposed to be a brass collar (?) at the base of each push rod, but I found that too difficult to paint successfully, so rather than have a messy result, I stripped the component and just painted it all steel. Here the engine sits on the firewall on the sprue just for the pics.
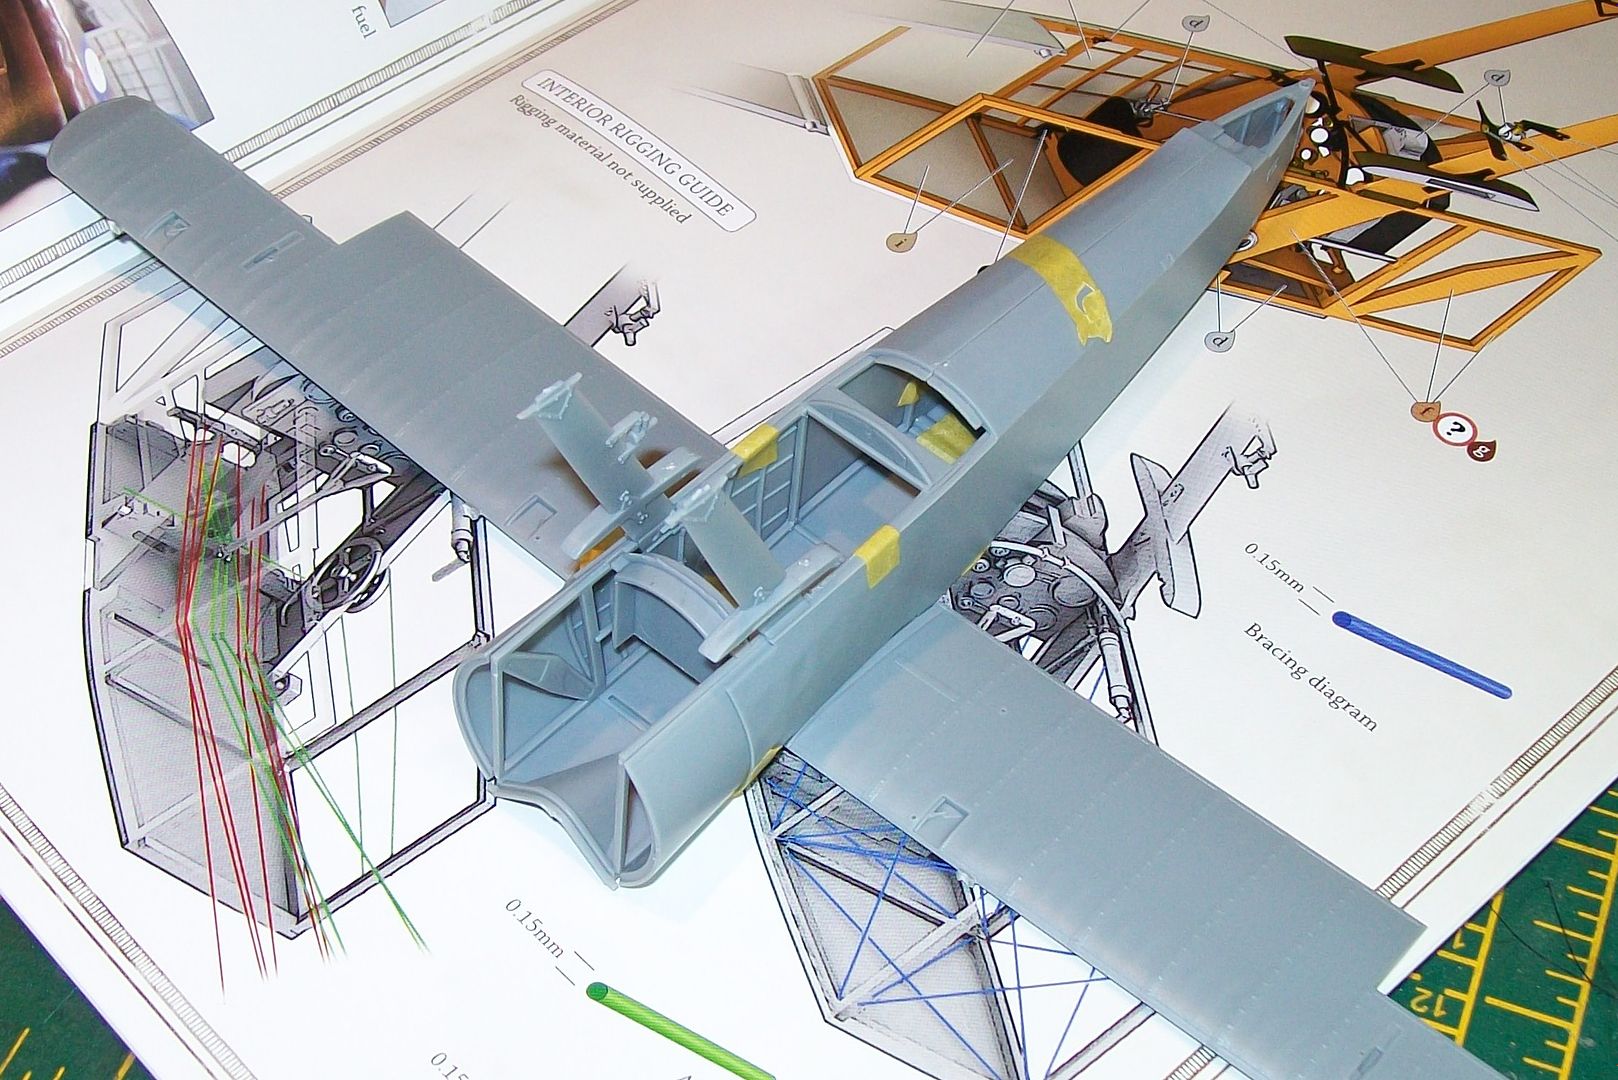
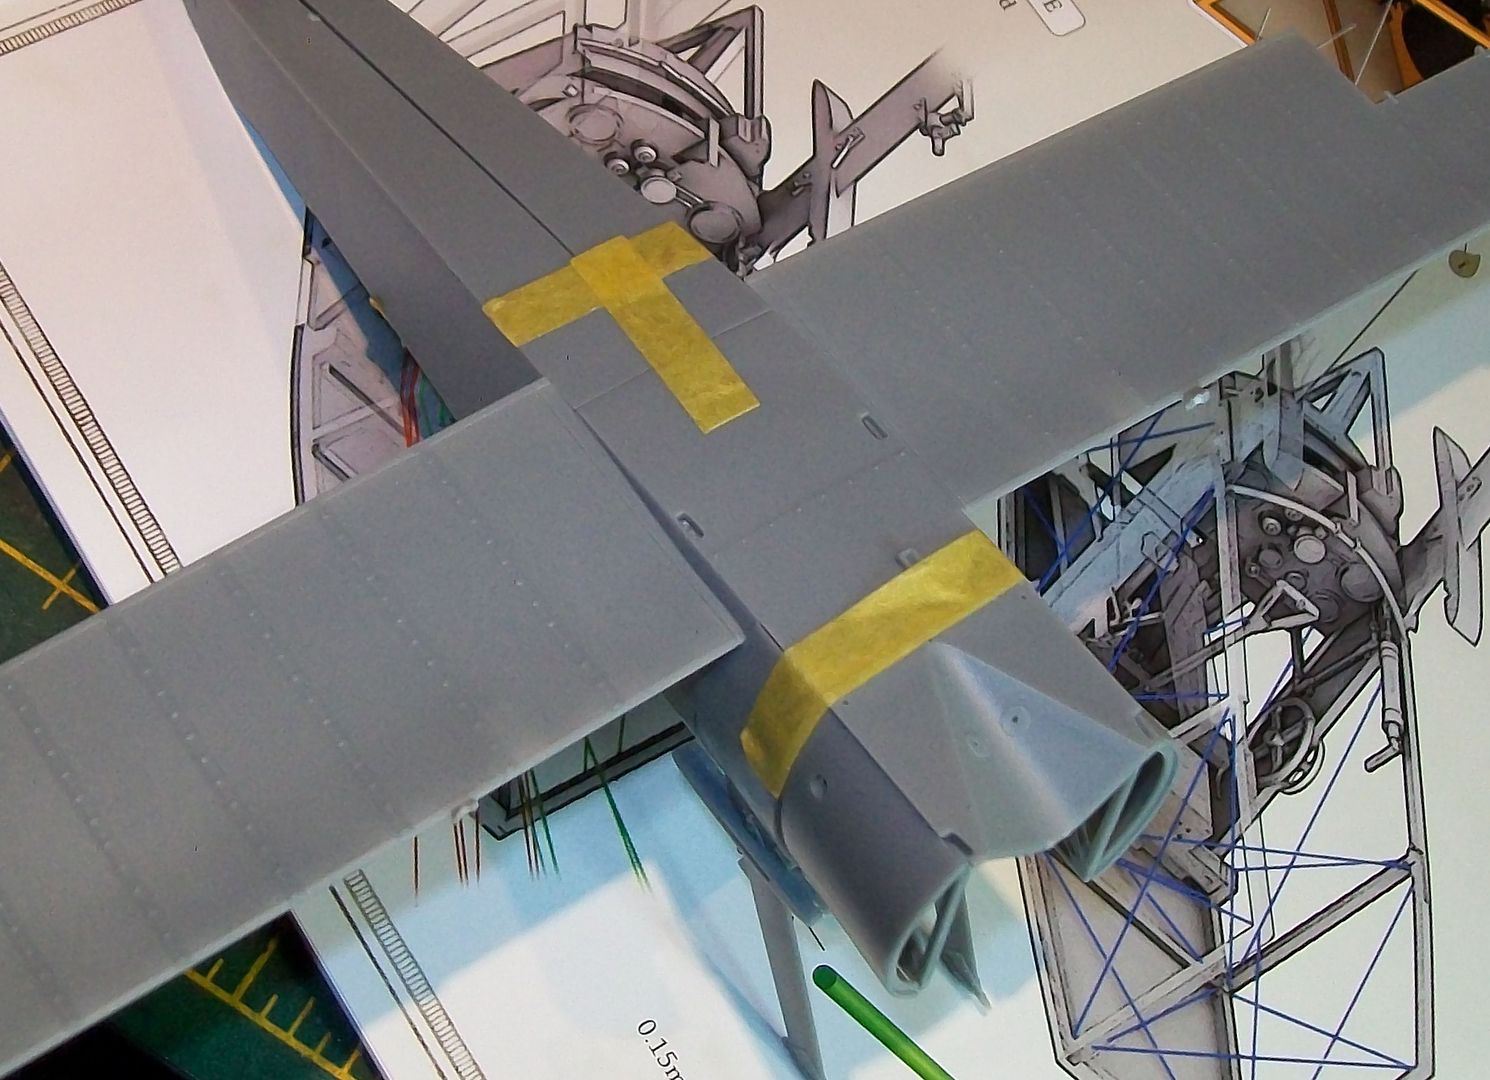
I then cut out some of the major structural components for a dry fit. WNW Sopwiths do have a reputation for a tight tolerance and any excess paint can mean the bottom wing doesn't go right. On this dry fitting, it fits perfectly so far - I picked the components that have a direct effect on the fit of the fuselage halves and bottom wing, although I will also dry fit the seat supports etc before painting. I will use the pics as a reference for where to mask the joining surfaces, to avoid the fit issues. For example, the bottom rail of each side frame sits on the floor panel, so I will use Bob's strippers to mask on the panel the areas where the frames sit, and vice versa.